Last year my colleagues and I had a super fun podcast and were hoping to expand to a live radio setup. Unfortunately for reasons beyond our control, the entire radio program was canceled! We invested in some equipment, which I do not regret purchasing as we have repurposed it for video blogging. The next adventure is learning live video broadcasting (with live switching??) on a teacher’s budget. For now, I am sharing our budget-but-still-nice setup. Altogether we’re looking at under $1000. I do not suggest buying a bunch of equipment if you’re just starting out, or have no idea on which preferences you have or what you will need. You can rent, borrow, record on your phone using your headset, etc. until you figure out what you want. My local library in Downtown Orlando has a fantastic set up with full recording studio & small vocal booths that are entirely free to use as a resident! Check your local library, seriously!
Equipment
 2x RODE NT1-A microphones ($229 each)
- 3x Studio boom arms ($24 for 3)
- 1x Steinberg UR-44 Interface ($299)
- Macbook pro/Ipad pro
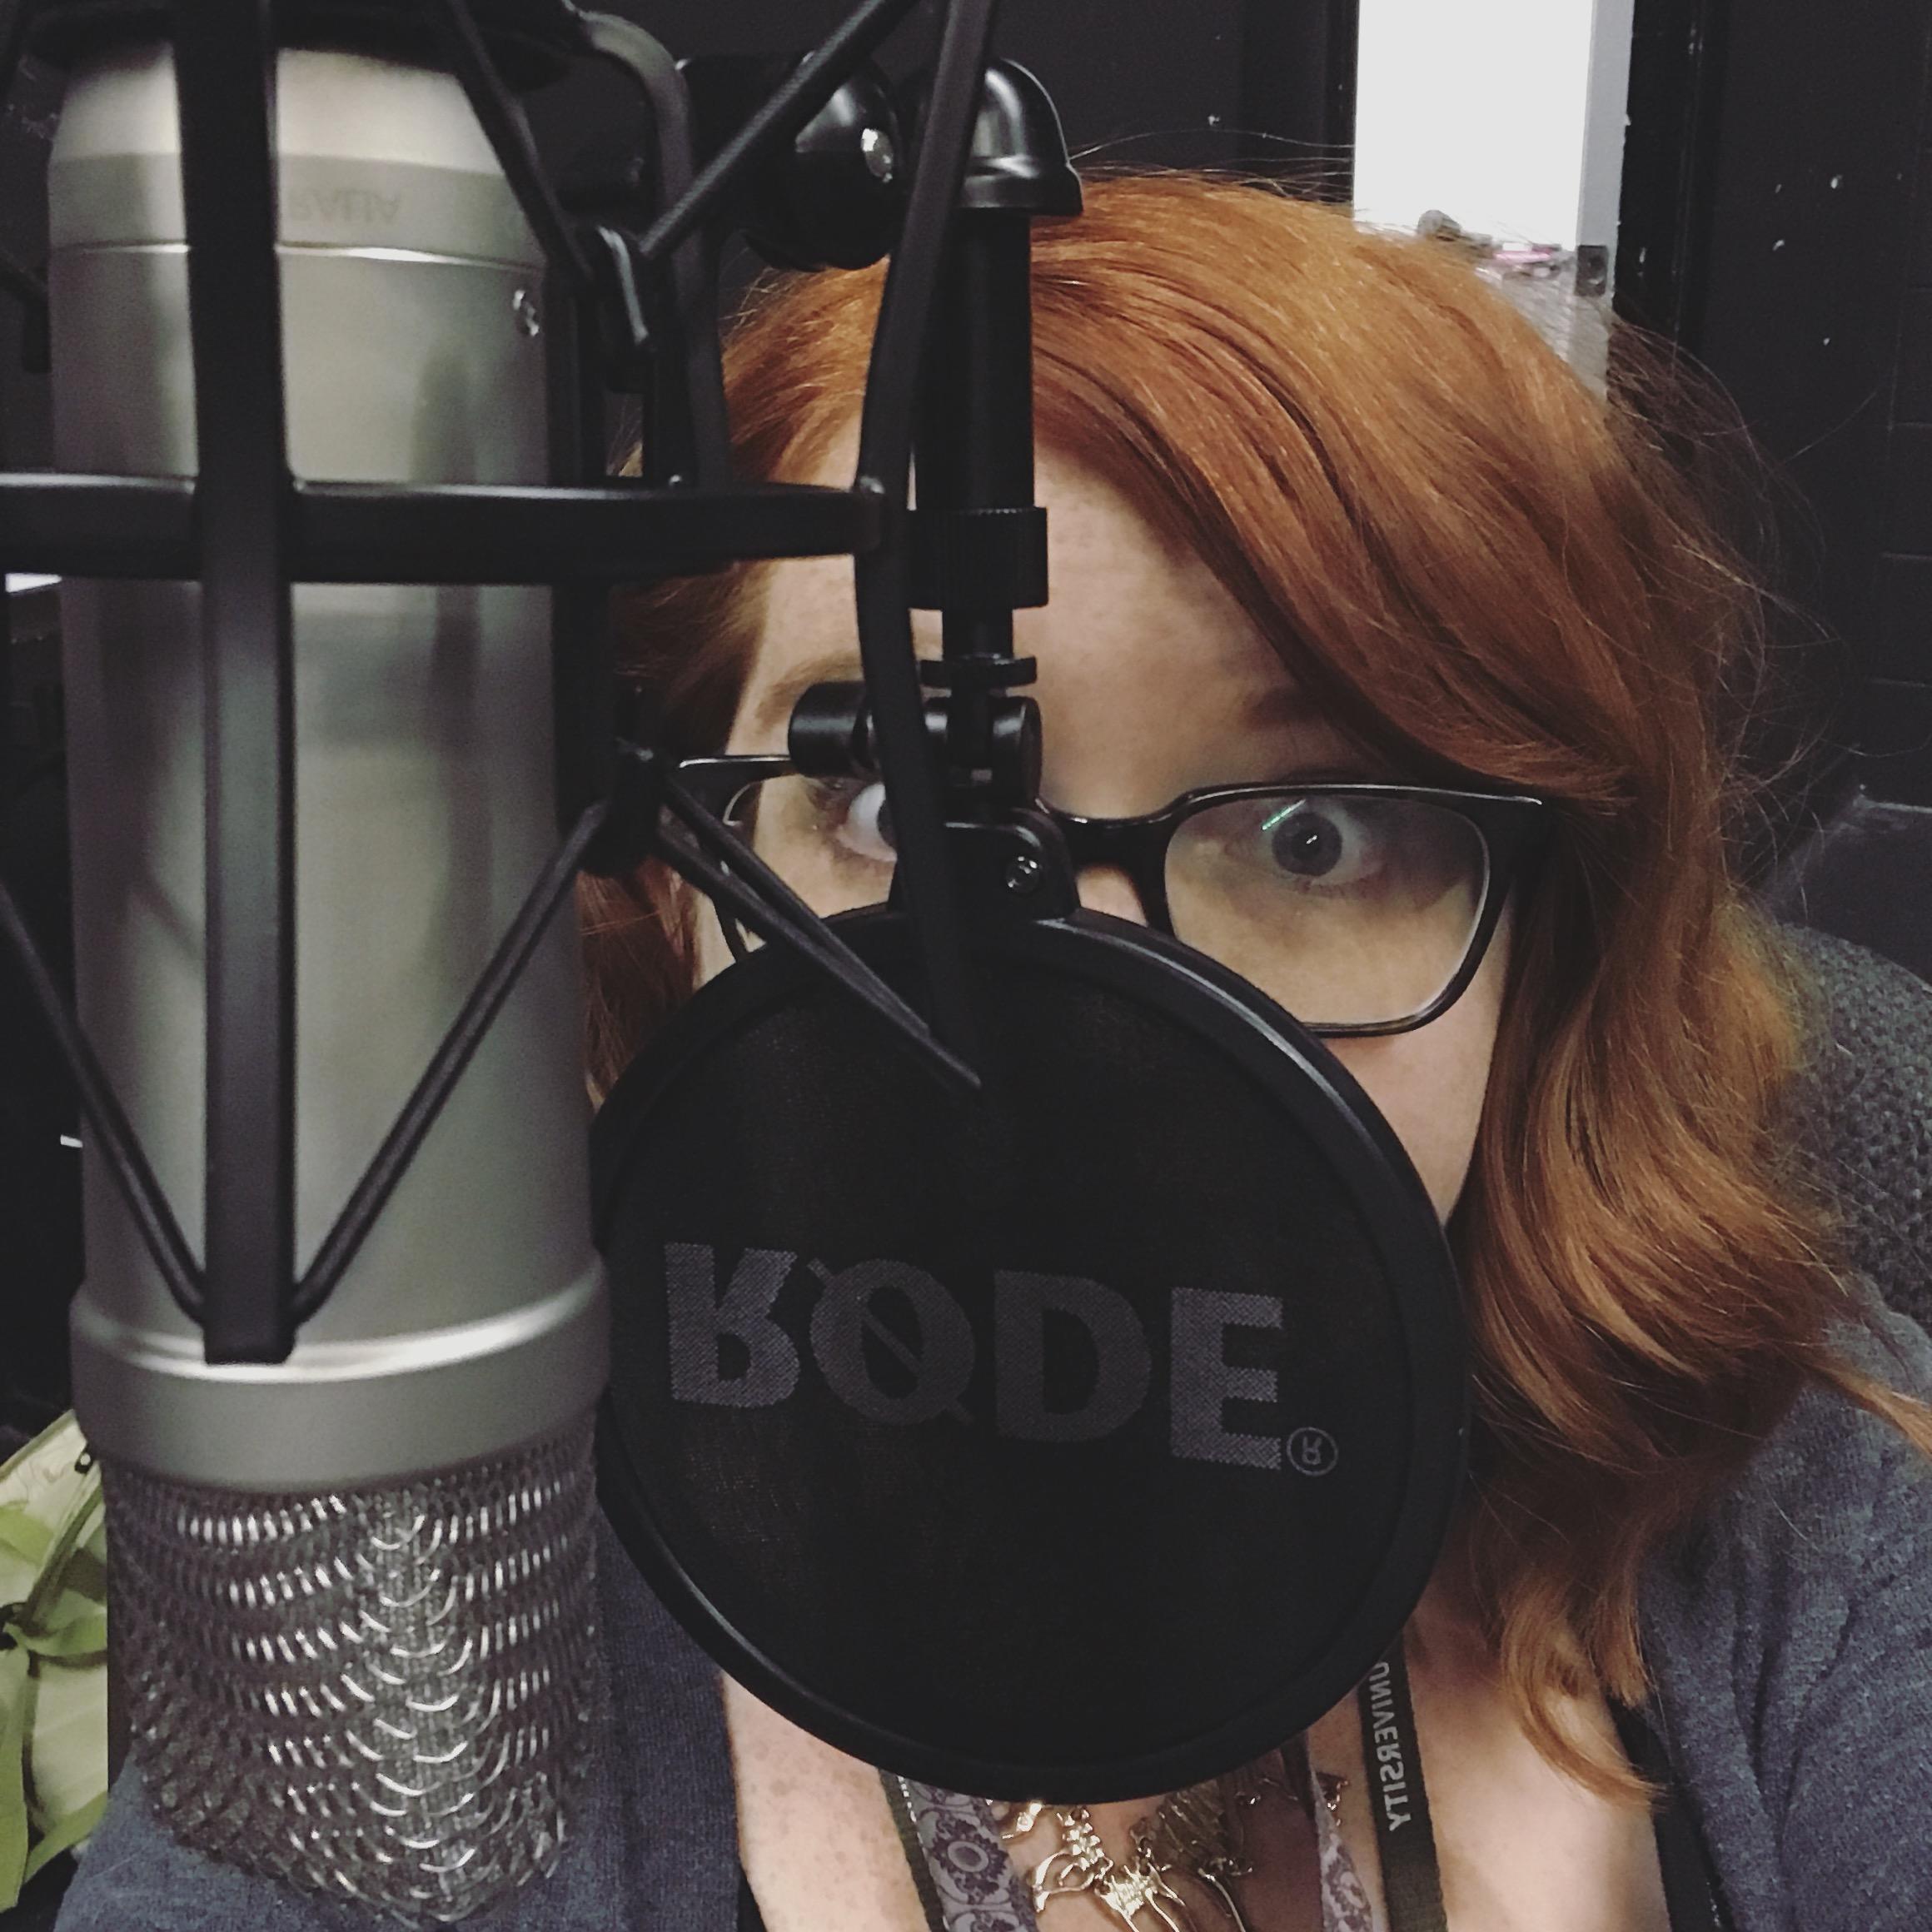
- Various headphones – my personal ones are Sennheiser hd280 pro ($99 each)

We chose an interface with more inputs than we needed & one that had iPad compatibility (with adapter). It was more expensive than the Focusrite Scarlet, but worth the extra inputs. This interface has two built-in headphone outputs, perfect for a two-person setup. If we had more than two people, we used a headphone amplifier we already owned and borrowed an extra microphone. We purchased two hard cases (technically gun cases but whatever) with foam inserts for $20 each! Our kit also includes XLRs, which came with our mic kit plus some we already owned. You can make your own XLRs as well, which will almost definitely be nicer than the cheap ones you can purchase locally.
Ingesting/Edits
My personal preference is Adobe Audition, although my partner uses ProTools and Logic for ingesting as well. I have always preferred Audition, as I have been using it since it was called Cool Edit Pro. I did a lot of editing for our podcasts, as you can see in the screenshot. Use an automixer to avoid the need to do a lot of automation later in life.
One of the mistakes that I made early on was not having the preproduction solid enough before recording. This meant a lot of editing in post, and that was a significant undertaking. I was an editor in another part of life, but I knew there had to be a better way. Editing everything in post was an actual nightmare.
To quote Bill O’Reilly, “Fuck it, we’ll do it live!!”
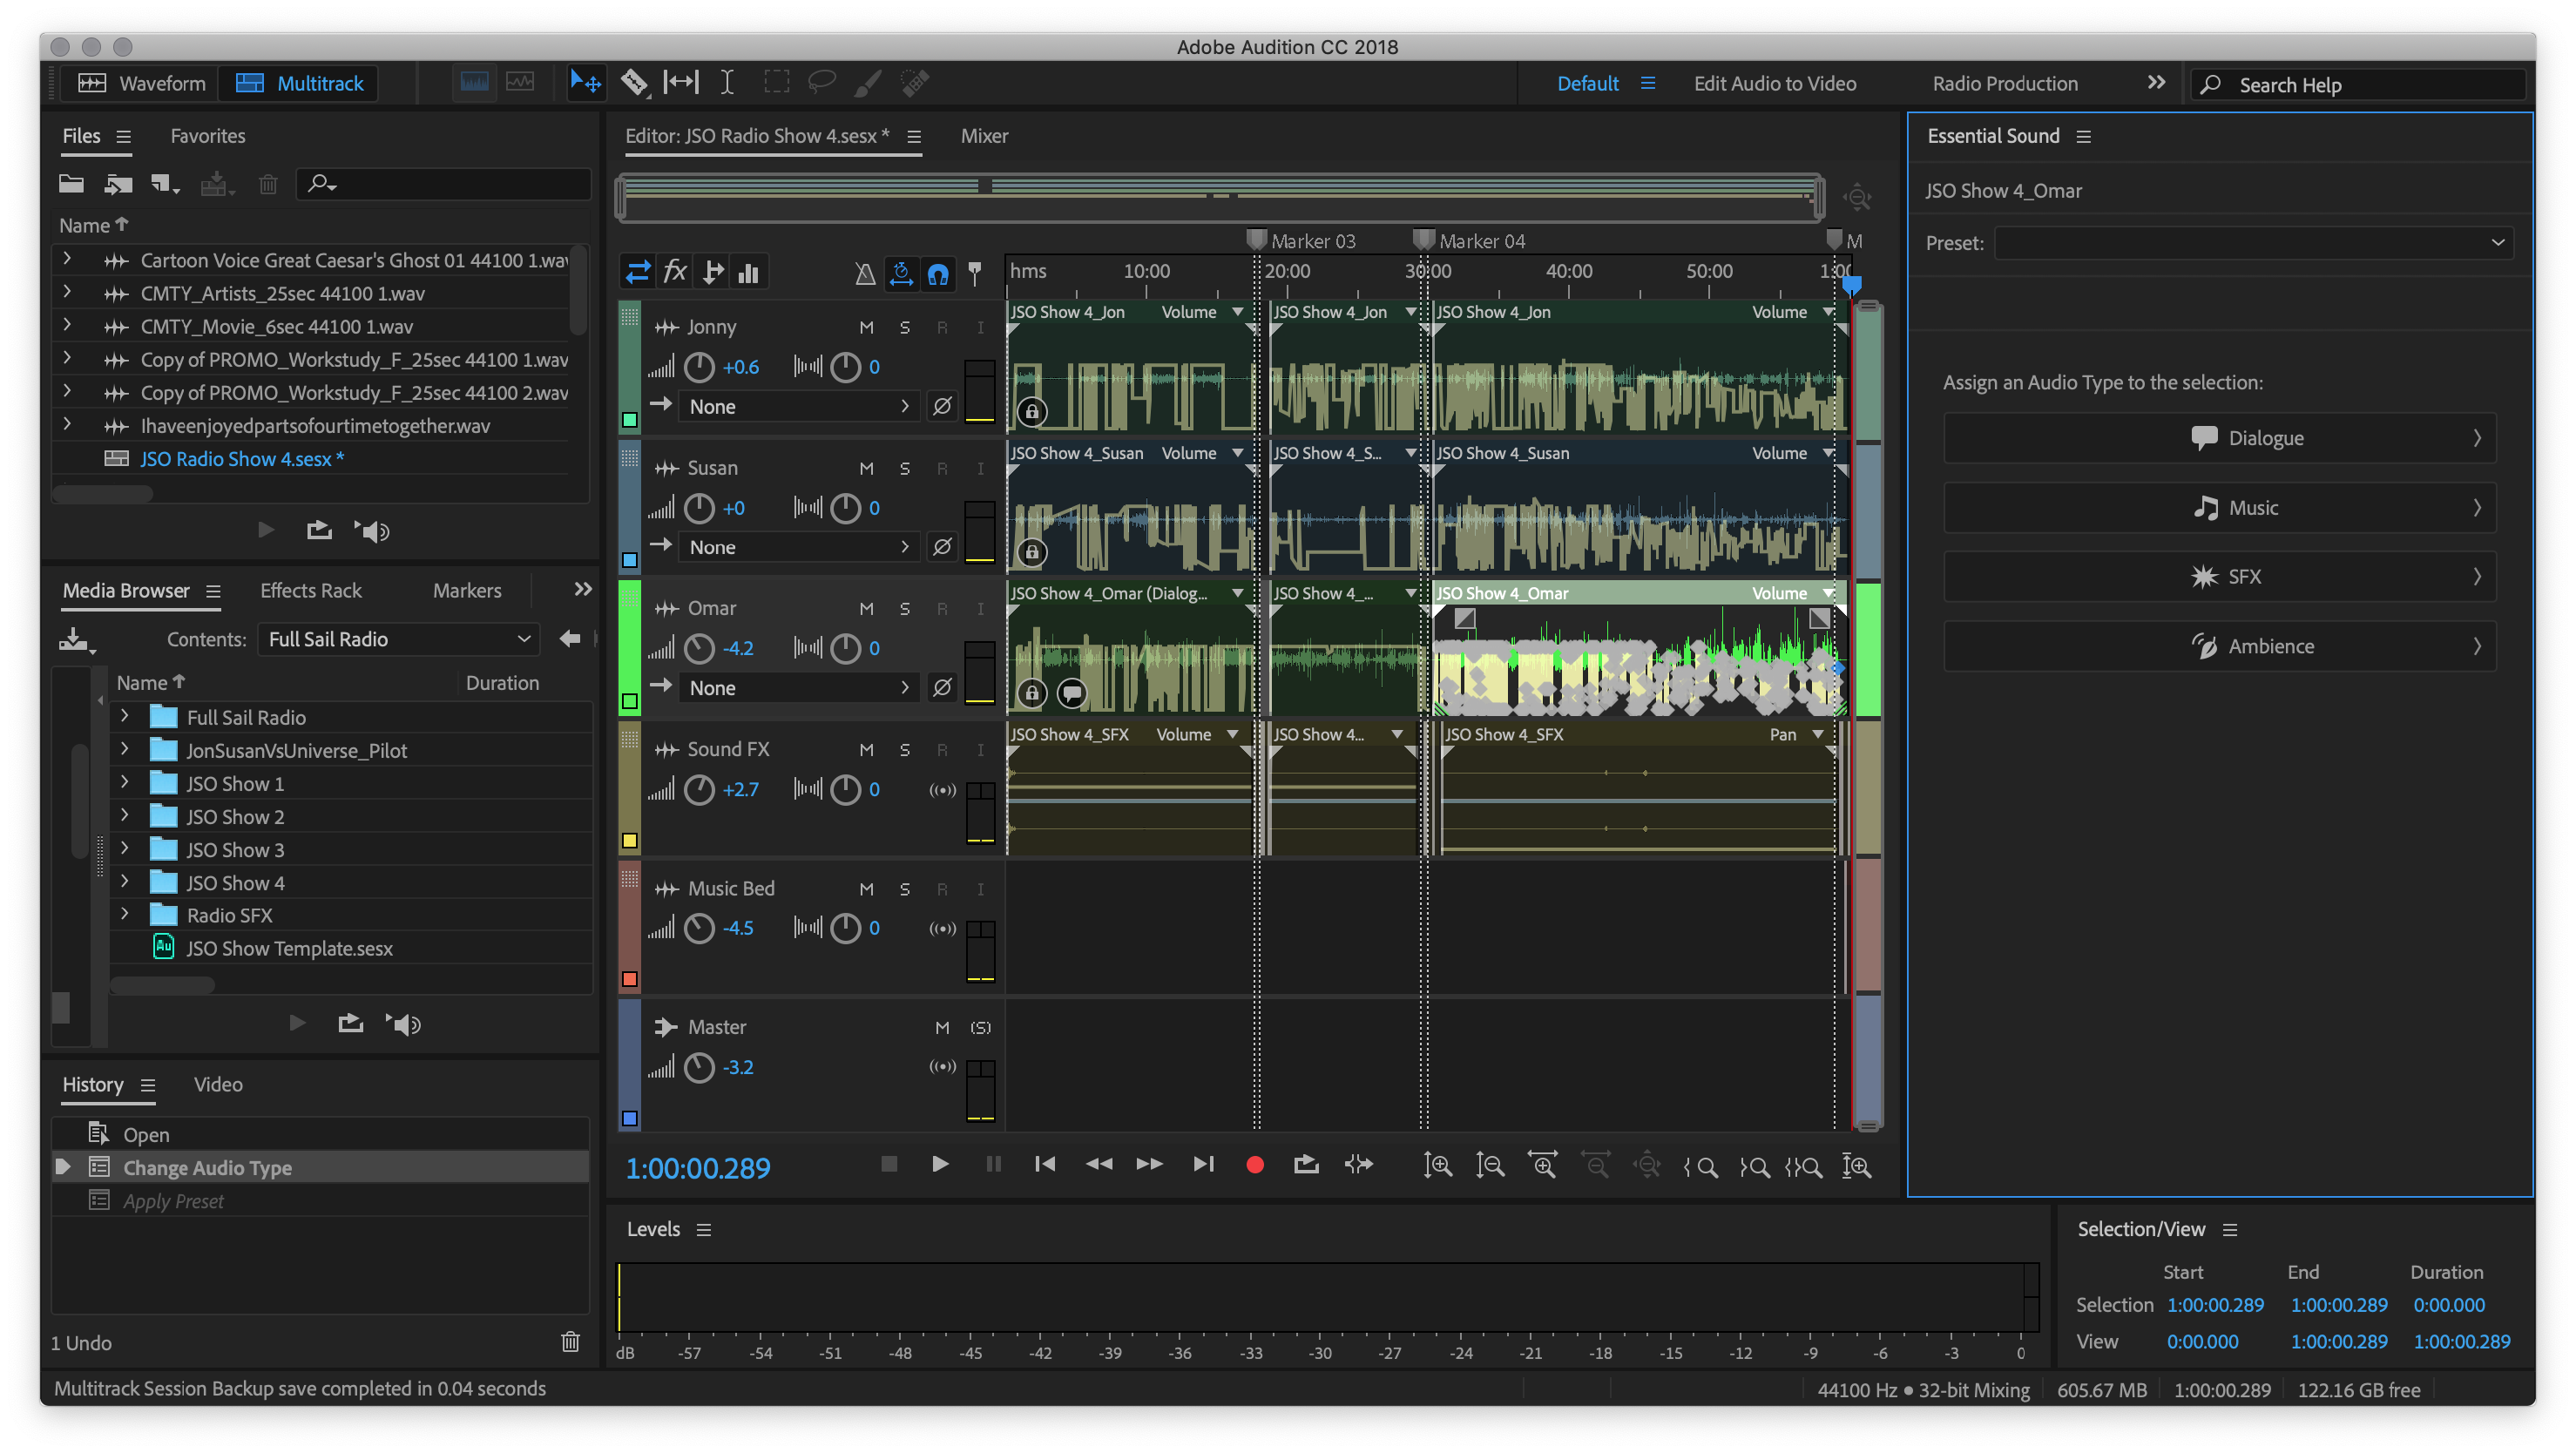
Please don’t judge my automation, if we were to continue with multiple users, I would integrate an automixer or the newer “https://larryjordan.com/articles/adobe-audition-cc-2018-auto-ducking-is-magic/”Auto-Ducking feature in Audition CC 2018.’
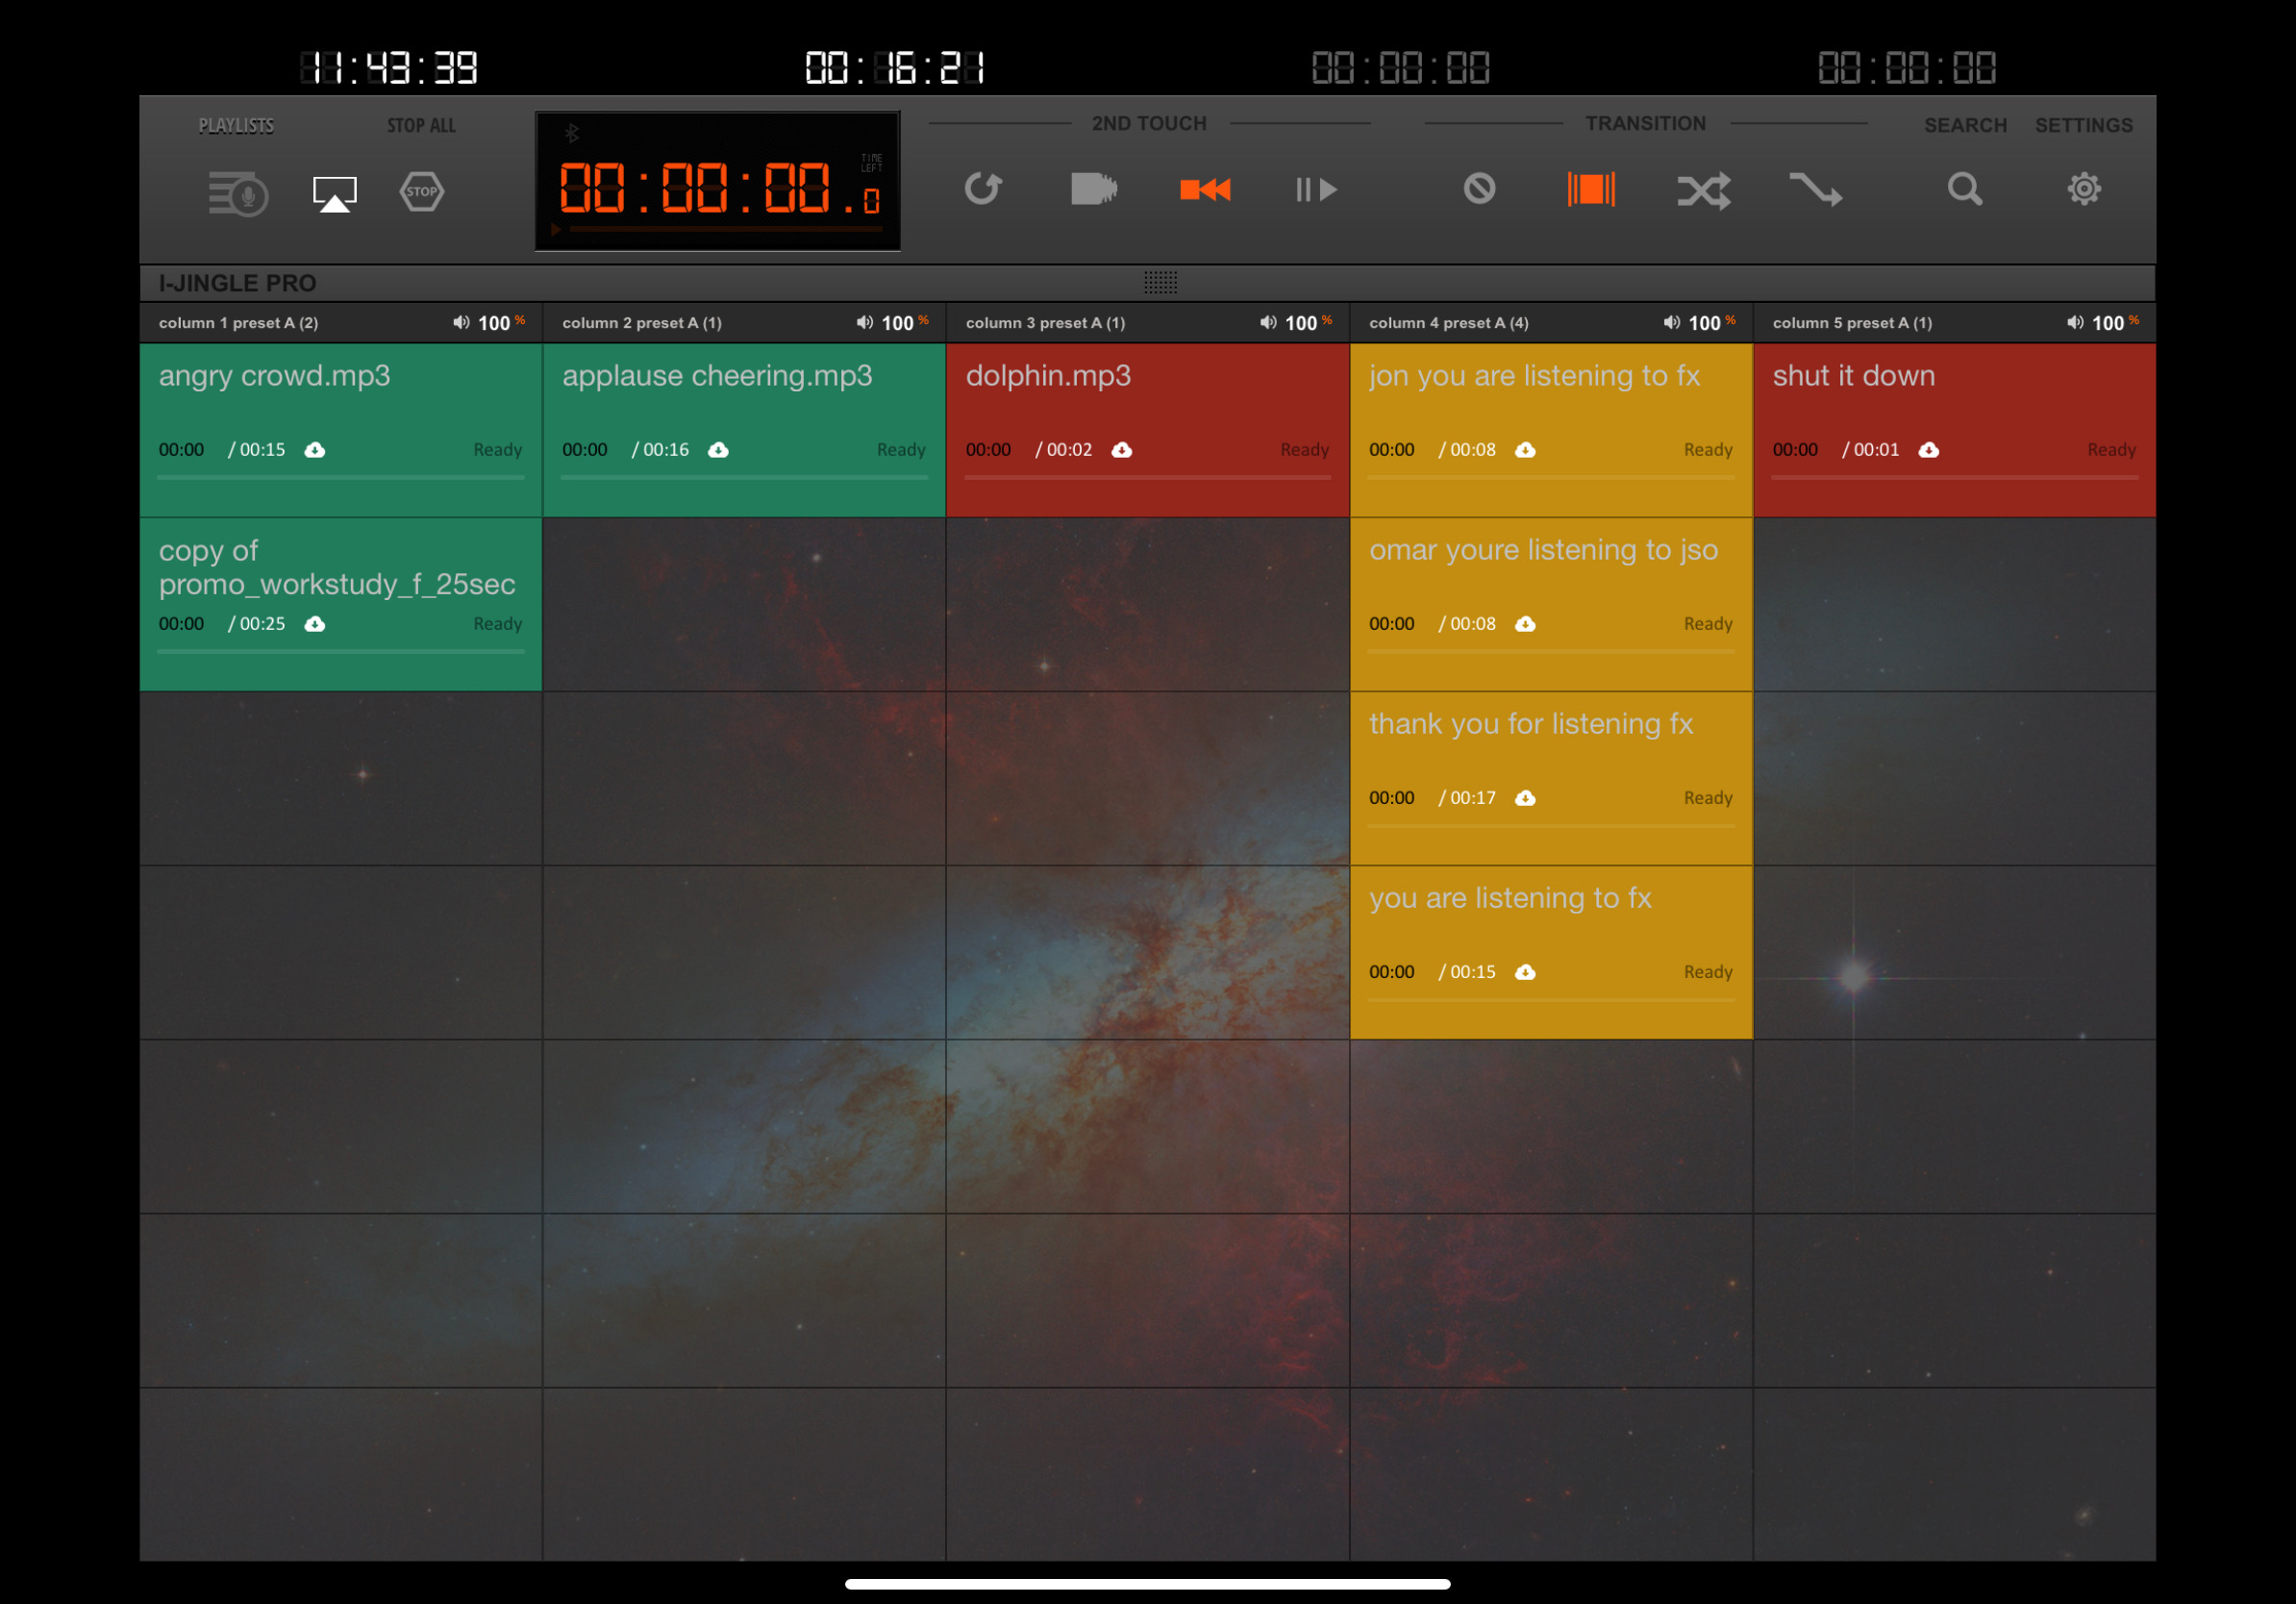
i-Jingle Pro workspace for a podcast on an iPad
There are a lot of options for playback. You can use whatever DAW you feel comfortable with and set up all of your playback from there. Qlab has a free (2 channel) version. Soundcue ($14.99) is one that I’ve used for kids’ theatre production when I had to program an iPod for playback. If you have one of those DJ sound effects pads, that would be a cool choice. For our podcast, we used i-Jingle pro ($10.99) for the iPad. We made our own imaging using the garage band app on our phones (yes, seriously). We’re not musicians, and it turned out hilarious, and I still love it.
Have a solid rundown and play any pre-recorded interviews, imaging, sound effects, music, etc. LIVE. This will save you so much time, treat it like a live radio broadcast, and only clean up what you need to in postproduction. When we figure out the live video blogging (budget version, because teachers) I will share that as well, so stay tuned.