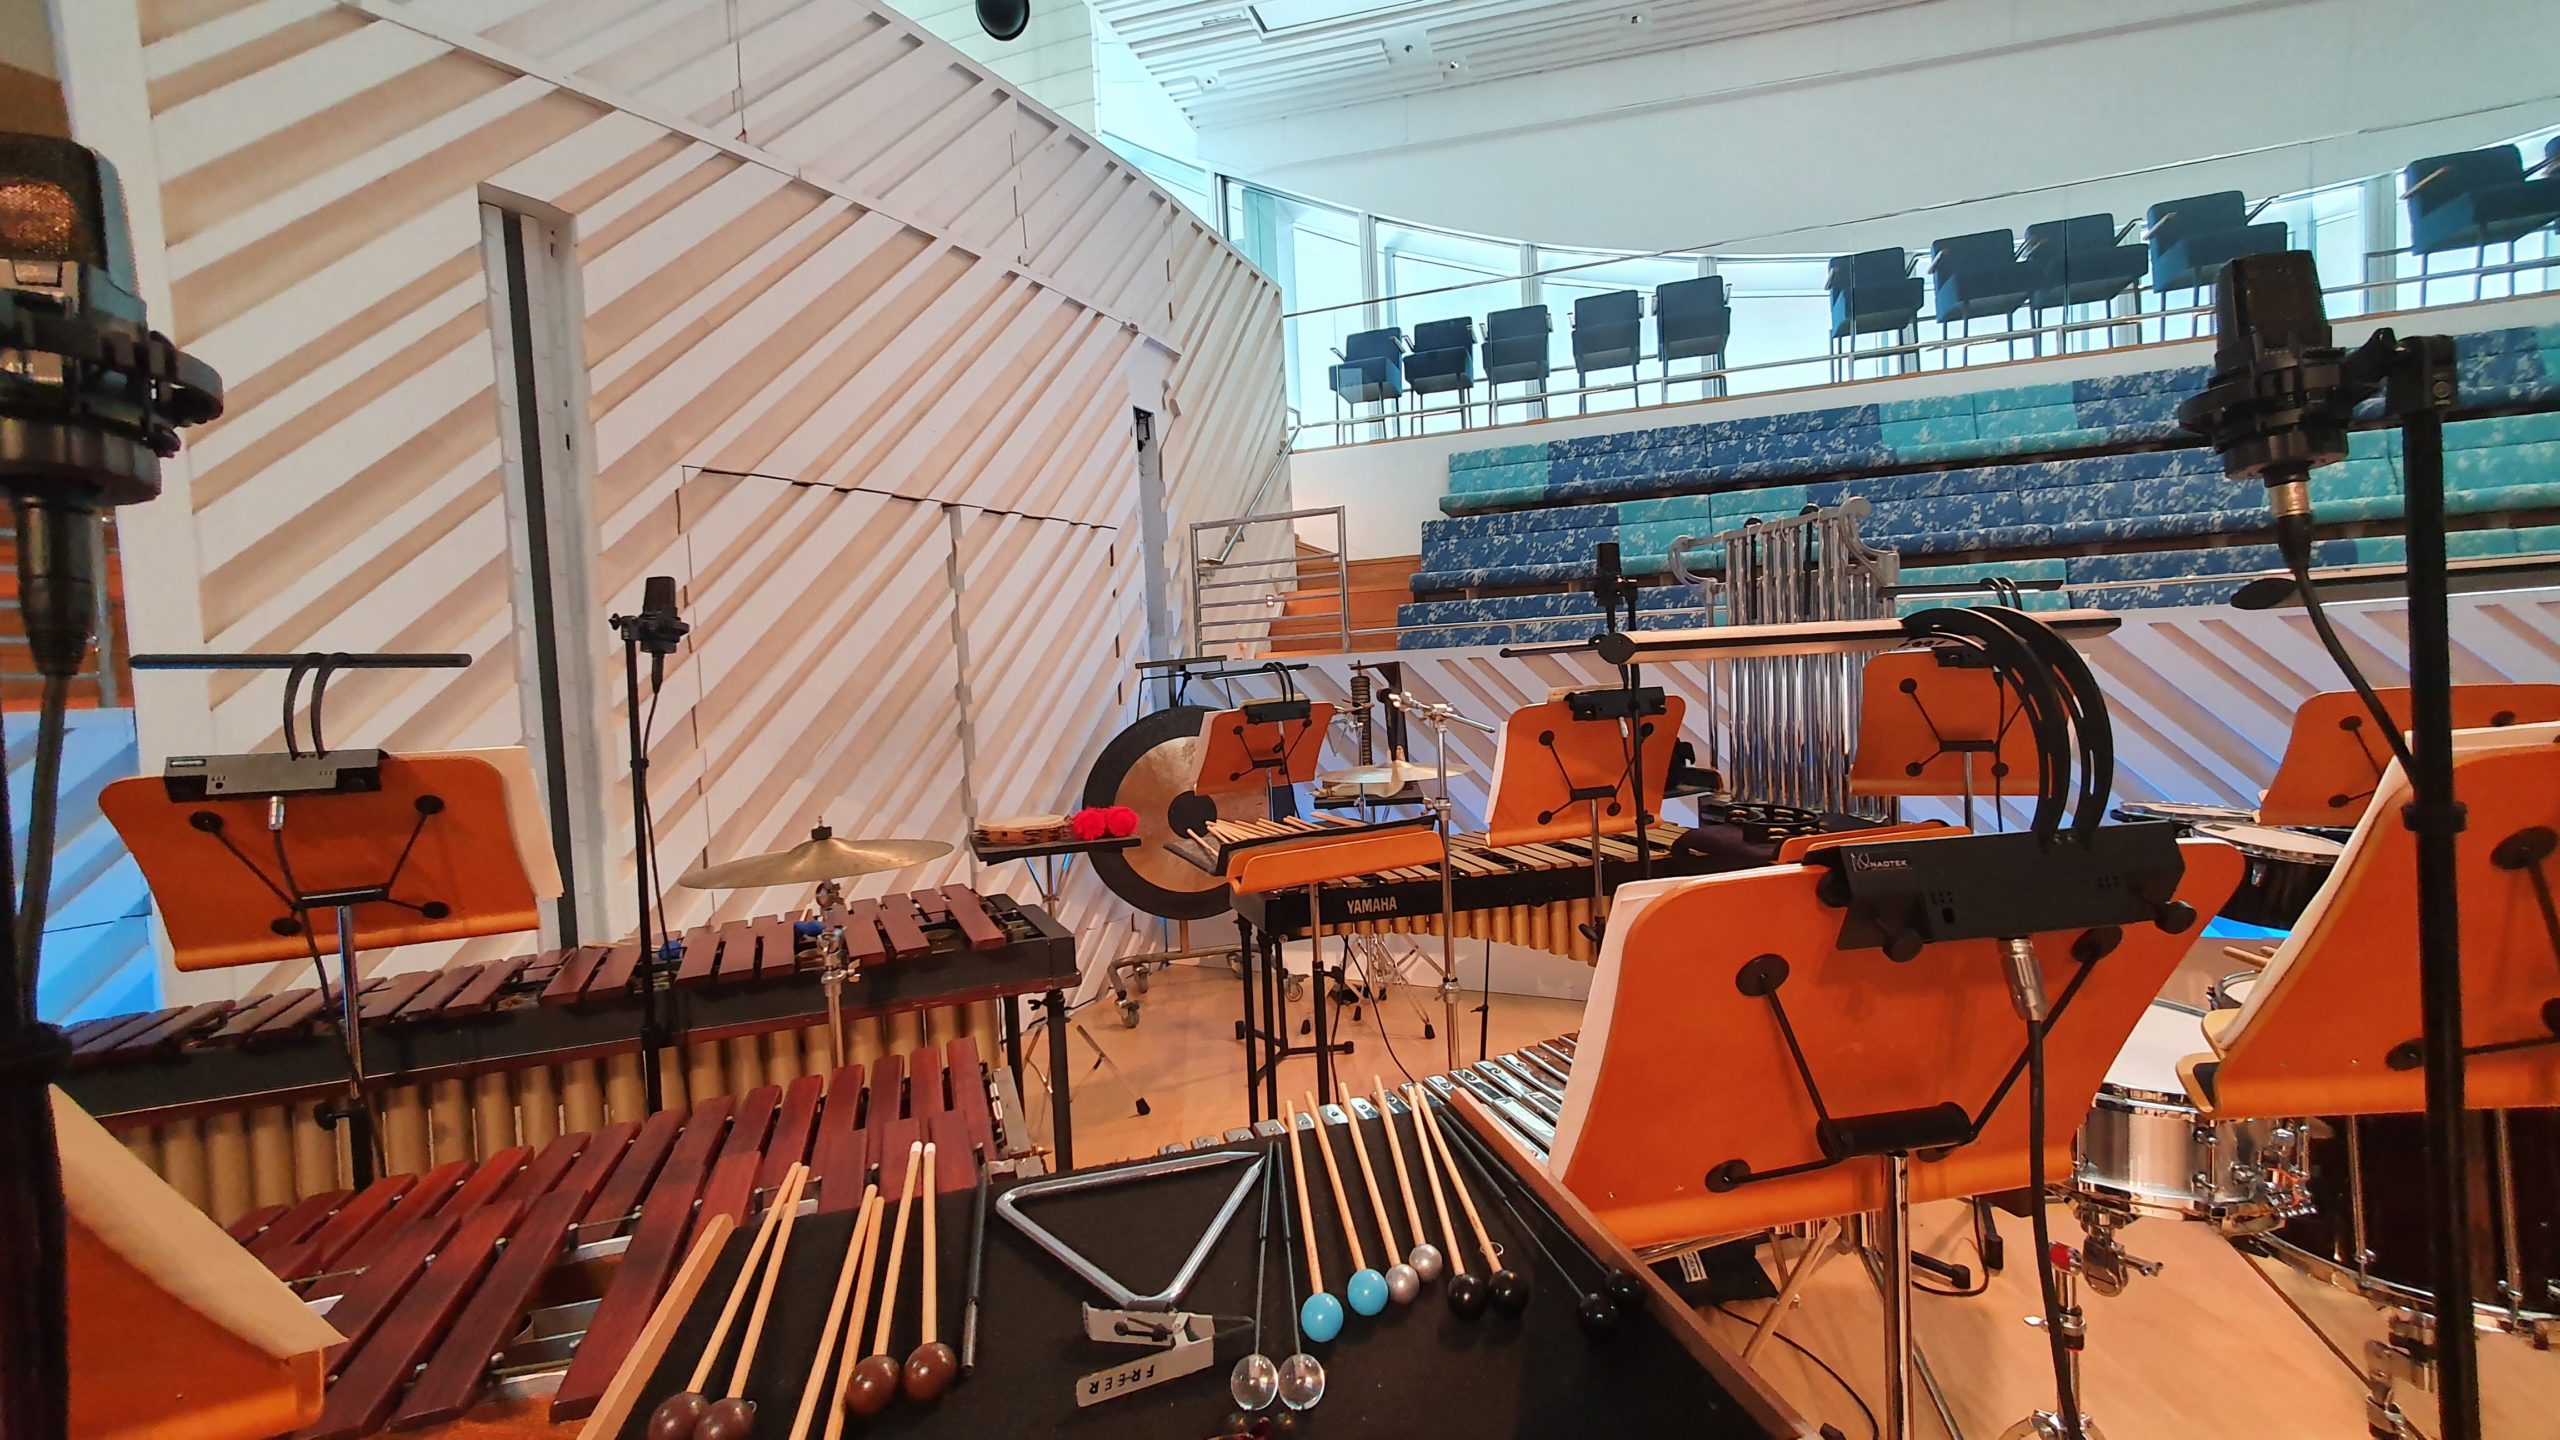
Recording an orchestra, whether for a live concert or a studio recording, can be a thrilling experience, as you have a huge range of instruments, sounds, textures, and dynamics. Your aim is to capture the orchestra’s natural sound and the surrounding acoustics and to optimise it for the listening experience. Orchestral recording is of course something that takes time to learn and obtain good results from experience. Here’s an introduction and overview of some basic aspects that are useful as a starting point.
Pre-production
It’s important to know the space that you will be recording in, as the size, shape, and acoustics of the hall or room will affect the sound and your microphone choice and placement. It’s very helpful for planning if you can find out any details in advance from the orchestra about the pieces, instrumentation, and player seating information such as stage diagrams. The type of music will also inform your microphone setup, as the sound you aim to produce will vary depending on whether it’s a concert recording, film scoring session, album recording, early music with period instruments, contemporary music with unusual instruments, etc. Getting copies of the score will be helpful to examine the instrumentation, follow along and make notes during the rehearsals and recording, and aid in editing later.
You should find out if you can hang microphones from the ceiling or if there is an existing system of hanging mic cables. There might be limitations on where you can place mics and stands if it’s a concert, or if there will be video recording. If it is a concert recording, find out if there are any other elements such as spoken presentations on handheld microphones or video projections that should be recorded. Think about whether you’ll need to move or adjust microphones between pieces. For a studio recording, a talkback system should be set up to communicate with the conductor, and you should be ready to carefully mark your takes and write notes on the score. As you’ll often be working with a large number of microphone channels, creating an input sheet is essential. For a location recording, making a list of gear to bring could be very helpful. An orchestra recording often requires 2 to 3 people, one of whom might take on a producer role to follow the score, make musical decisions and communicate with the conductor and musicians.
Instrument sections
The sections of the orchestra are as follows, and the number of players will vary depending on the piece:
- Strings: violins 1, violins 2, violas, cellos, double basses.
- Woodwinds: flutes, oboes, clarinets, bassoons (other instruments can include piccolo, alto flute, English horn, bass oboe, bass clarinet, contrabassoon).
- Brass: horns, trumpets, trombones, tuba (other instruments can include Wagner tuba, cornet, piccolo trumpet, bass trumpet, flugelhorn, euphonium).
- Percussion: timpani, various percussion instruments depending on the piece: snare drum, tenor drum, bass drum, cymbals, triangle, tam-tam, tambourine, woodblock, glockenspiel, xylophone, vibraphone, marimba, crotales, tubular bells, mark tree, sleigh bells, bell tree, drum kit (and others depending on the piece).
- Other instruments commonly include harp, piano, celesta, and organ. Some works include choirs positioned behind the orchestra, and modern works might feature other instruments including electric/electronic instruments.
- There may be one or more soloists positioned in front of the orchestra.
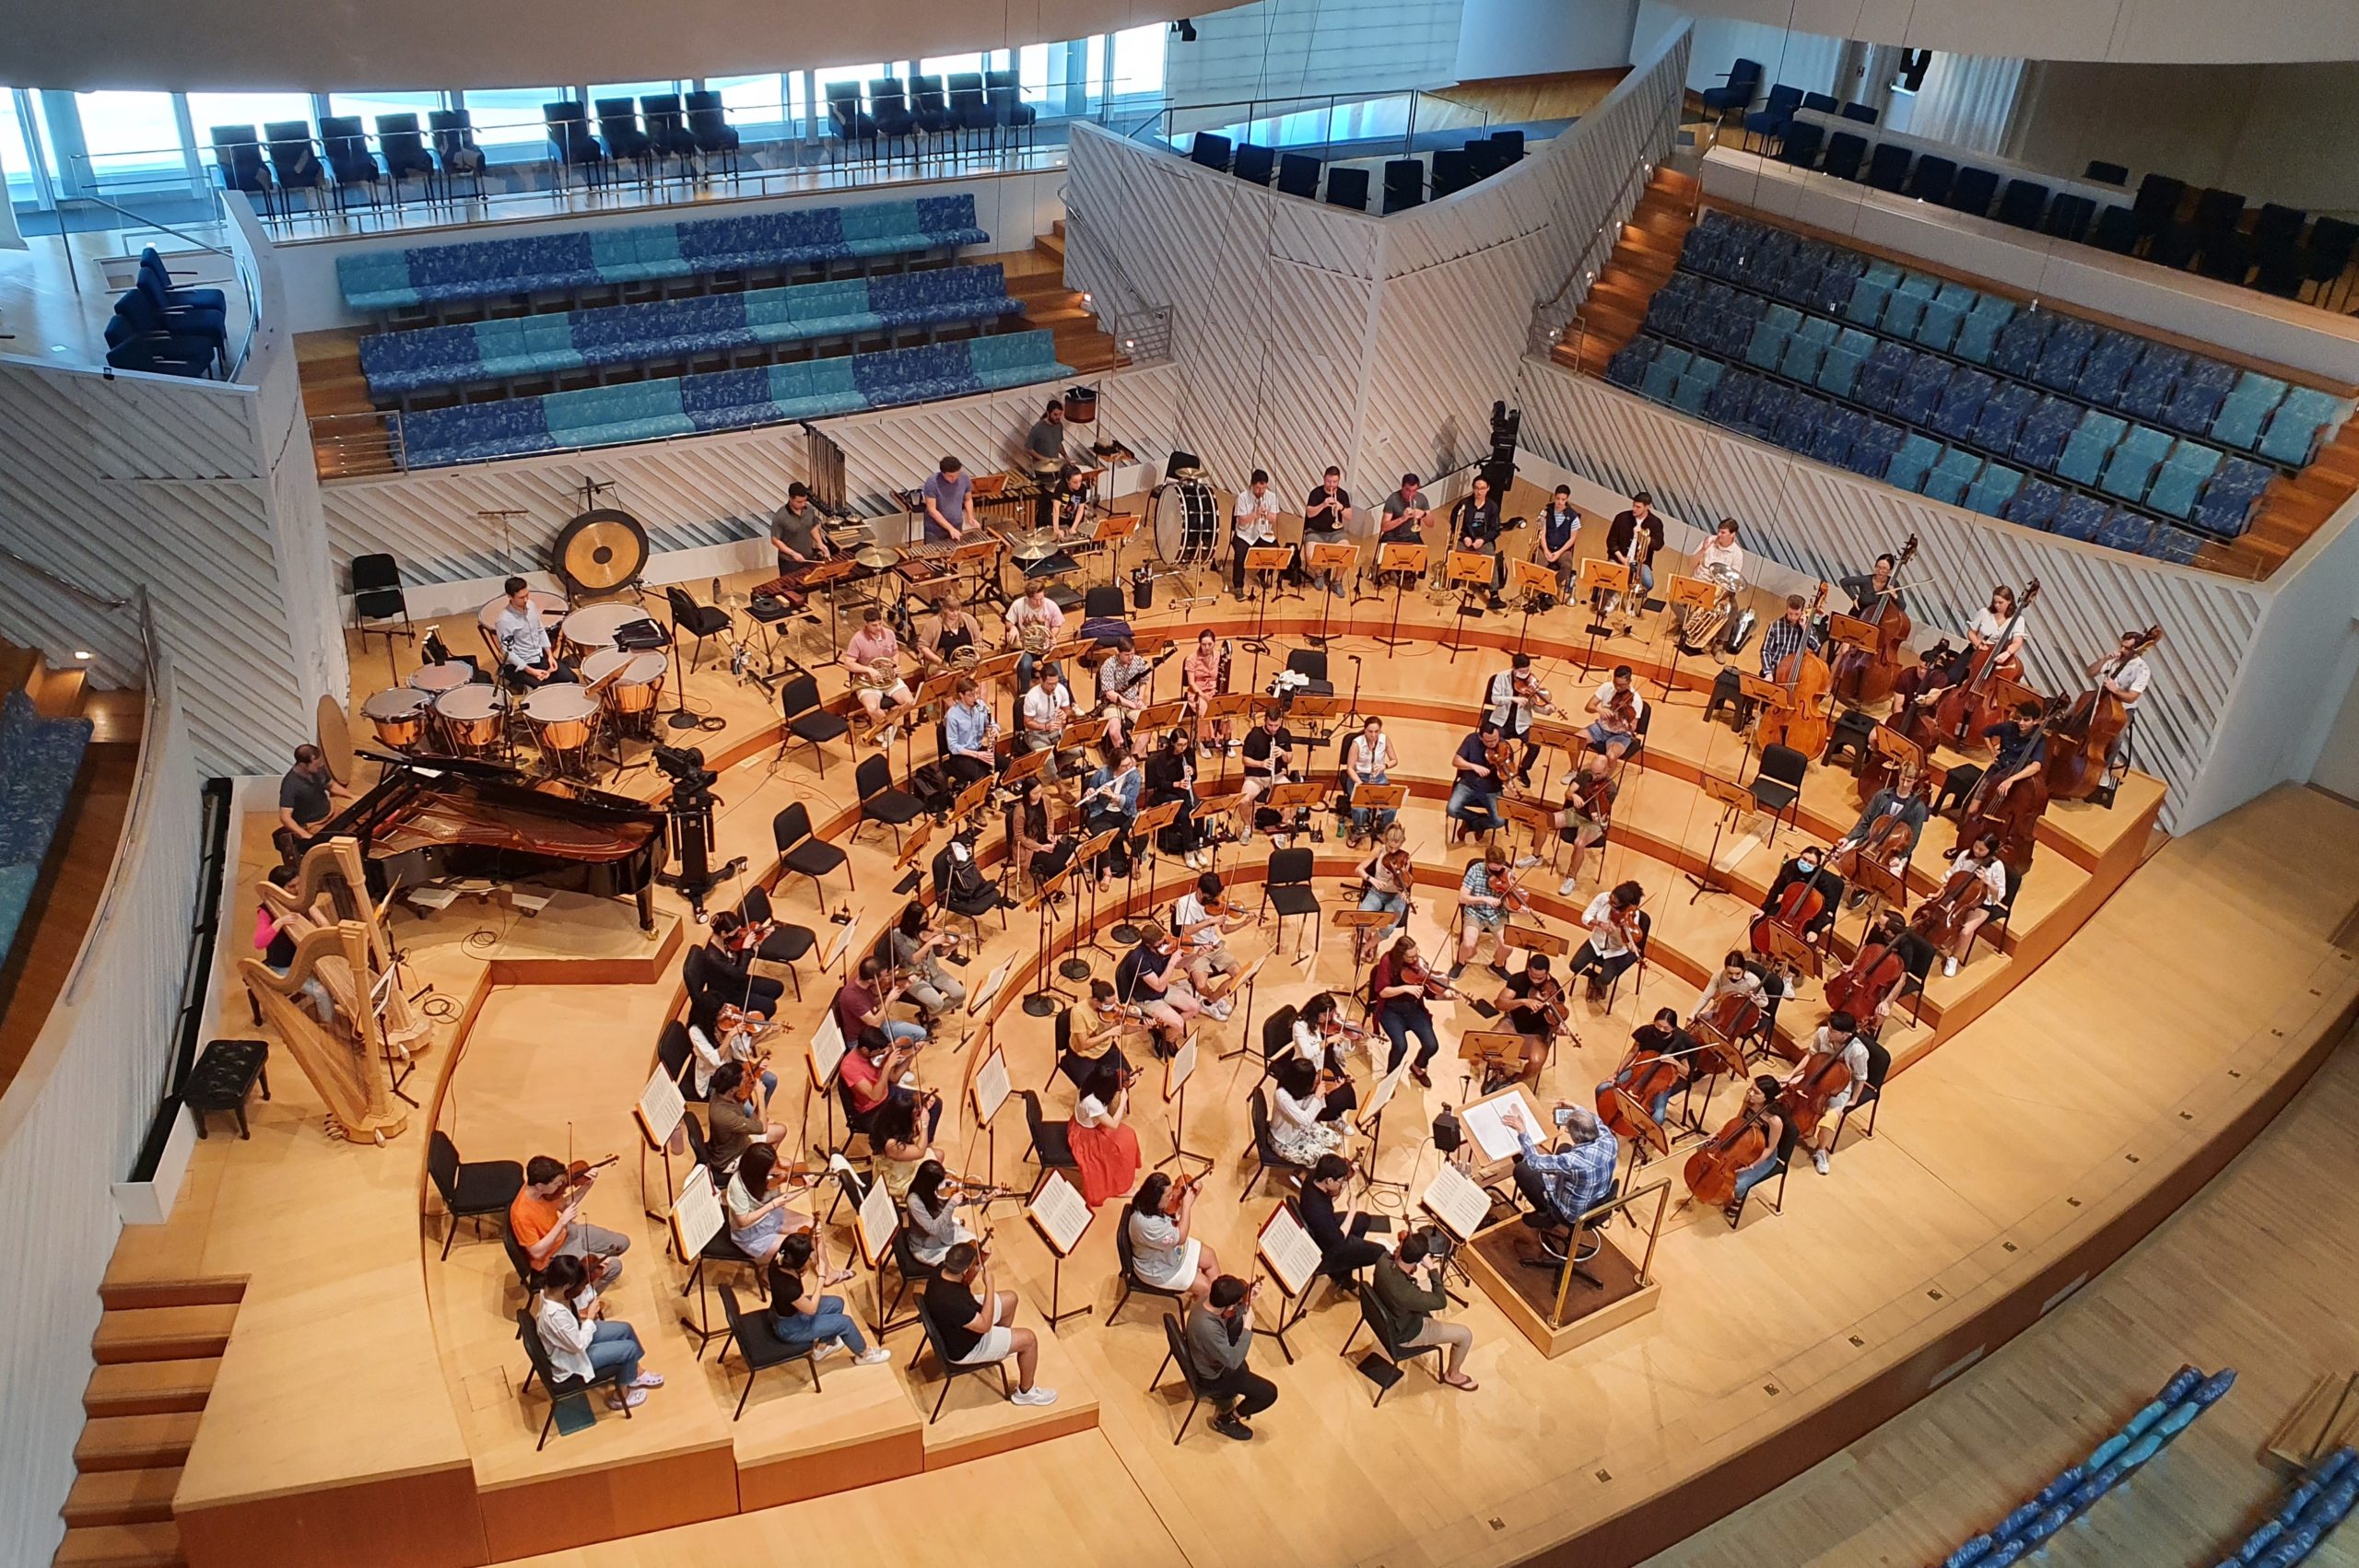
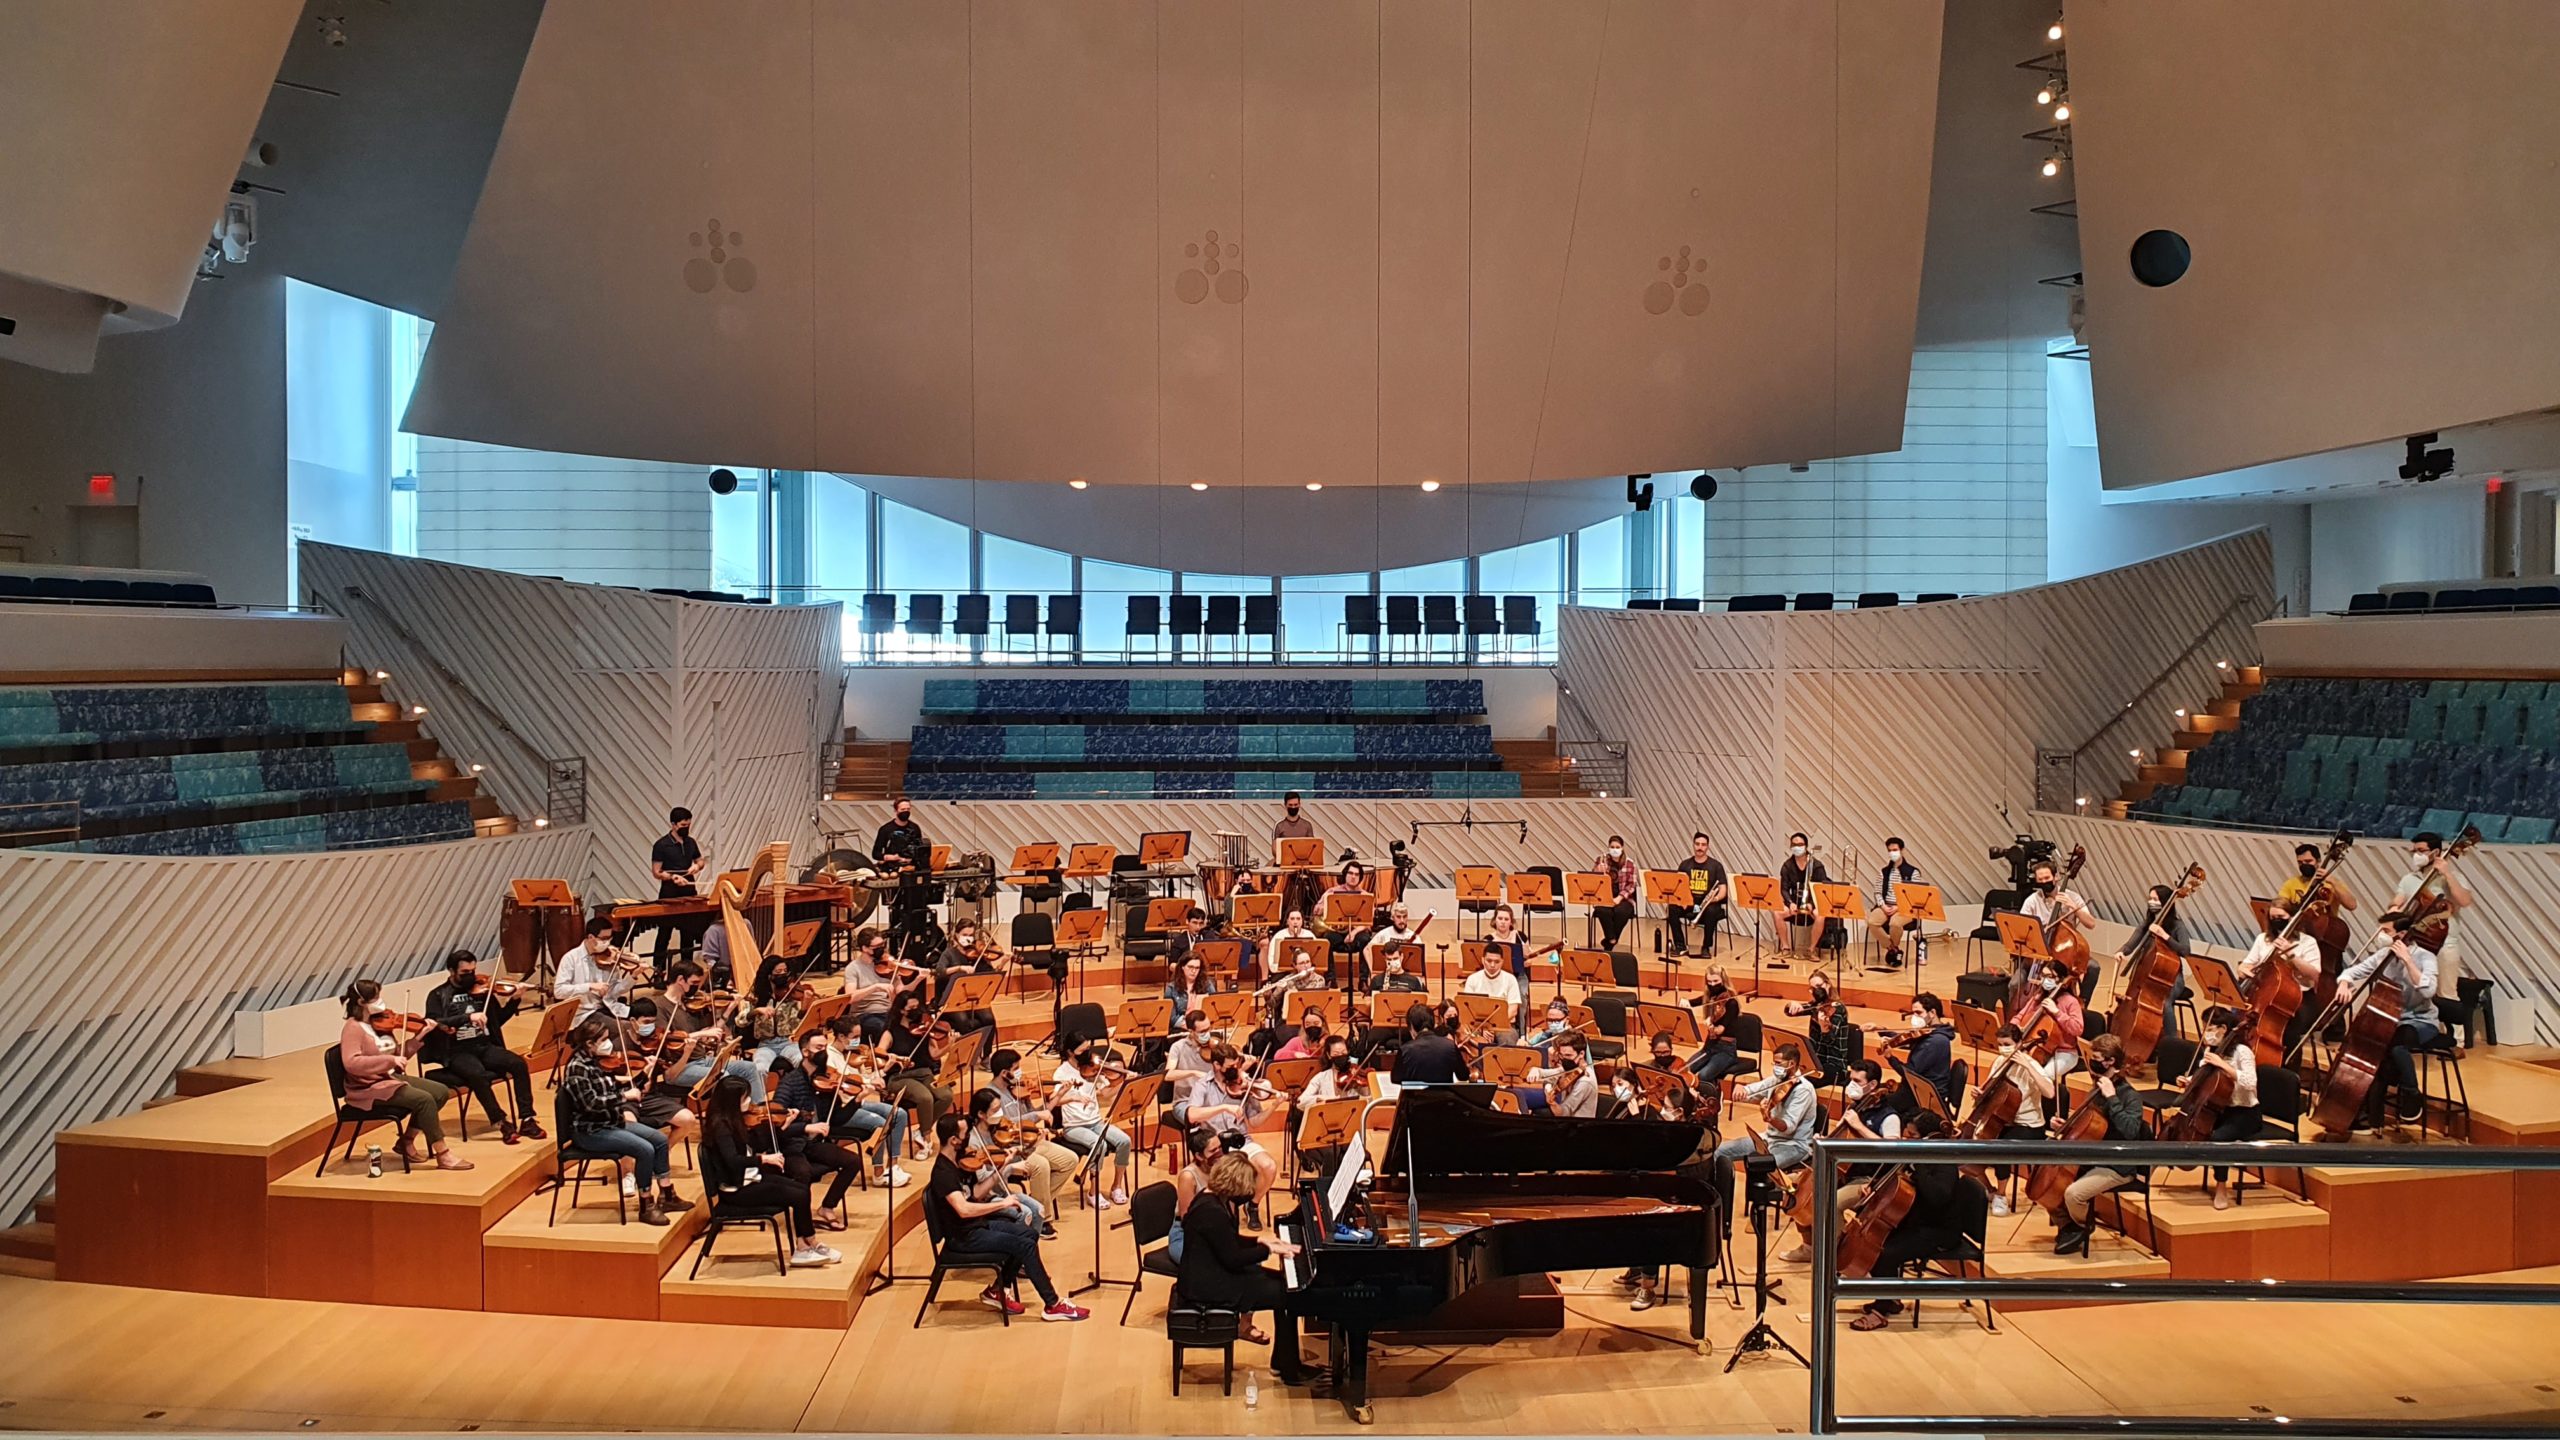
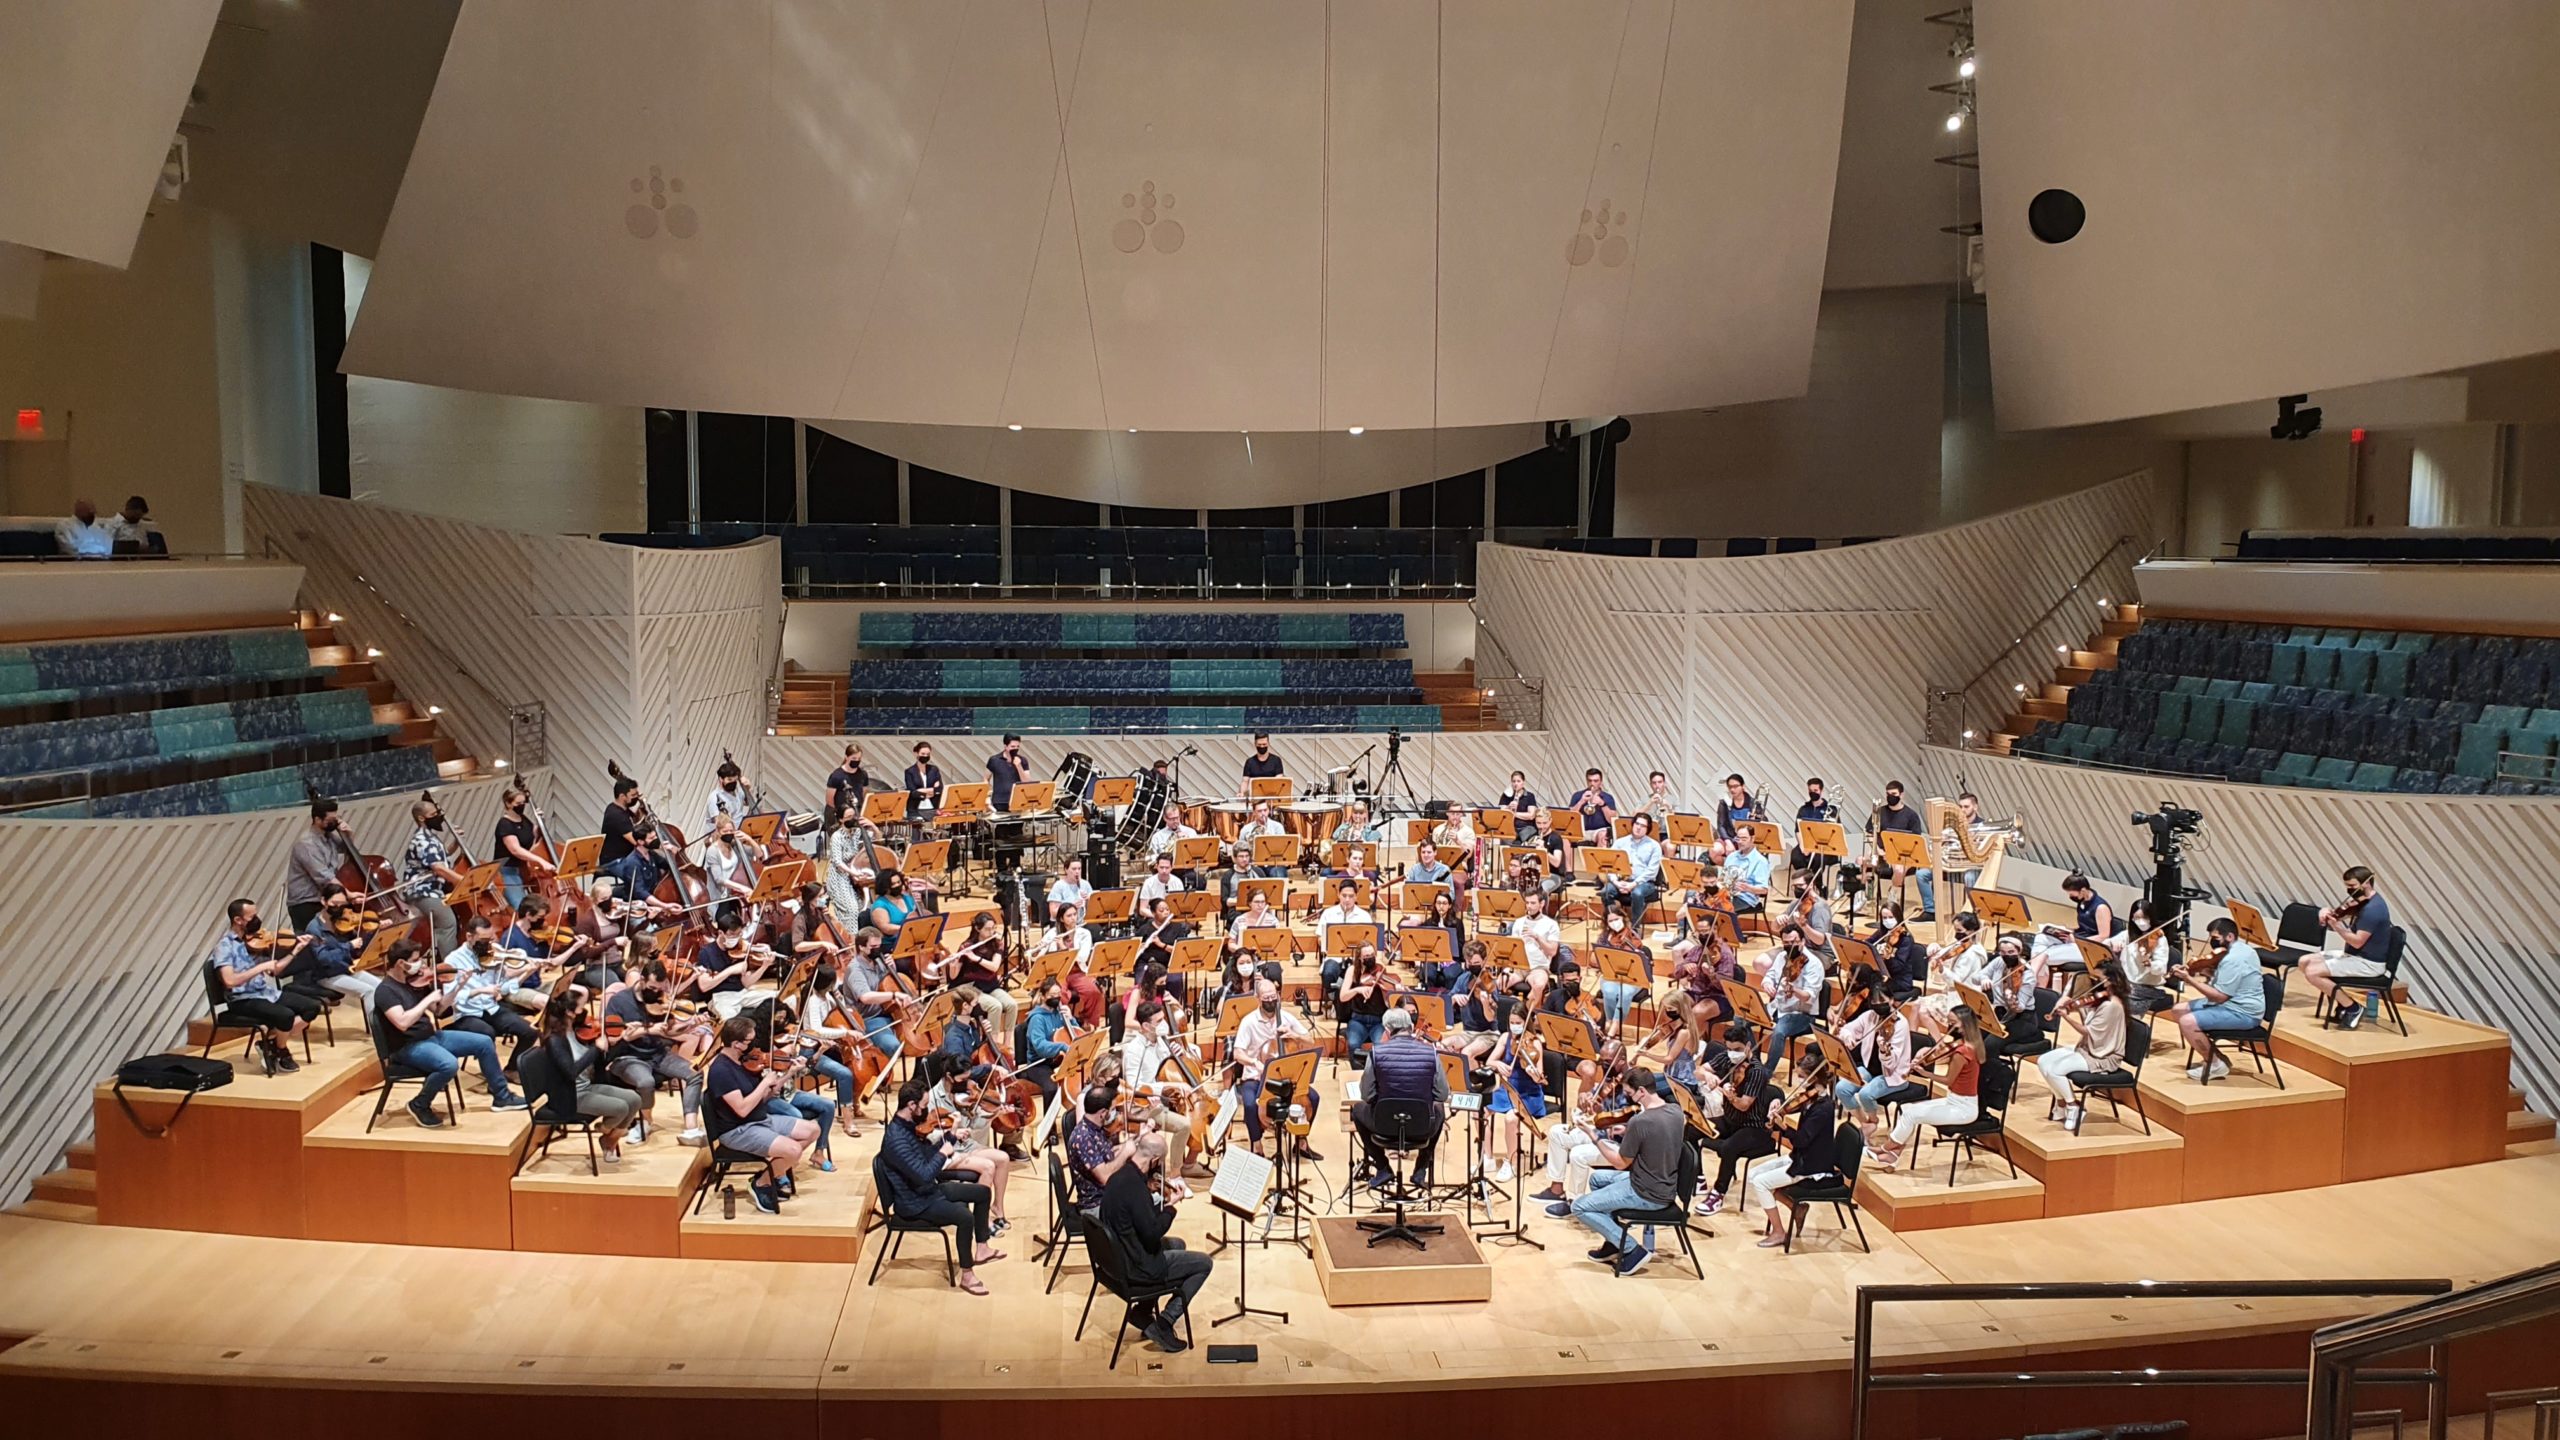
The positioning of the instruments might vary depending on the piece, the stage, and the conductor’s preference. Below are a couple of examples with two common strings setups, one with the cellos and basses on the right, and one with the second violins on the right.
Microphones and placement
Generally, an orchestra is recorded with a set of “main” microphones positioned high above the head of the conductor and the front of the orchestra, plus “spot” microphones positioned closer to certain instruments that need more detail, and often an ambient pair of microphones further away to pick up the acoustic of the space. Often microphones with quite flat frequency responses are used to capture the natural sound of the instruments. Commonly used microphones include Schoeps’ Colette series, DPA instrument mics, Neumann’s KM, TLM and M series, the AKG C414, and Sennheiser’s MKH omni/cardioid mics. Options for smaller budgets could include Line Audio, Røde, Oktava, SE, and Lauten’s LA series.
For the main omni microphone set, an AB stereo pair or a Decca Tree (or a combination of both) hanging or on a tall stand will capture a lot of the sound of the orchestra, with closer detail in the strings at the front. Two Omni microphones high on the outer front edges of the orchestra, often called “outriggers”, will pick up more of the outside strings and help to widen the image. Spot microphones in cardioid or wide cardioid could be placed on individual instruments that have solos, on pairs of players, or on groups of players. A spot mic list might commonly look like this: violins 1, violins 2, violas, cellos, double basses, flutes, oboes, clarinets, bassoons, horns (2 to 4 mics), brass (2 to 5 mics), timpani, percussion (2 to 10 mics), piano, celesta, soloist(s). A pair of Omni microphones could be placed or hung higher or further away in the hall to capture more of the hall’s natural reverb and the audience applause.
Note that depending on the acoustics of the space and the purpose of the recording, you could use very different combinations of hanging omni mics or spot mics, and you might need fewer or more microphones. The best is to use your ears and make decisions based on the sound you’re hearing!
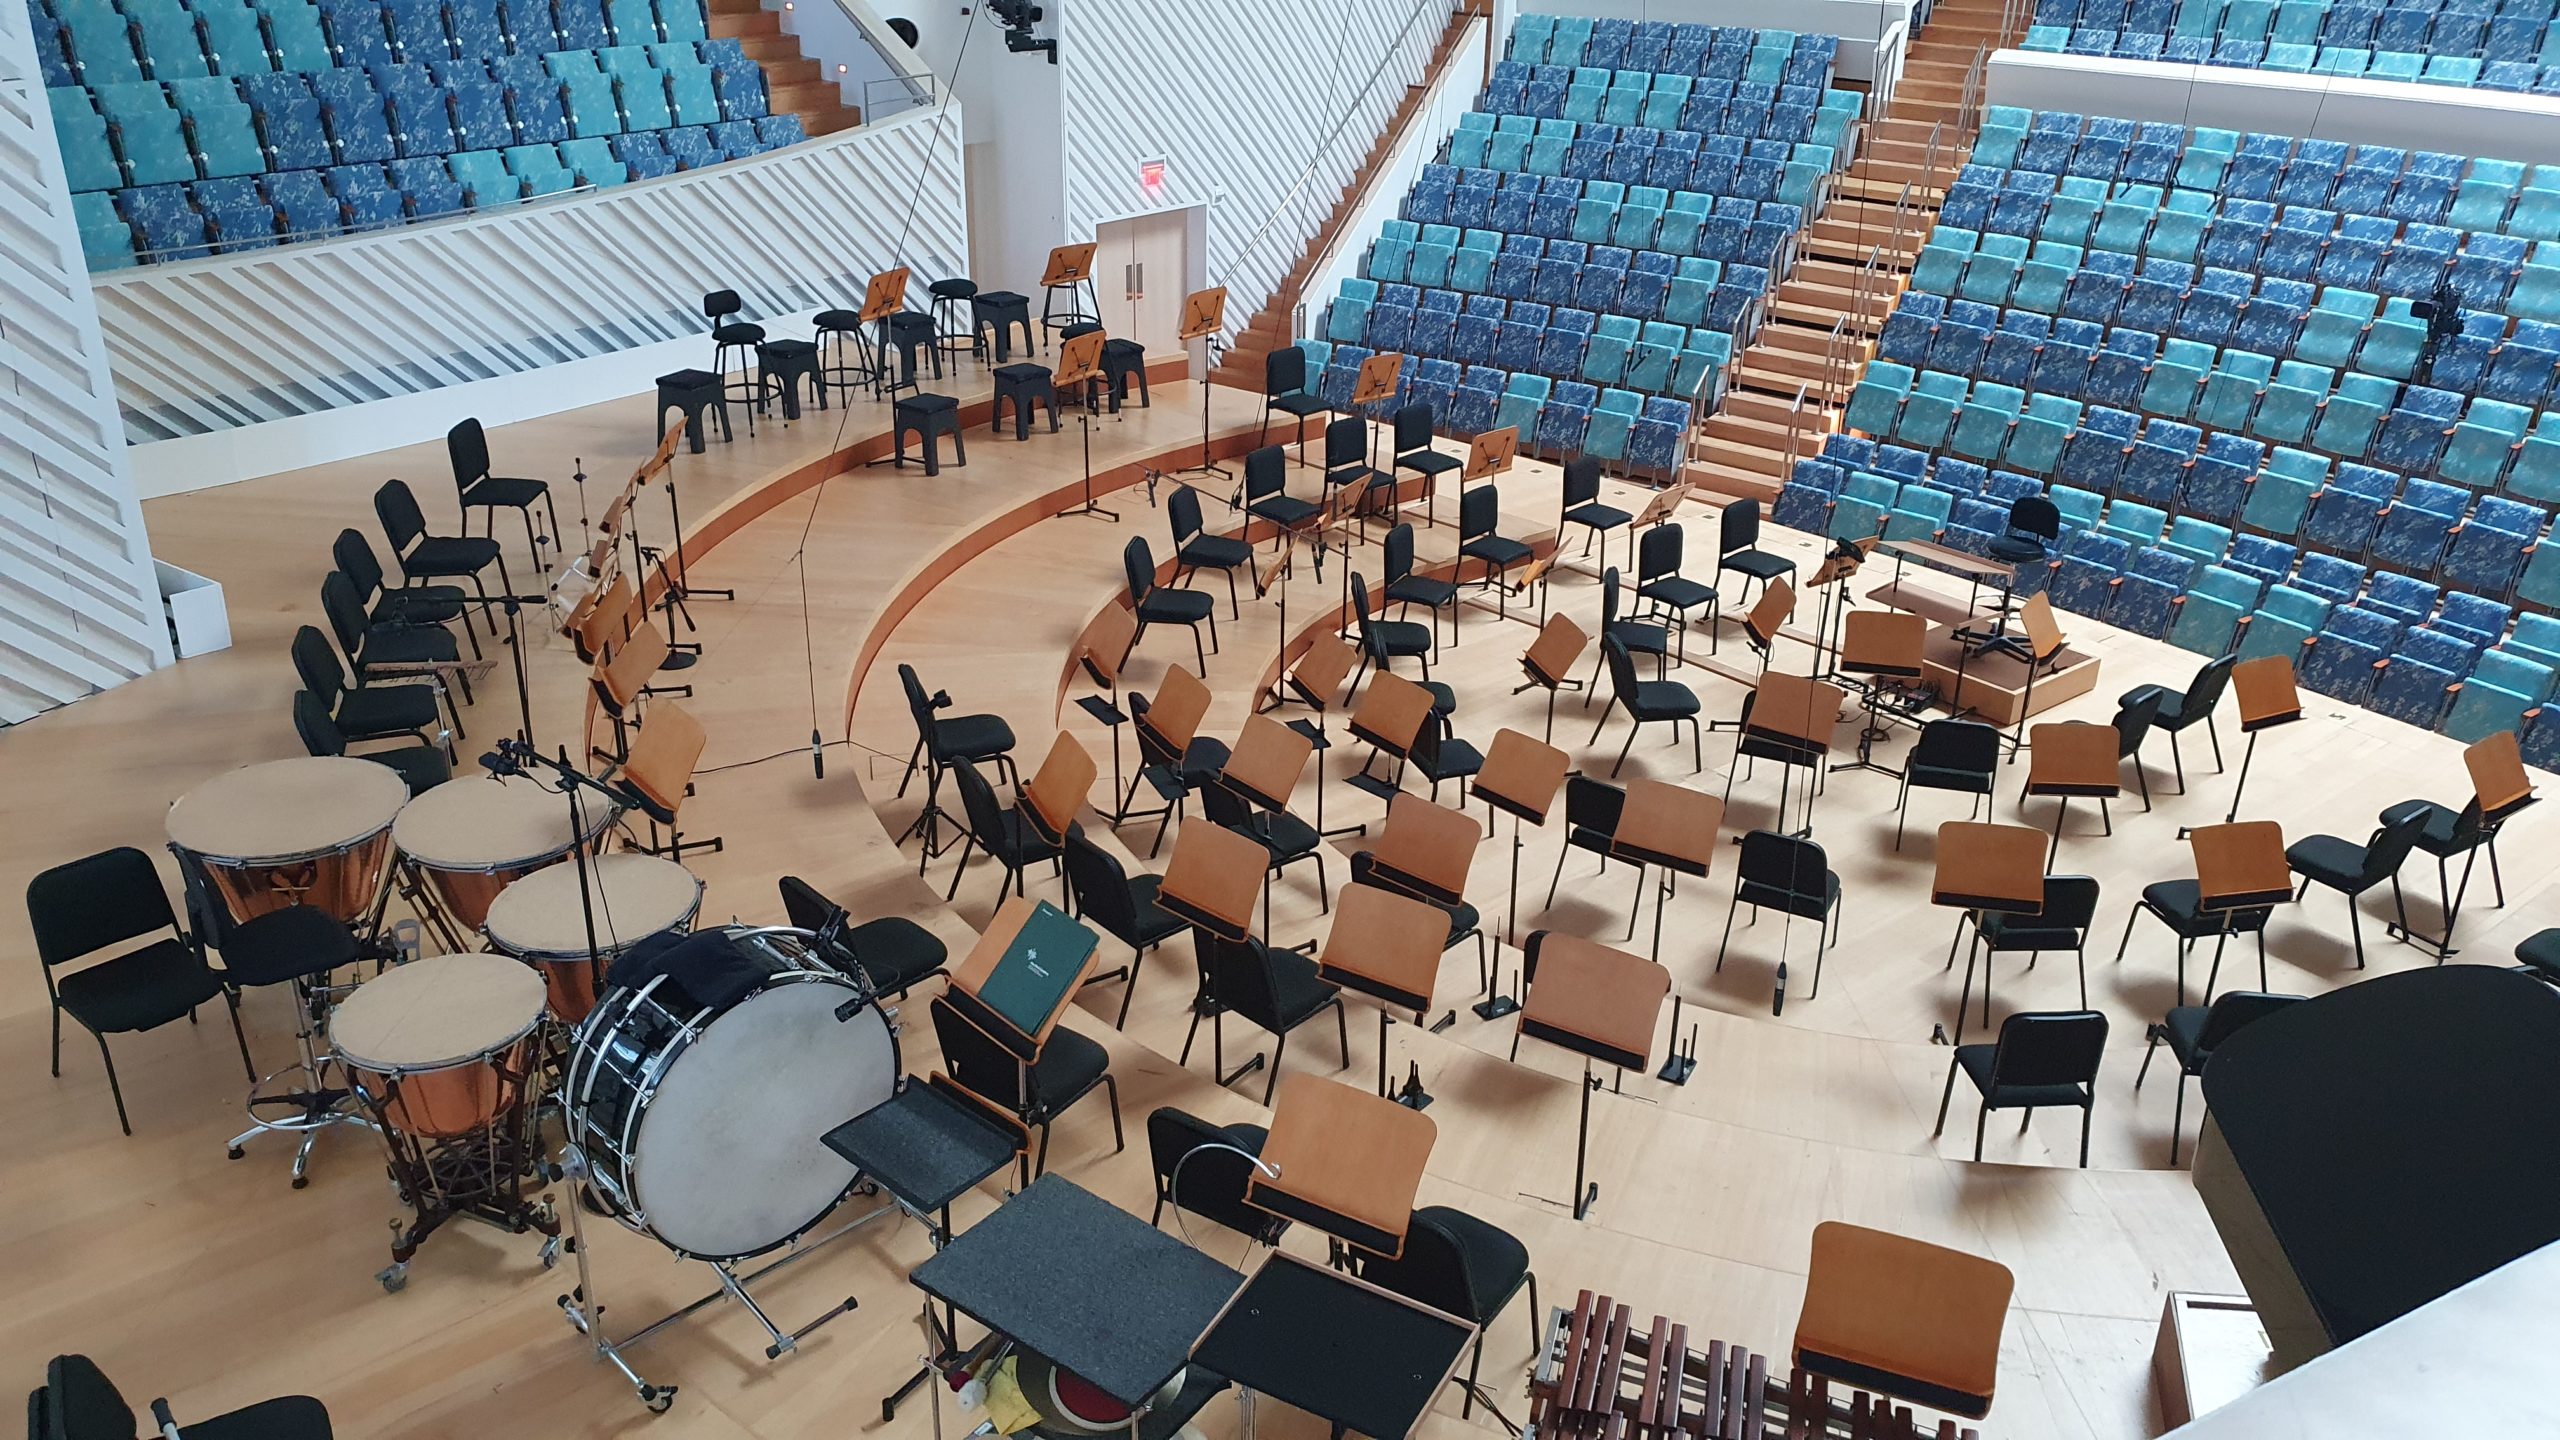
Below are examples of hanging microphones and spot microphones on stands.
Mixing
The purpose of having the main omni set, spot mics, and ambient mics is to create a good balance between the acoustic of the room and the orchestra as a whole, and the closer detailed sound of individual instruments and sections. It’s a good idea to listen to reference recordings of the pieces and to hear a rehearsal of the orchestra beforehand so you can hear the conductor’s balance of the instruments and how it sounds in the space. Compared to mixing other genres, less processing is used as you’re trying to capture and enhance the natural sound and balance of the instruments, and orchestral music has a huge dynamic range. Commonly used processing includes EQ, subtle compression on some mics, a limiter/compressor on the master channel (especially if being a live broadcast and the overall level needs to be raised), and reverb to enhance the natural acoustic. Some reverbs favoured by classical engineers are Bricasti, Nimbus, Altiverb, and Seventh Heaven. Some engineers measure the delay between the spot mics and the main mics and input it into the DAW to time align the signals – you can decide whether this improves the sound or not. If doing a live mix, following the score is useful to anticipate solo parts, melodies, and textures that would be nice to highlight by bringing up the level of those spot mics. A fader controlling all mics could be used to subtly bring up the level in sections that are extremely quiet, especially if for broadcast. If mixing in post-production, automation or clip gain can be used to enhance solos and dynamics.
Surround sound and Atmos mixes are now being explored by many orchestras and audio engineers, often with the addition of specifically placed surround mics or sometimes as “up mixes” using the existing stereo microphone setup.
Editing
Unlike many other genres of music recording, editing a classical recording is done linearly on your timeline, cutting, pasting, and moving all tracks together. For a studio recording, you’ll likely have many takes to piece together. For a concert recording, some orchestras might request that the best parts of several concerts or rehearsals are edited together. Commonly used DAWs for orchestral recording are Pyramix and Sequoia, which have features convenient for large track count recording and editing. Source-destination editing allows you to easily listen to several takes and select the best parts to send to a destination track with a separate timeline, using in and out points. When editing several takes together, it’s important to use crossfades to make edits inaudible, and make sure the tempos (speed), dynamics, and energy of the music match when they are edited together. Some conductors and musicians like to schedule a listening and editing session with the engineer after a first edit has been made, while others like to receive an audio file and send back a list of feedback and suggestions for edit changes.
Further learning
If you’d like to go deeper into orchestral and classical music recording and mixing, a great resource is the book Classical Recording: A Practical Guide in the Decca Tradition. The DPA Mic University website also has useful articles about orchestra and classical instrument recording.
Photos were taken by India Hooi.
