Last month I wrote about the importance of being an artist with a knowledge of what’s going on Behind the Board. This month I am starting a three-month themed blog about the process of recording a four-piece band.
For the first blog, I will be sharing how to pick out mics for (my favorite thing to capture) drums, the second blog will be all about guitars/bass, and the third will be about getting the icing on the cake during a vocal session.
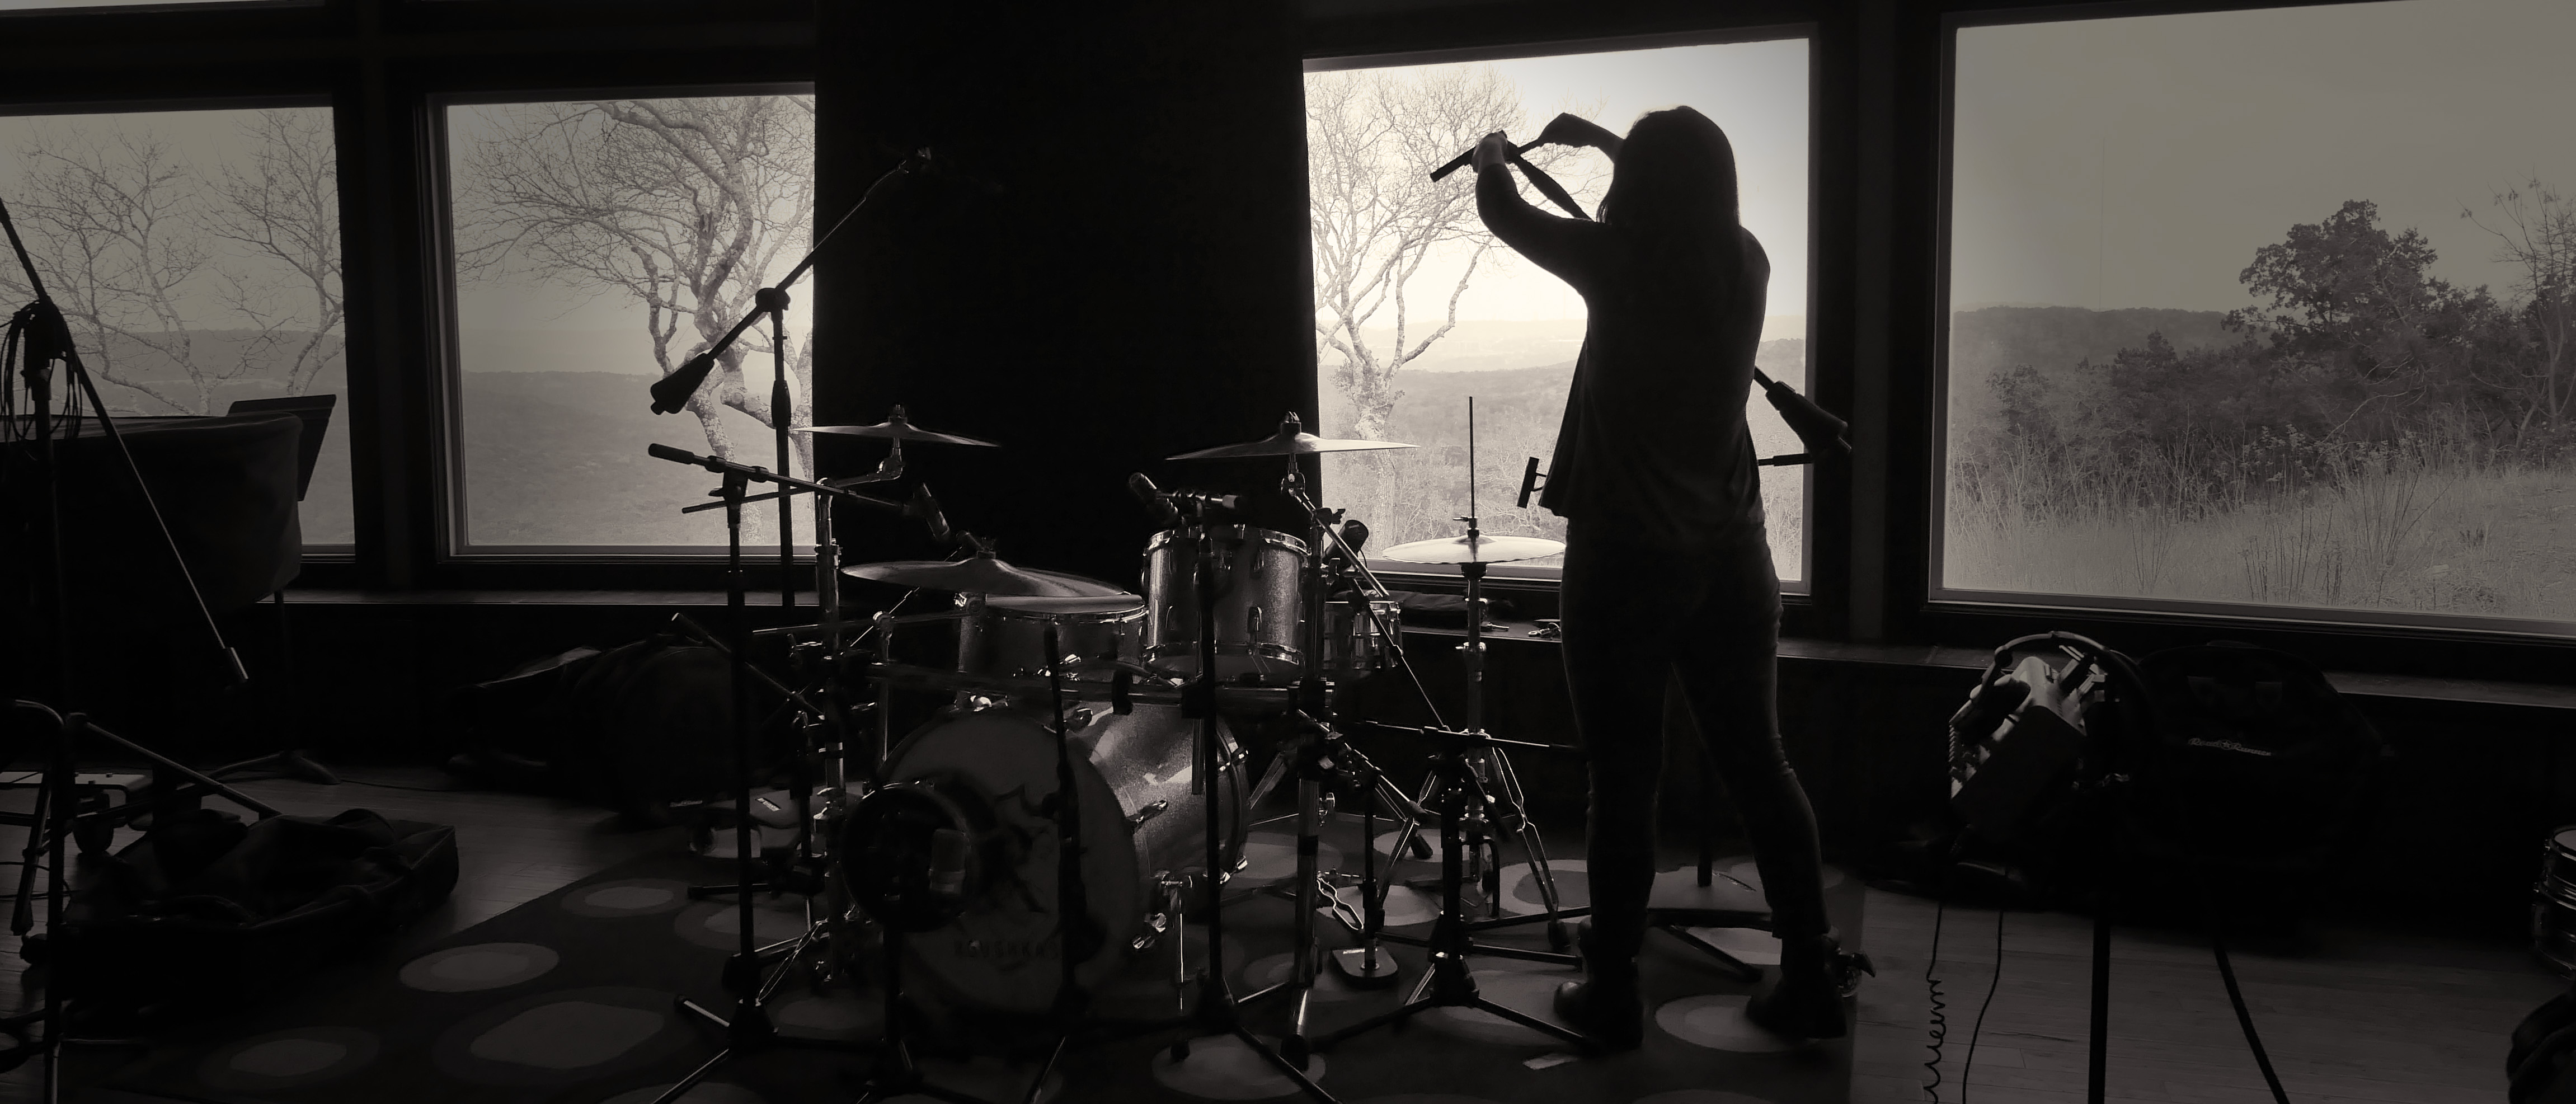
Drums. The base of every song.
The very instrument that I may go as far as to say- determines the vibe of your song. For that very reason, I recommend getting your drums feeling good first. How do you do that you say? There isn’t a “correct” way of doing anything in recording. It’s a creative endeavor. There are NO right or wrong answers. So let me be clear, I am by no means telling you HOW to mic drums. I’m just going through the steps I have taken to get good drum sounds in the past. Of course, over time you will find your own ways to get tones you like as well.
The first step is pre-production. So, let’s assume you have already heard a demo of what you’re client is recording. This way you know how to create a plan of attack for the drum sound in the song. After that, your second step is organization. I always print out a mic sheet with columns for wall inputs, mics, preamps, EQ/compression, and Pro-Tools inputs.
Organization is always crucial when recording, but I would have to say MOST important when recording drums. There are (most of the time) several mics on the kit, some of which may require phantom (48v), some may not. Either way, you don’t want to accidentally send phantom to a microphone that doesn’t need it (aka, ribbons). Now when it comes to picking out mics, you can get VERY creative, so to avoid writing a three-page blog- I’m just going to go over a pretty simple setup, basically my “go-to” for good drums tones.
| Instrument | Mic | Wall Input | Pre-amp | Compressor | Eq | Pro-Tools Input |
| Kick In | D112 | 1 | API 1 | DBX | 1 | |
| Kick Out | Fet47 | 2 | API 2 | 2 | ||
| Snare T | Sm57 | 3 | API 3 | Chandler Little Devil | 3 | |
| Snare B | Km84 | 4 | API 4 | 4 | ||
| Rack Tom | V421 | 5 | Vintech 1 | 5 | ||
| Floor Tom | V421 | 6 | Vintech 2 | 6 | ||
| H.H | SM7B | 7 | TubeTech 1 | 7 | ||
| O.H Hat | Coles | 8 | Gamma 1 (shadow hills) | 8 | ||
| O.H Ride | Coles | 9 | Gamma 2 (shadow hills) | 9 | ||
| Room L | Royer 121 | 10 | UA 610 | Distressor | 10 | |
| Room R | Royer 121 | 11 | UA 610 | Distressor | 11 |
I’m going to go through this mic sheet, and explain why I picked what for each part of the kit:
Kick in: I almost always use a D112. It’s a dynamic microphone that (depending on where you place it) can give you a nice punchy sound on the high end for your kick drum tone
Kick out: I chose a Fet 47. I did this because I’ve found if you place it a few inches back from the kick, it will pick up an excellent fat tone of the drum that fills out the bottom end of the kick very well
Snare top: I’m using an SM57 because this microphone is good at focusing on precisely what it is directed at- the snare. I don’t want to pick up too much of the cymbals that are around this mic, so any kind of dynamic microphone is almost always a good choice. Some people use crash guards. I recommend messing around with one, so you can see the difference it makes in how your snare sounds, and the overall effect it takes on the sound of the kit. The snare top is the only piece of the kit I used an outboard EQ on. I used the Little Devil EQ because I always, ALWAYS want to have a great fundamental and crack on the snare from the very beginning of recording the drums.
Snare Bottom: I like to keep it simple with an SM57
Toms: I am fortunate enough to work out of a studio that has a vintage 421. On this mic sheet, I chose to use the vintage 421s on the rack and the floor, because in a perfect world- that’s what I would do! I chose the Vintechs for the toms because I want them to have a nice, clean tone. I’m not looking to add any color to the toms during tracking
High-hat: I am using an SM7B with the filter off. I chose this mic because I want a nice crisp tone for the high-hat. I am running this through the TubeTech, so that crisp tone is smoothed out by the tubes in this preamp
Overheads: I chose to use Coles. I love the Coles. They have this beautiful, dark sound to them that tends to smooth everything out in the BEST way. I ran these mics through the Shadow Hills to continue getting a warm tone for the overall image of the kit
Rooms: I chose the Royer 121. These are fantastic ribbon microphones. Like the Coles, they can also be a tad dark, but as a room mic on a drum kit- it’s quite lovely.
The bullet points you just read were mostly about why I picked each mic. These next bullet points will be about placement for these mics.
Kick in: I aim the kick mic inside the sound hole (if there is one), and go about halfway inside of the drum
Kick out: I mentioned previously I like to put the kick out a couple of inches away from the kick, so I can get that nice fat kick tone I am looking for to fill the bottom end
Snare top/snare bottom: when mic-ing a snare, you have to use your ears to find the correct placement. I can’t tell you exactly what to do because it’ll always be different for that very reason. What I can say is when you find that perfect spot, make sure you have good phase between your two snare mics after you’ve finished picking their positions
Toms: basically what I said about positioning the snare mics.
High-hat: I usually position this mic a couple of inches away from the center of the bell. The middle of from where the bell starts and the edge of the cymbal is a good spot
Overheads: Overheads aren’t as tricky as they may seem! The trick with overheads is finding good phase. What I do to get good phase is first I place the mics. I place the left mic above the snare and point it down at the snare. Now with the other mic, I just aim it a little past the drummers ride cymbal and point it down. Once the mics are roughly placed, I like to grab a mic cable, place one end on the middle of the snare, stretch it to the middle of one mic and then to the other. This is to check and see if they are both equal distances from the snare drum (because, phase).
Rooms: Room mics are where you can get creative. Sometimes I do a mono room; sometimes I’ll do a stereo room. In this case, I chose to do a stereo pair for the room. I like to place my room mics relatively high and a hefty few feet back from the kit
Like I said before, all of this is just my version of the basics of mic-ing a kit. There are no right or wrong ways. You don’t always have to have good phase. You don’t always have to use a dynamic mic on the snare. If it sounds good, hey- IT SOUNDS GOOD. Always trust your ear. Follow where your creativity flows. With that being said, I hope you enjoyed this month’s blog post. I had fun writing it. Feel free to use this mic setup or something similar next time you are recording drums, and if you want to send me your results- please do.