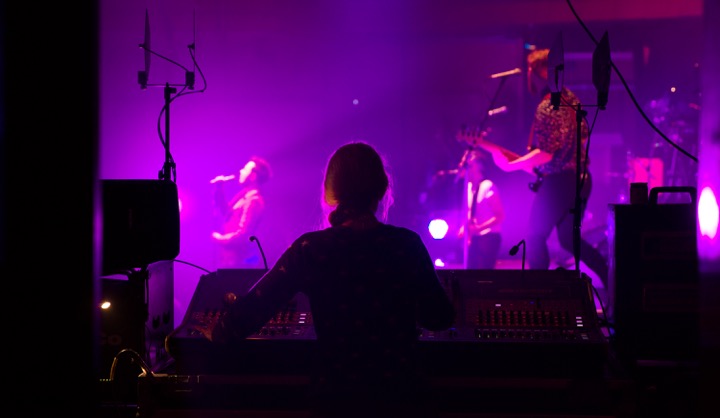
As a new monitor engineer, it can feel intimidating when the band turns up in front of you for the first time. Here’s a bunch of people who probably all know each other, who might be considerably older than you, and who all seem super-chilled and confident. And here’s you, about to play a major part in how they experience their gig, probably not knowing any of them and maybe feeling a little nervous. I’ve worked with a lot of different musicians in my 20+ years in the business, and in that time I’ve refined an ‘order of proceedings’ that has never let me down. Like so many things in live production, it mostly boils down to preparation, common sense and being methodical, and I’d like to share it with you in this two-part post.
This month we’ll look at the foundations you need to lay BEFORE you set eyes on your musos, and next month I’ll talk about how to proceed once you’re all in a room together and it’s time to make some noise. If you’re new to live work this should give you a good guide to getting started – and if you’ve been around the block a few times, I hope you’ll still find something of use here!
Step 1 – Get in Touch
So you’ve got a new gig – congratulations! Whilst it might be weeks or even months away, the work begins now – you need to get in touch with the people who can tell you the details. Depending on the scale of the show, that’s either the production manager, tour manager, PA company project manager, musical director or a member of the band. Good things to ask at this stage are the ‘W-H’ questions – who, what, where, when, how.
– Where do you need to be and when?
– Do you get to spec what gear you’d like, or are you using in-house?
– Where’s the gear coming from?
– How much prep / programming time is there, if any?
– How many people are in the band?
– What inputs are there?
– Do the band want in-ears, wedges, or a combination?
– Who’s mixing front of house?
And so on. Talking to the FOH engineer is a great idea at this stage – if they’re already working with the band, you can get most of the information you need about the stage set-up from them. If they’re new too, you can put your heads together and figure it out as a team. You need to think about what gear you want to use, and having one or two alternatives is a good idea – for example, I’ll always prefer a Digico, but a Yamaha PM5D is my second choice because you can get them anywhere in the world and they’re pretty much bomb-proof. And whilst I’d LIKE an SD7, I have to be sensible about budgets for artists with less money to spend – will an SD8, 9 or 10 do the job instead? For mics, I have my preferences but I’ll usually defer to the FOH engineer unless I feel strongly about something, because they have to cope with a far less controlled environment than I do.
Step 2 – Collate your info
When you have answers to your questions, start to get your paperwork together. It’s the dullest part of any gig, but being professional means being organised, and I promise you’ll thank yourself for it later! So make an input/output list if one doesn’t already exist, likewise a stage plot and spec (especially if you’re going places where you’re using local equipment) – Word and Excel are your friends. If you’re not sure what that all looks like, here are some examples:
Example AUDIO RIDER – July 2016
Soundgirls Stage plot example 2016
Be very clear and use the simplest, least ‘wordy’ language you can, especially if you’re going overseas. Think about little things like batteries – how many do you need per show? What about console software versions, which version will you be running? Don’t be shy about spec’ing things that might seem obvious, like comms and shout systems – the best gig in the world will fall over if you can’t communicate, and assumption is the mother of all f*** ups!
If there’s not much prep time, it’s a good idea to make yourself a template session file for your desk using the relevant offline editing software. Even if you just label and patch your inputs and outputs, punch in high pass filters, and set up some basic reverbs, it’s all-time saved on the day.
Step 3 – Share your info
Send your paperwork to the relevant people – FOH engineers, supply companies, production managers, house engineers (if you’re doing festivals for example). You need to know if there’s anything that can’t be supplied, any problems – it’s better to know now than find out later. Send that session file to the supply company or house engineer so they can load it up and linecheck the system. Print out a couple of copies of all the paperwork and have your session on a USB key. Get your toolkit together – if I’m doing a fly-gig where I can’t have my whole kit, I take a mini-kit with things I know I’ll need – black and white electrical tape, Sharpies, scissors, a Leatherman, RF scanner, multimeter, my in-ears, wipes and so on. If you’re prepping your gear, label everything to within an inch of its life – the simpler you can make things to set up, the quicker it will be – and labelling is priceless when things go wrong and you need to fault-find in a hurry.
Once you’ve done all that, you’re in good shape to load in and make some noise! Next month I’ll talk you through how I run things for soundchecking and getting the band’s mixes dialled in. Happy gigging!
