“Can I get some (more) reverb on my vocals, please?”
If I had a dollar for every time I’ve been asked that, I’d have… a lot of money. Reverb is one of the most-used audio effects, and with good reason, since natural reverb defines our perception of everyday sound. In fact, we are so used to hearing it that completely dry sounds can seem strange and jarring. It’s no wonder that everyone wants a bit of reverb on their vocals.
What we perceive as reverb is a combination of two things, called early reflections and late reflections. Early reflections are the first reflections of the source sound that make it back to our ear; they are the reflections that travel out, reflect off of something once, and head back. Late reflections are the reflections that spend time bouncing off of multiple surfaces before returning to our ear. Because we experience such a large number of reflections arriving at our ears so closely together, we do not hear them as an individual, echoed copies – instead, we get the smooth sound of reverberation.
Analog Reverb
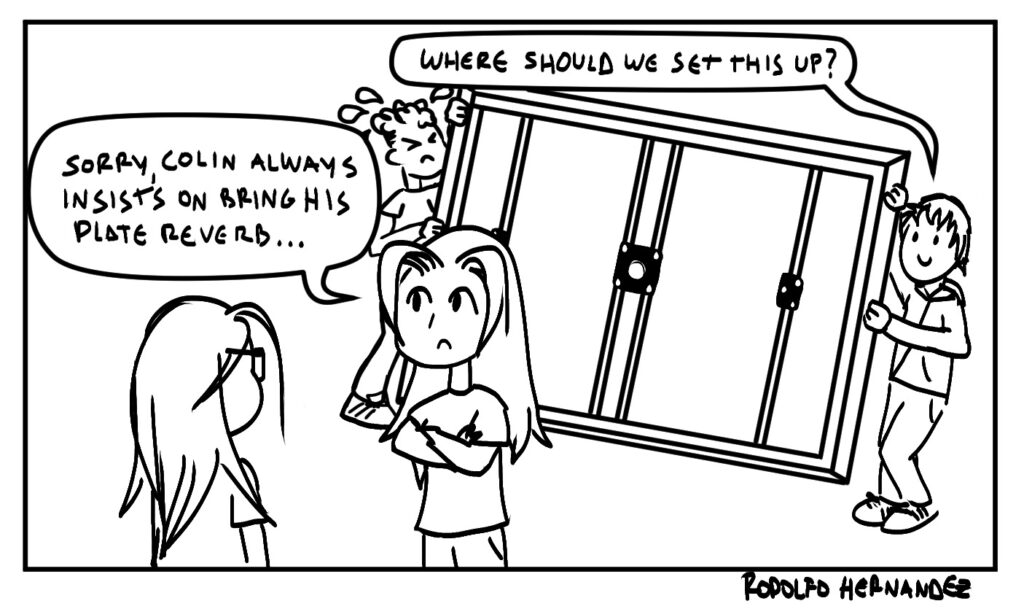
There are two main types of mechanical reverb systems: plate and spring. Plate reverb was one of the first to come along. It revolves around the suspension of a large, suspended steel plate, roughly 4×8 feet, in a frame with a speaker driver at one end and a microphone at the other. When the speaker driver vibrates the plate, the vibrations travel through the plate to the microphone, mimicking the way soundwaves travel through air. The tightness of the plate controls the amount of delay – the tighter the plate, the longer the decay, as the energy of the vibrations takes longer to be absorbed. Additionally, dampers may be used to press against the plate and fine-tune the amount of delay. Of course, the unwieldy size and design of plate reverb present some pretty significant logistical challenges. Aside from the amount of space needed, its microphone-based design means that any external noise is easily picked up, so keeping the units away and isolated from any noise is also essential. For these reasons, its use was relegated almost exclusively in studios. A famous example of plate reverb is the Pink Floyd album Dark Side of the Moon – plate reverb (specifically the EMT-140) is the only reverb used on that album.
Spring reverb, developed a little later, is much smaller, more portable, and what you will find built into most amplifiers today. Unlike plate reverb, it relies on electrical signals and does not need any speakers or microphones to function. Like plate reverb, it relies on creating vibrations but does this by sandwiching a spring between a transducer and pickup. The transducer is used to create a vibration within the spring, which the pickup then converts into signal. Spring gained popularity as the defining sound of surf music, where you will find it used in copious amounts – any Dick Dale record, for example, is a good way to get familiar with how it sounds.
Digital Reverb
Like analog reverb, digital reverb can also be divided into two main categories: algorithmic and convolution. Most digital reverbs are algorithmic reverbs. Algorithmic reverbs require less processing power than their convolution-based reverb counterparts, and most of the pre-stocked reverb plugins you’ll find in your DAW will fall into this category. Algorithmic reverbs work by using delays and feedback loops on the samples of your audio file to mimic the early and late reflections that make up analog reverb, creating and defining the sound of a hypothetical room based on the parameters that you set. The early reflection component is created by sending the dry signal through several delay lines, which result in closely spaced copies of the original signal. Late reflections are then created by taking the already-generated early reflections and feeding them back through the algorithm repeatedly, re-applying the hypothetical room’s tonal qualities and resulting in additional delays.
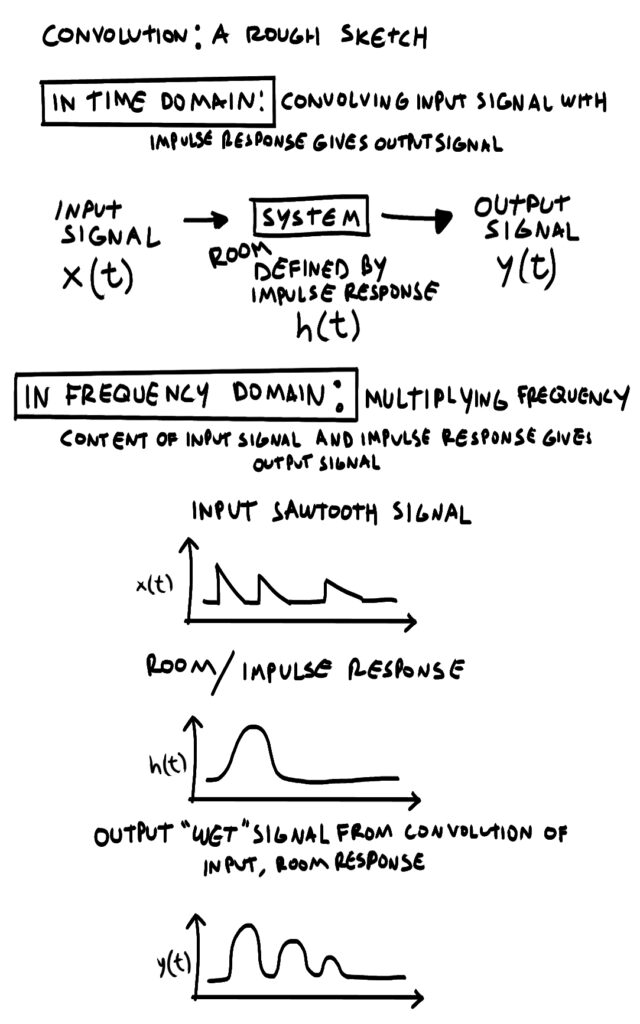
Convolution is the more complex method of creating digital reverb. It involves capturing the characteristics of physical space, defining a mathematical function called an impulse response that can apply that space’s characteristic response to any input signal and doing an operation called convolution to get the (wet) output. Essentially, you are using a mathematical model to define the reflective properties of a physical room and imprinting that room’s unique signature onto your digital sample. The entire process is based on the measurement of a room’s response to what is called an impulse, an acoustic trigger meant to engage the acoustics of the room. These are usually atonal sounds, such as a white noise blast or sine sweep. Microphones are used to register both the trigger sound and the resulting acoustic response. This audio is then fed into a convolution processor, which separates out the triggering sound and defines the room’s impulse response. With the impulse response obtained, the convolution processor can now use convolution to apply that room’s response to any input signal it receives, essentially multiplying the frequency spectra of the input signal and impulse response together and coloring the output sound with the harmonics and timbre of the impulse response. The end result is a signal that is a convincing model of the input sound being played in the space the impulse response defines.
The versatility of digital reverb means that the sound of just about every space you could want, real or imagined, is at your disposal. If used well, it can add completely new dimensions to your mixes or create wild effects. Just be careful not to wash yourself away in the process.


