While pop music isn’t necessarily my go-to listening choice, it’s ever-present as an underlying soundtrack to our lives, marking the milestones we’re often unaware of until they’ve passed. Sometimes it’s not necessarily the music, but the personal stories that mark these moments. This is apparent when following the unfolding legal battle of Britney Spears, which in a nutshell has been an eye-opening story of the exploitation and suffering of a woman who at almost 40 years old, is under the control of her previously alcoholic, absent father.
Reflecting back on her public 2007 breakdown, I remember how I couldn’t have hummed any of her recent tracks, but her freshly shaven head was looking at me from every shelf in every shop, from trashy mag to ‘newsworthy’ rag. The world laughed and reveled in watching the downfall of a young, successful woman who was most likely battling post-partum depression at the very least. After years of media hounding and criticism for everything the pop star did, it seems unsurprising that she eventually snapped while in the middle of a divorce and custody battle over her children – stressful prospects on their own for anyone.
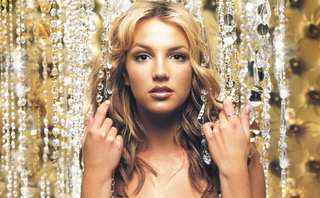
Perhaps it’s worth going back to 1998, when Spears first shot to fame as a pop singer with the single Baby One More Time, wearing pigtails and a revealing school uniform in the music video, while she was still legally a child. I find this problematic for so many reasons, but it’s particularly notable as for the last 20+ years this woman has been both infantilized and sexualized in tandem at every opportunity – a truly toxic combination that has been used to weaponize almost everything against her since the start.
Coming back to the current situation, Britney Spears is challenging the conservatorship that gives her father, Jamie Spears control over her life. So what does that mean?
 Merriam-Webster’s definition of ‘conservator’ is given as: “A person, official, or institution designed to take over and protect the interests of an incompetent.” In its most usual context, a conservatorship is generally implemented as a means to care for vulnerable, often elderly people to prevent them from being conned or taken advantage of. It is also used to protect those who may be a danger to themselves in terms of forgetting or neglecting their own self-care.
Britney was placed under conservatorship in 2008, and this was initially supposed to be temporary, however, it was extended indefinitely later that year, and has now been in place for 13 years. At the start, she was given a court-appointed lawyer who she was unable to choose herself. To cancel this arrangement, a petition to terminate the conservatorship needs to be filed by the person in question (the conservatee), which Spears claims she was not told until recently. This is where we currently are, observing Britney’s attempts to remove her father’s control. As such, she is currently paying the legal costs for both sides in the case.
Obviously, as members of the public looking in, it’s impossible to know the whole truth of the situation, however, what we do know is that Britney has worked consistently through this time, including a four-year residency in Vegas, which is no mean feat. Knowing this, the question has to be asked: which is it – is she incapable or not? If she’s incapable, then how on earth can she be trusted to work a demanding residency for four years? Is this what ‘an incompetent’ looks like? And if this is how one of the most famous, high-earning, and successful women in pop music gets treated, then what is the treatment of others likely to be? How do women get treated when they have a lot less privilege, or face similar cases of ‘he said, she said’?
In court transcripts from June made by the singer, Spears explained that she has no say in making decisions about her own body – she has been placed on birth control and under the influence of extremely strong drugs without her consent:
“I want to be able to get married and have a baby. I was told right now in the conservatorship I am not able to get married and have a baby. I have an [IUD] inside of myself right now so I don’t get pregnant… but this so-called team won’t let me go to the doctor to take it out because they don’t want me to have children. So basically, this conservatorship is doing me way more harm than good. Lithium is a very, very strong and completely different medication compared to what I was used to. You can go mentally impaired if you take too much if you stay on it longer than five months.”
Spears also addressed the financial elements of the arrangement whereby she is refused access to her own money. Court documents confirmed that the singer was given a weekly allowance of $2,000, and her father Jamie earned $16,000 per month in addition to his office expenses and additional percentages of her income. She explained:
“I shouldn’t be in a conservatorship if I can work and provide money [for] other people. It makes no sense whatsoever for the state of California to sit back and literally watch me with their own two eyes, make a living for so many people, and pay so many people, [taking] trucks and buses on the road with me and be told, I’m not good enough. But I’m great at what I do. And I allow these people to control what I do, ma’am. And it’s enough. It makes no sense at all.”
Britney has also gone on the record saying that she had never wanted her father to become involved and that he “loved the control to hurt his own daughter” and worked her hard, punishing her if she didn’t follow his orders. She explained the complete lack of control over her own career, saying:
“My management said if I don’t do this tour, I will have to find an attorney, and by contract, my own management could sue me if I didn’t follow through with the tour, it was very threatening and scary. And with the conservatorship, I couldn’t even get my own attorney. So out of fear, I went ahead and I did the tour.”
While these elements of her lack of autonomy have shocked the world, there are also small things Spears is asking for that highlight just how tightly controlled she is – Britney wants to be able to visit nearby friends alone, pop out to the nail salon, and head out with her boyfriend in his car. She is not currently allowed to do any of these things.
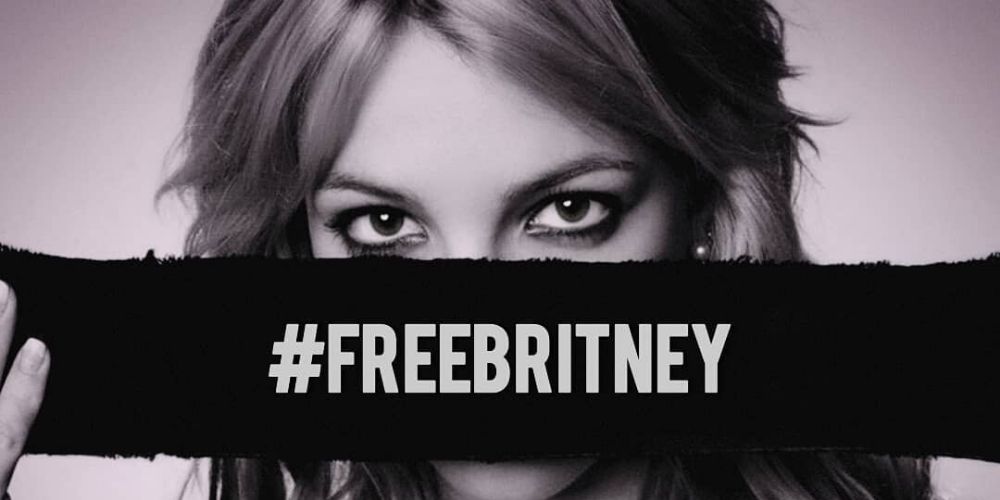
The 2021 New York Times documentary Framing Britney Spears has raised awareness and backed the #FreeBritney movement which has gained momentum as more news has come to light. It’s interesting that following the documentary’s release and the June hearing which has attracted attention, Spears’ lawyer Samuel D Ingham III has stepped down along with her manager Larry Rudolph. Ingham had previously received $373,000 in 2019 in this role. Additionally, Spears’ financial management firm the Bessemer Trust has requested to resign in recent weeks.
 The documentary not only explains the facts of the current legal battle in an easily understandable manner, but additionally outlines just how sickeningly well-oiled the misogyny media machine is, and how quickly it can turn on women such as Spears. The film also raises some important questions about how we treat those going through mental health struggles, how we continue to treat women in general, and moreover, how those in positions of authority in the legal system can take the word of an alcoholic, absent father over that of a successful, adult woman.
While there’s a glimmer of hope in the present climate as we reflect on what should now be seen as outdated and unacceptable behavior from a bygone era, we must address that there is still work to be done when it comes to how we value mental health, ensuring financial and bodily autonomy for all, and lastly, we desperately need to start actually listening to women, especially those who ask for help. The next hearing in the Britney Spears case is scheduled for 14 July.