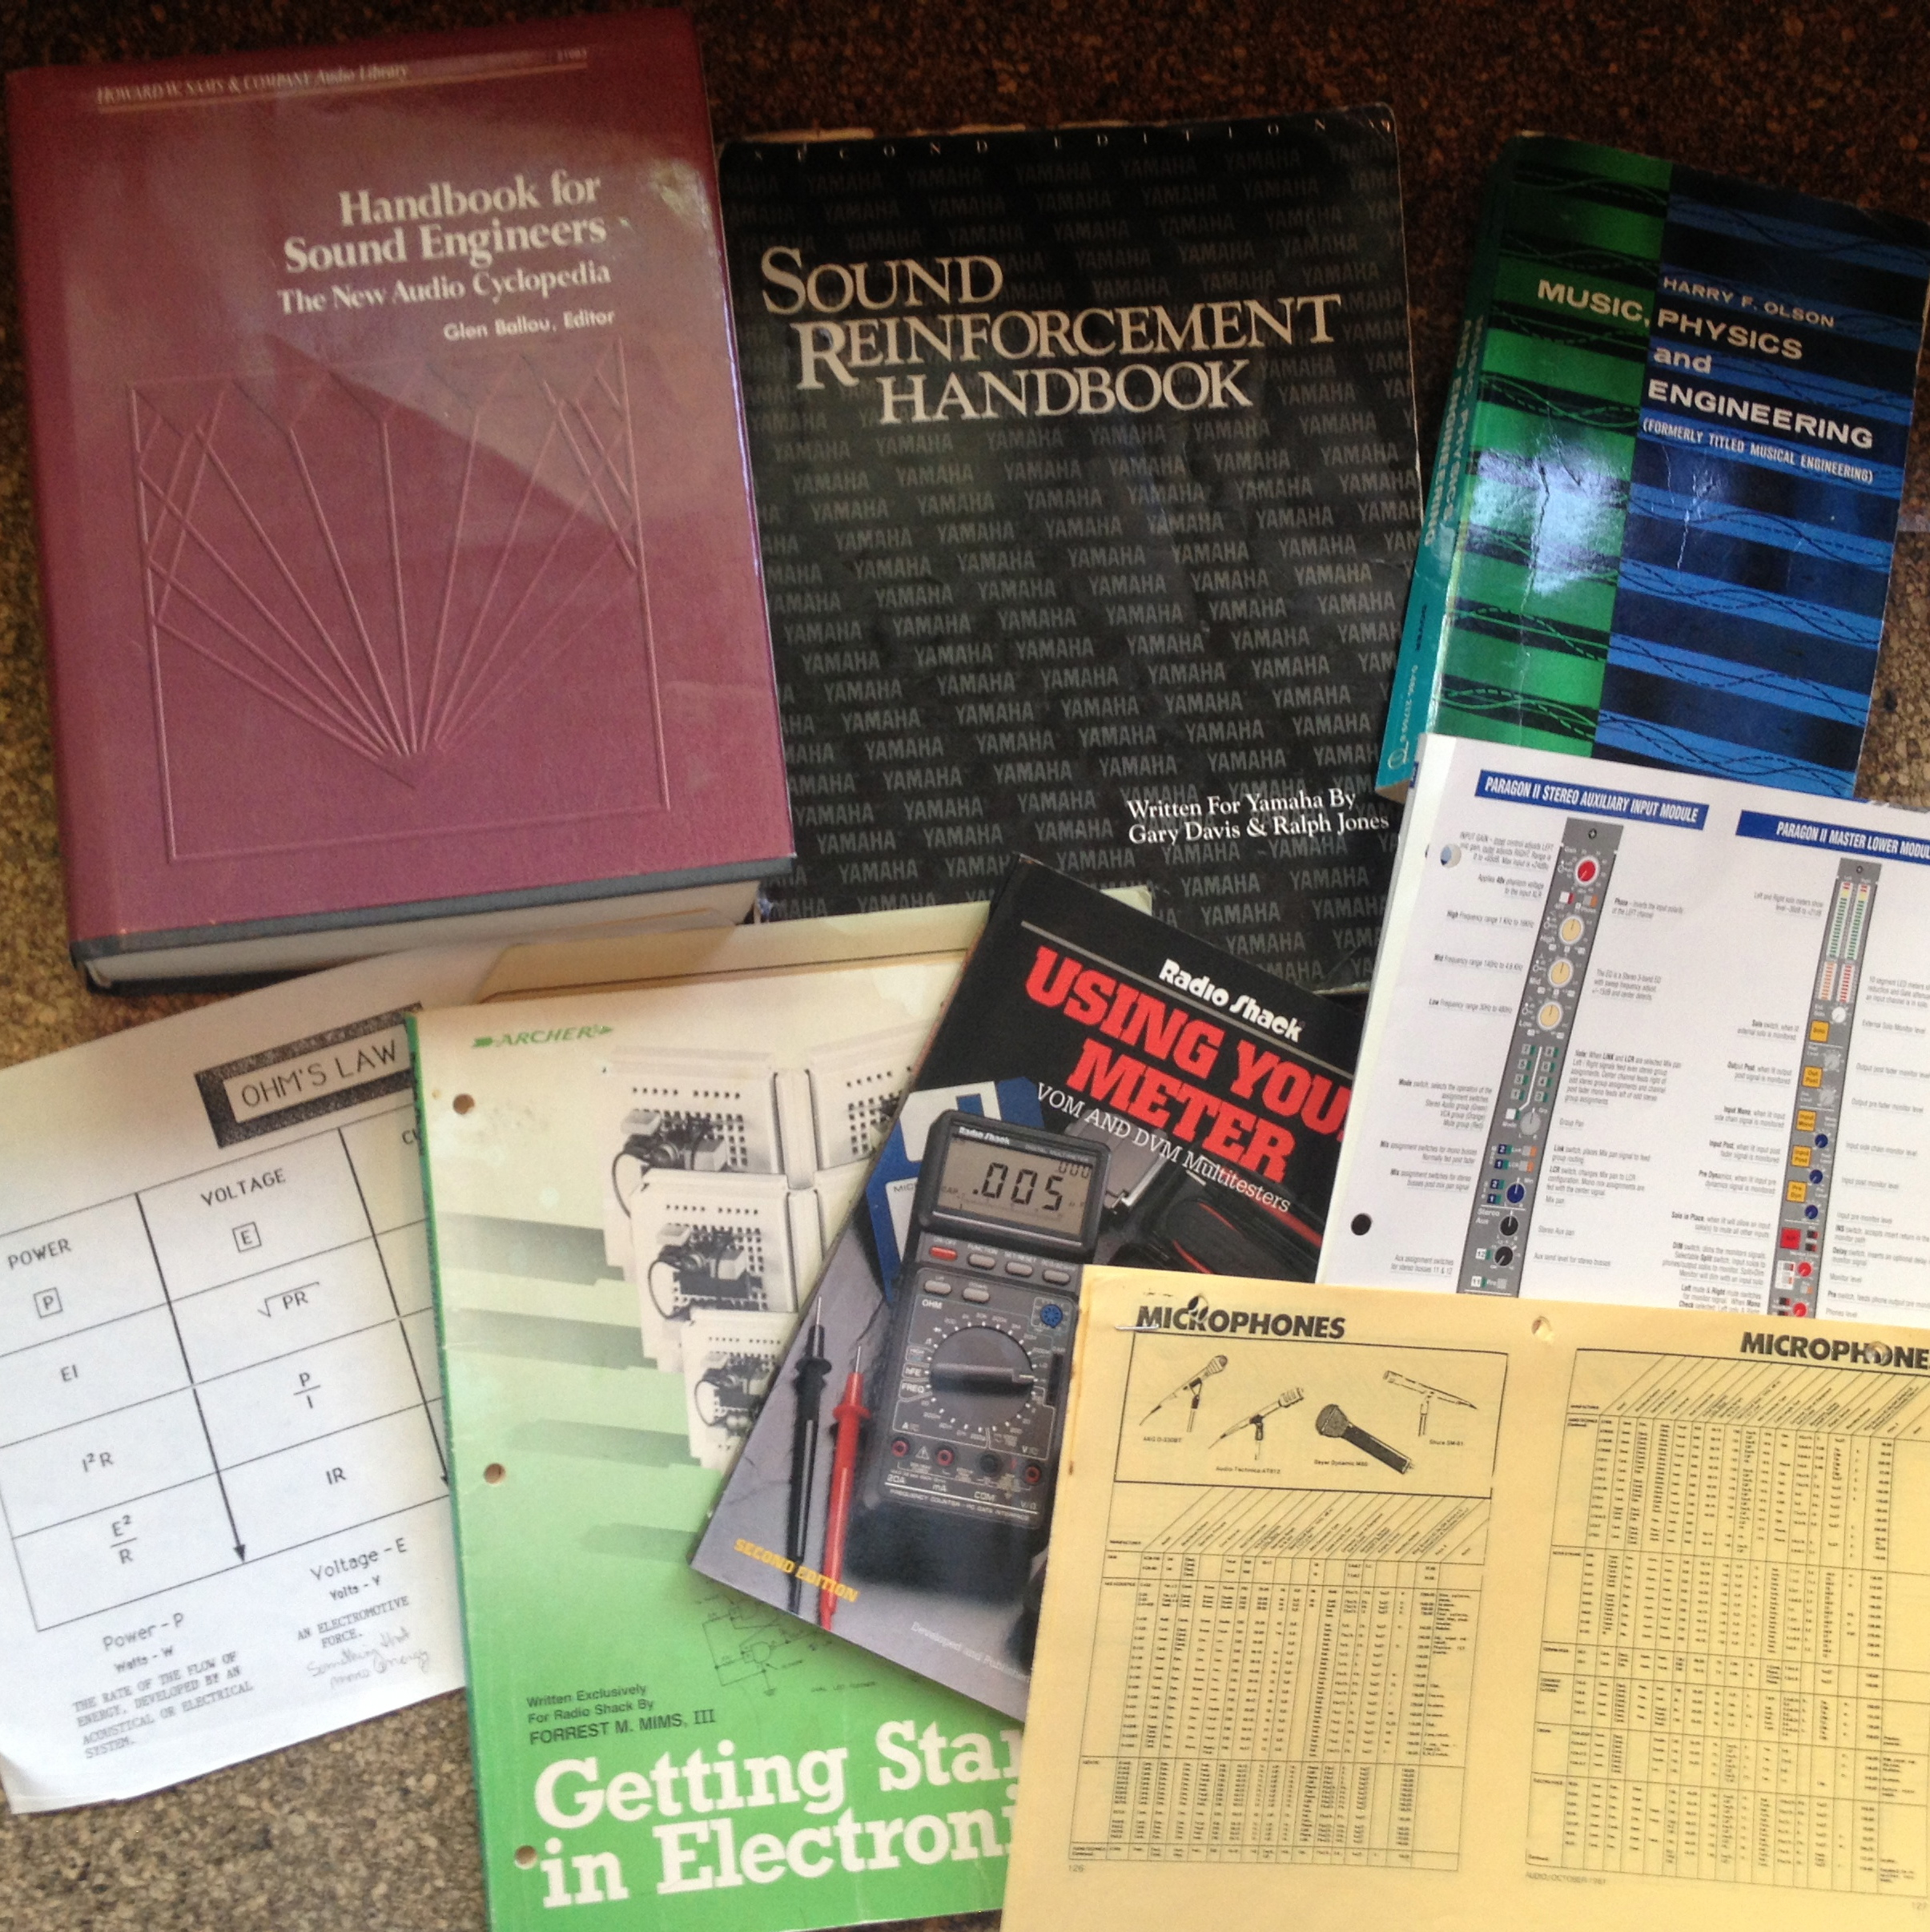
So you’re just starting out in Live Sound. You probably feel a little overwhelmed with the amount of information out there; Amplifiers, System Processing, Consoles, Speakers, Plug-Ins, in-ear monitors, wireless, microphones, technical specs, electronics, power, Ohm’s Law, and more. Where do you start?
First, take a deep breath and relax. You don’t need to know everything, but there are some basics that will help. If you have a formal education in audio, you’ll likely already know the fundamentals, but what about if you are learning on your own?
I’m going to assume that you already know the difference between an XLR and ¼” or jack cable and you know how to properly coil one, as well as basic terminology.
Here is a list of some important concepts that every sound engineer should fully comprehend.
- Signal Flow
- Proper Gain Structure
- Frequencies and Basic EQ Technique
- Microphones and Mic Placement
- Basic Troubleshooting
There are many more topics that could and should be on this list; this is just a start. I’m not going to go into much detail as there are plenty of resources available to learn more.
For starters:
Two of the most important things a sound engineer should know are SIGNAL FLOW and PROPER GAIN STRUCTURE. I cannot stress this enough. You may be a whiz on Pro Tools, have every plug-in under the sun, and know your way around the latest greatest digital console on the market, but if you don’t understand these two concepts it won’t matter how many awesome plug-ins you have or if you have the best gear on the planet, your mix will suffer and when something goes wrong you won’t have a clue where to begin to fix it.
Signal Flow
In essence, signal flow is the path the signal travels from the source to your ears. Well, at least until it becomes an audible signal coming out of the Sound System. Starting with the output of the source; an instrument, amp, vocal, or other, it’s got a long way to go until it gets out of the PA. Why do you need to know this? Well for starters because it will allow you to properly gain stage your input, prevent feedback, understand the routing of your console and any outboard gear, and it is invaluable in troubleshooting.
Knowing the location and function of every knob, button, fader on a Profile means nothing when you are standing behind a Midas Pro 2, or Soundcraft Vi3000. Knowing signal flow, on the other hand, will give you more confidence in operating an unfamiliar console.
If you have access to an analog console, it makes the concept of signal flow a lot easier to understand. The linear nature of an analog channel strip presents it very clearly while digital consoles tend to offer more options for the routing of the signal.
Signal Flow has some variables, but when you understand the concept and how to read a block diagram to see the signal path through a console it’s simple to grasp. Here are just a few good tutorials on signal flow:
Gain Structure and Gain Staging
The two terms are often used interchangeably. For the sake of this blog, I will use Gain Staging to refer to setting up the sound system and Gain Structure for setting proper gain in the console.
Proper gain structure is not just turning it up until it’s in the red. Proper gain structure will allow you to achieve optimum signal-to-noise ratio and minimum distortion. It also lets you operate faders, and other bus sends at useable levels. Gain staging occurs at many places in the sound system- between the console, signal processing, amplifiers, inside the console itself and from the various sources coming from the stage. Both are essential for getting the most out of your system, optimal headroom, and the best possible clean, undistorted sound.
Ignoring the concept of proper gain structure and gain staging can cause distortion, blown speakers, overheated amplifiers, an elevated noise floor, and poor quality sound. You may find yourself having to run your master output fader much below zero or any of your input faders out of the optimum range of nominal position as well as other problems. Below are a few useful links with more information on proper gain structure and gain staging.
Setting Sound System And Mixing Console Gain Staging- By Bruce Bartlett
Setting Gain with PFL
System Gain Staging
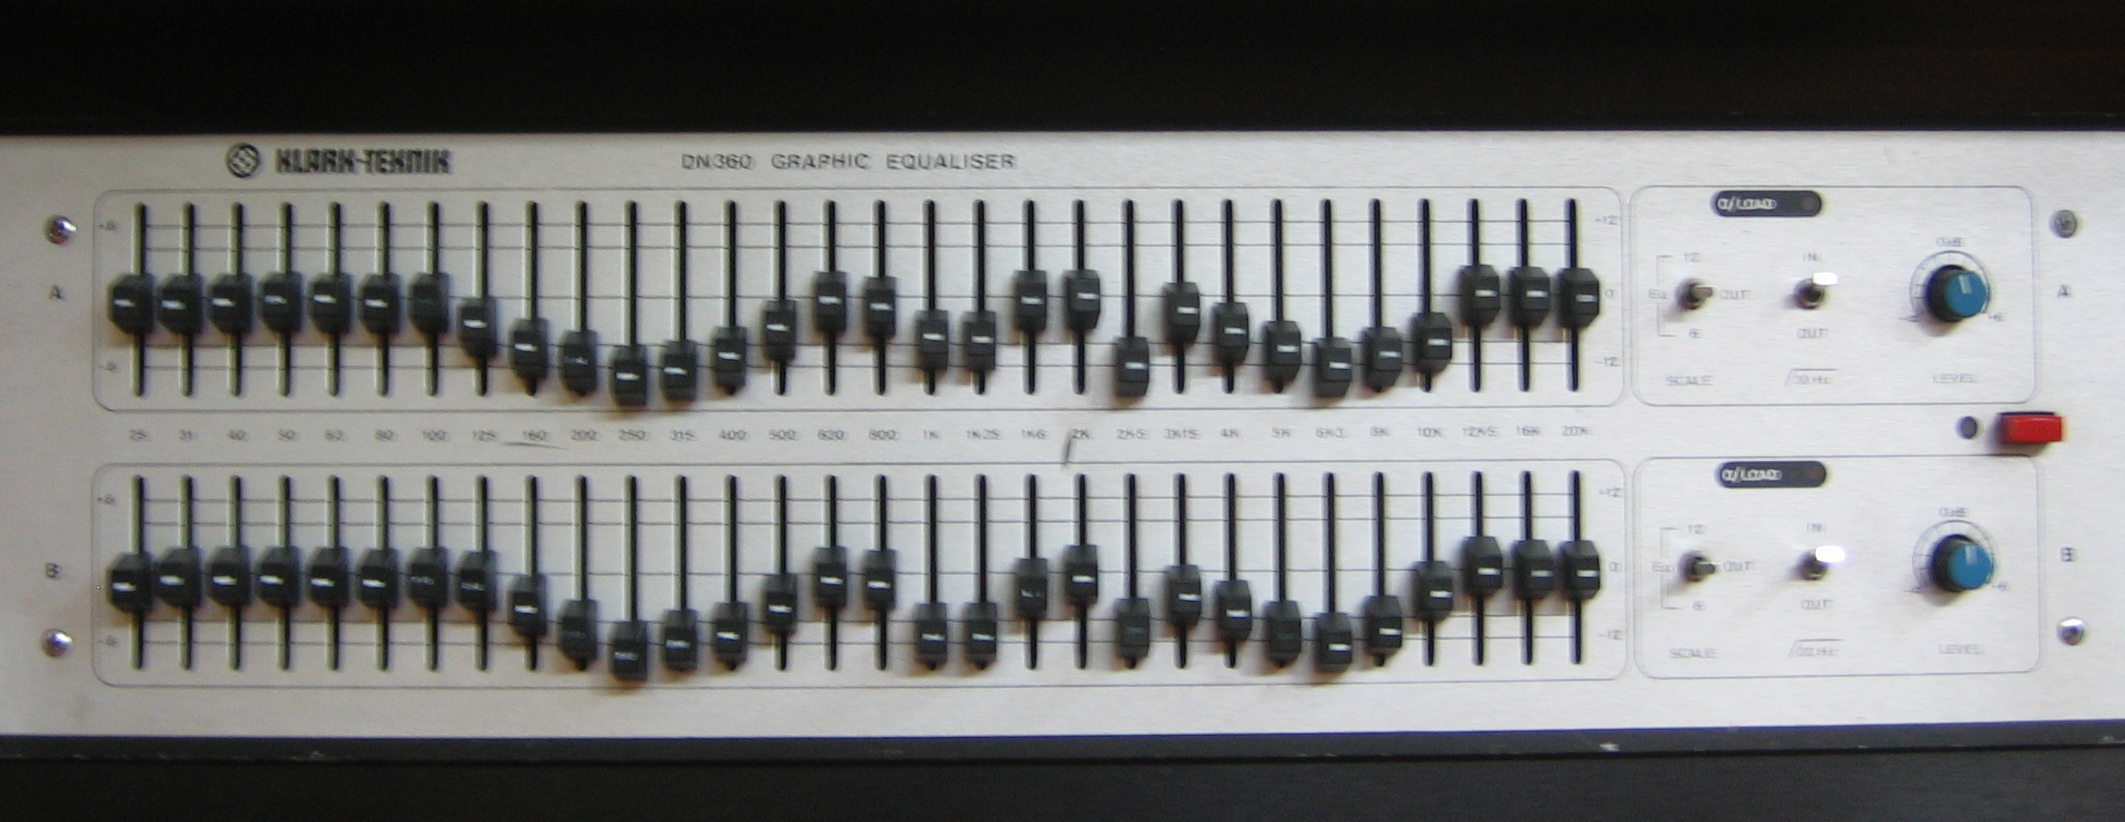
Equalization
Ok, now that you’ve got signal flow and gain structure down, you also need to understand EQ and how it affects your inputs and the system. If you don’t know the frequencies, you will have a hard time getting the sound you want. There are many great apps for learning frequencies. Soundgirls.Org member Kerrie Mondy has created a very useful training aid.
Another thing you can do to start learning frequencies is to insert a spectrum analyzer plug-in across your computer audio. Walter Mauceri has created a tutorial for SoundGirls.Org on how to do exactly that.
A few key things to think about when EQing your inputs or the system:
– Start with the source. Drums should be tuned, guitar tones dialed in, etc. If you find yourself making lots of big boosts or cuts then you likely need to tweak the source or move the mic. For instance, if the snare drum has a bad ring in it, have the drum tech or drummer tune it to get rid of the ring rather than EQing out. If the guitar tone is extremely dull or too bright, let the guitar player know and ask him to adjust his amp.
– EQ is another gain stage, and there is such a thing as diminishing returns. If you find that you are making a lot of big cuts on your system EQ, you will be bringing down the overall gain of the system. Likewise, if you are boosting too much you may run into clipping or introduce noise in the system.
Too many deep cuts and you are losing gain
Here is an excellent interactive frequency chart found on the Independent Recording Network.
Microphones and Mic Placement
Know the difference between dynamic and condenser. Understand the various microphone polar patterns: Cardioid, hyper or super cardioid, Omni-directional, etc. Being able to comprehend a microphone’s frequency response chart is very useful when discerning the right mic for the application. Don’t be afraid to experiment. There are many tried and true combinations of instruments and microphones, and all engineers have the favorites, but sometimes a situation calls for a creative solution.
Mic placement is imperative and can improve or diminish the quality of the sound dramatically. There are some standard techniques, but again it never hurts to experiment and listen to the difference. In live sound, ideally, you want the microphone as close to the source as possible while still producing the appropriate sound of the input and rejecting as much noise as possible from other sources.
Shure has a useful brochure on microphones.
Choosing the right microphone for the input is important not only for tonality but in also achieving maximum gain before feedback. If you have a singer, who has terrible mic technique you probably won’t want to put them on a hyper cardioid mic. If you have background vocals standing very close to the drums you probably will want to put them on a hyper-cardioid mic. If your singer has a particular annoying frequency in their voice, you won’t want a microphone that has a built in boost in that frequency range.
I’m also going to briefly mention Phase here. Phase problems can arise when the various components of a system are not time aligned correctly. They can also occur when using more than one mic or the combination of a microphone and DI on the same input. When signals are not in phase, it will cause comb filtering and loss of level. When signals are 180° out of phase, they cancel each other out. The most audible clue is the loss of low end.
Basic Troubleshooting
This is where your knowledge of signal flow comes in. Understanding the path the signal travels from the source to your console and through your console to the PA system will help you immensely in efficiently solving problems. If you suddenly lose and input during the show, how do you start to figure out where the problem lies? By checking the various stages along the path where something could have failed. There is a very systematic way of doing this, which is much too in depth to go into in this blog.
Here are a few useful guides on troubleshooting:
Problem Solving
Basic troubleshooting of sound systems
Other good things to know:
Tuning the PA System and Ringing out wedges
Tuning the PA is something you want to do before you start line check or soundcheck. Once the system is up and noised the next thing to do is EQ it. Is the system balanced? Are you happy with the level of subs to lows to mids and highs? If it’s far too bright, try bringing down the amplifiers on the highs. Remember earlier I mentioned diminishing returns? If you make a lot of drastic cuts out of a frequency range, say everything from 2K-8K you probably just need to turn down the high mids a touch. If the monitor wedges are muddy and lack clarity try turning down the lows before you start boosting high frequencies. Here’s a good article on Techniques for system and wedge EQ
How to write and interpret an input list and stage plot.
If you are responsible for patching the stage, these two items will tell you everything you need to know ( if they are done correctly ). We’ve got a short video on stage plots and input lists:
You can also find more info in my earlier blog: How to prepare for a tour
Once you’ve covered the fundamentals, you should also familiarize yourself with:
- Basic dynamics- How to work a compressor/limiter and gate/expander
- The difference between active and passive
- Speaker types, placement, and dispersion patterns
- Phase
- Power
- Proper grounding
There are probably a dozen other things I could list here, but I’m running out of space. When you find yourself challenged by an unfamiliar piece of gear or concept that you don’t understand, know that you have access to an endless amount of information and knowledge on the internet, in the many informative books on the subject, and not to mention your fellow audiophiles. There will always be something else to learn. The best thing to remember is that you do not need to know everything as long as you know where to find what you do need when you need it.