There are a lot of things to think about on the day of recording vocals – It’s important to dial in the “hygiene” of this process as much as possible in order to avoid any frustrating setbacks or snags along the way. I can’t tell you how many times I’ve made silly mistakes while recording, wasted time, slowed my momentum, and in some cases, had to start completely over. We’ll get into those soon, but before we do, I want to point out that most recording problems fall into two categories:
- Technical recording mistakes (producer / engineer side)
- Performance mistakes (singer side)
I hope to help you avoid pulling your hair out over lost studio time by capturing some of the typical ones, and in this post we’ll start with the technical side.
Part 1: Technical Recording Mistakes:
These are the sorts of callouts that are probably quick fixes but can be big headaches if not considered properly. I recommend checking all of these in your tracking session every time right before you or your producer starts recording:
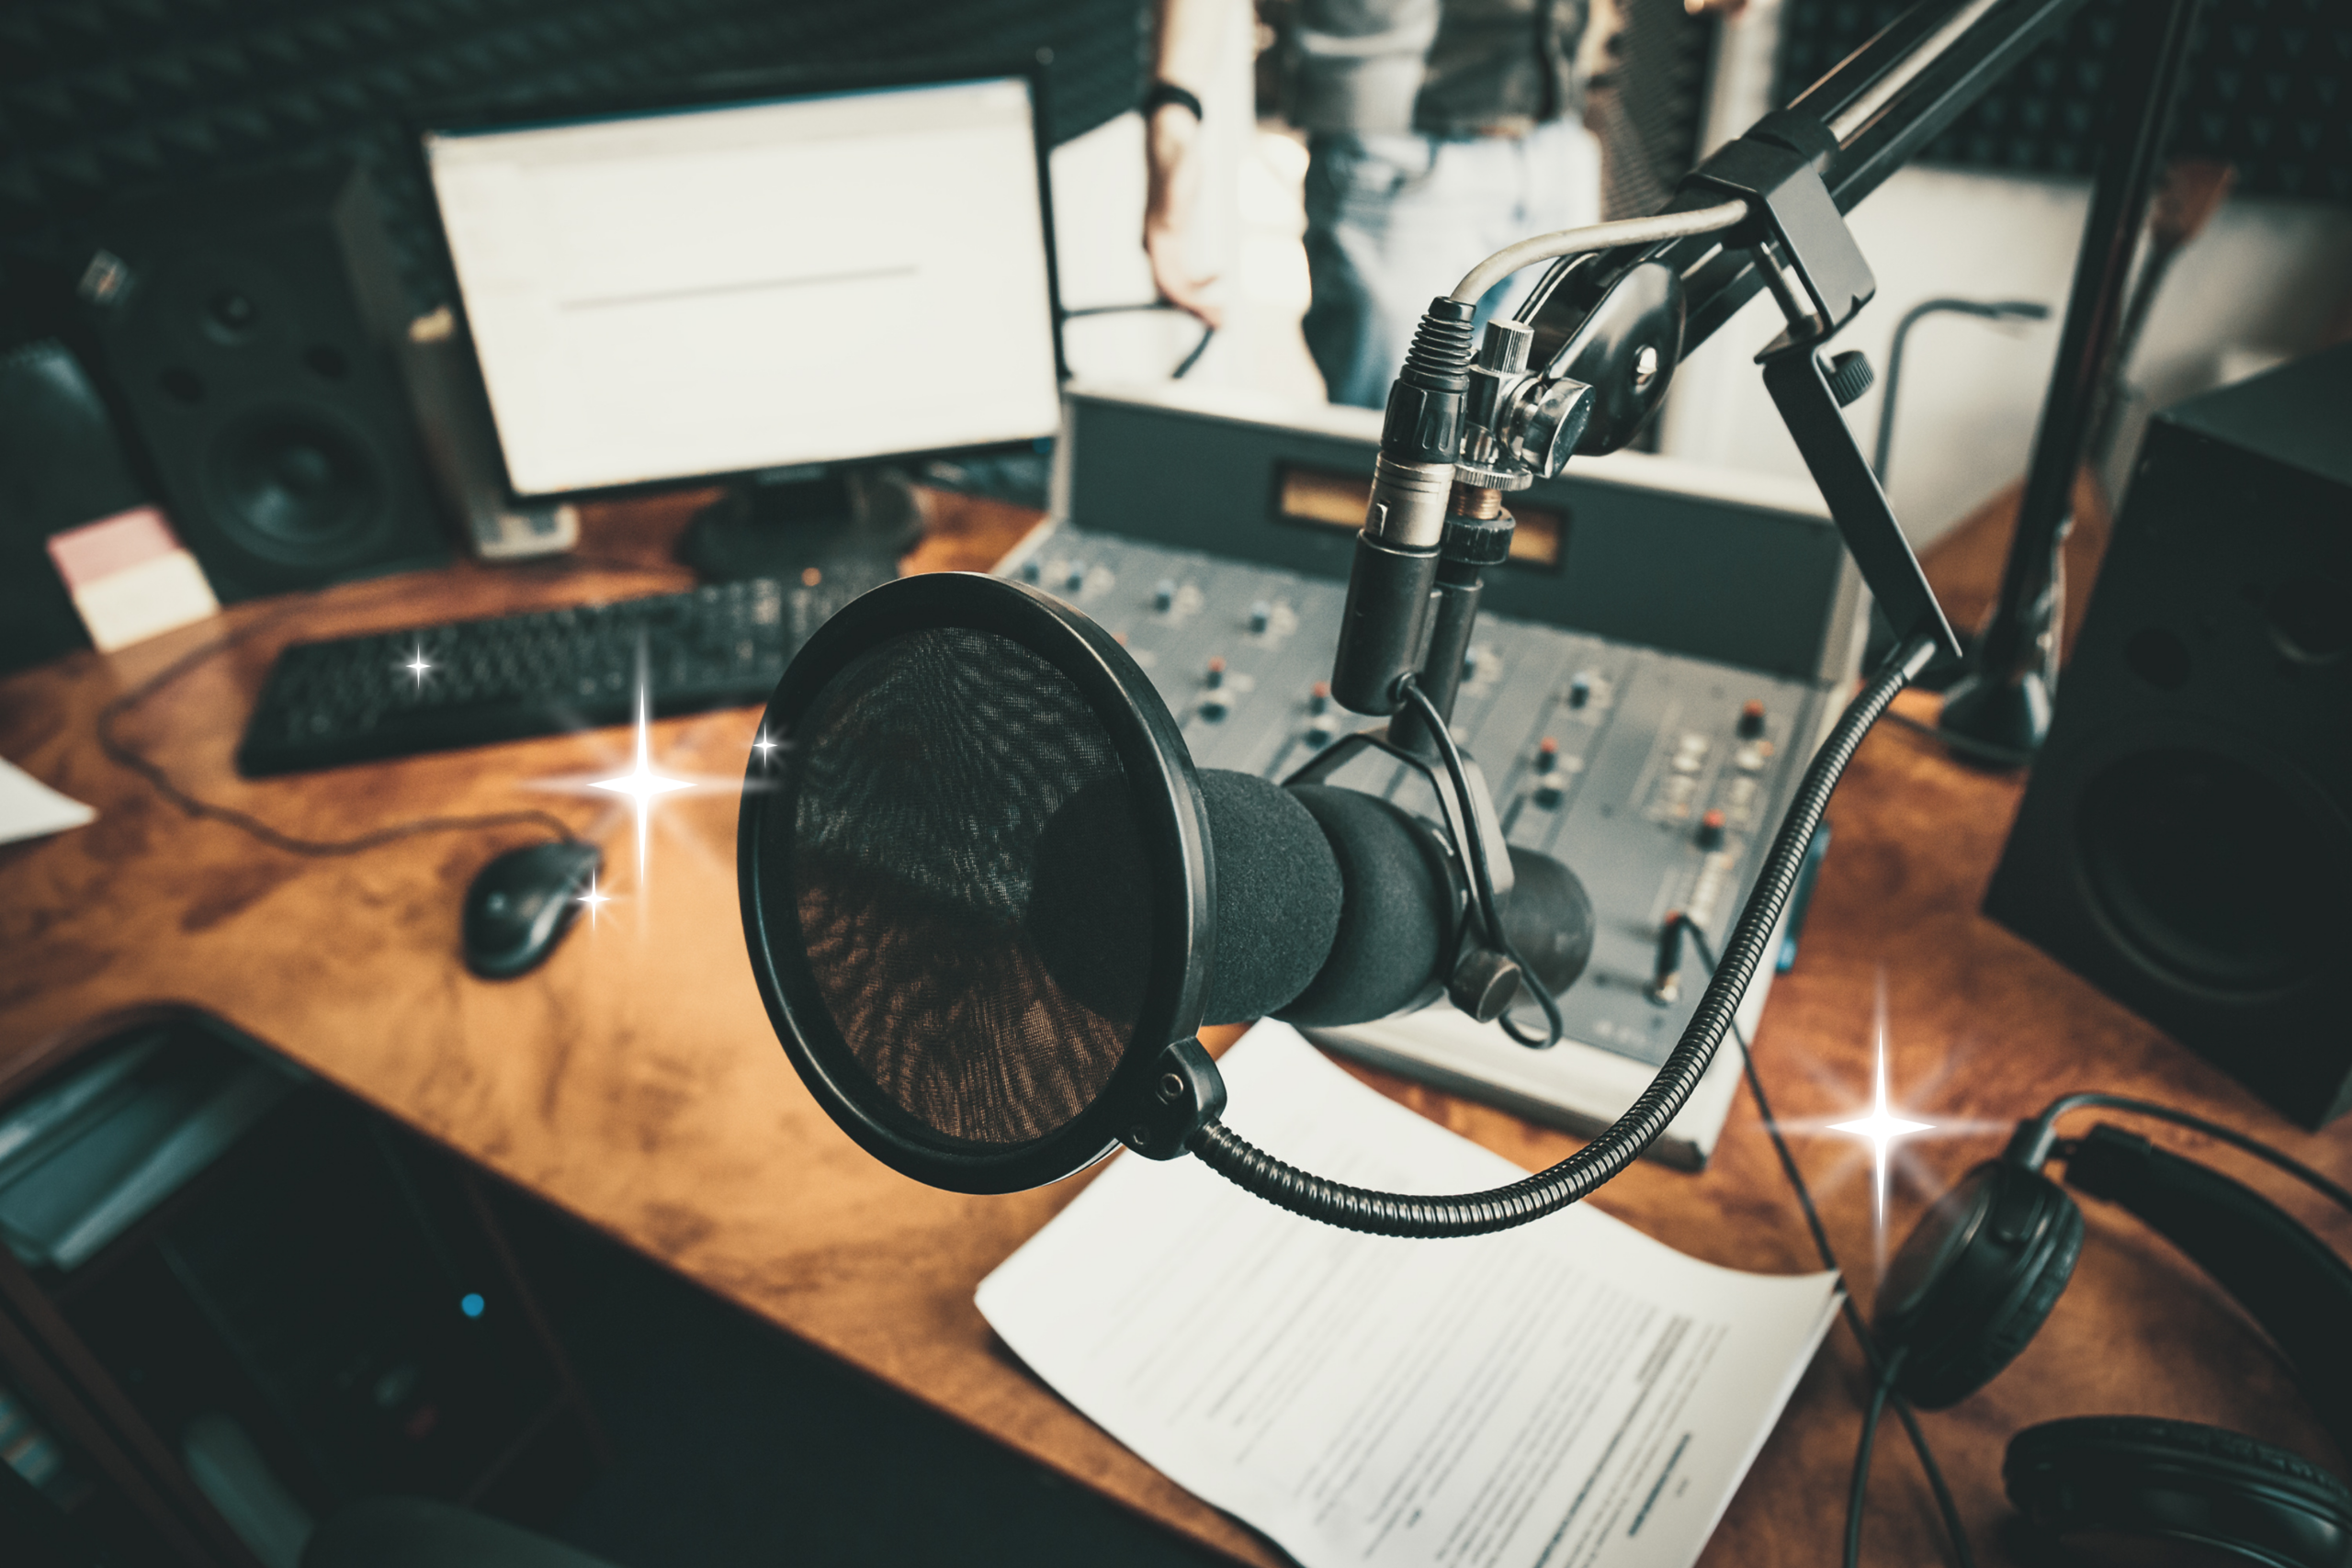
Recording Environment: It’s easy to focus on gear when recording vocals, but your recording environment matters just as much. It doesn’t matter how great your microphone is if your recording space isn’t controlled and picking up background noise.
Here are some common culprits:
- Computer fan noise, air conditioning, outside traffic, or recording in a room with lots of hard surfaces that cause the vocal to sound harsh or echoey. Before hitting record, take a moment to listen for and minimize these distractions.
- Additionally, it’s super important to make sure your space can absorb natural reflections – aka it should be equipped with some everyday soft materials (rugs, curtains, furniture) so that the room is more “treated”.
You don’t have to spend a lot of money to treat your room, but addressing the items above will help a ton!
Sample Rate: A suggestion is to choose the standard sample rate of 48kHz for your session. This will optimize for video/film opportunities, and why not keep that door open? That said, 44.1kHz can also be fine for a standard music release. Either way, it’s good to stick to one of those and ensure your producer/collaborators are setting the same sample rate in their project. If you don’t commit to the same sample rate and share files for the production you will run into issues with pitch shifting, playback speed, or strange artifacts.
So again, pick one sample rate from the options below:
- 48 kHz (video or film) – I recommend this
- 44.1 kHz (most music releases
Set Proper Pre-Amp Gain: Clipping happens when your signal level is too hot and the audio distorts. Once recorded, this distortion is permanent. This is why you have to test and set your levels of your pre-amp gain on your interface at the beginning of your session.
Aim for peaks around -12 dB to -6 dB.
The best way to set levels is to record a short test of the loudest part of your song and make sure the gain knob is adjusted enough to not result in clipped, recorded audio. If your audio is clipping, you need to bring the gain knob on your interface down…ideally you set it so there is a little bit of “head room” in your louder sections (just in case you have a really great take that is louder than your test and also in general).
Ensure a Good Headphone Mix: This is super important and often overlooked, especially if you’re a singer recording at home. There are a few things to consider to make sure that you’re comfortably hearing the track while recording final vocals:
Instrumental Track Volume: Ensure that the instrumental track is not too loud. You don’t want to compete with the instrumental while recording — this can strain your voice and lead to a forced sounding performance. An easy fix is to simply lower the instrumental track in your session. Sometimes instrumentals are already mastered, which is part of why everything sounds too loud, and in that case they may need to be lowered significantly.
Vocal Monitoring: Take time to make sure your vocal monitoring is comfortable and that you can clearly hear your voice through the headphones
Cluttered Mix: Make sure the headphone mix is not too cluttered. A cluttered mix means the singer is hearing too many instruments at once, which can make it harder to hear their voice clearly and stay in tune. Simplifying the mix often leads to a better vocal performance. You can create a simpler headphone mix by temporarily removing layers of the production if you find them distracting.
-
-
- For example, it might be hard to focus while recording a section that has a lot of layered synths or ear candy. It’s perfectly fine to record that section to a more trimmed-down arrangement and then double-check that the vocal take still works once it’s placed back into the full instrumental.
-
Record to Polished Instrumental: It’s really important that the vocalist is singing to an instrumental that is polished and in tune. If there is anything unfinished or off about the instrumental it might affect the way the singer performs.
- For example, let’s say you have a “mostly-finished-track” and it’s missing a guitar part but has the main beat. It would be a huge mistake to record vocals against this track. The nuances of the main guitar performance – the actual tuning of the guitar, effects on the guitar, volume of the final mix, etc – will greatly affect the way the singer performs. This is particularly true if the missing element is a key element (i.e. the guitar part being a key harmonic instrument in a country song).
- I’ve even had some quick demo recordings where I’ve tried to record demos to a skeleton track – and even though I consider myself someone with good intonation, my pitch drifted significantly on the performance. Luckily I did not attempt this in a serious way!
- Another issue that can happen is adding more percussive instruments AFTER a vocal performance. New rhythmic subdivisions can suddenly make a vocal that previously felt in the pocket sound slightly off.
Whenever possible, record vocals to a version of the track that is as close to the final arrangement as possible.
Taking a few minutes to check these technical details before recording can save you hours of frustration later.
→ In Part 2, I’ll cover the other side of vocal recording hygiene — the performance mistakes that can make or break a vocal take. Stay tuned and Happy Recording,
Dani