The Project
I recently had the pleasure of creating signature elements for a new animated series which will likely air near the end of 2019. We were brought into the process at a very early stage, the first animatic, which was incredibly exciting. If you aren’t already aware, in animation, an animatic is essentially a video of storyboard panels timed to work with the recorded dialogue and then exported as a video. An animatic is a very thorough blueprint for the animation studio to follow. Adding sound design to an animatic can do a number of things: it can bring the animatic to life for the animation studio which allows them to better understand how to animate important moments. It can help executives to better understand the action when reviewing the animatic for approval. And it can establish signature elements early on so that the sound can help to inform the animators’ creative concept for the series. Having clients who appreciate the importance of bringing the sound team into the mix (pun intended!) early on is a wonderful thing for us here at Boom Box Post! So cheer to all of our amazing clients!
The Process
Step 1: Brainstorm about an Overall Aesthetic
The key elements of the series are birds and babies (sorry to be cryptic about the premise, but it’s too early to share too much about this project!). My mind immediately started churning about how to incorporate these in a way that would be nuanced and special. When designing sounds for a new project, it’s also important to consider the audience. This series is geared toward preschool-aged children. So I also wanted to create a soundscape that would be friendly and familiar to viewers in that age group.
First, I decided to make all of the items in this animated world sound like they are made out of materials familiar to preschool kids. This would involve recording a ton of children’s toys to really let these textures shine through in the mix. The set locations look high tech and designing in that aesthetic is always fun. But isn’t it much more fun to design a baby’s take on tech? Now that would be a challenge. Second, I decided to incorporate the bird aspect of the series by creating new sci-fi sound effects for all of the tech elements by processing bird calls. I didn’t want the bird calls to be in your face. After all, it doesn’t take much creativity to just throw a bunch of hawk calls on everything. But, folding them into my tech builds sounded like a fun challenge that would result in a truly unique signature sound aesthetic for the entire series.
Step 2: Decide which elements should be stand-out signature designs.
I consider anything that will clearly appear in a series again and again to be signature. And so, even if it’s a mundane item, to me it’s an opportunity to add a little special flavor. You might think it’s a waste of time to create special door open sound effects or record all-new hand grabs. But creating a new palette from scratch for all reusable elements can ensure not just stand-out sound design moments but an overall signature aesthetic for an entire series.
For this series, I decided that the sounds for all of the things in the main location should be signature: all doors, all grabs of items and furniture, all mechanical elements, etc. Basically, anything that will clearly be seen again and again needed to be custom.
Step 3: Create a Custom Recording List
When I’m creating a recording list, I like to brainstorm things to record which might add to the overall aesthetic I’m trying to achieve while keeping in mind what I need to cover. Sometimes, if you map out exactly what to record for each signature element, you close off your brain to considering other options during the process. Think about the general aesthetic you would like to achieve and come up with items that you think may help to achieve that aesthetic–whether you think you’ll use them now or they may just be handy to have in the future.
Here was my list. Notice that I’m focusing on what I want to hear and not marrying myself to specific items just yet:
- Toy ratchet
- Toy click into place
- Different plastic items for grabs
- Toy rolling
- A toy which “pops” or “thunks”
Step 4: Browse for Items to Record
I took this list to a local children’s consignment store and roamed the aisles looking for interesting items and listening to how they sounded. I chose a consignment store because it was cheaper, but also because the toys were not in their original packaging, so I was free to test them out. Often browsing for things to record is best done in your own home or a friend’s closet for this very reason. Keep in mind that the best recordings are made from items which are different from what you actually see on screen. You want to achieve a certain texture, a certain sound, a certain feel. You don’t want to just record the exact thing you see in the picture. Think about how an old loose doorknob is often used for gun foley or a piece of celery is broken for a good bone crunch. When choosing items to record, shut off the visual part of your brain that’s telling you to go for the obvious, and start listening to everyday items with your creative hat on. Evaluate each item solely on its ability to give you the sound properties you’ve already brainstormed in the above list.
Step 5: Record new sounds


Step 6: Edit your recordings to work with the picture.
Once you’ve recorded all of your new (or old) props, bring everything into your DAW and start playing. Often I find that elements I recorded in hopes of covering a certain signature element actually work best for something else. Don’t be afraid to play around and try new things. Use the clean recordings, process them to the point that they are unrecognizable, or mix them together with sounds from your library. In this step, you are the sonic painter. Give yourself the creative freedom to use your full palette and don’t be afraid to make a mess. That’s how the best discoveries are made!
Step 7: Collaborate with your clients.
Sound is never a job that’s pursued in a vacuum. We’re part of a larger project team, and most often that project is the creative property of someone else. Once you’ve come up with your most alluring signature sounds, share them with your clients and let the collaboration ensue. It’s incredibly important to realize that the creative process doesn’t end with you: it’s easy to think that your signature sounds are the best they can be when you’ve finished designing. In fact, I find that they often get even better when I present them to the clients and they offer tiny tweaks and new creative insights. Sometimes muting one element or incorporating something else that you never even considered is the key ingredient to the perfect sound.
The Sounds
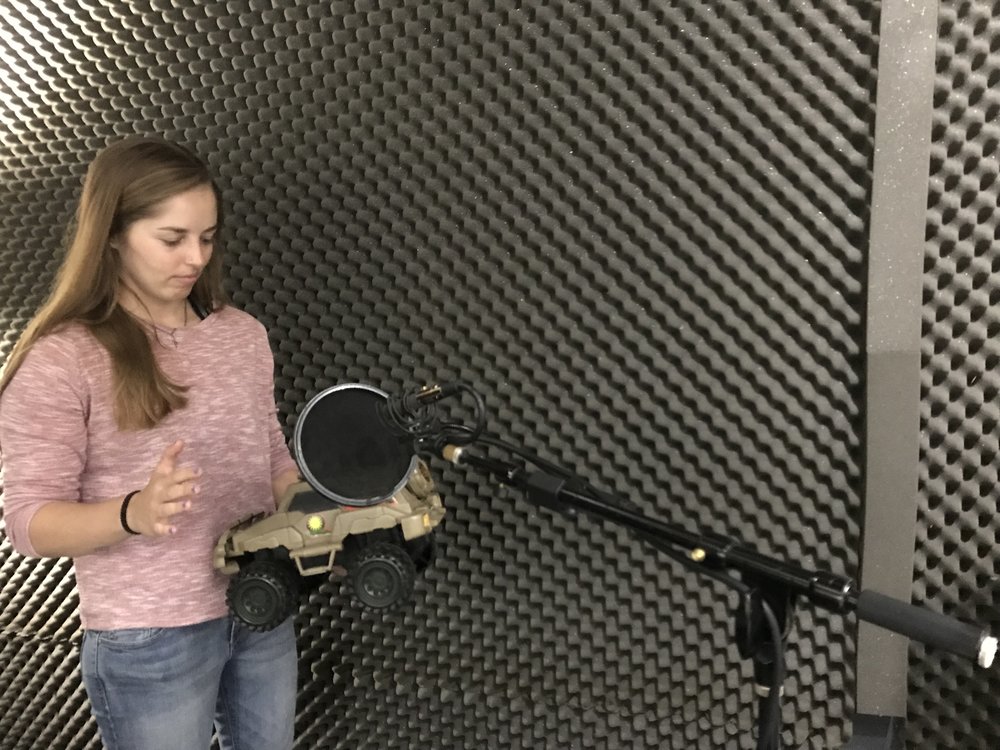
Here are a few of the original recordings I made with the help of our intern, Sam, and the signature elements that I designed using those recordings. The recordings and designs may sound simple, but remember that signature sounds compound with each other in order to create an often nuanced and distinguishable scape for the series as a whole. It’s the totality of all of your creative ideas that form an overall new and exciting aural aesthetic.