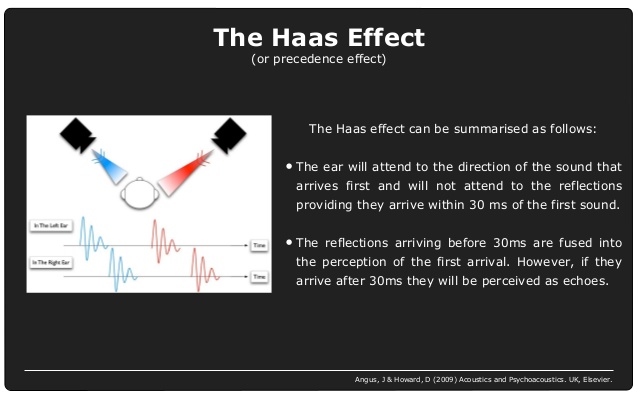
Being Bilingual Does Not Always Work
By Andrea Arenas / Collaborated by Vanessa Montilla
It is possible that you have done several language courses. However, nothing prepares you to work day-to-day as a sound engineer, if you are on tour in a country where a language other than your native language is spoken. It is likely that no matter how many courses you do, you have not been taught how to “comb the wires” (slang for ¨Untangle the wires¨ in Spanish), and many words of technical, and even everyday jargon.
That is why I have decided to make a small glossary of objects commonly used in audio but that you may not find in any book of system design or recording techniques, and that therefore you are not accustomed to using in a language other than of yours. I hope it is useful for you and that we can also complete it in different languages.
Cables
-
-
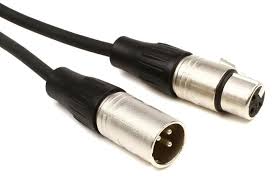
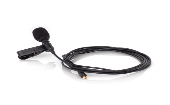
Español: XLR / Cannon
English: XLR English
-
-
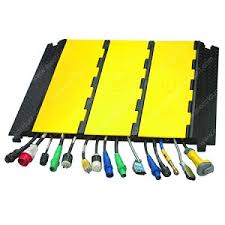
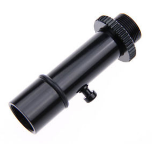
Españo: Pasacables
English: Yellow Jackets
-
-
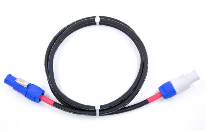
Español: Cable de puente o extensión
English: PowerCon Jumper
-
-
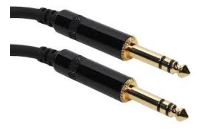
Español: Plug balanceado, Jack
English: TRS, Balanced 1/4 inch
-
-
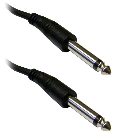
Español: Plug desbalanceado, Jack
English: TS, Unbalanced 1/4 inch
-
-
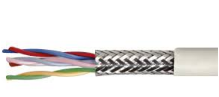
Español: Cable blindado o apantallado
English: Shielded Cable
Conectores/Connectors
-
-
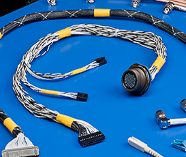
Español: Multipin de 12
English: W1 (12)
-
-
Español: Multipin de 16
English: W2 (16-20)
-
-
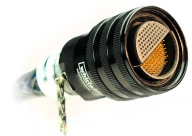
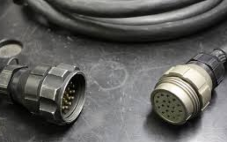
Español: Multipin de 56
English: W4 (56)
-
-
Español: Socapex
English: Socapex/ Soco
-
-
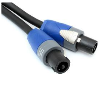
Español: Speakon
English: NL4
-

-
Español: Speakon
English: NL8
Audio
-
-
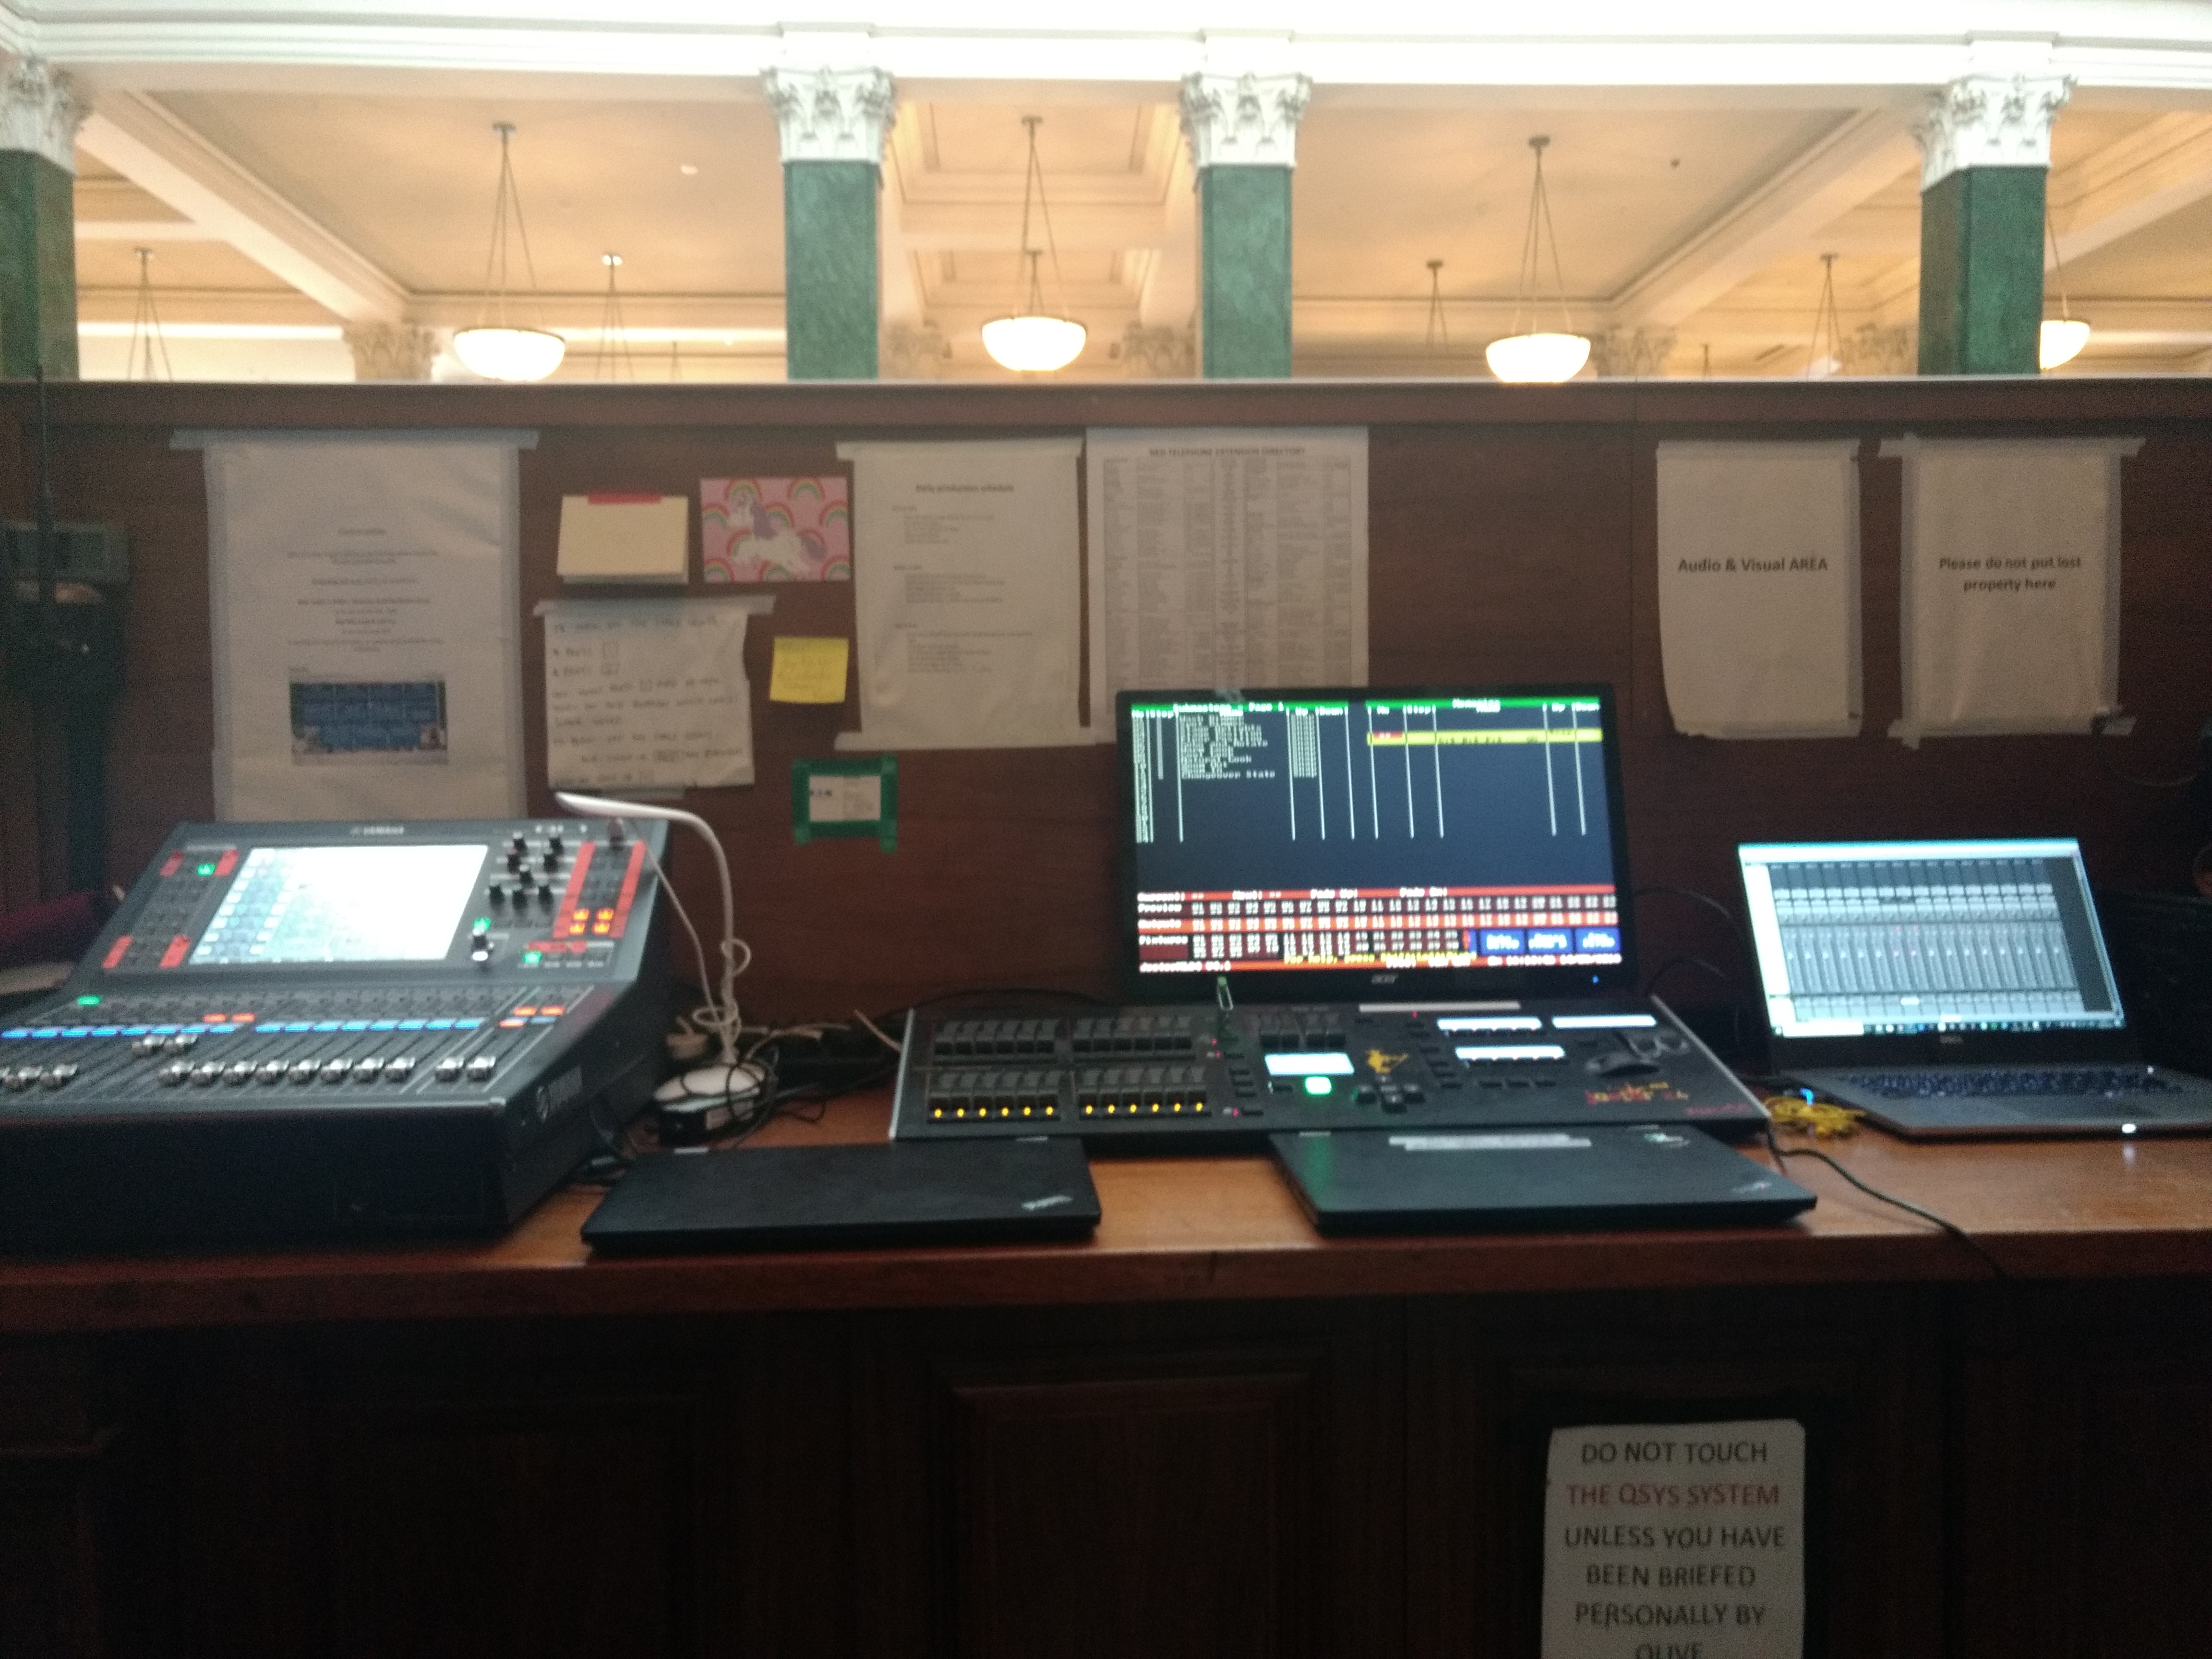
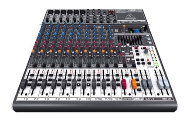
Español: Consola / Mesa
English: Mixer/Board
-
-
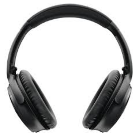
Español: Audifonos/Cascos
English: Headphones
-

-
Español: Audiofonos
English: In-Ears
-
-
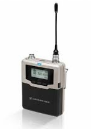
Español: Belt-Pack
English: Belt-Pack
-
-
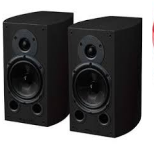
Español: Parlante / Monitor / Corneta
English: Speaker/Monitor
-
-
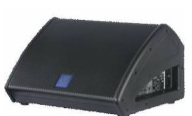
Español: Monitor de piso
English: Wedge/Monitor
-
-
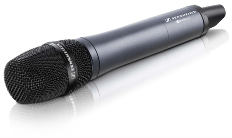
Español: Micrófono Inalámbrico
English: Hand-held Mic
-
-
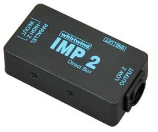
Español: Caja directa
English: DI Box
-
-
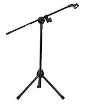
Español: Paral / Atril
English: Mic Stand
-
-
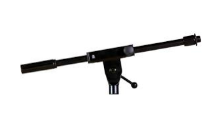
Español: Brazo
English: Boom
-
-
Español: Caña
English: Boom
-
-
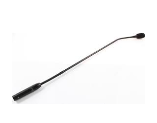
Español: Cuello de ganzo
English: Gooseneck
-
-
Español: Balita
English: Lavalier
-
-
Español: Intercom
English: Com
-
-
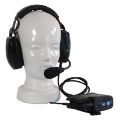
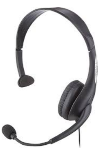
Español: Auricular / Inalámbrico
English: Headset
-

-
Español: Pinza
English: Mic Clip
-
-
Español: Cartuchera / Estuche
English: Pouch/Bag
-
-
Español: Adaptador de paral
English: Quick Release
Electricidad / Electrics
-
-
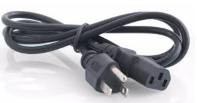
Español: Cable de corriente/ Cable de alimentación
English: Power Cord (90 IEC)
-
-
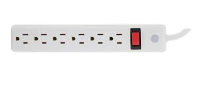
Español: Regleta / Multicontacto
English: Power Strip
-
-
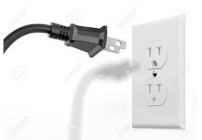
Español: Enchufe / Toma corriente
English: Outlet
-
-
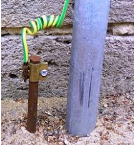
Español: Jabalina/ toma de tierra
English: Electrical Grounding
Herramientas / Tools / Gadgets
-
-
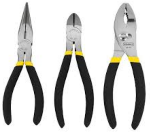
Español: Pinza / Alicate
English: Pliers
-
-
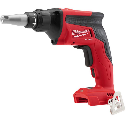
Español: Destornillador eléctrico
English: Screw Gun
-
-
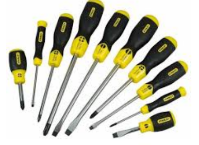
Español: Destornillador / Desarmador
English: Screwdriver
-
-
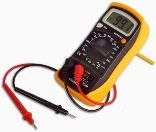
Español: Tester / Multímetro
English: Tester/Multi Meter
-
-
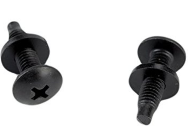
Español: Arandela
English: Rack Screw/Washer
-
-
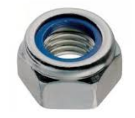
Español: Tuerca
English: Locknut
-
-
Español: Probador de cables
English: Sniffer/Sender
-
-
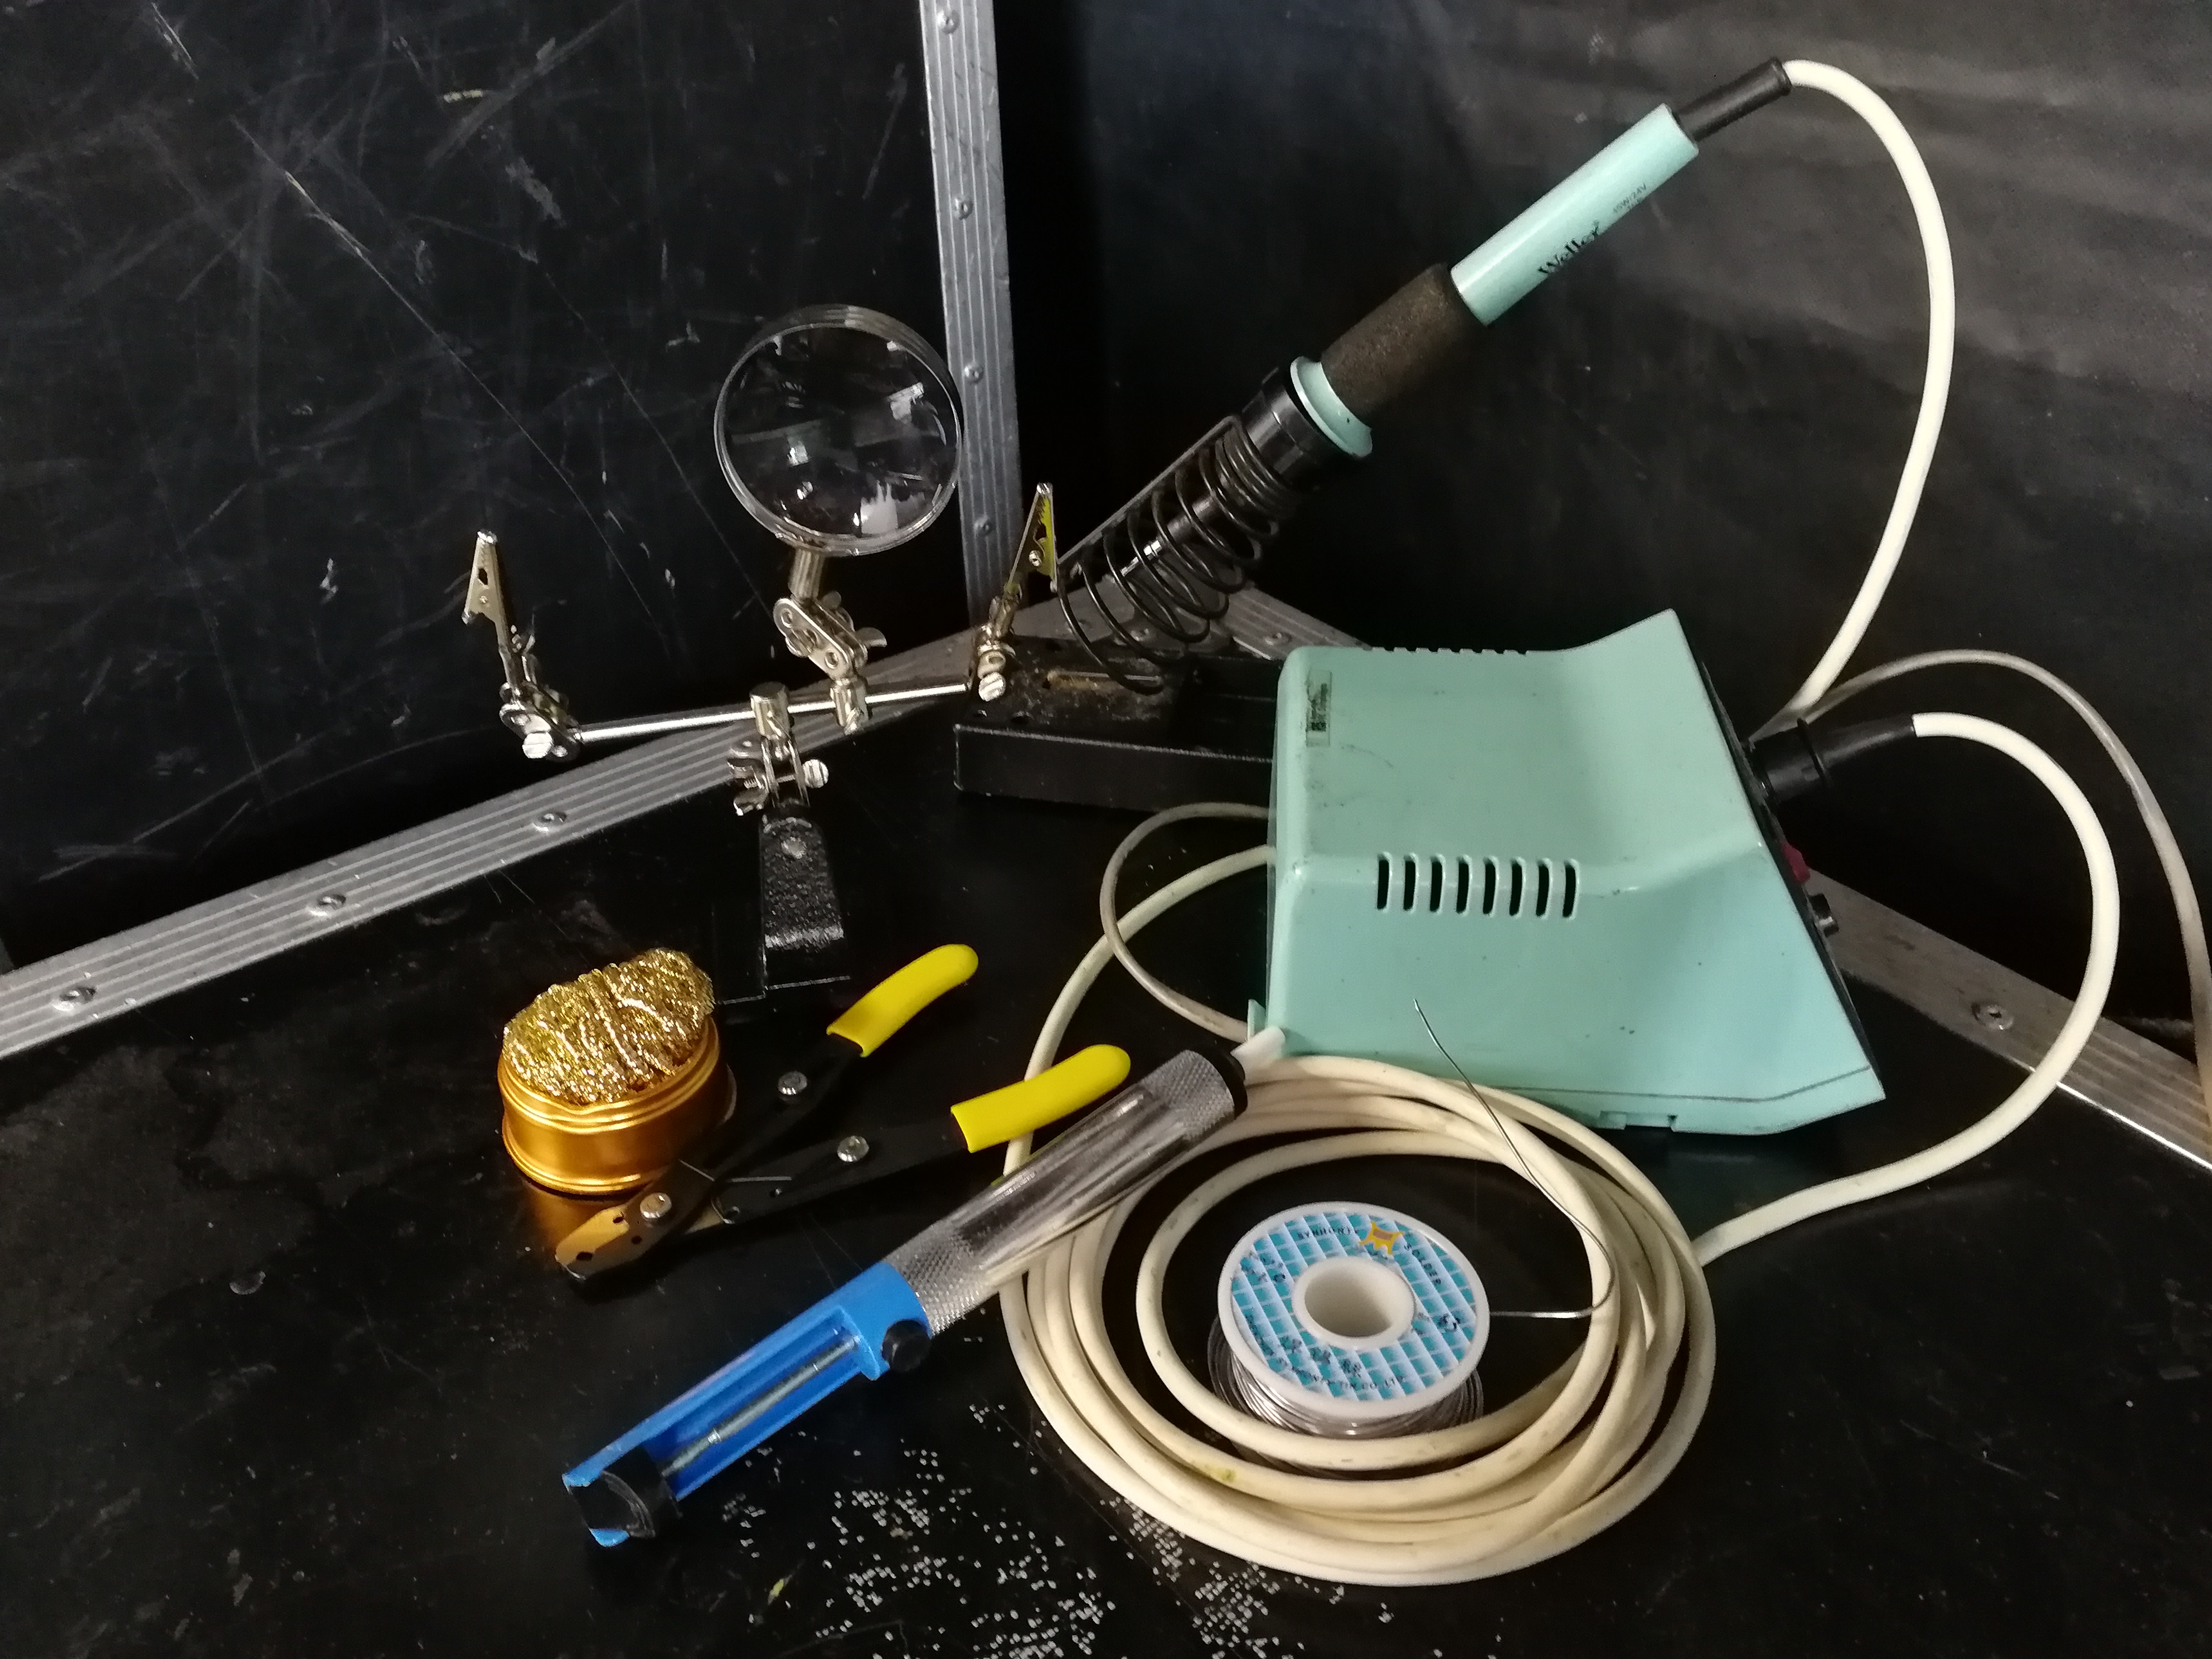
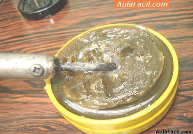
Español: Pasta para soldar
English: Solder Paste
-
-
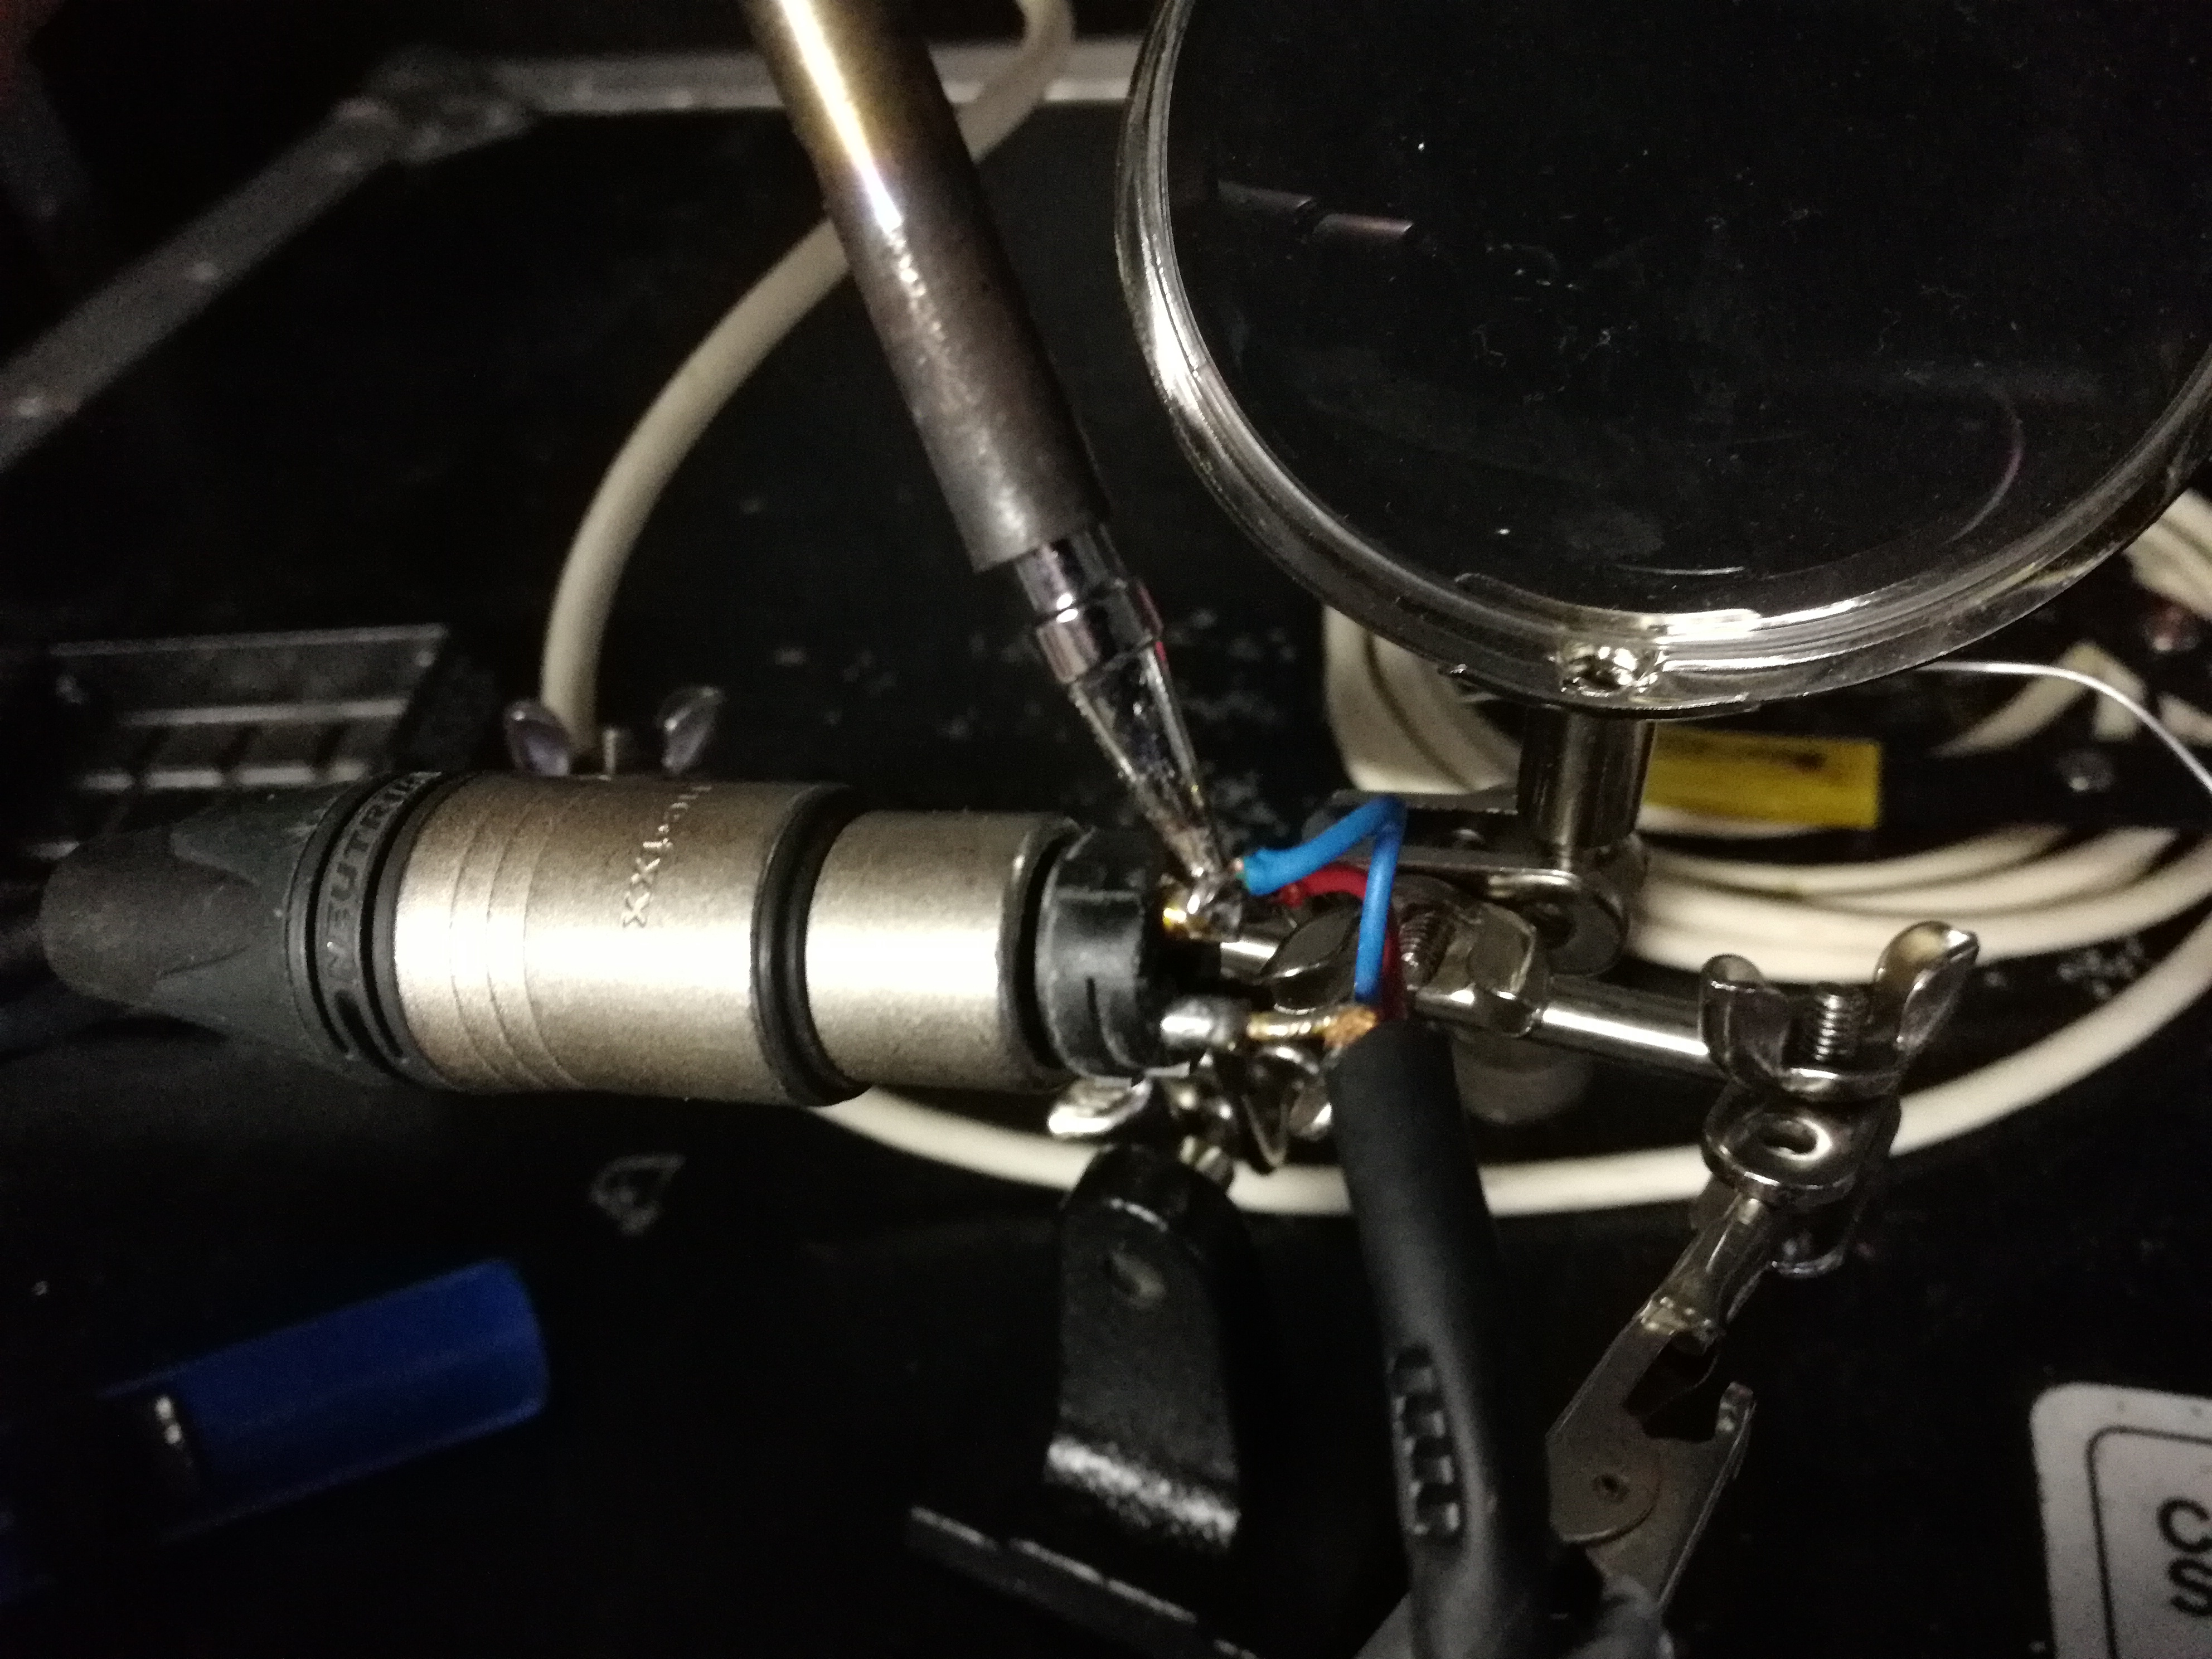
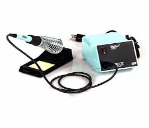
Español: Cautin / Soldador
English: Soldering Iron

Artículos de oficina / Office supplies
-

-
Español: Teipe
English: Electrical Tape
-

-
Español: Tirro
English: Gaff Tape
-

-
Español: Marcador permanente
English: Sharpie
-
-
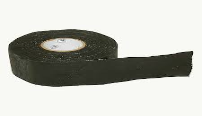
Español: Teipe de fricción
Grip/Friction Tape
-
-
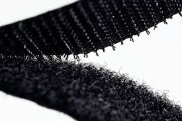
Español: Cierre mágico
English: Velcro
-
-
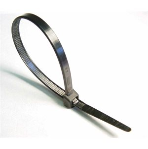
Español: Tirrap / cinta de amarre
English: Tie-Wraps
-

-
Español: Etiquetador
English: P-Touch
-
-
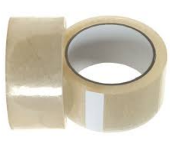
Español: Cinta de embalar
English: Strapping Tape
-
-
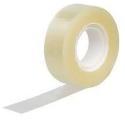
Español: Cinta adhesiva / Cinta plástica
English: Scotch Tape
Acciones / Actions
-
-
Español: Ingeniero de sala / Centro de sala
Front of House (FOH)
-
-
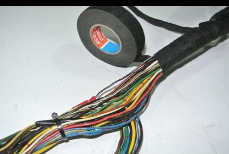
Español: Organizar/ Peinar cables
English: To Loom Cables
-
-
Español: Organizar/ Peinar cables
English: To Loom Cables
Instrumentos musicales / Musical instruments
-

-
Español: Púa / uñeta
Pick
-
-
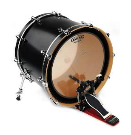
Español: Bombo
Kick Drum
-
-
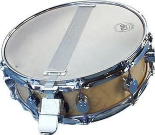
Español: Caja / Tarola / Redoblante
Snare Drum
-
-
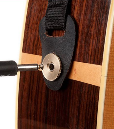
Español: Entrada de Jack
Pick Up
-
-
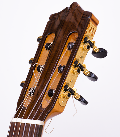
Español: Clavijera
Head Stock
-
-
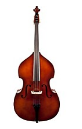
Español: Clavijera
English: Upright Bass
Medidas / Mesurements
| 1.5m | 5 feet |
| 3m | 10 feet |
| 7.6m | 25 feet |
| 15m | 50 feet |
| 30m | 100 feet |
| 50m | 165 feet |
| 100m | 330 feet |