Madame Gandhi – On Women in the Industry
As we enter 2017 women’s issues, seem to be at the forefront of the countries mind and I encourage everyone to stand up and support women-led organizations and stand in solidarity with women worldwide. I was lucky to have met Madame Gandhi at Girl Power! Women Working in the Music Industry Conference: Blending Careers in Entertainment and Technology in San Francisco last April. It was a great way to start off the year. She was so amazing to listen to because she has worked at all levels of the industry. Working for Interscope Records as a data analyst and MIA as their drummer in an all-female lineup. She has an MBA from Harvard University. Listening to her explain algorithms just amazed me and taught me so much about boosting yourself on social media.
Aside from being an accomplished musician and music industry thinker, Madame Gandhi is also a feminist activist. I thought about all of her experience, and it made sense to interview her to find out more about women in the industry from someone who has been on all ends of the music spectrum. I was very excited when she agreed to the interview. I think the most exciting thing for me was the way she answered my questions. I received audio answers. It made the experience so much more intimate. Here is what Madame Gandhi had to say.
What is your experience working with women on a sound crew? Has it been good? How does having women on your sound crew affect your show experience?
OMG, It’s like a game-changer. It’s totally night and day. It’s extremely important for me to work with an all-female team especially when it comes to sound. I think women are really talented at doing live sound and sound design on the actual records for two reasons; one is that women are more emotionally sensitive and aware of what’s going on, so they respect both the needs of the artist, but also the needs of the audience at the time. I think that when I have worked with men, they’re kinda more rudimentary about it, and also a lot of them are really burned out from being treated badly on the road. Because I as a drummer have experienced that sort of “subtle sexism,” I know how to work against it and prevent it, in the way I treat my fellow women. So, those are some of the reasons I think it’s really important and actually quite exceptional to have a female sound team.
The other thing too is when giving feedback when I’m like “ooh no this doesn’t feel good, or I want this louder, I want this softer” a lot of times men are condescending. They think you don’t know what it is that you need or want, which is really frustrating and women are like, dude my job is to make you feel good on the stage and feel what you feel. What you feel isn’t right or wrong it just is and so, therefore, how can I augment the sound or make subtle changes so that you feel really good doing your show and you’re not thinking about the sound. That’s how you build trust, and that’s how you build mutual respect. I really do prefer to work with women. If any men are reading this too, I would say that they should learn how to be more trustworthy and respectful of the artist on their stage and just give them what they want, so long as the artist is respectful and kind in return.
What is your advice for a woman who wants to pursue sound engineering as a profession?
Just keep doing it. No one is gonna sit there and teach you. It really is that you have to go and kinda just hang around at the clubs and the bars. Start watching someone else do it, usually a guy, and be like “oh, hey you need someone to plug that mic in, sure I got you”. You have to fill in where they wouldn’t even ask for help they just could use it. Most sound people are so frustrated that they don’t ask for help because they think that you’ll make a mistake so why would they want to do it twice like you’ll make a mistake and then they’ll have to undo your work. If you spend time watching, then you start assisting with the really basic tasks, then they’ll start mentoring you and giving you more stuff because you’ve made their life better.
 The dream scenario is: you wanna get to be a person who’s super helpful in the beginning and like reading stuff on the side not asking the sound person too much but more just watching. You’ve become so helpful that if you left and you didn’t help them out at each of their shows, they would really miss you, you know, the person who is mentoring you. So, you wanna get to a place where you’re making their life less stressful and therefore, in turn, they’ll wanna show you more and then you get to learn. All the female sound engineers that I know learned from men and learned by being humble and helpful instead of being annoying and asking too many questions. I want to give some love right now; My FOH sound engineer right now is Jess Jacobs, and my sound designer who performs live on the stage with me is Alexia Ryner.
How do you see yourself assisting in the advancement of feminism in music this year?
It’s all about taking my ideas about the world that I wish we lived in and what the future is females means and what women’s contributions bring to the table and then expressing it through my voice, which could either be musically or through speaking and writing. That’s what I think about daily. Every time I have ideas, I write them down. Then if I’m asked to give a talk or a show, I try to take the recent learnings or ideas that I’ve had from that month from my notes and then put them into that show or talk so that everything that I do is fresh and inspired.
What obstacles do women in the music industry face today? Are there still obstacles? What work needs to be done to provide women in the industry more opportunities?
I think one of the biggest ones is people underestimating them. I think it’s really frustrating to walk into a situation where someone already thinks you’re gonna be bad at what you do. I think another obstacle is that some of the old-school constructs still exist. Where you bond over going to maybe a strip club or you bond over commenting on how hot one of the artists is, you sort of bond over misogyny. It’s not cool.
I think a lot of time women are the only ones in a situation with a bunch of men saying sexists things; it’s weird that we don’t live in a world where the fact that the woman is right there is not enough of a check to make you not want to say sexist things. A lot of us have been in situations where just because we want the job or we want to be able to hang with that crowd, we sort of bite the bullet and take in that sexism and allow it to slide. I think those are some of the biggest barriers on an emotional end on a very practical level.
I think another barrier is the fact that we haven’t seen many female CEOs of record labels and big companies. The best female-run companies I’ve seen are those who leave their old company and go and start their own thing. For example, my management team that I’m assigned to is called Friends at Work which was started by Ty Stiklorius, who’s a badass billboard 100 in music woman. She manages John Legend and Alicia Keys and now is the head of my management company. So that’s pretty extraordinary. I think a lot of times women have to just self-select out and just start their own thing, once they’ve reached a certain level of prestige because if we depend on men to give us the positions that we want, we may be waiting for a long time. Even at my booking agency, my booking agent is this badass woman, Amy Davidman. She’s one of the top people at Windish. She has a really incredible wife. They understand very much, my mission and so then both on an emotional and very practical level Amy is perfect for the job. So, I think those are some of the things. You have to kill it, and then you probably have to start your own thing and then set norms within your own company that actually make a difference in the world.
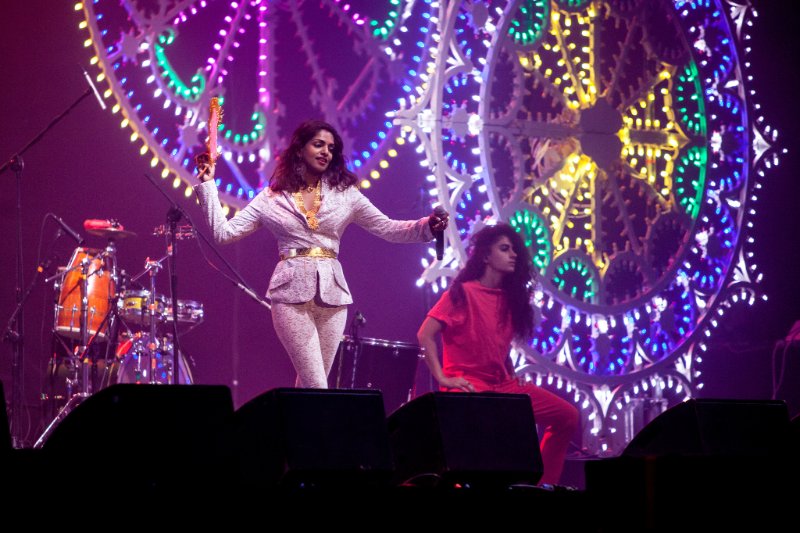
How did your experience drumming for MIA influence your ideas about women in music
 I mean, MIA used to only put women on her stage. It was so badass. I’ll never forget one day, I came across a tweet that I was tagged in that said “OMG, it is so incredible that MIA has only women on her stage right now. These girls are killing it”.
I think that when you get to be as big as she is you have the ability to put women on and really paint the picture that you wanna see in the world. And I think just by doing that and showing how sick the show can be with only women changes a lot of people’s perspectives and stereotypes about what’s possible and about the capabilities of women in music. So, I think that was one of the biggest things.
I also learned about some of the stresses through her. I think she definitely keeps space from a lot of people. I think she continually changes her line up and the people who are working for her and in her show because with women, people tend to push women around more. They tend to expect more; they tend to give their input when they weren’t asked, and so, I think she rotates her line up a lot so that she can keep performing freely without the pressures of others. I think people give men the space they need to create and the respect they need as an artist, but I think with women people think that their opinions are open and welcome even though they’re really not.
You are booked to play GIRLSCHOOL in January. How did you get involved with their festival? Do you think we need more festivals that have women-fronted artists?
Obviously, I do. I think it’s a kind of push and pull. It’s like you wanna have a lot of female-focused and fronted festivals so that we as women can kind of bond with each other and show that there’s power in solidarity and not in competition. And also just to be with those that have a really similar walk of life as you and who can teach you something and who can uplift you so that when you do go into the more co-ed environment, you are equipped with the tools and some of the emotional strength to deal with it.
Anything else you would like to share?
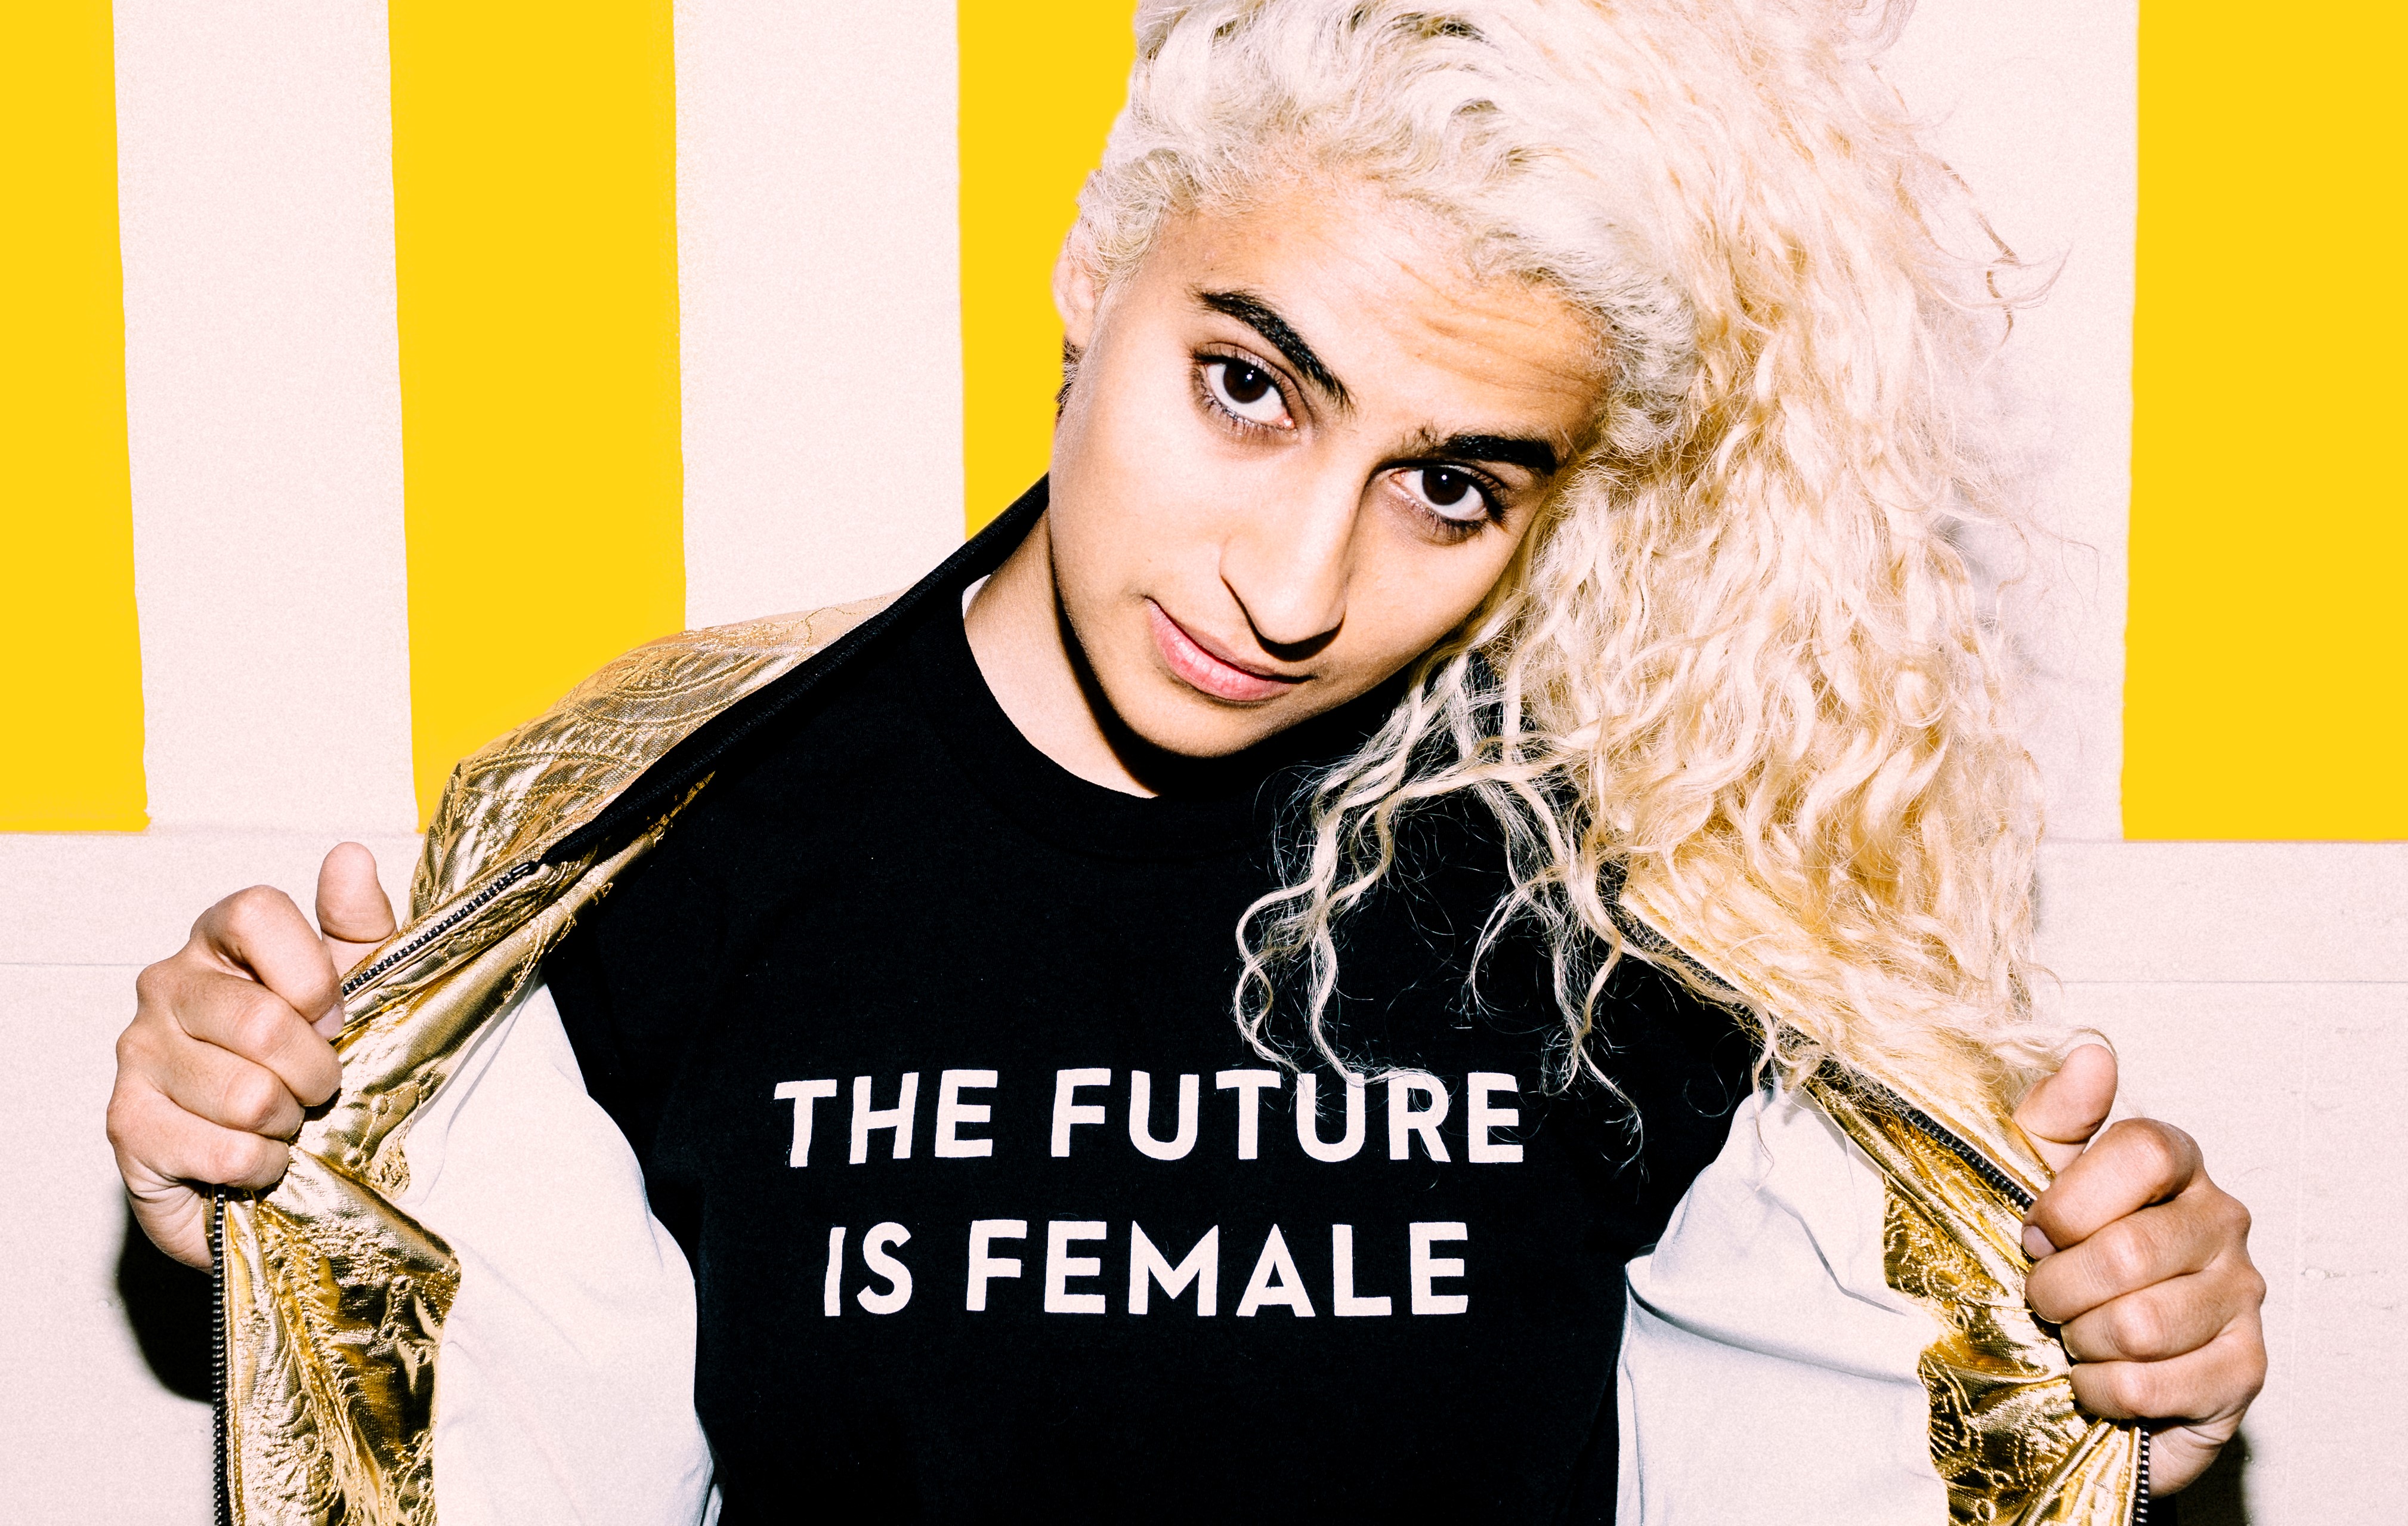
Yeah, I love that you’re doing this blog. I think that being able to share the experiences of other women is really empowering. I think that each of us as women who are doing well owes it to each other to give each other the tools we’ve learned along the way. I think that successful people are not threatened by the success of others, which is the notion of the Future is Female and the notion that Gloria Steinem talks about all the time called “we are linked and not ranked”. You know, the male energy in the capitalist system is that it’s a zero-sum game. For one person to win someone has to lose. But in a Future that is Female, the idea is instead that each of us has something very unique and special to contribute. So by giving each other the space and the respect to be our best selves then we actually live in a far better world than one where we’re trying to dominate and control each other.
I completely agree with Madame Gandhi about the need for less competition and more solidarity among women in the industry. Interviewing Madame Gandhi was so enlightening, and I thank you so much for your voice and support for women in the industry. I look forward to her playing the California Women’s Music Festival.
You can read more about Madame Gandhi and check out her page to learn more about her activism, show dates, and more.