Prepping Your Studio for a Hurricane
As you may know, I am currently based out of coastal North Carolina and it was the epicenter of Hurricane Florence. Luckily Florence lost steam before hitting land and I evacuated safely.
Clean-up is still happening, and I thought I would share some tips in case anyone else finds themselves in the same boat. This list is not exhaustive, and emergency numbers are based on where you live, so be sure to do extra research on what is unique to where you live.
Start thinking about the storm season at least a month out.
- Update your studio insurance, include hurricane and flood insurance if possible
- Be knowledgeable of the flood plains in your area and how often they flood
- Keep your roof in good repair and trim all dead and overhanging branches from nearby trees
- Check your generator for any maintenance
- Create an emergency plan for both your studio and your family
- Take pictures and video of your studio, be sure to include serial numbers for insurance purposes
- Meet your neighbors, communities rely on each other in times of emergencies, if your building is fit it could help the recovery or evacuation process
One week out while the storm trajectory includes your area start planning for the worst.
- Get your supplies now while everything is in stock and reasonably priced. Supplies should include boards for windows, extra gas for the generator, bottled water, sandbags, non-perishable food, walkie talkies and flashlights, fresh batteries, a life jacket
- Organize what gear stays or goes in case of evacuation and prepare it to make evacuation faster and simpler
- Pack emergency kits like paperwork and backed up hard drives in case of rapid evacuation
- Confirm with clients with rescheduling and backup plans for worst-case scenarios
- Confirm with your emergency contacts your emergency plans, and have any employees do the same
- Find out where your nearest evacuation shelter is and any emergency contact information or apps 2 to 3 days out with the storm being imminent be ready on a moment's notice.
- Book hotel if storm is increasing and you are within the cone of uncertainty
- Prep studio for the impact, board up windows, place sandbags, bring in any outdoor furniture or things that could become projectiles, generators stay outside
- Keep everything rapid deploy ready
- Call clients and execute cancellations or rescheduling
Day of decision, it is time for action.
- Execute decision to stay or go
- Mandatory evacuation means no or delayed emergency services
- If you go, drive safe watch for trailers, ditches and shoulders
- Follow your local department of transportation, electrical department and others for updates
- Have emergency numbers handy
- If you stay, know that resources are scarce and rescue is slow
- Follow your local department of transportation, electrical department and others for updates both on social media and the radio
- Help out neighbors with final prep and get their contact information, and be patient
Day of hurricane, it is too late to do much.
- Hunker down, stay calm, stay safe
- Stay away from windows
- If floodwaters rise make sure you can exit if you move to higher floors, i.e. a sledgehammer or go to the roof
- Report any outages and calls for rescue as they occur, be patient
- 1-2 days after the storm passes, assess your damage and slowly start the recovery process.
- Follow emergency personnel instructions
- Do not return until the “all clear” is given
- Flooding may still occur even a week after
- Electricity and roads take time to repair
- Help neighbors only if you have the resources to do so
- Follow news and social media for updated photos and videos
- Stay safe, avoid floodwater, downed power lines, and bridges
Afterwards tie up any loose ends.
- Follow up with insurance
- Document property damage with pictures and video
- Apply for FEMA assistance, there are many programs available and not all are income dependant
- Follow up with clients and employees
- Volunteer if you have the resources
- Blood drives, community debris removal, community rebuild or fundraising projects
While you cannot predict every disaster, you can prepare for some. Use this list as a starting point to help you and your studio survive whatever storm Mother Nature throws at it. Mix safe everyone.
-

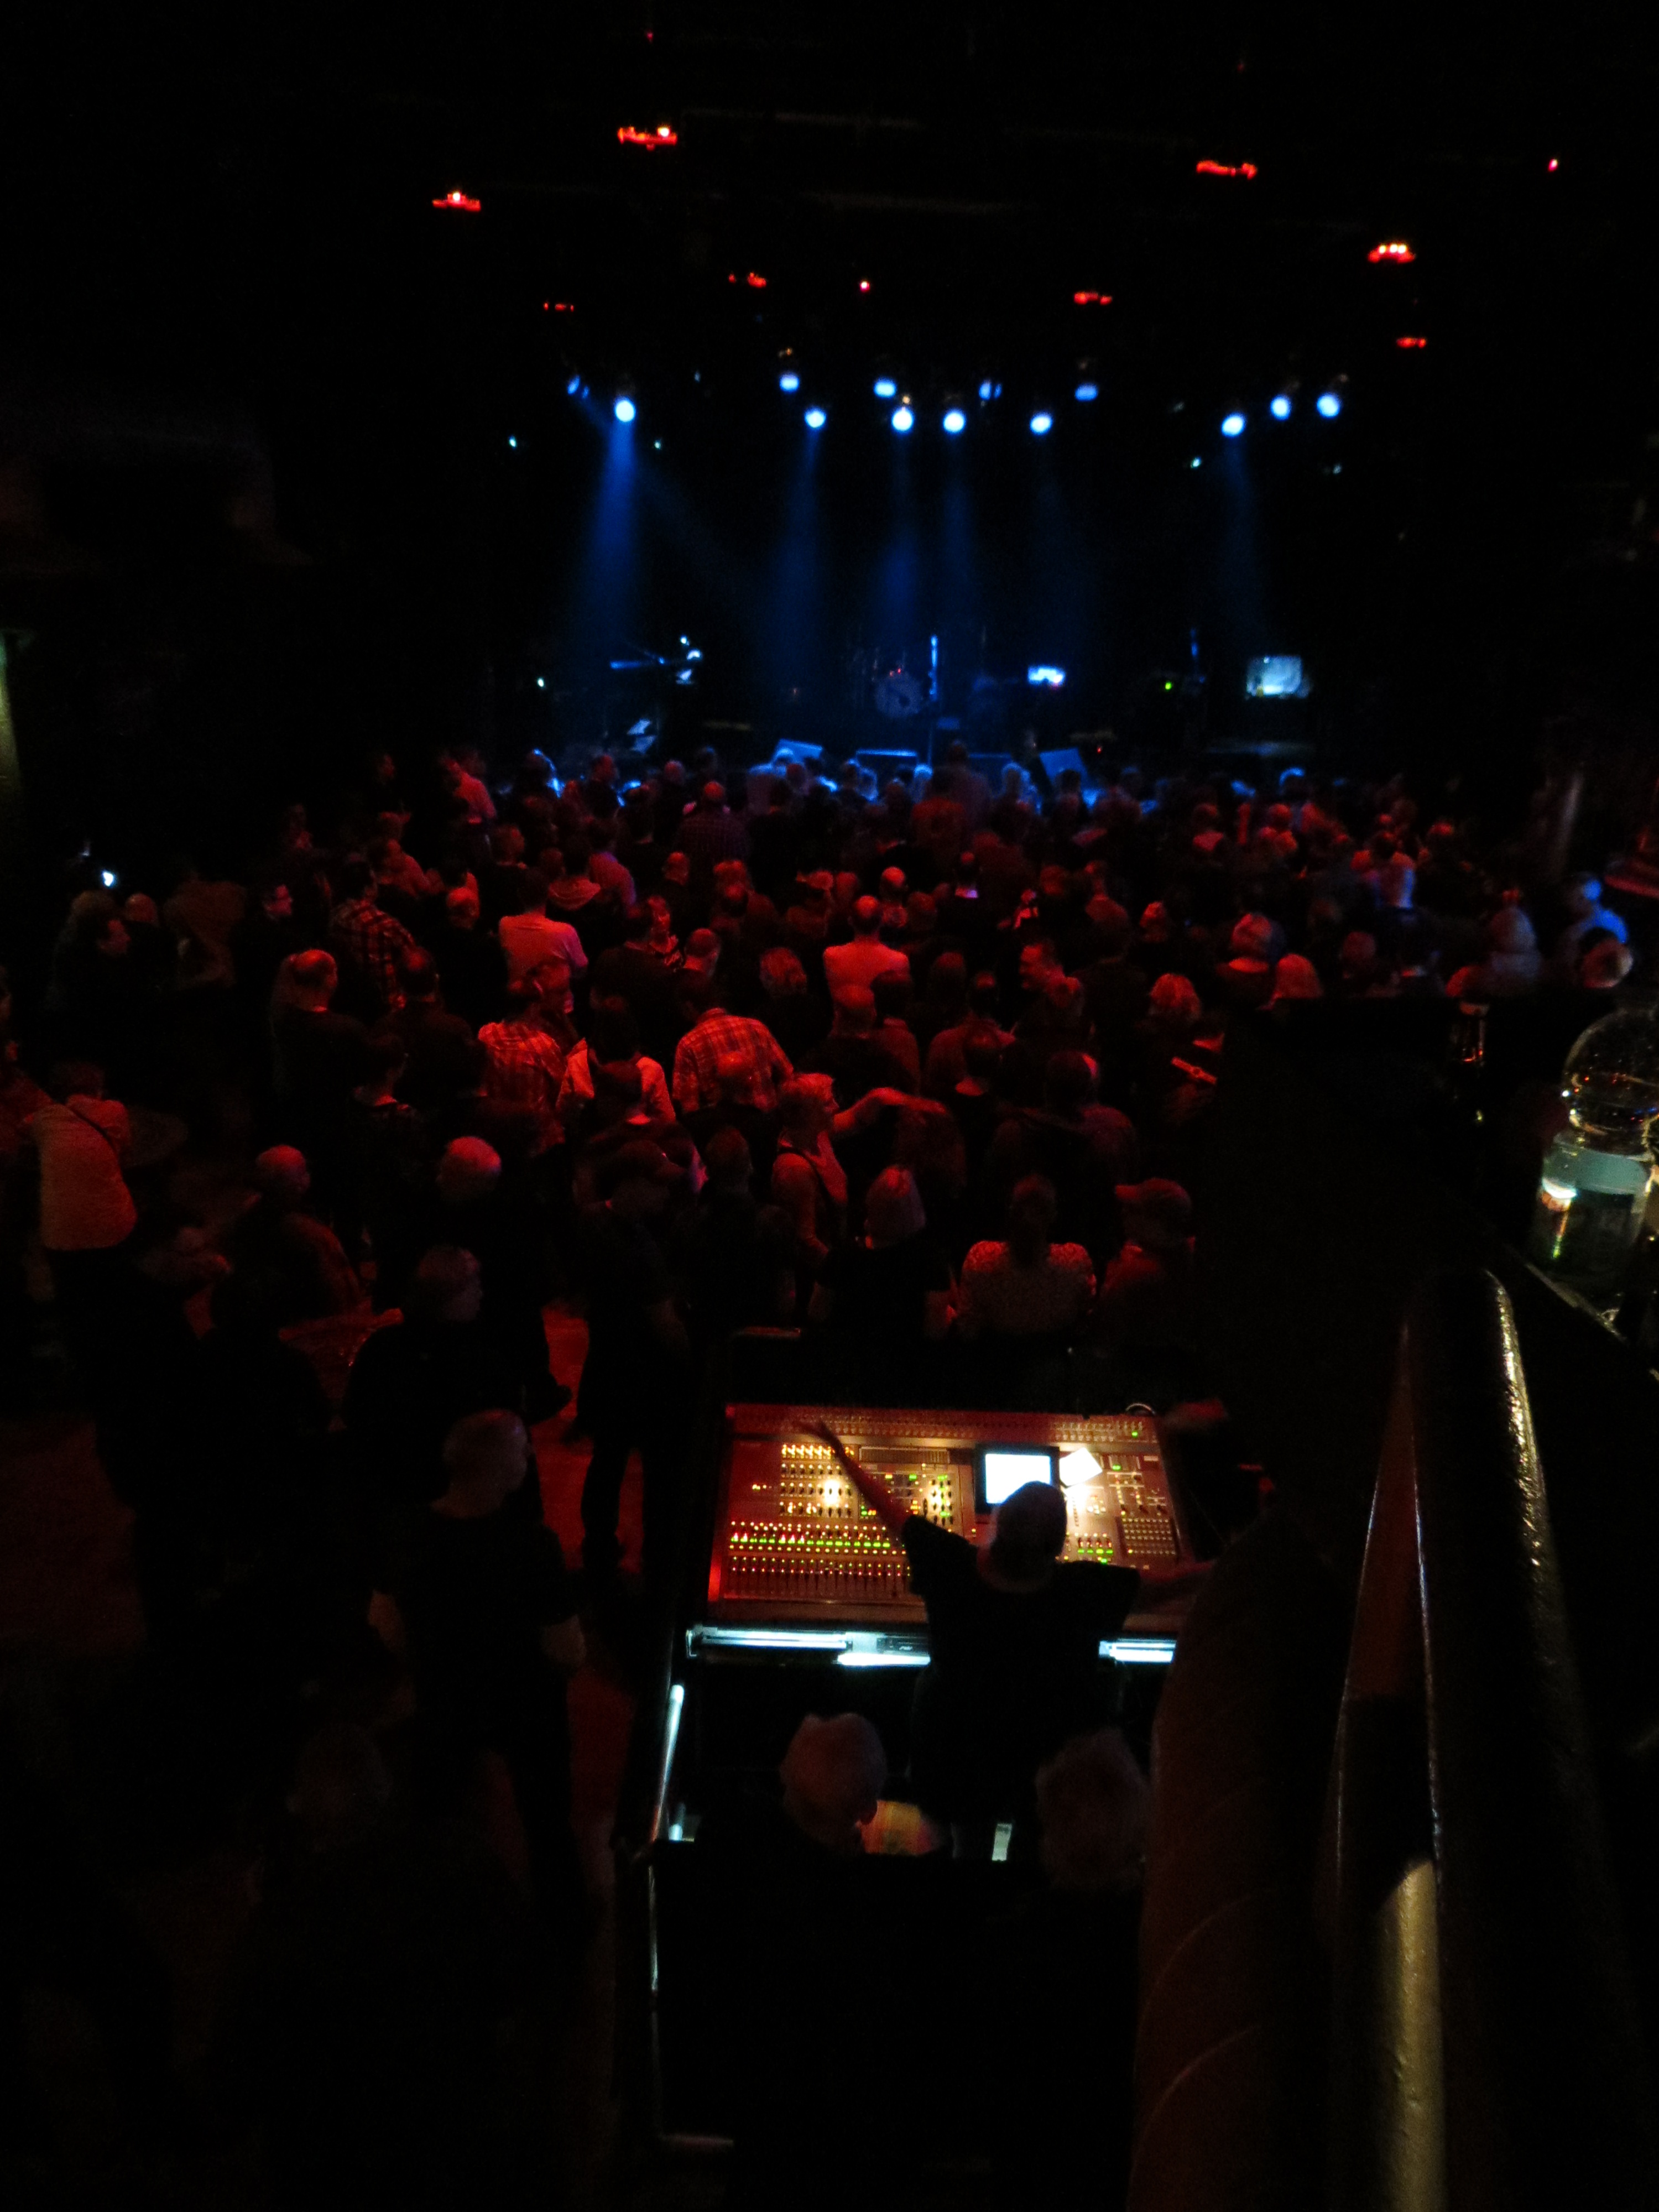
- Hurricane benefit Photo Credit Tracey Stones
-

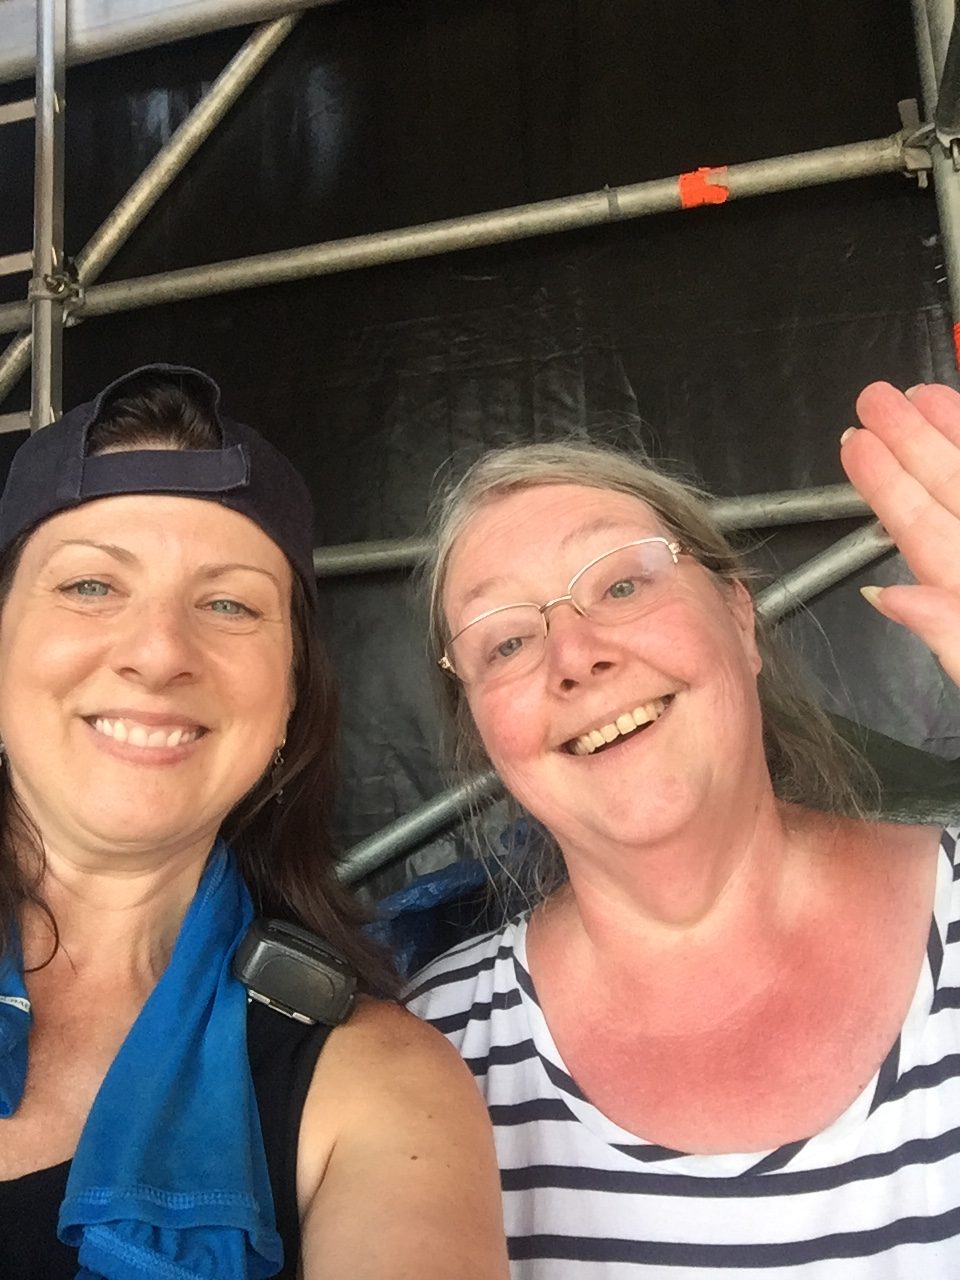
- #NewBernStrong Photo Credit Tracey Stones
-

- #NewBernStrong Photo Credit Tracey Stones