Empowering the Next Generation of Women in Audio

Join Us

Paradoxes In Vocal Editing

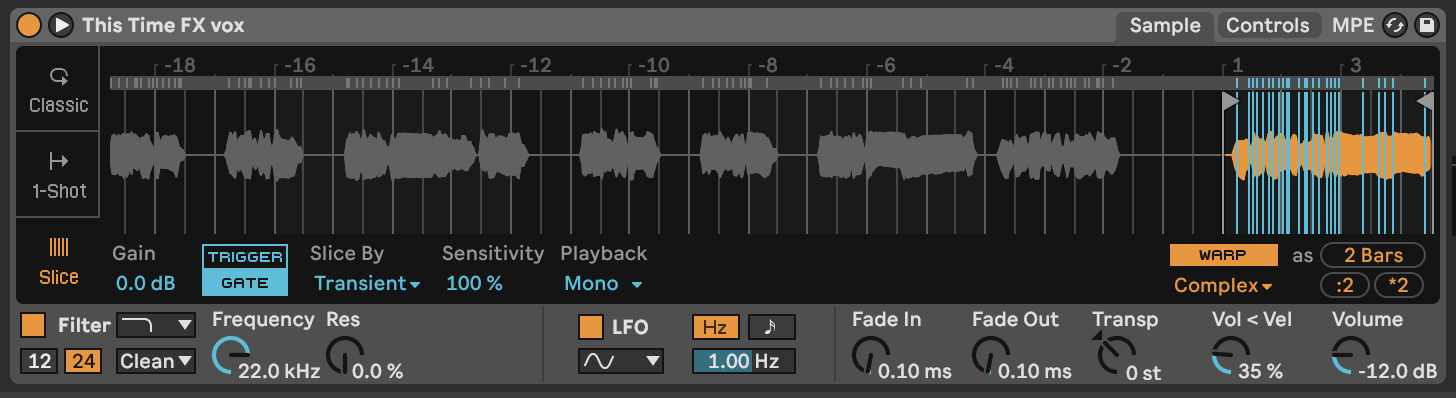
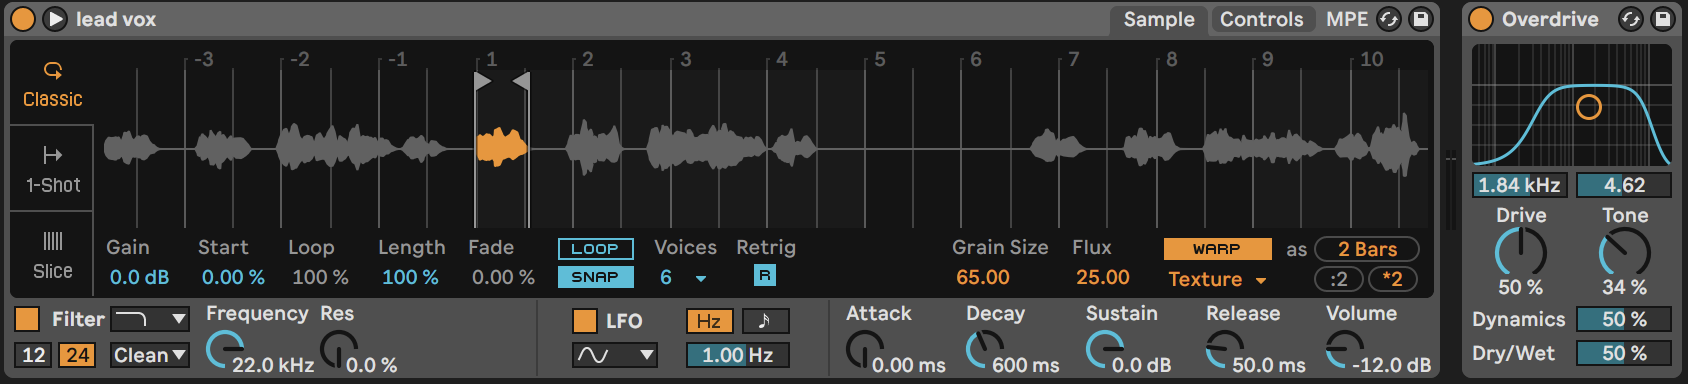
I tend to procrastinate recording vocals for my original songs because I get so worked up about recording my voice perfectly. I worry about making sure my recordings are high quality: I’ve minimized outside noise, gain staged properly, warmed up my voice, am conveying emotion and proper pitch, and have enough takes to work with. Keeping track of all this can be so overwhelming that most of the time when I feel ready to record, I just want to do one take and be done with it. So many singers before the age of digital recording were performing single takes, so why can’t I? Of course, if I’m not careful with my recording takes, I end up spending more time in iZotope RX and Melodyne cleaning up noise, mouth clicks, and pitch anyways. Since a lot of my music is electro-pop-based, the vocal editing needs to be clean so that it fits the production and the genre.

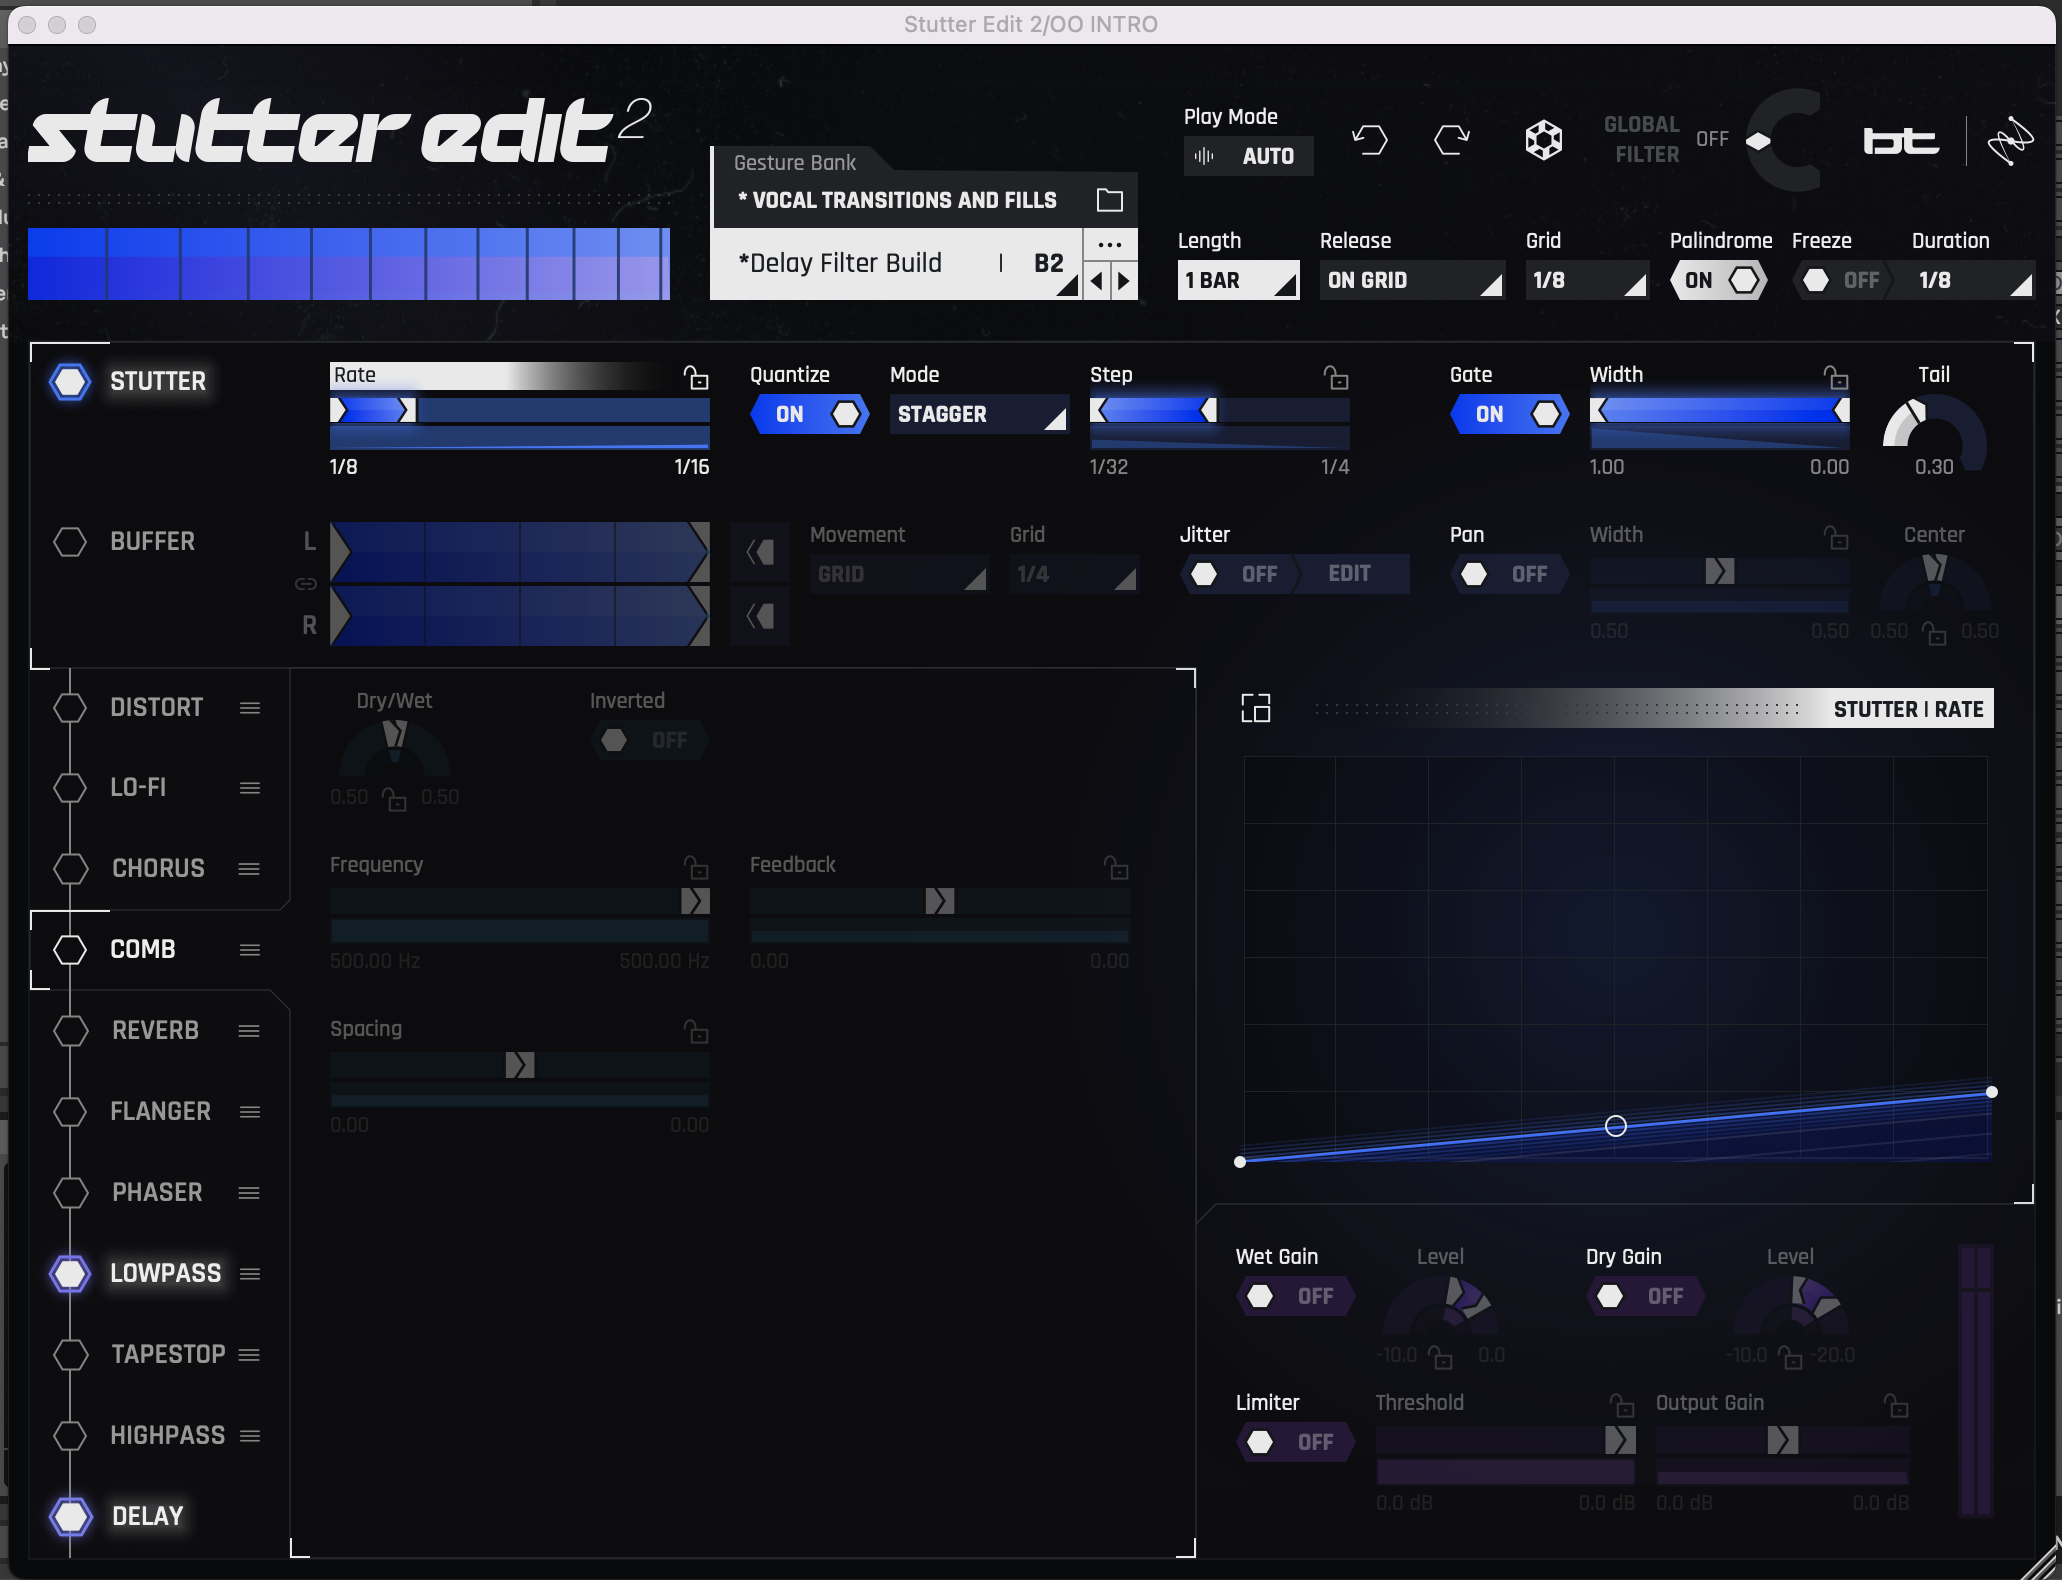
I can’t help but feel like a minimal amount of vocal editing gets us closer to authentic performance, and yet we have all these new technological tools that we can use to produce a perfect Pop vocal. In diving into the philosophy of vocal editing instead of actually doing it, I rediscovered a short clip of Billie Eilish demonstrating vocal comping to David Letterman, which you can view here if you haven’t seen it yet. She and Finneas O’Connell walk through editing of the lead vocal for her song “Happier Than Ever” and point out how almost each word is a separate take. They don’t use autotune and instead take extra time during the recording process to make sure every syllable in every phrase is perfect in pitch and tone and time. They do this seamlessly so that upon playback you really can’t tell that these takes are separate. Most producers do this, and the O’Connells did not invent this technique, yet I’m mostly impressed by the sheer resilience it takes to record the same word or syllable over and over again without completely losing your mind.

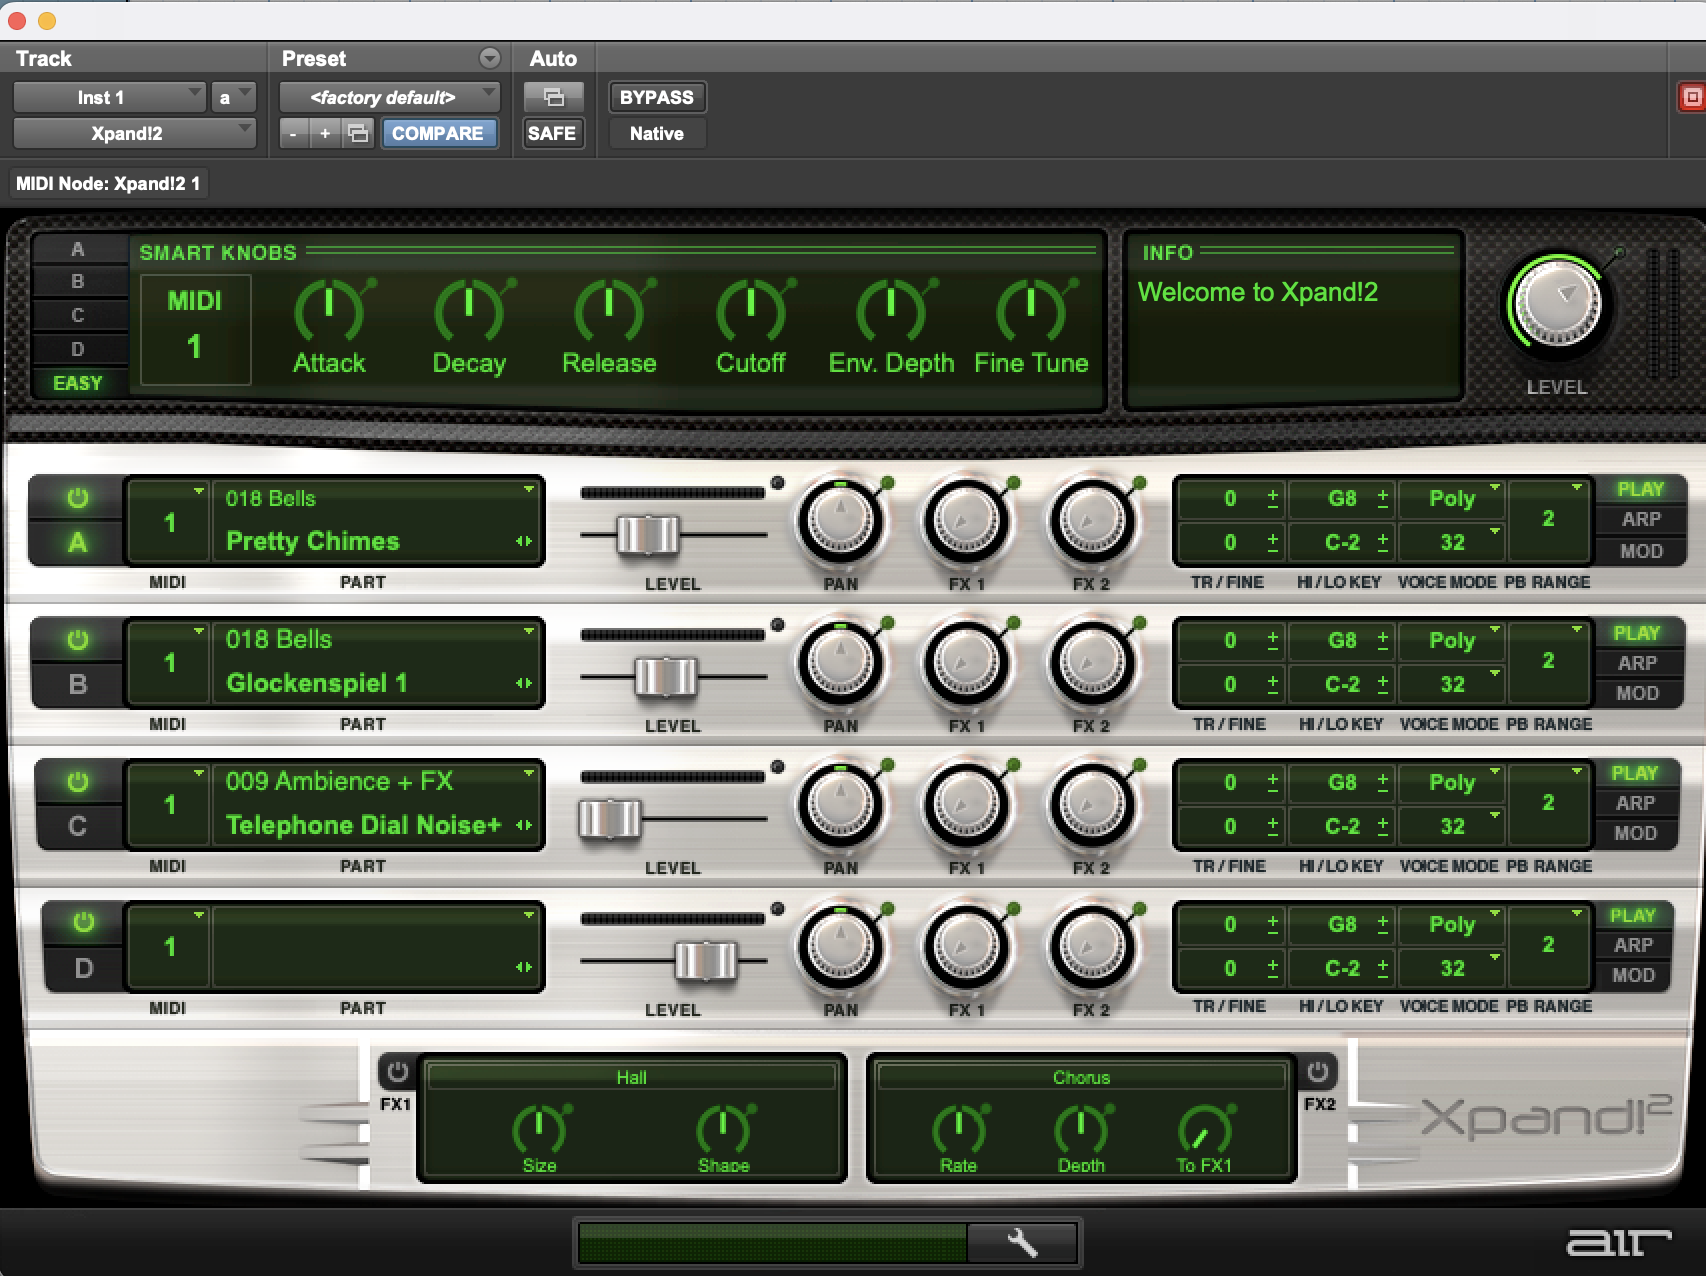
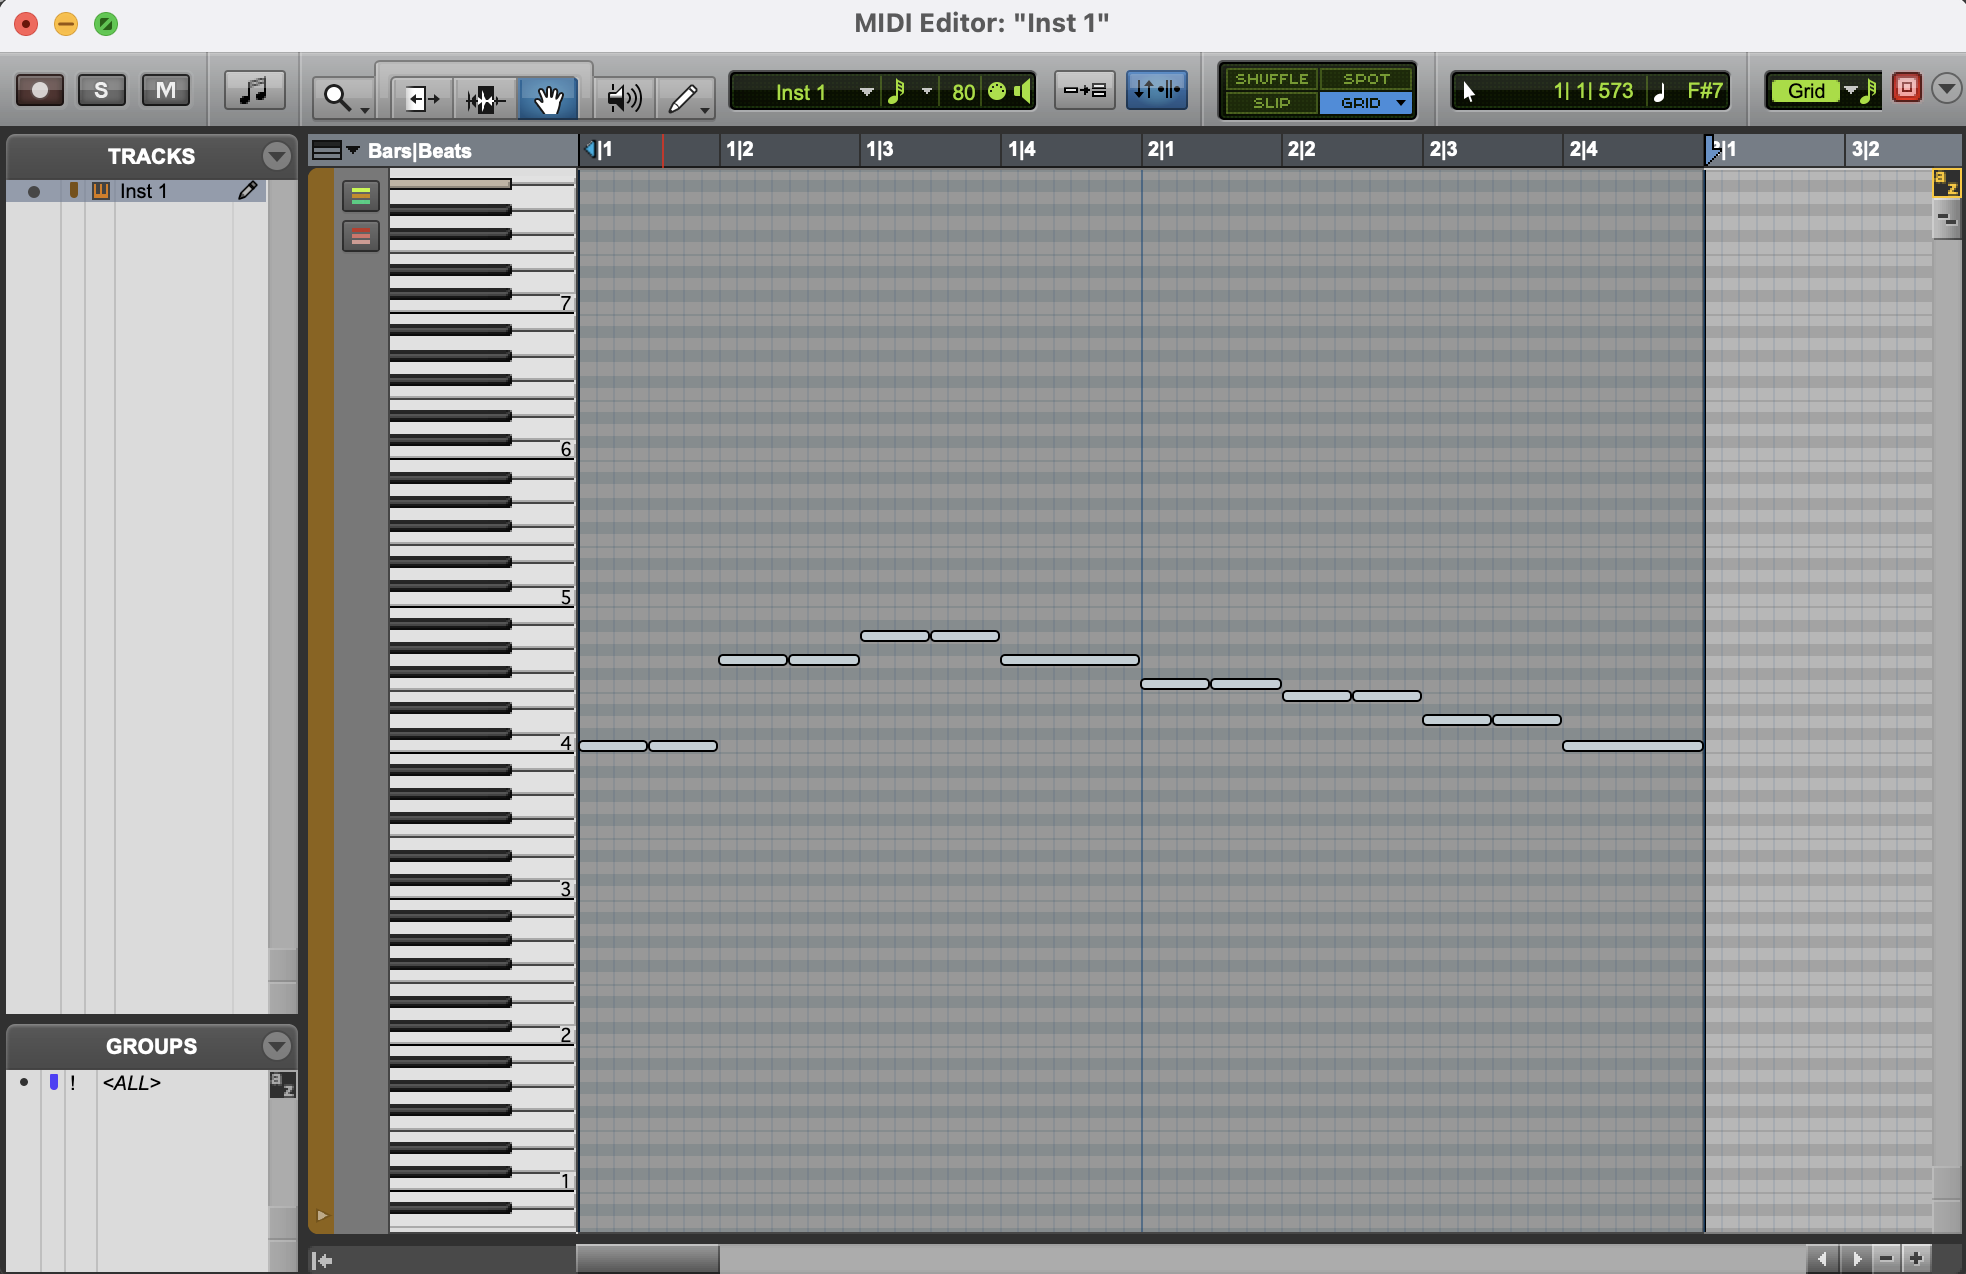
Another video I found, which you can view here, shows Charlie Puth recording, comping, and editing his vocals very meticulously. He splits up the recording of a two-syllable phrase just so he can use pitch shifting to sing the higher note of the phrase at an easier pitch for him. To be clear, instead of recording himself singing an octave up, he uses SoundToys Little Alter Boy to pitch his voice down and sing a lower note, which he then pitches back up to the right key so it sounds like his tone is fuller when he sings higher. He also punches each note in over and over until he gets the result he wants instead of playlisting and comping later, and he manually lines up harmony takes in Pro Tools instead of using Vocalign. He really uses the DAW itself as the editing tool instead of other plug-ins, and his philosophy is that since we are privileged to have this technology, it’s worth taking the time to make a quality edit.

I yearn to master these techniques confidently and efficiently. As someone who gets overwhelmed easily, I usually record until I get a take I like instead of playlisting. I also realize that quickly comping multiple takes in the moment of the recording process is super valuable despite it resulting in the derealization of my own voice. More than anything, I want my voice to sound like my voice, which usually takes a lot less thinking and tinkering and a lot more feeling and emotion. Still, as a low-budget indie artist wearing almost all the hats, how can I decide if perfecting the performance is a better use of my energy than mastering comping and editing techniques? I admire you if you have the energy to do it all.

I’m always reminded of how Stevie Wonder records. For Songs In the Key of Life, nothing was spliced, and takes were rerecorded instead until they were right. This seems frustrating, but Wonder’s elite musicianship made this a viable process. Four years before this record was out, “Superstition” was recorded with a world of mistakes. This is one of my favorite recordings because it’s radically authentic. The squeak of the kick pedal lingers throughout the track, and if you listen closely you can hear the brass players discussing their parts since they didn’t get time to practice.

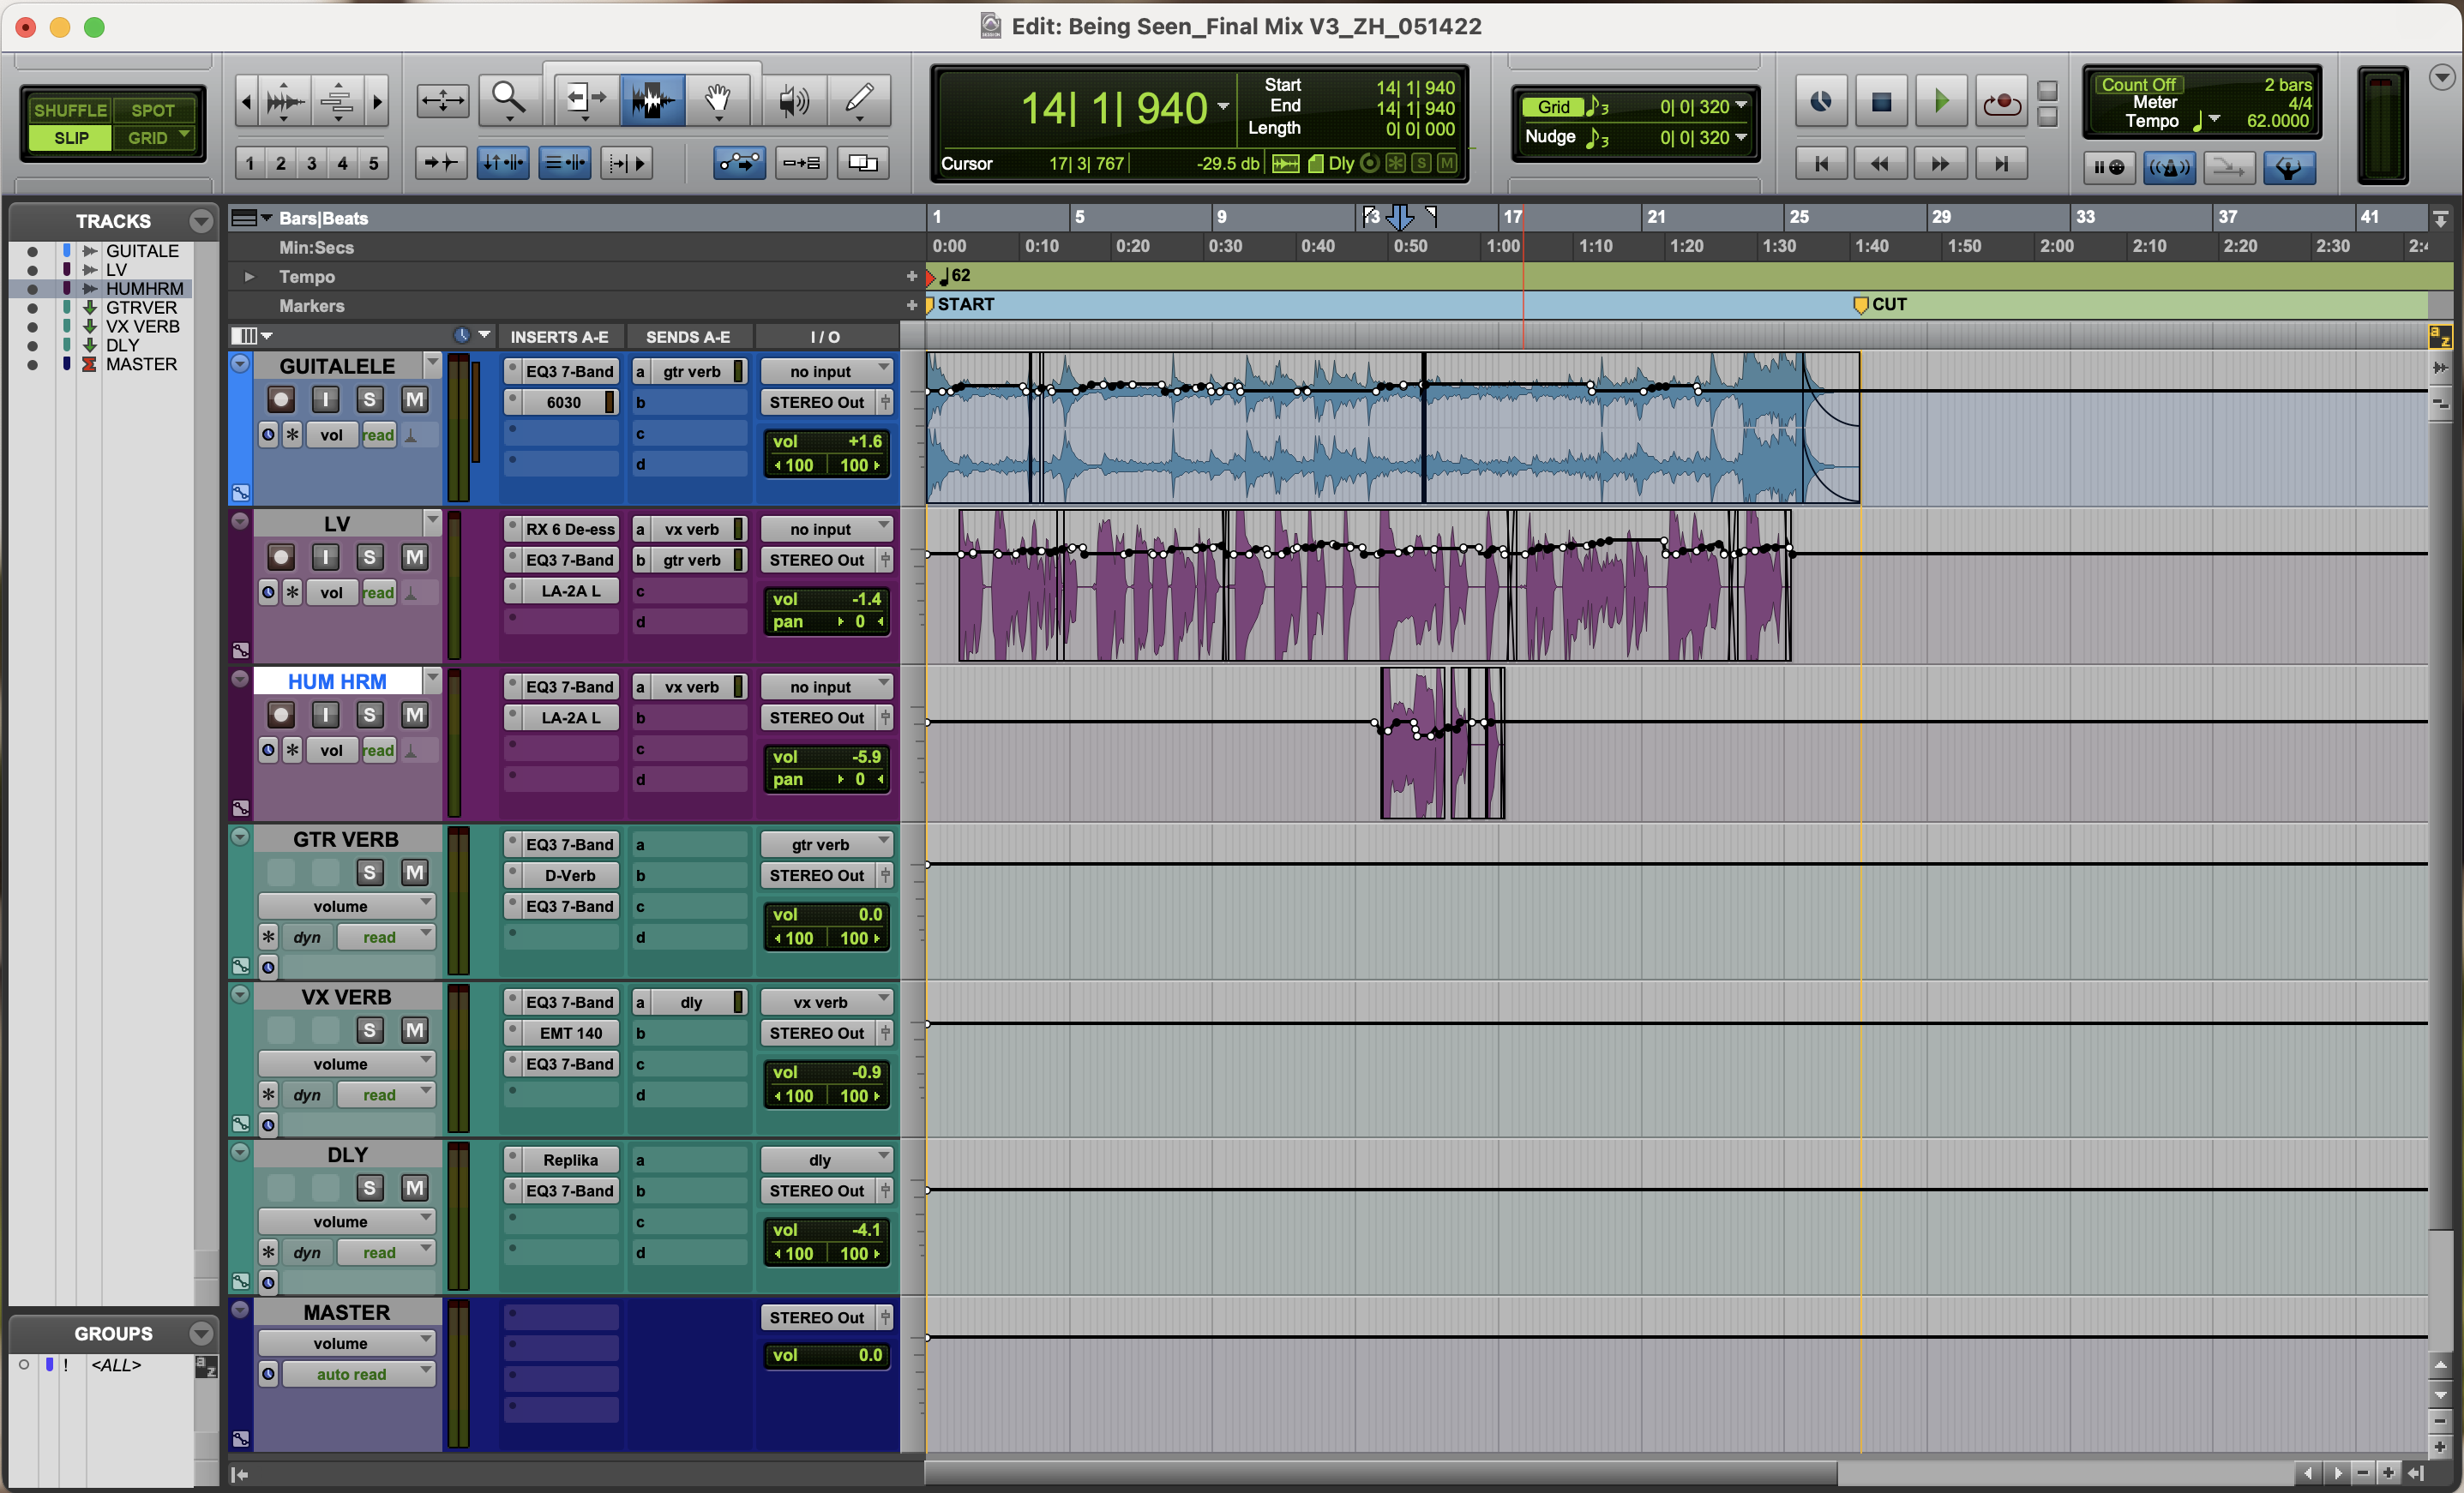
So, I might be a little biased towards how I define an authentic recording based on how accurately it conveys emotion and how close it feels to a one-shot live performance, which is a little old-school. However, when I record and edit my own vocals, I usually end up using one or two takes. I clear out the mouth clicks with RX, I tune the important notes in Melodyne, and I try to think about it as little as possible. I know that a little extra elbow grease in each step of the process might give me a perfect result, but I completely disconnect from the point of recording when I start on that journey. I tend to view authenticity and perfection as opposites, but learning about how other producers approach this work shows me that authenticity and perfection thrive on reciprocity. I don’t know if there’s a right way to edit vocals, but I know that no one can tell you the right way to do it.

Tips For Indie Artists Outside Major Music Cities

I recently moved back to my hometown from Los Angeles to kickstart my music career, which I’m sure sounds counterintuitive. Aren’t you supposed to move to the major music city, not away? Before I left for college, I was so ready to leave my hometown and explore music scenes elsewhere. However, after I quit my full-time job this year to be an independent artist, I decided to go home to save up money and work in a space where my creativity can flourish. If you’re a developing independent artist who either by choice or by chance lives in a small town or outside the likes of Los Angeles, New York, or Nashville, I want to share with you some ideas I have about making the most of your musical environment from my own experience.

Connect with your local music community.

The main challenge I’m facing now that I’m outside of Los Angeles is remote networking. I miss attending my friends’ and colleagues’ performances and connecting with other independent artists who follow a path similar to mine. Even though the music scene in my hometown is different, there are still opportunities to network with other artists. Here, many restaurants and non-profit groups host large community-building events that often have live music, so I can attend these events and meet local musicians this way. Many gigs around me require musicians to play mostly covers for long periods, which can be really exhausting, especially if you are trying to share original music in a non-acoustic genre. Even if this style of gigging isn’t something you want to do, it’s really easy to use the Facebook Events tab, add your location, and find these gigs in your area to attend. I’ve found that supporting other musicians at gigs while I’m working on recording and producing at home keeps me inspired and reminds me of how loved the live music scene is in my hometown. I also feel that bonds with local musicians lead to a unique, lifelong support system.

Set up a remote rig

I think setting up a small home studio no matter the quality is essential, even if you’ve just got a USB microphone, your laptop, a DAW, and some headphones. If you don’t intend on producing, you can still keep track of new ideas you have and you can seamlessly send off recordings or demo tracks to producers or industry professionals to work with remotely. I recommend looking for good beginner bundles on Sweetwater to get you going in the right direction. I’m a firm believer in investing in long-term gear, so I think it’s best to find an affordable starting place and then build on your home setup if you want to. You can isolate your sound for recordings by using closets and blankets to reduce room noise. While I hope to work with mixers in the future, I’m currently a one-woman recording studio with my bedroom setup. I can easily record my vocals, arrange MIDI tracks in my DAW, mix on headphones and speakers, and send off my prints to a mastering engineer. Even though I’m home, I’m still putting out new singles on Spotify and other streaming platforms with my rig.

Get on TikTok

If you’re like me, then the idea of making a video of yourself makes you cringe. I’ve avoided posting myself, video content, and ultimately my music on social media for most of the time I’ve been making music. Something I’ve learned recently is that just like performing in front of a live audience, taking videos of myself for TikTok takes practice to build confidence. Something else I’ve learned in the past year is that confidence isn’t absorbed from others, it’s generated within yourself when you take risks and do the things that scare you. Posting on TikTok scares me, but it is the largest audience for musicians, producers, and artists of all kinds right now. As independent artists, it is vital for us to adapt to the changing industry. So I’ve followed some tips I’ve learned from other friends who post regularly on TikTok and am developing some consistency and some confidence! It’s not every day I can really get myself to make a video, so a few days throughout the week when I’m really grounded, I will make a few videos at a time to have multiple to post for the week. Besides clips of my music, I share insight on my songwriting, recording, and production process, and I like to keep the material as authentic as possible so I can engage with an audience that is similar to me.

When I first moved back home, despite my determination to start putting out music, I was fully expecting to feel isolated from the entire music industry for a while. With an open mind, I feel more akin to the music industry than I expected. I know that being in a small town and shooting for the stars can feel hard when it seems like all the stars are concentrated in a big city or on a different coastline. However, as independent artists, we have the power to use all the incredible resources around us and step into the spotlight.

Designing With Vocals: Part Two

Part One Here

I just released a new song this month called “This Time” and thought it would be a great opportunity to expand on my tips for sound designing with vocals. Similar to my last release, I recorded all the lead vocals and harmonies in Pro Tools with a temporary instrumental track and click track for timing. I used iZotope RX9 and Melodyne to clean up and tune the vocals using AudioSuite and committing Melodyne. I automated the lead vocals and adjusted the balance of the harmonies before exporting the tracks into Ableton. For this session, I exported sums of the harmonies and backing vocals in order to focus on the production elements of the song in Ableton and not obsess over the balance of the vocals. It also makes it easy to manipulate groups of harmonies together since I’m exporting from one DAW to the other.

The main sonic element of the breakdown of my song is a multilayered “ah” vocal that carries throughout the section and sounds like its own synth. I did most of my design work with this sum of vocals, starting with the use of iZotope’s Stutter Edit in the intro of my song. This was my first time using this plug-in, and it was a bit intimidating when I first opened it up. I focused on manipulating the “rate” and “step” parameters under the “stutter” section to get some interesting patterns to combine with an opening low-pass filter as the intro of my song. I followed a helpful YouTube tutorial in order to get started and found a great preset to work off of called Delay Filter Build. In the picture below you can see I kept the parameters simple but found a great effect with it that ties the intro of the song to the breakdown.


Further building on the breakdown of “This Time,” I wanted to incorporate the nostalgic feeling I get from 2010’s House music like some of Calvin Harris’s earlier hits for example. I have all the synths and background vocals side-chained to a four-on-the-floor kick to give it this floating effect. Adding the previously mentioned “ah” vocal layer into the sidechain to make it more emotive and flowy was a much faster process for me since I summed those vocals into their own stereo track when I exported out of ProTools. All I had to do to cover this technique was use the default compressor plug-in in Ableton and activate the side chain. I made a separate muted track that followed the kick pattern so I could control when the sidechain was occurring throughout the song and isolate it to that section. I set this as the key to the sidechain for the vocals and synths and adjusted the attack and release times according to to feel. Some people like to find the length of one beat in the particular tempo they are using and set attack and release times based on those calculations. I have tried this before but generally find that it doesn’t always feel the way I want it to, so I just make sure I’m using the same sidechain parameters for all my tracks to keep it clean. In the image below you can see how I use this with an auto filter and a phaser to transition the vocal layers from the last chorus into the breakdown.


In my last blog on vocal designing, I used Simpler’s classic option to create a sampled melody from one of the lyrics in that song. For this song, I created a sampled vocal melody again with Simpler, but instead, I used the slice option for a more typical EDM-sounding sampled vocal. First, in ProTools, I took a chunk of the lead vocal and processed it with iZotope VocalSynth for autotune and formant shifting effects. I used this processed vocal in the breakdown as is, and I also added it to a MIDI track with Simpler on to create a new melody. With the slice option, I could map out the different notes of the existing melody, so I could control the rhythm and choppiness of those notes. I preferred this method far more than just using the one-shot method in my last song because I actually made a unique melody with it that diverged from the song’s original melody. This technique was also really intuitive to navigate and utilize and (honestly) made me feel like a real producer for maybe the first time…


I love using vocals to add effects and elements to my productions, and I’ve found that I’m really developing my own skills as a producer as I search for more exciting ways to express my recorded vocals. I hope to share more tips and tricks with my future songs as I discover more.

Approaching Acoustic Mixes

Recently, I mixed the song “Being Seen” by Ariyel after the song received many views on TikTok. The tracks consisted of guitalele (hybrid of acoustic guitar and ukulele), lead vocal, and a supportive humming vocal. I want to walk through my process for this mix even though it was fairly straightforward and the artist was really aiming to highlight her raw and vulnerable performance. I really enjoy listening to soft acoustic songs to balance the loads of electronic-based songs I listen to regularly, and I believe it’s important to take good care of the mix no matter how simplified.

If you’re a Bake Off fan, you might recognize that whenever a contestant decides to do a “basic” loaf of sourdough bread for example, Paul Hollywood warns the contestant that everything must be perfect because there is less to judge. I think of acoustic mixes like this since there is less going on when stacked up against songs in a playlist with fuller arrangements. Since the guitalele and vocals were recorded in a home studio, I started my basic sourdough recipe with iZotope RX 9 to de-click and de-noise the tracks as much as possible without creating artifacts.

Since only two instruments are commanding the whole frequency spectrum of this song, I found it most effective to EQ the guitalele and lead vocal track at the same time, moving through one frequency band at a time. This process kept me from overloading certain frequency bands with both instruments. For example, I really liked the warmth of Ariyel’s lower register, so I had her voice fill up more of the mid-low frequencies and reduced the guitalele in that area. I also included compression plug-ins on the lead vocal and guitalele tracks, but I kept the settings subtle for overall smoothing without too much audible effect. I like using McDSP’s 6030 Ultimate Compressor for this style of compression because the simple UI and fewer parameters prevent me from overthinking this mixing step.


For the time-based effects, I wanted to reintroduce a sense of singular space since I removed a lot of that with RX, and I also sought out a small, fleeting ear candy moment with delay. I used a default 1.2-second plate for the guitar reverb and used this sparingly, but I made sure to send a little bit of the vocal to the guitar reverb as well to blend the instruments in the background. To keep the lead vocal as the stand-out instrument, I also used a longer (nearly 4 seconds) plate reverb for the lead and supported humming. This added an ethereal aesthetic to the song and also gives the listener moments to sit in the rawness of the vocal as it rings out. For the added ear candy, in the humming section of the song, I sent the vocal reverb instead of the dry vocal to a soft triplet delay.


Because there are a lot of short moments of silence, I made sure to automate the reverb levels lower during those times to make sure those moments stayed authentic to the recording. During one of my favorite classes at Berklee, an analog mixing class, I became really diligent with level and send-level automation. Now, I automate nearly all tracks in a mix all the time, and I think it is especially effective for sparing acoustic mixes. It can sometimes be a pain (especially if you’re on a laptop using a mouse pad like me), but I believe it is very worth the extra time to take a few quick passes and smooth everything out.


Whether you’re a sourdough pro or you’re just getting started on your mixing journey, I hope my process shares some insight and inspiration for your own methods. The best part about stripped-down mixes like this is that it’s all about the performance. I feel that our role as the mixer is to support the performance as it transcends a live TikTok and enters the streaming realm.

Designing With Lead Vocals

Until recently, I didn’t consider myself an Ableton Live user, since I was primarily using Pro Tools for vocal production. Since I mostly produce Electronic-Pop music, I made the switch to Ableton earlier this year. Before then, I was faced with the complexity of designing new vocal parts for a project using Pro Tools and stand-alone plug-ins with loads of parameters, and I craved an outlet for a more intuitive process.

After recording the vocals for my original song called “Beach Blood” in Pro Tools, I transferred the files over to Ableton to build a track that really reflected my style. One thing that made this such an easy change is the many learning resources. On top of the website’s Knowledge Base, the DAW has both an “Info View” and a “Help View” that makes understanding parameters and navigating through the manual very simple. This information isn’t revolutionary, but I emphasize this because I didn’t feel like I had the same kind of resources for learning other DAWs or even other audio software.

As I dove into producing my song, one resource I used that I highly recommend is the YouTube videos of fellow Berklee alumni Claire Lim, known as dolltr!ck. Getting started using Ableton’s built-in vocoder was super easy with this tutorial. My song is extremely vocal-heavy, so adding a vocoder was the obvious next step for incorporating dynamic texture. Following this tutorial, I created “carrier” and “modulator” tracks in my session, with the “modulator” track as my lead vocal recording I made in Pro Tools. Since the vocoder is supporting layers of organic background vocals, I mostly listened for how this new part blended into those existing vocals. This let me release my grip on the technical aspect of the plug-in. Here you can see how basic I kept the modulator, and I’ve included one audio clip without the vocoder and one with it to hear the difference.


I also used the vocoder plug-in to transform a lyric into a sort of “lead” synthesizer instead of supporting the vocals with harmonies. I played around with a preset called “basic peak lead” which uses FM synthesis in Ableton’s Wavetable synthesizer, perfect to satisfy my affinity for harsh FM sounds. In my other Wavetable examples, you’ll see I mostly utilized various LFO speeds and depths to manipulate the position of the oscillators in the modulation matrix. I followed my gut with these decisions and found it really natural to incorporate my choices into the song. The image below shows what that looks like, and here is how that sounds.

Returning to Wavetable, I used two instances of this synthesizer as bright pads to contrast the heavy bass material in the song. While the option to really dive into this instrument is available, I also found it easy to get a sound I wanted without exploring too deeply into the complexity of wavetable synthesis. I just dragged my lead vocal sample into the visualizer window for the first oscillator and used a pre-existing detuned saw for the second oscillator. I also set the octave on my MIDI keyboard higher so the pads didn’t mask the vocals. Similar to the lead vocoder track above, I made some slight adjustments to the modulation matrix with my main focus on the oscillator positions, and in one instance, I added an arpeggiator MIDI effect. Even though it’s not immediately obvious that this sound came from my voice, it has a similar essence and keeps the sonic footprint of all these different parts within the same space.

The last design element I want to point out from this project is a rhythmic vocal sample I made using the Simpler instrument. I used the lead vocal as the sample and cut a random short clip, and I adjusted the envelope to give it a short decay. Then, I played around with the loop, warp, and filter options, and added the overdrive audio effect for some color. Once I got a staccato sound with a mixture of tonal and atonal qualities, I listened through my lead vocal to find a lyric I wanted to emphasize when the loop played all the way through. I felt like this last step highlighted the story in the lyrics which is always the most valuable and detailed part of my music.


Most of these techniques are straightforward in Ableton Live, which makes following my producer’s intuition a painless process. I have reiterated in many of my recent blogs (since focusing on producing my own music) how important it is to get out of your head, trust your gut, and free up the space in your mind that clutches to technical excellence. I still value a highly technical design or mix, but I’m leaning more into my instincts to balance out years of servicing my engineering self. For now, I am more attracted to the process of music making that puts creativity at the forefront of my projects.

A Producer’s Tarot Reading

I consider myself an exceptionally slow producer. I’ve been working on this one original song since January, and I’ve made four other versions of this song in the past three years that I didn’t like. Typically when I sit down to work on the song, I start to pick at a certain aspect of the track (recently I’ve been mulling over the specific bass sound) and I sit with it for the day and try to get it to a place I’m happy with. I wouldn’t wish this method upon my worst enemy because it gets me stuck in the process and makes it difficult to move forward with the next steps.

Typically I might take a more scientific approach to overcome this slump, like applying psychoacoustics to my dilemma. Is there some prospect of my own listening capabilities that I’m ignoring? Perhaps there is an interesting sound design or mixing technique I learned in college that I can test out. Maybe I can explore a niche genre of music that I might find inspiring. Most likely, I’ll discover that the song is fine the way it is, and I’m overthinking. Any number of approaches might thaw my frozen creativity block, but I think a less empirical approach could help me find some answers and ease up on being such a perfectionist with this track.

I started teaching myself tarot this past week, and as part of this practice, I’m going to do a reading for my song and apply it to my current music production challenges. If you share any related struggles with feeling stuck creatively or trying to perfect your latest track, then I invite you to interpret this reading into your own process. I’m going to pull three cards that will apply to the following: what the song already has, what it is or represents, and what it needs. It’s possible that I’m breaking some rules with this, but one of the first things I learned is that there is no one way to use tarot cards.

Before we begin, I want to make a few notes. My deck is cat-themed, so a lot of the guide uses many feline puns that sometimes don’t make sense to me, a human being. I like to use this website as a reference for interpretation instead. I’m asking an open-ended question so that I can interpret this reading with my own song, and you can also consider how it applies to your own project!

The question I’m asking is, “How can I help my song to reach its full potential?

I pulled the Three of Cups, reversed Five of Swords, and Two of Wands. I’d also like to note that all cards come from the Minor Arcana which, from what I’ve learned, typically deals with day-to-day challenges and individualized experiences. These are simplified and generalized interpretations for this blog post’s sake, but there is plenty of insight to offer some perspective on my creative process. The first card (what the song already has) is the Three of Cups, which savors celebration, highlights human connection, and encourages creative collaboration. The Cups suit symbolizes water and embodies relationships and creativity. When I think of collaboration in this context, the various musical influences of this song come to mind. I listened to a lot of references from Pop artists that inspired me like Maggie Rogers and Sylvan Esso to channel the vocal style and synth accompaniment of this song. I made some changes to my process in order to more easily embody these artists: I switched to using Ableton Live for this song, I re-recorded the vocals multiple times, and I changed a lot of how I processed the vocals to fit these artists’ styles. While influence from artists is always a great place to start, I think the Three of Cups in this position is telling me it’s time to move on from my influences and focus more on harnessing my own sound. I need to listen to my track again and take note of which parts of the song most align with my story and myself. Before all its influences, this song was just a simple chord progression with lyrics, and my first instinct for recording was to layer up loads of harmonies. The next steps I can take are making sure the lyrics and harmonies are the highlights of the song.

The second card (what the song is) is the Five of Swords reversed, which represents settling past conflicts, reconciling relationships, and learning from failure. The Swords suit symbolizes air and embodies intellect and communication. As I mentioned before, I have produced four other versions of this song, and this most recent attempt is the closest version of what I envisioned. I think that right now, this song represents my growth as a producer and my capacity to learn from all the times I was unhappy with the creation. Getting stuck with this production is hiding what I’ve achieved since I first started producing. I think this card is also telling me to re-explore the emotions that charged this song in the first place. I’ve designed some cool vocal samples and other “ear-candy” in Ableton Live, but I think it’s important for me to re-evaluate how those moments serve the raw emotion of the song.

The third card (what the song needs) is the Two of Wands, which represents clear planning, making steady progress, and aspiring for long-term goals. The Wands suit symbolizes fire and embodies passion and creativity. I feel like this card speaks most clearly to my creative slump. I’ve been studying the short-term goal of finishing this song for release and ignoring how this song will speak to future productions and releases or the discography I want to showcase as an artist. While it feels like I’m moving slowly with this song, I think I need to realize that I am not just working on this song but my overall sound. As tedious as it can be, it is probably a good time for me to put together a small library of the sounds I’m using in this song so I can build on my sound design for the next songs or a large-scale project like an E.P. This card is also telling me to be decisive, which is something I am literally struggling with since I’ve tested out a ridiculous number of bass sounds for this song. Like most art forms, it can be hard to tell when a song is done with production or the mix is finished, so I think this is an important reminder for me to trust my instincts and follow my initial decisions.

All this interpretation is rather subjective and maybe not something you might believe in, but it gave me the chance to let go of my grip on a perfect song. Getting stuck in creating can be a frustrating experience, and sometimes there is an obvious next step to overcome the obstacle. I hope that if you’re facing a creative block, you take it easy on yourself. Be forgiving of your process and trust in your instincts. In my last several days of learning tarot, I often found that I knew the answer to my question all along, I just needed to understand it in a different way.

Energy Conservation in Pop Music

I began using the law of conservation of energy to visualize the evolution of Pop music when I was in high school. I was studying higher-level chemistry and music history as part of my International Baccalaureate degree, and while it felt like two unrelated subjects, I was eager to make a connection between them. In general terms, the law of conservation of energy states that energy in a system can’t be created nor destroyed, it just transfers from one form of energy to another. I started visualizing this idea in musical expression while diving into Western European art music and the evolution of Jazz music in America. I noticed how often others recognized these vast musical genres as being more complex than Pop music, primarily because of how they used more intricate harmonies and orchestration. I thought to myself how unfair it was to label the Pop music I was growing up with as simple. I knew it wasn’t any less than the music that came before it, but I couldn’t articulate why. If everything else in the world around me was advancing, then how could music become more basic?

Imagine that Bach’s “Fugue in G minor” and Taylor Swift’s “Out of the Woods” are both their own “isolated systems” with energy, or in this case, musical expression that transfers between different musical elements in each system. In my opinion, both pieces are complex and full of musical expression, and they hold similar amounts of kinetic energy and potential energy. However, the energy is active in different elements of the songs, and for “Out of the Woods,” that element comes from a technological revolution that Bach had no access to. Bach’s fugue holds most of its musical energy in the counterpoint: the melodic composition and modulation drive the expression of the piece. Meanwhile, most of the musical expression in “Out of the Woods” comes from the interesting sonics of the music production, which is true for a lot of Pop music today. Many Pop songs have simplistic chord progressions, which I think is okay because now the energy resides in sound design, music technology, how something is mixed, or how a vocal is processed. I believe that what we’ve experienced as music evolves is a transfer of energy from composition to production because we have the means to do so.

Let’s look at some excerpts of the sheet music from both pieces stated above. Clearly, one melody is more varied and ornamented than the other. Most of Swift’s song is a singular note with little to no melodic contour and a simple I-V-VI-IV chord progression, while Bach’s composition highlights an intricate subject and countermelody with more advanced modulations. Now let’s imagine what the Pro Tools sessions for both songs might look like. Oh right, Bach didn’t have Pro Tools! The earliest known recordings come from the late 19th century, far past his lifetime, so he likely didn’t even consider the kind of microphone he could use or how he could compress the organ with a Teletronix LA-3A or create an entirely new sound on a synthesizer for the fugue. The energy of the piece is most active where Bach’s capabilities and resources exist: his understanding of advanced harmony and his performance technique. Had Taylor Swift been composing at a time when music production wasn’t really a thing, she might have songs with eclectic modulations and contrapuntal bass parts. However, with Jack Antonoff’s exciting vocal arrangement and sound design for electronic drums and synths, there’s already so much energy in the song, that the harmony in this piece doesn’t need to work as hard. Ultimately, I experience both Bach’s fugue and Swift’s single as having the same amount of musical energy, but the energy is utilized in different parts of both systems.

I know this argument all seems convoluted, but this concept has really helped me in my critical listening. When I listen to any recording, I ask myself, “Where has the energy transferred in this piece, where is it being held, and how is it serving the song?” Sometimes the answer is not the same within one genre or even within one artist. If an element in a song feels simple, we can break it down to its core elements to find where the energy is. It can be in the rhythm, the performance, the sampling technique, or the lyricism to name a few. When I write and produce, I approach a new song with this mentality too. Where do I want the energy to be, where can I simplify the song to let that element shine, and how does it work with the narrative of my song?

Seeing DAWs Introspectively

A common question amongst engineers, producers, and music makers alike is, “which digital audio workstation (DAW) do you use?” The first time someone asked me this question, I was a new student at Berklee aspiring to join the music production and engineering major. The question felt more like an investigation into my qualification for the program rather than innocent curiosity. For a while, I felt ashamed to share with anyone that I started producing music on GarageBand for fear that it reflected my lacking skill set. I even curated my own impressions of people based on the DAW they chose, assuming others were doing the same about my colleagues and me. I put Pro Tools on a pedestal and believed it was the only “correct” DAW to fulfill recording, editing, and mixing needs. Truthfully, I was stuck in this bubble for a while.

During the pandemic, I had the space to change my perspective on a lot of the opinions and ideas I picked up while at music school, and DAW choice was one such opinion. When I think of the same question now, it seems more equivalent to asking someone about their zodiac sign. I believe that DAWs have their own personalities that reflect the kind of creator that uses them. I experienced this through the development of my own production as I migrated from using Pro Tools to using Ableton Live.

I learned Pro Tools as a means for servicing the musicians that I was working with when I began focusing on engineering recording sessions and mixing. I knew that it was the main DAW used in professional recording studios for tracking live instrumentation, and I was intrigued by the technicality of it all. In a way, this took my mind off of the competitive environment of a hyper-talented musical community and gave me the chance to shine somewhere else. I saw Pro Tools as a very manually controlled software that encouraged me to take control of the intricate details of every recording session. Setting up the session parameters, I/O template, and playback engine and ensuring a smoothly run session was the ultimate expression of my technical competence.

While I still love to use Pro Tools for recording vocals, vocal tuning, and time-based editing and mixing, I recently recognized that Pro Tools wasn’t serving my needs as a creator. During the pandemic, I shifted gears to focus on my own music again, but I felt stuck in a pattern of using Pro Tools like it wasn’t meant for me. In order to form a healthier relationship with the DAW, I needed to step away from it and dive deeper into my own artistic desires.

While I tried using Logic Pro in the past for my music production, I struggled to break away from software instrument presets (I am a strong advocate for creating with presets, but I felt that I often trapped myself into a different sonic message than I intended for the song). I still felt like Logic Pro was making a lot of choices for me like EQing, routing, and time-based effects, and I even felt less in control with the playlist comping. This isn’t to say that Logic Pro is a bad DAW, although I might’ve assumed that a few years ago. There are loads of excellent songwriters and producers that work seamlessly in Logic Pro and make incredible music. I never needed to label Logic Pro a “bad DAW” just because it was bad for me. I only needed to recognize why Logic Pro wasn’t working for me, which stemmed from developing unhelpful habits that stifled any progress in producing a song.

I used Ableton Live lightly for some of my electronic production classes, but I never took the time to learn how I could curate the program to suit my songs. This was mostly because during my education I was purposefully distracting myself from discovering how a DAW like Ableton Live could serve me, so I didn’t have to discover the vulnerable desire within myself to use my production skills for me. With the space of the pandemic, I saw the chance to teach myself how a DAW that was untarnished by any of my own bias or insecurity could function as a vessel for my artistic evolution. Ableton Live had just the right balance of suggested presets and easy-access controls and still technical options to exercise the engineering part of my brain. I had ideas for how I wanted the electronic elements in my recorded music and performances to sound, and I had a much easier time bringing them to life and enhancing them in Ableton Live. I continue to learn more in Ableton now by practicing patience with the techniques I’m finding in it and by piecing my original music together in a calm and kind manner.

DAWs are less like a uniform you have to wear and more like an eclectic wardrobe that fits you perfectly. I used to mindlessly pass judgment on the tools that others in my field worked with, and with my own experiences, I’ve changed my mindset to accept that there is room in this world for everyone and everything. There is in fact space for all kinds of creators and musicians with unique ideas and messages and various software to support that reality. This is a dramatic way of saying use the DAW you love and not the one someone told you to use.

Lunch and Learn: Recreating a Musical Tune as a Sound Effect

On occasion, a sound editor’s musical skills are put to the test when they are asked to recreate a tune or song for a specific sound effect. For example, in the second episode of Yuki 7, the alarm clock that goes off matches the theme song of the show, which you can listen to starting at 1:11 in the video below. For sound editors with no musical training, this task can be particularly challenging. So for this blog, I’m going to teach you how to recreate a melody to use with any sound effect just by listening to it!


Just kidding. For that to happen, we’d need to review a lot of music theory and ear training, which takes more than a blog post to get the hang of. Identifying a tune in order to recreate it involves understanding what musical key it comes from, the pitches and rhythms of the notes, and sometimes, harmonic analysis of the song. Even though I come from a musical background, I want to offer methods to replicate a song for a sound effect efficiently, and while we’ll scratch the surface of music theory, a music degree isn’t necessary.


Example of melodic contour in “Twinkle Twinkle Little Star.”


There are some simple concepts in music theory that can help to build confidence when listening back to a song you need to decipher. The first idea I want to introduce to the non-musician editors out there is melodic contour. This just describes the shape and sequence of notes in a melody. There are actually a number of studies in which infants were able to discriminate basic changes in melodic sequences, so it’s likely that you already have years of practice learning this concept!

Let’s take a look at “Twinkle Twinkle Little Star” as an example. If you were to draw a line on a whiteboard that follows the melodic contour of this song, it would look like a weird set of stairs. The melody makes the largest leap between “twinkle” and “twinkle,” and descends after the second syllable in “little,” eventually returning to the same note we started on. Even if we don’t know the exact notes or the key of the song, we can start to visualize the melody of the song by looking at its shape.

Depiction of the rhythm of “Twinkle Twinkle Little Star” with lyrics and line measurements.


The same can be said for rhythm. As pattern-seeking animals, melodic contour and rhythm come rather naturally to most humans. Motor areas in the brain help us perceive consistent rhythms so we can follow the beat of a song. Early thirteenth-century rhythmic notation called mensural notation generally divided up the pulse or beat of the music into long and short patterns, and present-day notation still does pretty much the same job because it’s the best way that we can understand a song’s rhythm.

So let’s look again at “Twinkle Twinkle Little Star” to identify long and short notes. As you sing along to this song, tap along to each syllable with your finger, and notice how you hold your finger longer at “star” and “are.” These notes are twice as long as all the other notes in this passage, but what is important is that you start to pick up the difference between a long note and a short note, rather than the specific division of the beat. These two simple ear training exercises of drawing melodic contour and tapping along to short and long beats will get you comfortable with the basic structure of the songs you need to replicate. We can even utilize these exercises by mapping out songs with MIDI.


A look at the User Interface for audio to MIDI conversion with ProTools 2020.11


A valuable tool we can use for this replication task is MIDI because we can draw in notes without needing to learn how to play or read music. Plus, MIDI lets us use software synthesizers that we can manipulate into any sort of musical-based sound effect such as an alarm, car horn, or bells. I will note that many DAWs including Pro Tools version 2020.11 have an Audio-To-MIDI feature where you can take an audio clip and drag it into a MIDI instrument track that automatically converts the melody into MIDI. Here is a simple tutorial on how this works in Pro Tools. Nonetheless, not everyone has access to this version of Pro Tools which includes Melodyne Essential as a means to “convert” audio pitch and rhythmic information into MIDI, so let’s learn how to manually map out our song.


Image of Xpand!2 settings for bell sound effect.


I like looking at this sort of musical replication through the lens of a MIDI editor because it’s numerical, and you can match melodic contour and rhythm in the editor just by drawing it in. In Pro Tools, I opened up a blank session and created a mono instrument track. Then, I inserted a really simple software synthesizer called Xpand!2 which was included in my Pro Tools bundle when I purchased it. I played around with some of the presets in Xpand!2 just to get a musical sound effect going, and I blended together some chimes, a digital glockenspiel sound, and a detuned telephone dial for an old ballerina jewelry box sound.

In the View drop-down menu in Pro Tools under Rulers, I unselected Time Code and chose Bars|Beats and Tempo to represent my edit window measurements. Setting your grid up like this will make the rhythmic replication of the song much easier. To find the tempo or beats per minute, listen to the song you want to replicate and tap along to the tempo yourself. Make sure you have the MIDI controls transport window open, and the Conductor Track icon unselected. Then, highlight the tempo in the window above, and tap along to the song by clicking T on your keyboard. Give yourself some time to let your internal groove settle into the rhythm of the song, and you’ll be able to get near or on top of the BPM of the song. Click return to lock-in that tempo onto your edit window grid.

With the Bar|Beats grid set up in Pro Tools, measures are much easier to read in the grid-like time code is, so you don’t need to fully digest the unit of a measure since Pro Tools does it for you. For the measures in “Twinkle Twinkle Little Star,” we can identify this by how the phrase is broken up. The lyrics “twinkle twinkle little star” and “how I wonder what you are” have the same number of syllables and they rhyme, two indicators that each of these phrases take up an even number of measures. It is likely that in your replication, you will be dealing with a tune that is either two measures or four measures long. In my instrument track, I just highlighted the first two bars following the Bars|Beats grid, and I held Option-Shift-3 to make a blank clip. Then, I double-clicked on the clip to open the MIDI editor.

Depiction of “Twinkle Twinkle Little Star” in Pro Tools MIDI editor.


The piano to the left of the MIDI editor has spaced out numbers that represent each octave, a set of twelve values that start at the note C. So, where the four is along the piano marks the octave that begins at C4. The editor is set up this way because each note translates to a MIDI number value from 21 to 127, so C4 represents the MIDI value 60 (most MIDI values range from 0-127). There is a super handy chart here that translates frequencies to notes to MIDI values for reference. For “Twinkle Twinkle Little Star” I’m starting at C4 by placing my first note using the grabber tool and clicking next to the little 4 along with the piano. If it started at G4, I can look at the chart and see that the difference between G4 and C4’s MIDI values is seven, so I would count up the grid seven steps from the little four on the piano, and start on that grid line.

With the first note placed, I can map out the rhythm with the trim tool. Following the grid and using my short vs. long identification exercise, I know that the first six notes of the song are shorter than the seventh note, and they are equal in length too. So I copied and pasted my first note five times, and then once I got to the last beat of each phrase (“star” and “are”), I made the note twice as long in the editor. Even if you don’t get the rhythm perfect the first time, you can still get close to the rhythm by following the grid, listening back to the rhythm, and making adjustments with your trim and grabber tools. You’re approaching the MIDI notes like clips in a track that you’re editing.

Once I’ve mapped out my rhythm, it’s time to shape the melody. “Twinkle Twinkle Little Star” is an easier example because it has many notes that repeat, so I grouped each pair of short notes together throughout the passage. To make my melodic contour, I highlighted the pairs of notes, and moved them up and down the grid along the piano, holding the rhythm in place. Once I got the contour to look like what I drew in my melodic contour exercise, I could reference each note of the song by listening and dragging the notes around the grid until the pitches match. Having the contour set up already helped me get close to the original melody, so I only had to make a few adjustments. The nice thing about the MIDI editor is that you can hear each pitch as you drag the MIDI note clips, so it’s just a matter of matching the notes in your song.

Now that I’ve got my song put together and created a sound I liked, here is my result. Since I started this process in MIDI, I can change the voices on my synthesizer to a different sound or I can use a different synthesizer like Massive and design a sound from scratch with any waveform and synthesis technique. While this process is limited to the DAW and software synthesizers to which you have access as well as the kind of information you can get about the song you’re replicating, I think utilizing the tools you have as the talented editor and listener that you are in Pro Tools and MIDI can help you achieve your goal without diving into unfamiliar music theory concepts. That being said, you might read this and think, “I’d rather take the time to learn music because it seems fun!” And you’re right, it is!

This Blog Originally Appeared on Boom Box Post – You can listen to Zanne’s Finished Song Here


X