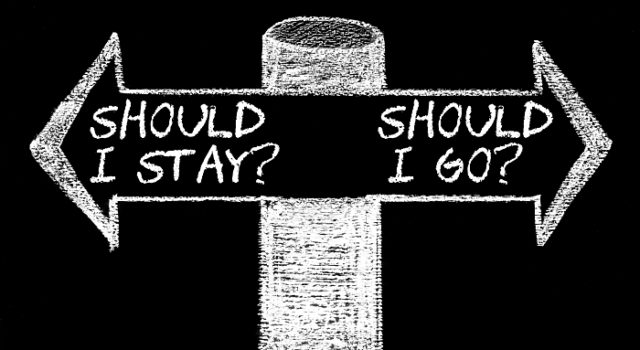
Should I Stay or Should I Go?
I think we all reach a point in our lives where we might feel a little lost on our path. All of us who are in the entertainment industry, know how lucky we are to have the opportunity to work in a creative field. The few of us who actually followed our dreams or perhaps just happened to stumble upon them.
However, like anyone else we can also feel a bit lost and unmotivated, feeling like there is no purpose in what we do. I recently felt like this, craving something new and learning new things. I felt like I wanted to move on from where I am currently at.
Writing this I felt a struggle, as I felt like I’ve been on autopilot the last two months, and therefore have nothing to say or write about, feeling generally unmotivated. Not because I had little to do, but because the festive season is approaching and having learned from last year, I wanted to get a head start on all the craziness that is waiting around the corner.
Looking back at these past two months, contrary to my feeling of lack of motivation, I have been very productive and done plenty! Is that perhaps why I felt like I wanted to move on as I know what to expect and the excitement (and stress) is not what it used to be? The adrenaline you get from the excitement of not knowing what is ahead of you? Maybe.
I guess that though we might feel stuck, unmotivated or lost, it does not mean that we actually are. Perhaps there are small changes we can do to change our circumstances, make things more exciting or possibly it is time to go, to move on in life and seek a new adventure?
Step back and evaluate
Look at where you are, what is going on around you? Are there things that could run better, smoother & more efficient? Is your workplace in order, do you have everything you need to do your job properly?
Sometimes you need to take a step back to take two steps forward. Identify what is causing you to feel unmotivated. Will moving on solve your problems or will it actually just make you feel more lost? Are you prepared to move on?
Can you change your situation?
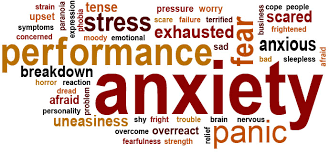
Are you able to change things at work to make things more/less challenging? It is important to feel challenged and to learn new things, but if it is too challenging it can result in stress.
Challenge yourself, set goals in your work- and personal life. There is always room for improvement even if you are already doing a great job.
If things are too challenging and stressful, ask for help and maybe take a step back. Troubleshoot and take one thing at the time.
What is your purpose?
We all need a purpose to feel fulfilled in life. What are you working towards, do you have a plan?
Sometimes you need to walk away from situations that are not fulfilling. Sometimes it is about saying no and establishing boundaries. Sometimes it is not your job that is unfulfilling, but your personal life and that affects your work life. Sometimes you need to stay to grow.
What do you need to reach your goal? Are you in the right place, right scene, right city or even in the right country?
Deal with it
It took me a good couple of months to shake away the lack of motivation and decided to make a few changes in my personal life rather than in my work life. I felt like I wanted to leave and to move on just because I did not want to deal with things in my personal life. I took a step back, evaluated and changed my situation, and this is something we need to do regularly in life.
So the not so simple question is; will you stay or will you go?