Empowering the Next Generation of Women in Audio

Join Us

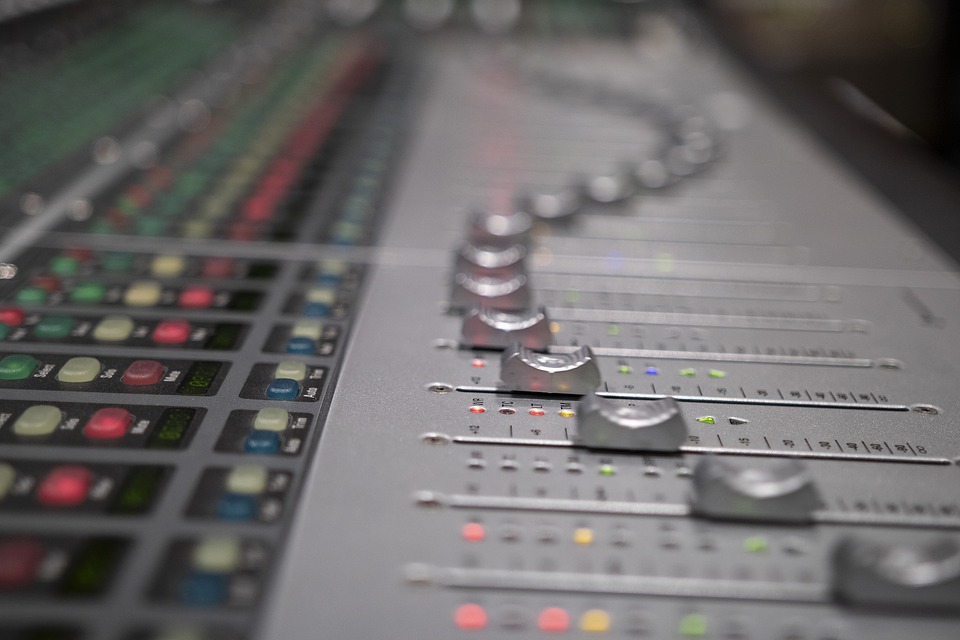
Gain Without the Pain:  Gain Structure for Live Sound Part 2


In my last blog, I outlined the basics of gain structure, and how to get to a good starting point for your mix. This time I want to discuss a few situations where you might take different approaches to how you set your gain, and why.

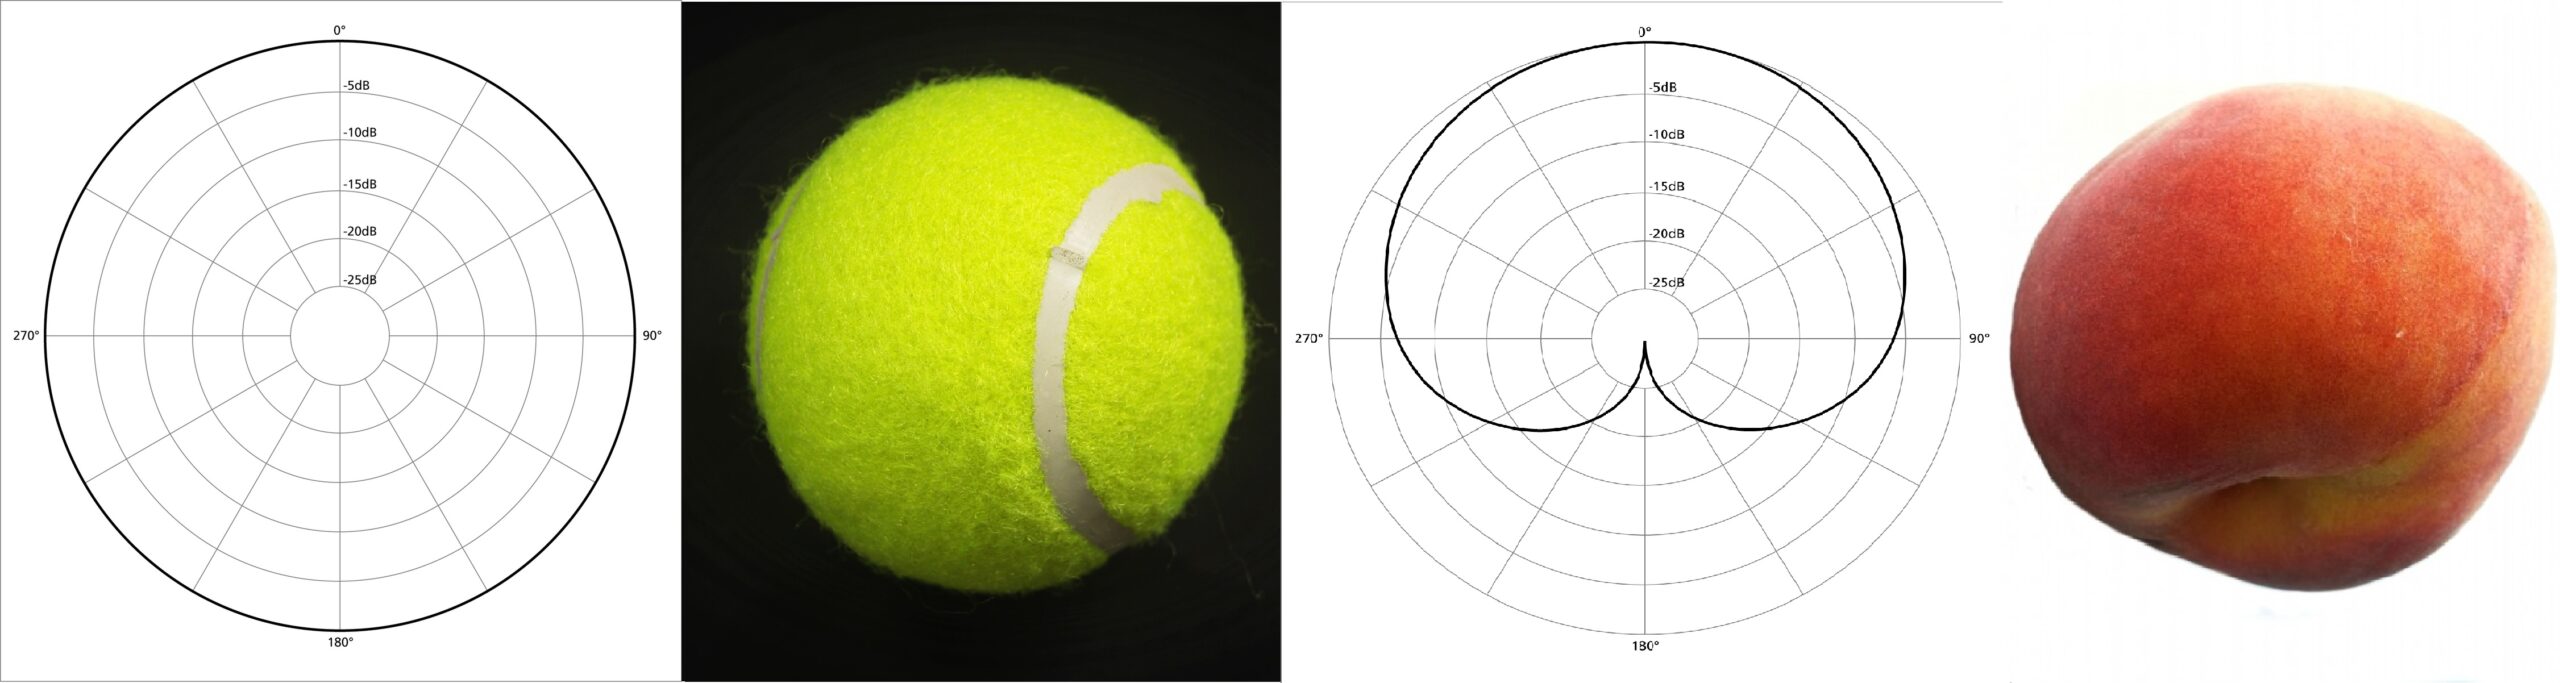
I like to think of gain as a tennis ball growing out of the mic if it’s omnidirectional, or a peach for cardioid mics, with the stalk-socket (is there a word for that?) at the point of most rejection. Bidirectional/figure eight mics always remind me of Princess Leia’s famous hair buns in Star Wars. Whatever you imagine it as don’t forget that the pick-up pattern is three-dimensional. There can be a bit of a subconscious tendency to think of pick-up patterns as the flat discs you see in polar plots, so don’t fall into that trap! The main thing to remember is that as you increase the gain, you’re expanding the area in which the mic will pick noise up in every dimension, not just in the direction of what you want to amplify. This will be more of an issue in some circumstances than others, so they can benefit from different approaches.

Quiet singer, noisey stage

My first example is the one I encounter most often and causes me the most issues. You have a loud band on a reverberant, noisey stage, and you’re trying to get the vocals audible, or even nice! This can be a bit of a challenge even with a strong singer, but a quiet vocalist can seem impossibly lost in the mix. Thinking back to my previous post, the problem in this situation is that the other instruments, the crowd and everything reflecting back off the walls is keeping the noise high in the signal-to-noise ratio. Turning the gain up will just bring more of that noise into your board and muddy the mix. Upping the gain for monitors will increase the likelihood of frequencies in the monitor mix being picked up by the mic, which feeds back to the monitor, which feeds back to the mic… which creates feedback!

In an ideal world, the other players would set their instruments at reasonable levels, and the vocalist would sing loudly, close to the mic. This would increase the signal-to-noise ratio naturally. Unfortunately, this often doesn’t happen for one reason or another, and you need to fix it at the board. In these situations I try to keep the gain as low as possible while still picking the vocalist up. I use high and low pass filters to get rid of the unnecessary noise in ranges away from the vocalist’s frequencies. I might EQ a few bits out of the vocal channel where other instruments are being picked up more than the singer, and might EQ out some vocal frequencies from other channels to give them some more space to be heard. I then try to have the fader as high as possible while still leaving some headroom. Setting your master fader or monitor mixes at +5 instead of 0 can give you the extra volume you need, while keeping the gain as tight as possible. I very rarely find myself needing to turn an entire mix-up mid-show, and if it comes to it I can just turn up all the sends from the channels instead. There are plenty of other tricks to get vocals to stand out in your mix, but that is beyond the scope of this post.

Wandering keynote speaker

On the other end of the noisey gig spectrum is the classic corporate speaker who won’t stay near the lectern mic. I think one of the most misunderstood aspects of live sound by people outside our industry is that the mics pick everything in their field up, in every direction, whether the sound is intentional or not. For example, I had someone loudly shuffle their notes and bang them on the lectern, cough and say something privately to an assistant right by the mics as they were supposed to start their speech. They then fully wandered the 20 metre (roughly 60 feet) wide stage, talking at normal conversational volume, expecting the mics to pick them up perfectly, no matter where they were. Quickly muting the channel when it’s apparent the speaker is still preparing solves the first issues, but there’s not much you can do about audibility when they’re metres away from the mics. This is an extreme example. However, it is very common for people to stand at a lectern but talk quite far away from the mics, turning their heads repeatedly to gesture towards their presentation.

Hopefully, the stage at a conference isn’t as noisy as a rock band in a club, and the audience are mostly quietly paying attention rather than screaming and cheering. It’s less common to have stage monitors, and with any luck, the PA is quite far away from the mics. In this case, you can get away with turning the gain up, to catch more of what they’re saying. Just remember to add a pretty strong compressor for when they inevitably lean in and suddenly talk loudly, directly into the mics. This can also help if you have several people using the lectern without soundchecking. You can set the mics to as high a gain as is stable, so even if they’re quiet you’re covered. If they’re loud you can always turn them down.

Popping lavalier or headset mics

You don’t always want your sound source as close to the mic as possible. Plosives in speech; the consonant sounds made with a burst of air, like p’s and b’s, can sound horrible on sensitive mics like lavaliers or headsets. These mics can also pick up too much sibilance. In these cases, it’s best to move them slightly further away or off-axis (by a matter of millimeters) so they aren’t in the firing line of the speaker’s breath, then turn the gain up to compensate. You might have noticed that lavaliers are often attached completely upside down for recording or TV. This stops the mic capsule being battered by those plosives and reduces sibilance, and the recording engineer can turn the gain up as much as needed without worrying about feedback because there are no speakers in the room.

I hope these examples have helped you to see how gain structure is just another tool in your mixing bag of tricks. There are good rules of thumb to follow for getting a decent signal-to-noise ratio quickly, but they aren’t written in stone. If you need to move the balance around or adjust different aspects of the channel strip to make your particular situation work, just try it (gradually if the show is already live!). It’s easy to talk about what the correct approach is in a textbook situation, but real life is very rarely ideal. Do what you need to do to get it working. If it sounds good in the end, that’s all that matters.

Gain Without the Pain


Gain Structure for Live Sound Part 1

Gain structure and gain staging are terms that get thrown about a lot, but often get skimmed over as being obvious, without ever being fully explained. The way some people talk about it, and mock other people for theirs, you’d think proper gain structure was some special secret skill, known only to the most talented engineers. It’s actually pretty straightforward, but knowing how to do it well will save you a lot of headaches down the line. All it really is is setting your channels’ gain levels high enough that you get plenty of signal to work with, without risking distortion. It often gets discussed in studio circles, because it’s incredibly important to the tone and quality of a recording, but we have other things to consider on top of that in a live setting.

So, what exactly is gain?

It seems like the most basic question in sound, but the term is often misunderstood. Gain is not simply the same as volume. It’s a term that comes from electronics, which refers to the increase in amplitude of an incoming signal when you apply electricity to it. In our case, it’s how much we change our input’s amplitude by turning the gain knob. In analogue desks, that means engaging more circuits in the preamp to increase the gain as you turn (have you ever used an old desk where you needed just a bit more level, so you slowly and smoothly turned the gain knob, it made barely any difference… nothing… nothing… then suddenly it was much louder? It was probably because it crossed the threshold to the next circuit being engaged).

Digital desks do something similar but using digital signal processing. It is often called trim instead of gain, especially if no actual preamp is involved. For example, many desks won’t show you a gain knob if you plug something into a local input on the back of it, because its only preamps are in its stagebox. You will see a knob labelled trim instead (I do know these knobs are technically rotary encoders because they don’t have a defined end point, but they are commonly referred to as knobs. Please don’t email in). Trim can also be used to refer to finer adjustments in the input’s signal level, but as a rule of thumb, it’s pretty much the same as gain. Gain is measured as the difference between the signal level when it arrives at the desk to when it leaves the preamp at the top of the channel strip, so it makes sense that it’s measured in decibels (dB), which is a measurement of ratios.

The volume of the channel’s signal once it’s gone through the rest of the channel strip and any outboard is controlled by the fader. You can think of the gain knob as controlling input, and the fader as controlling output (let’s ignore desks with a gain on fader feature. They make it easier for the user to visualise the gain but the work is still being done at the top of the channel strip).

Now, how do you structure it?

For studio recording, the main concern is getting a good amount of signal over the noise floor of all the equipment being used in the signal chain. Unless you’re purposefully going for a lo-fi, old-school sound, you don’t want a lot of background hiss all over your tracks. A nice big signal-to-noise ratio, without distortion, is the goal. In live settings, we can view other instruments or stray noises in the room as part of that noise floor, and we also have to avoid feedback at the other end of the scale. There are two main approaches to setting gains:

Gain first: With the fader all the way down, you dial the gain in until it’s tickling the yellow or orange LEDs on your channel or PFL while the signal is at its loudest, but not quite going into the red or ‘peak’ LEDs (of course, if it’s hitting the red without any gain, you can stick a pad in. You might find a switch on the microphone, instrument or DI box, and the desk. If the mic is being overwhelmed by the sound source it’s best to use its internal pad if it has one, so it can handle it better and deliver a distortion-free signal to the desk). You then bring the fader up until the channel is at the required level. This method gives you a nice, strong signal. It also gives that to anyone sharing the preamps with you, for example, monitors sharing the stagebox or multitrack recording. However, because faders are measured in dBs, which are logarithmic, it can cause some issues. If you look at a fader strip, you’ll see the numbers get closer together the further down they go. So if you have a channel where the fader is near the bottom, and you want to change the volume by 1dB, you’d have to move it about a millimetre. Anything other than a tiny change could make the channel blaringly loud, or so quiet it gets lost in the mix.

Fader at 0: You set all your faders at 0 (or ‘unity’), then bring the gain up to the desired level. This gives you more control over those small volume changes, while still leaving you headroom at the top of the fader’s travel. It’s easier to see if a fader has been knocked or to know where to return a fader to after boosting for a solo, for example. However, it can leave anyone sharing gains with weak or uneven signals. If you’re working with an act you are unfamiliar with, or one that is particularly dynamic, having the faders at zero might not leave you enough headroom for quieter sections, forcing you to have to increase the gain mid-show. This is far from ideal, especially if you are running monitors, because you’re changing everyone’s mix without being able to hear those changes in real-time, and increasing the gain increases the likelihood of feedback. In these cases, it might be beneficial to set all your faders at -5, for example, just in case.

In researching this blog, I found some people set their faders as a visual representation of their mix levels, then adjust their gains accordingly. It isn’t a technique I’ve seen in real life, but if you know the act well and it makes sense to your workflow, it could be worth trying. Once you’ve set your gates, compressors, EQ, and effects, and added the volume of all the channels together you’ll probably need to go back to adjust your gains or faders again, but these approaches will get you in the right ballpark very quickly.

All these methods have their pros and cons, and you may want to choose between them for different situations. I learned sound using the first method, but I now prefer the second method, especially for monitors. It’s clear where all the faders should sit even though the sends to auxes might be completely different, and change song to song. Despite what some people might say, there is no gospel for gain structure that must be followed. In part 2 I’ll discuss a few approaches for different situations, and how to get the best signal-to-noise ratio in those circumstances. Gain structure isn’t some esoteric mystery, but it is important to get right. If you know the underlying concepts you can make informed decisions to get the best out of each channel, which is the foundation for every great mix.


What do I need to know?


So you’re just starting out in Live Sound. You probably feel a little overwhelmed with the amount of information out there; Amplifiers, System Processing, Consoles, Speakers, Plug-Ins, in-ear monitors, wireless, microphones, technical specs, electronics, power, Ohm’s Law, and more.  Where do you start? (more…)

Dave Rat

Gain Structure Basics

[youtube=http://www.youtube.com/watch?feature=player_embedded&v=1hwT15SSwgU]

X