Master the Art of Saving Your Live Show File
Total recall for a better workflow and to avoid embarrassment
If you found this blog because your show file isn’t recalling scenes properly, skip to the “in case of emergency” section and come back to read the rest when you have time.
We learned as soon as we started using computers that we need to save our work as often as possible. We all know that sinking feeling when that essay or email we had worked so long and hard on, without backing up, suddenly became the victim of a spilled drink or blue screen of death. I’m sure more than a few of us also know this feeling from when we didn’t save our show file correctly, maybe even causing thousands of people to boo us because everything’s gone quiet all of a sudden. Digital desks are just computers with a fancy keyboard, but unlike writing a simple essay, there are many more ‘features’ in show files that can trip you up if you don’t fully understand them. Explaining the ins and outs of every desk’s save functions is beyond the scope of this article (pun intended), but learning the principles of how and why everything should be saved will help to make your workflow more efficient and reliable, and hopefully save you from an embarrassing ‘dog ate my show file moment.
The lingo
For some reason, desk manufacturers love to reinvent the wheel and so have their own words to describe the same thing. I have tried to include the different terms that I know of, but once you understand the underlying principles you should be able to recognise what is meant if you encounter other names for them. It really pays to read your desk’s manual, especially when it comes to show files. Brands have different approaches which might not always be intuitive, so getting familiar with them before you even start will help to avoid all your work going down the drain when you don’t tick the right box or press the right button.
Automation: This refers to the whole concept of having different settings for different parts of the performance. The term comes from studio post-production and is a little bit of a misnomer for live sound because most of the time it isn’t automatic as such; the engineer still needs to trigger the next setting, even though the desk takes care of the rest (if you’re really fancy some desks can trigger scene changes off midi or timecode. It is modern-day magic but you still need to be there to make sure things run smoothly and to justify your fee).
Show file/show/session: The parent file. This covers all the higher level desk settings, like how many busses you have and what type, your user preferences, EQ libraries, etc. It is the framework that the scenes build on, but also contains the scenes.
Scene/snapshot: Individual states within the show file, like documents within a folder. They store the current values for things like fader levels, mutes, pan, and effects settings. Every time you want things to change without having to make those adjustments by hand, you should have a new scene.
Scope/focus/filter: Defines which parameters get recalled (or stored. See next section) with the scene. For example, you might want everything except the mutes and fader levels to stay the same throughout the whole show, so they would be the only things in your scenes’ recall scope.
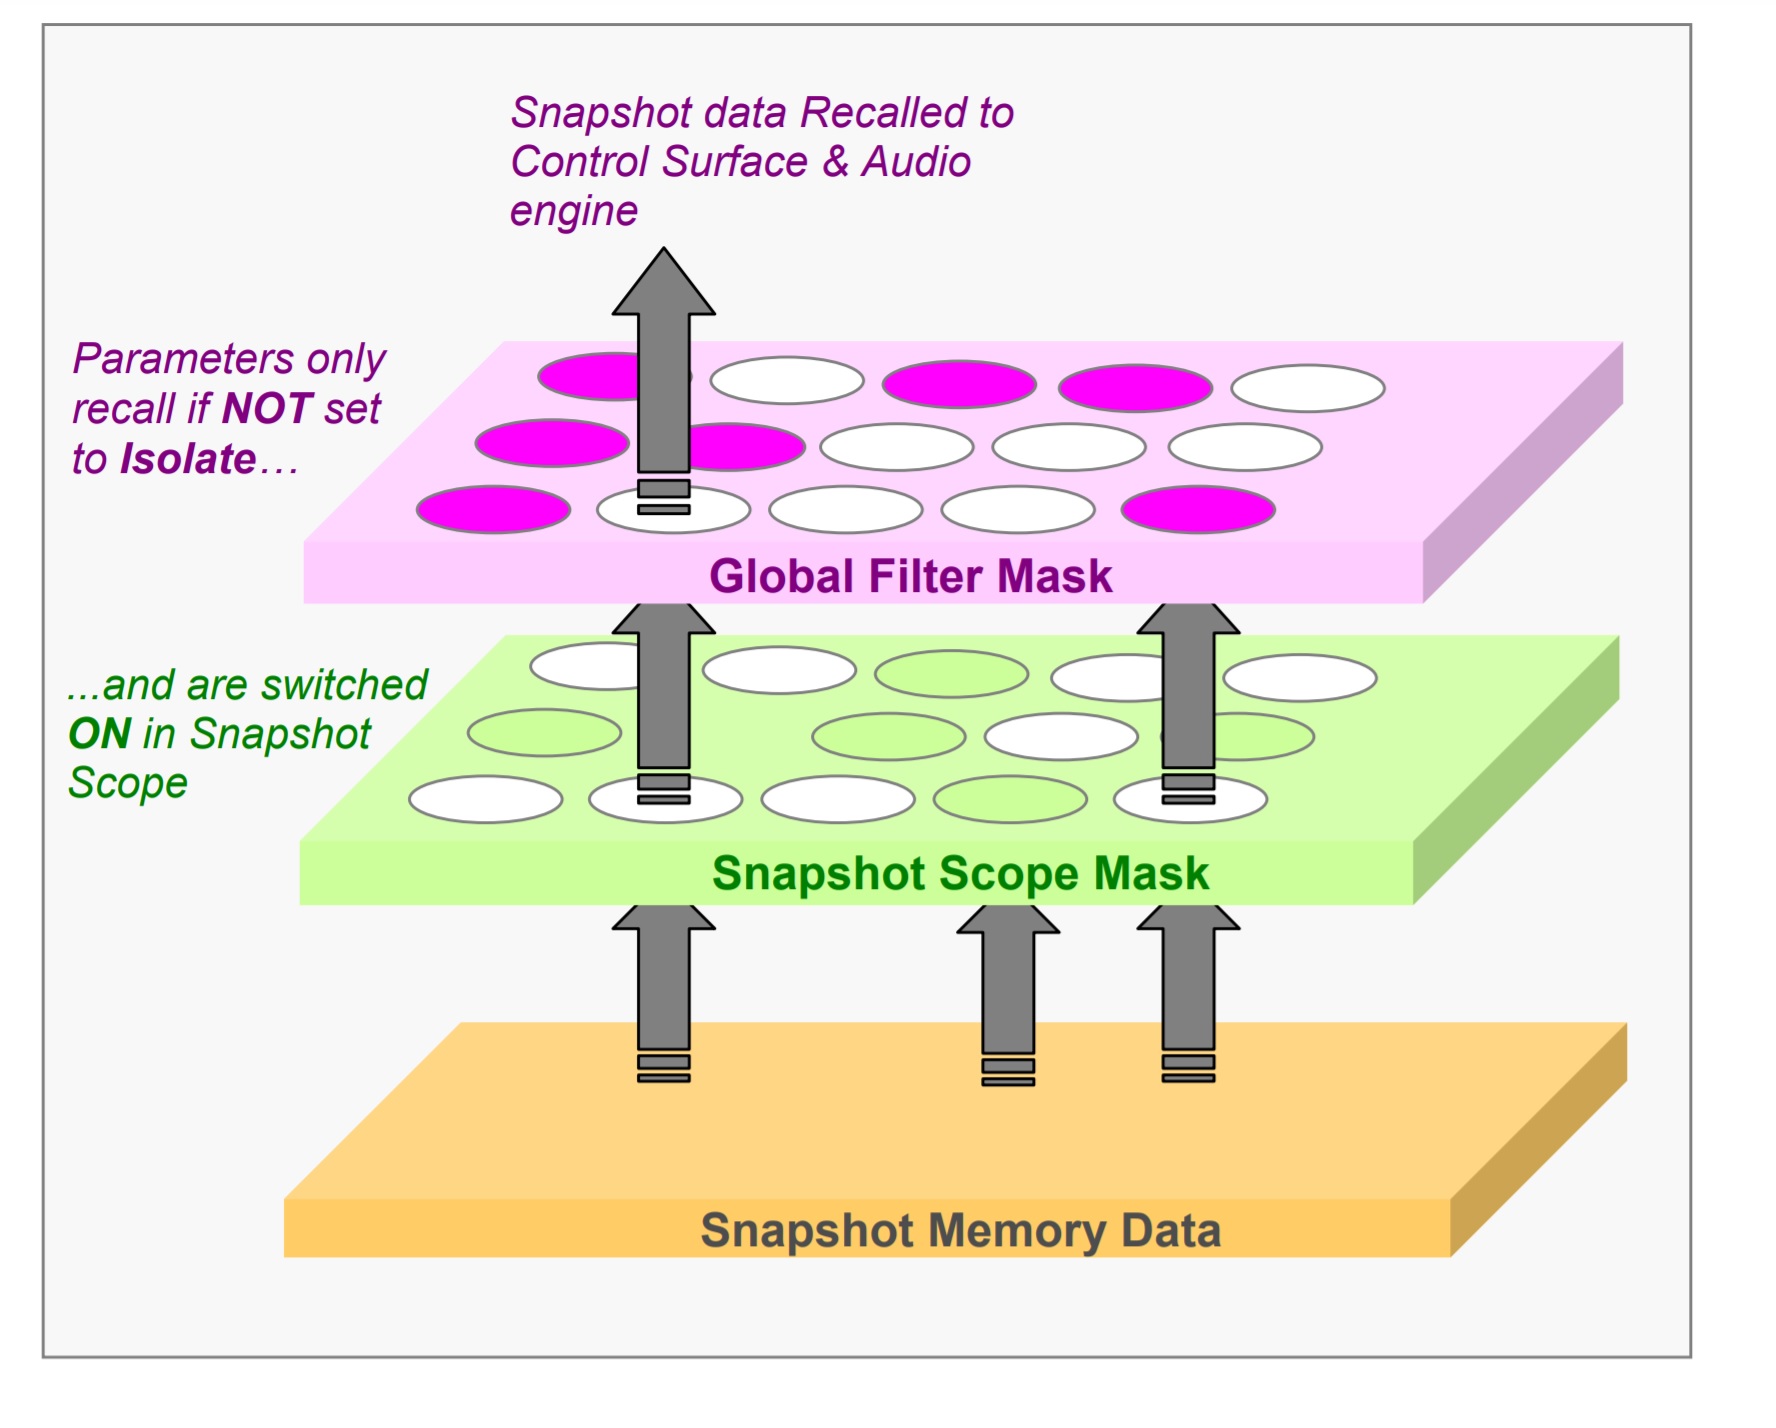
N.B.! Midas (and perhaps some other manufacturers) defines scope as what gets excluded from being recalled, and so it works the other way round (see figure 1). Be very sure you know which definition your desk is using! To avoid confusion, references to scope in this post mean what gets included.
Store vs. recall: Some desks, e.g. Midas, offer store scope as well as recall scope. This means you can control what gets saved as well as how much of that information later gets brought back to the surface. Much like the solo in place button, you need to be 100% sure of what you’re doing before you use this feature. It might seem like a good idea to take something you won’t want later, like the settings for a spare vocal mic when the MD uses it during rehearsals, out of the store scope. However, it’s much safer to just take it out of the recall scope instead. It’s better to have all the information at your disposal and choose what to use, rather than not having data you might later need. You also risk forgetting to reset the store scope when you need to record that parameter again, or setting the scope incorrectly. The worst-case scenario is accidentally taking everything out of the store scope (Midas even gives you a handy “all” button so you can do it with one click!): You can spend hours or even days diligently working on a show, getting all your scenes and recall scopes perfect, then have absolutely nothing to show for it at the end because nothing got saved in order to be recalled. Yes, this happens. It’s simply best to leave store scope alone.
Safe/hardware safe/iso (isolate): You can ‘safe’ things that you don’t want to be affected by scene changes, for example, the changeover DJ on a multi-band bill or an emergency announcement mic. Recall safes are applied globally so if you want to recall something for some scenes and not others, you should take it out of the relevant scenes’ recall scope instead.
Global: Applies to all scenes. What parameters you can and can’t assign or change globally varies according to manufacturer.
Absolute vs. relative: Some desks, e.g. SSLs, let you specify whether a change you make is absolute or relative. This applies when making changes to several scenes at once, either through the global or grouping options. For example, if you move a channel’s fader from -5 to 0, saving it as “absolute” would mean that that fader is at 0 in every scene you’re editing, but saving it as “relative” means the fader is raised by 5dB in every scene, compared to where it was already.
Fade/transition/timing: Scene changes are instantaneous by default, but a lot of desks give you the option to dictate how gradually you change from one scene to another, how the crossfade works, and whether a scene automatically follows on from the one before it after a certain length of time. These can be useful for theatrical applications in particular.
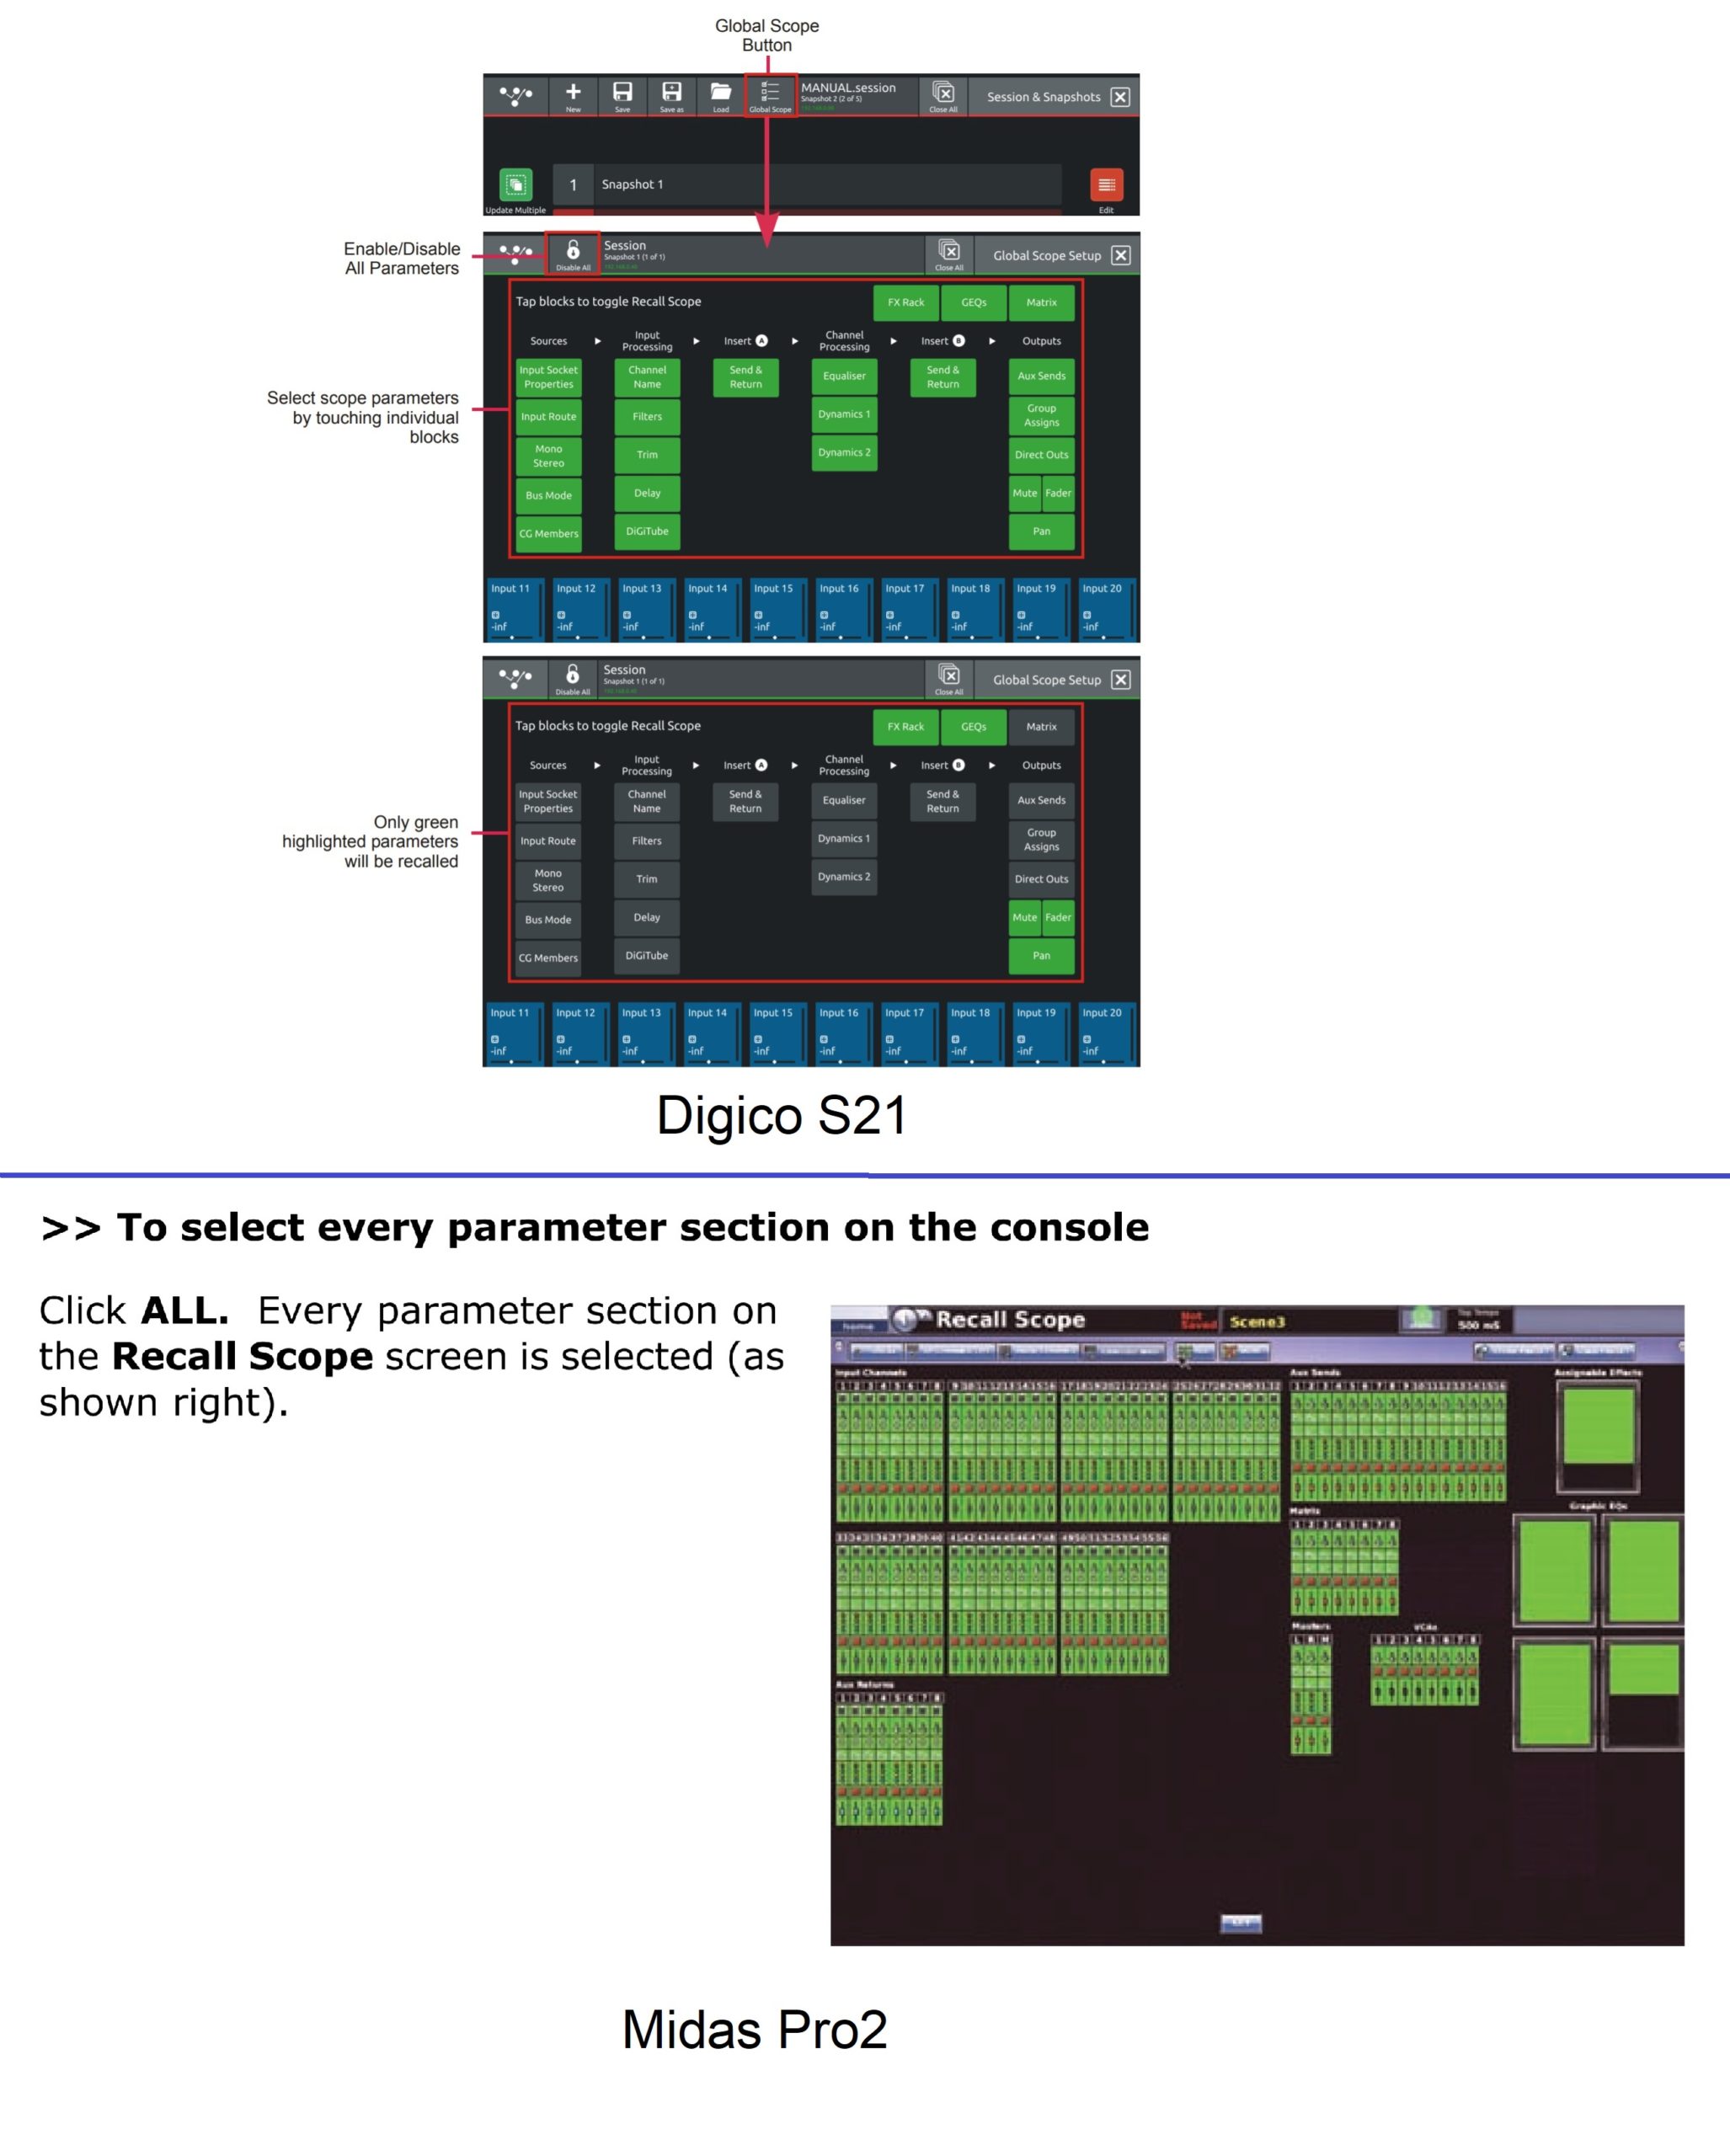
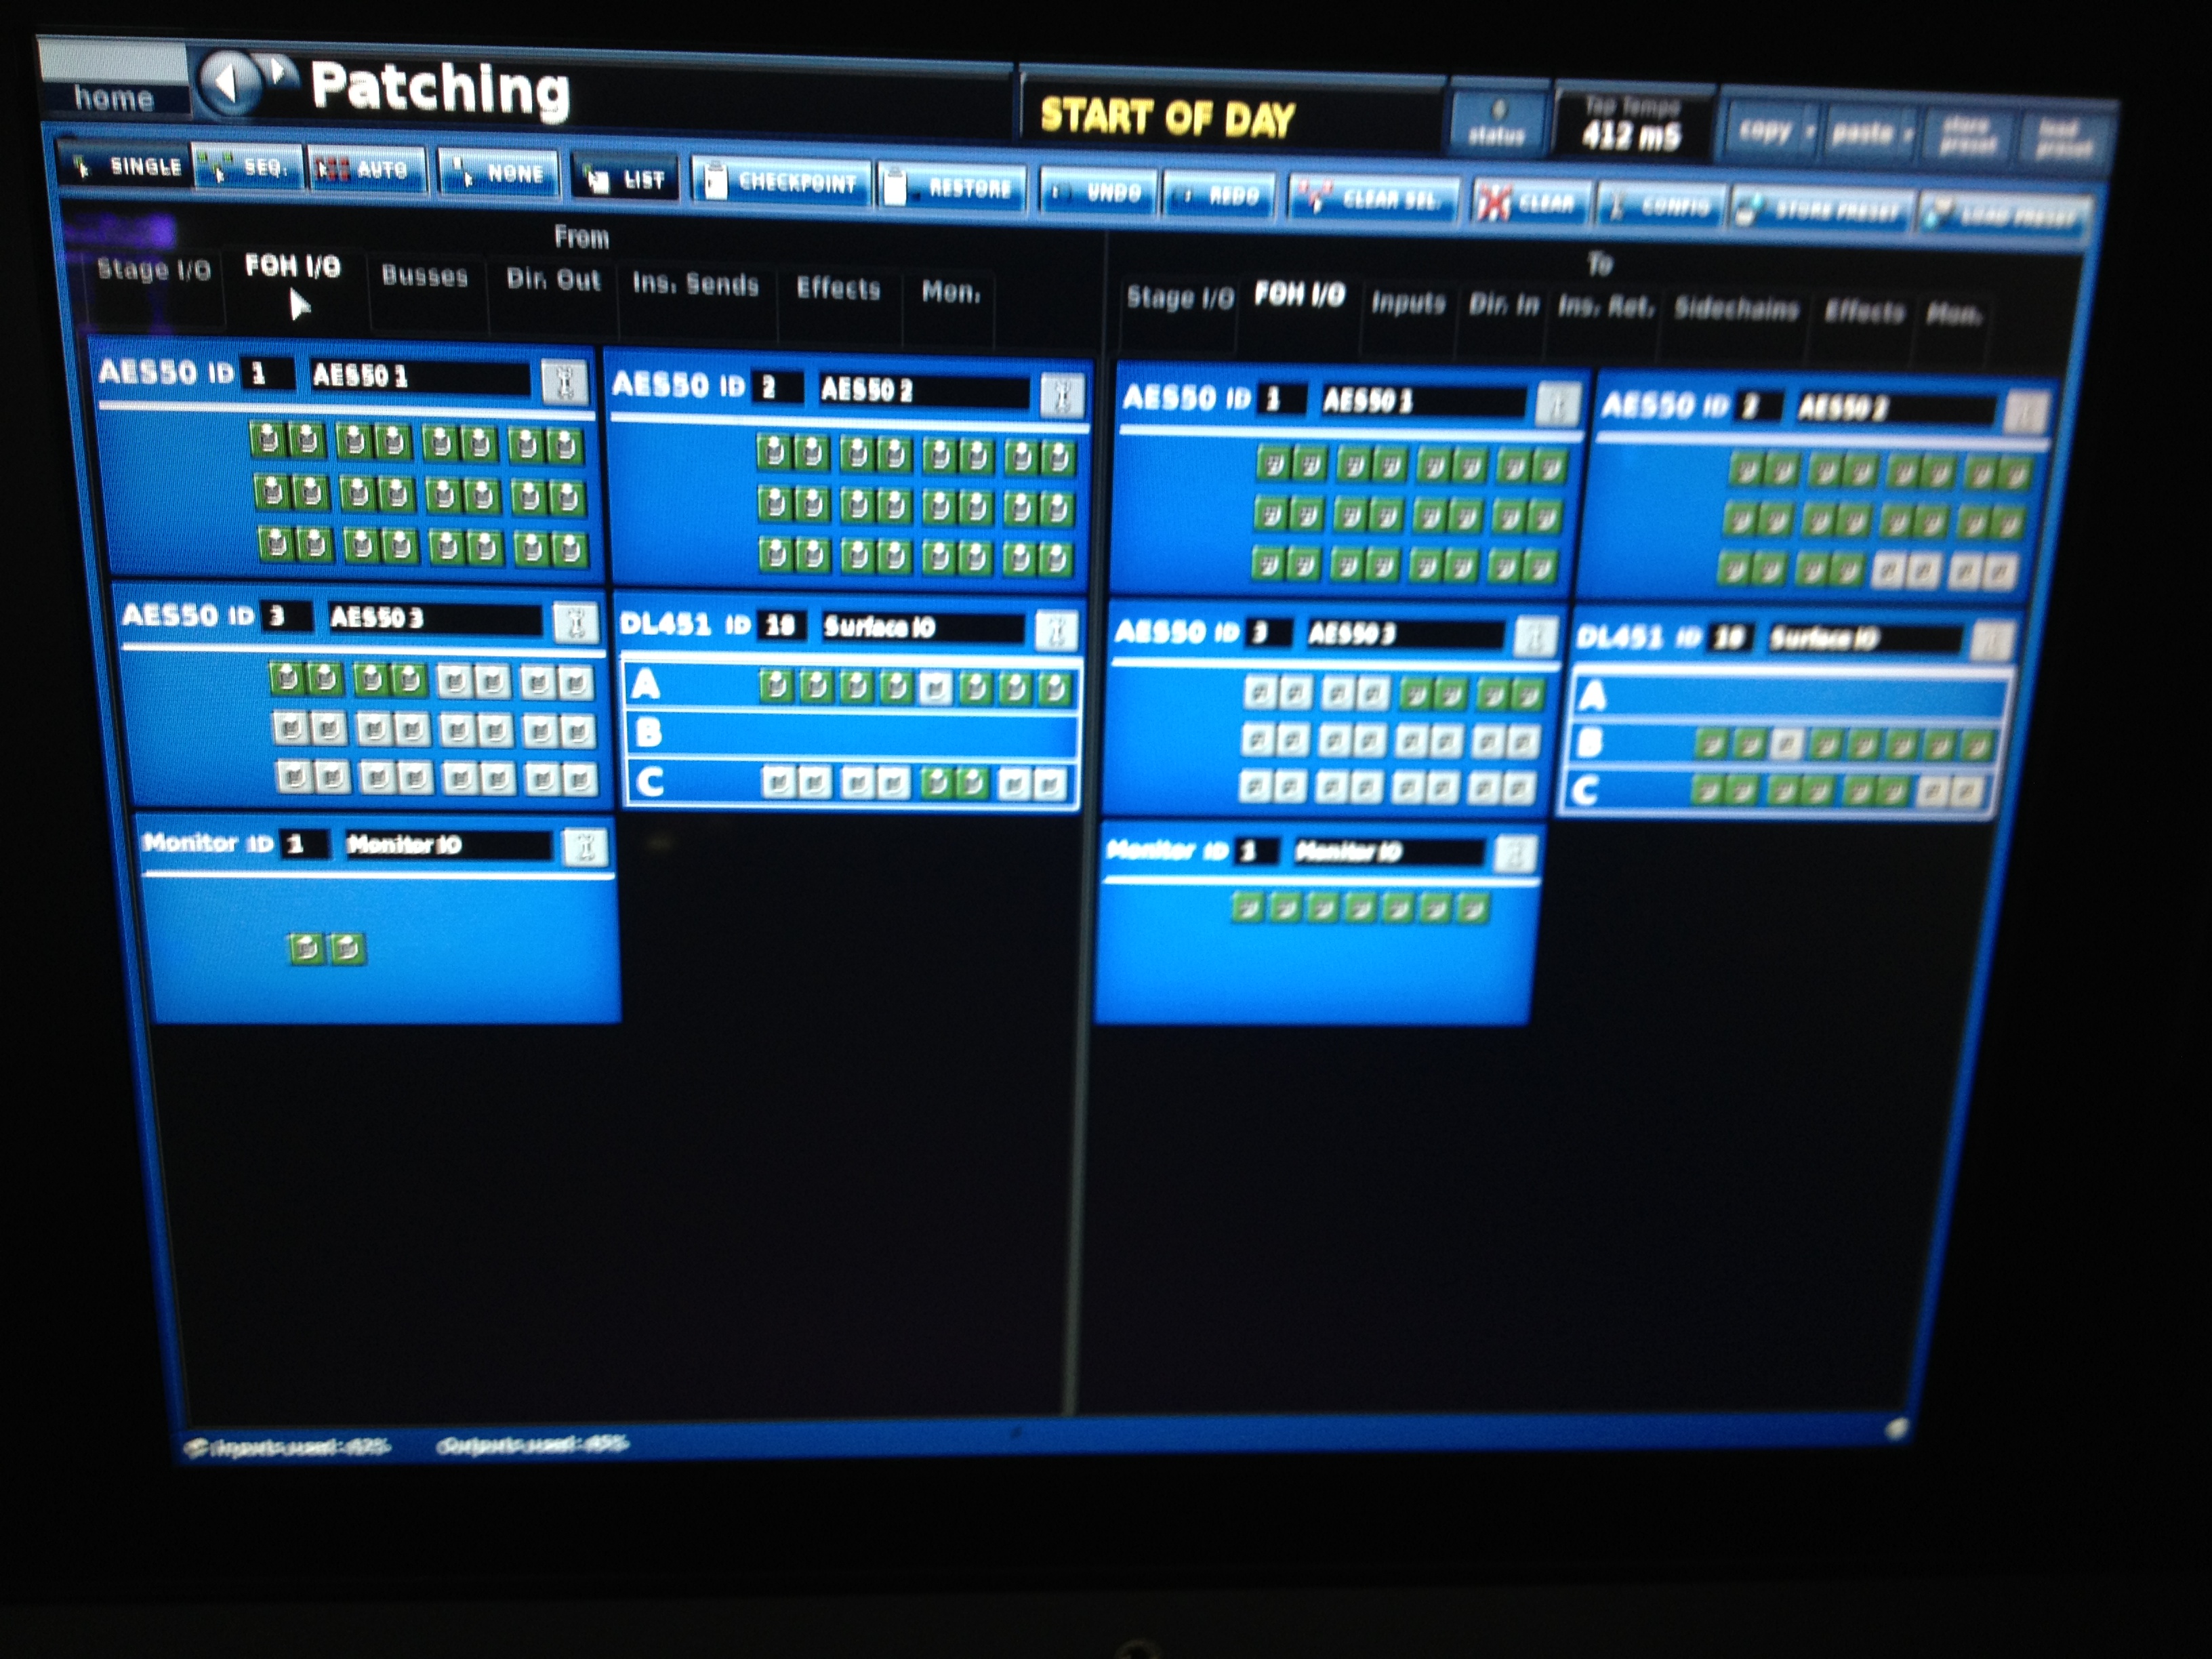
The diagram from Digico’s S21 manual illustrating recall scope (top) and the Midas Pro2 manual’s diagram (bottom). Both show that if elements are highlighted green, they are in the recall scope. Unfortunately Digico defines scope as what does get recalled, while Midas defines it as what doesn’t. Very similar screens, identical wording, entirely opposite results. It was a bad day when I found that out the hard way.
Best practice
Keep it simple!: With so many different approaches to automation from different manufacturers and so many aspects of a show file to keep track of, it is easy to tie yourself in knots if you aren’t careful. There are many ways to undo or override your settings without even noticing. The order in which data filters are applied and what takes precedence can vary according to manufacturer (see figure 2 for an illustration of one). Keep your show file as simple as possible until you’re confident with how everything works, and always save everything and back it up to your USB stick before making any major change. It’s much easier to mix a bit more by hand than to try to fix a problem with the automation, especially one that reappears every time you change the scene!
Keep it tidy: As with any aspect of the job, keep your work neat and annotated. There are comment boxes for each show and scene where you can note down what changes you made, what stage you were at when you saved, or what the scene is even for. This is very useful when troubleshooting or if someone needs to cover you.
Be prepared: Show files can be fiddly and soundchecks can be rushed and chaotic. It’s a good idea to make a generic show file with your preferences and the settings you need to start off with for every show, then build individual show files from there. You can make your files with an offline editor and have several options ready so you can hit the ground running as soon as you get to the venue. If you aren’t sure how certain aspects of the automation work, test them out ahead of time.
Don’t rely on the USB: Never run your show straight from your USB stick if you can avoid it. Some desks don’t offer space to store your show file, but if yours does you should always copy your file into the desk straight away. Work on that copy, before saving onboard and then backing it up back to the USB stick. Some desks don’t handle accessing information on external drives in real-time well, so everything might seem fine until the DSP is stretched or something fails, and you can end up with errors right at a crucial part of the performance. Plus, just imagine if someone knocked it out of its socket mid-show! You should also invest in good quality drives because a lot of desks don’t recognise low-quality ones (including some of the ones that desk manufacturers themselves hand out!).
Where to start: It can be tempting to start with someone else’s show file and tweak it for your gig. If that person has kept a neat, clear file (and they’ve given you permission to use it!) it could work well, but keep in mind that there might be settings hidden in menus that you aren’t aware of or tricks they use that suit their workflow that will just trip you up. Check through the file thoroughly before you use it.
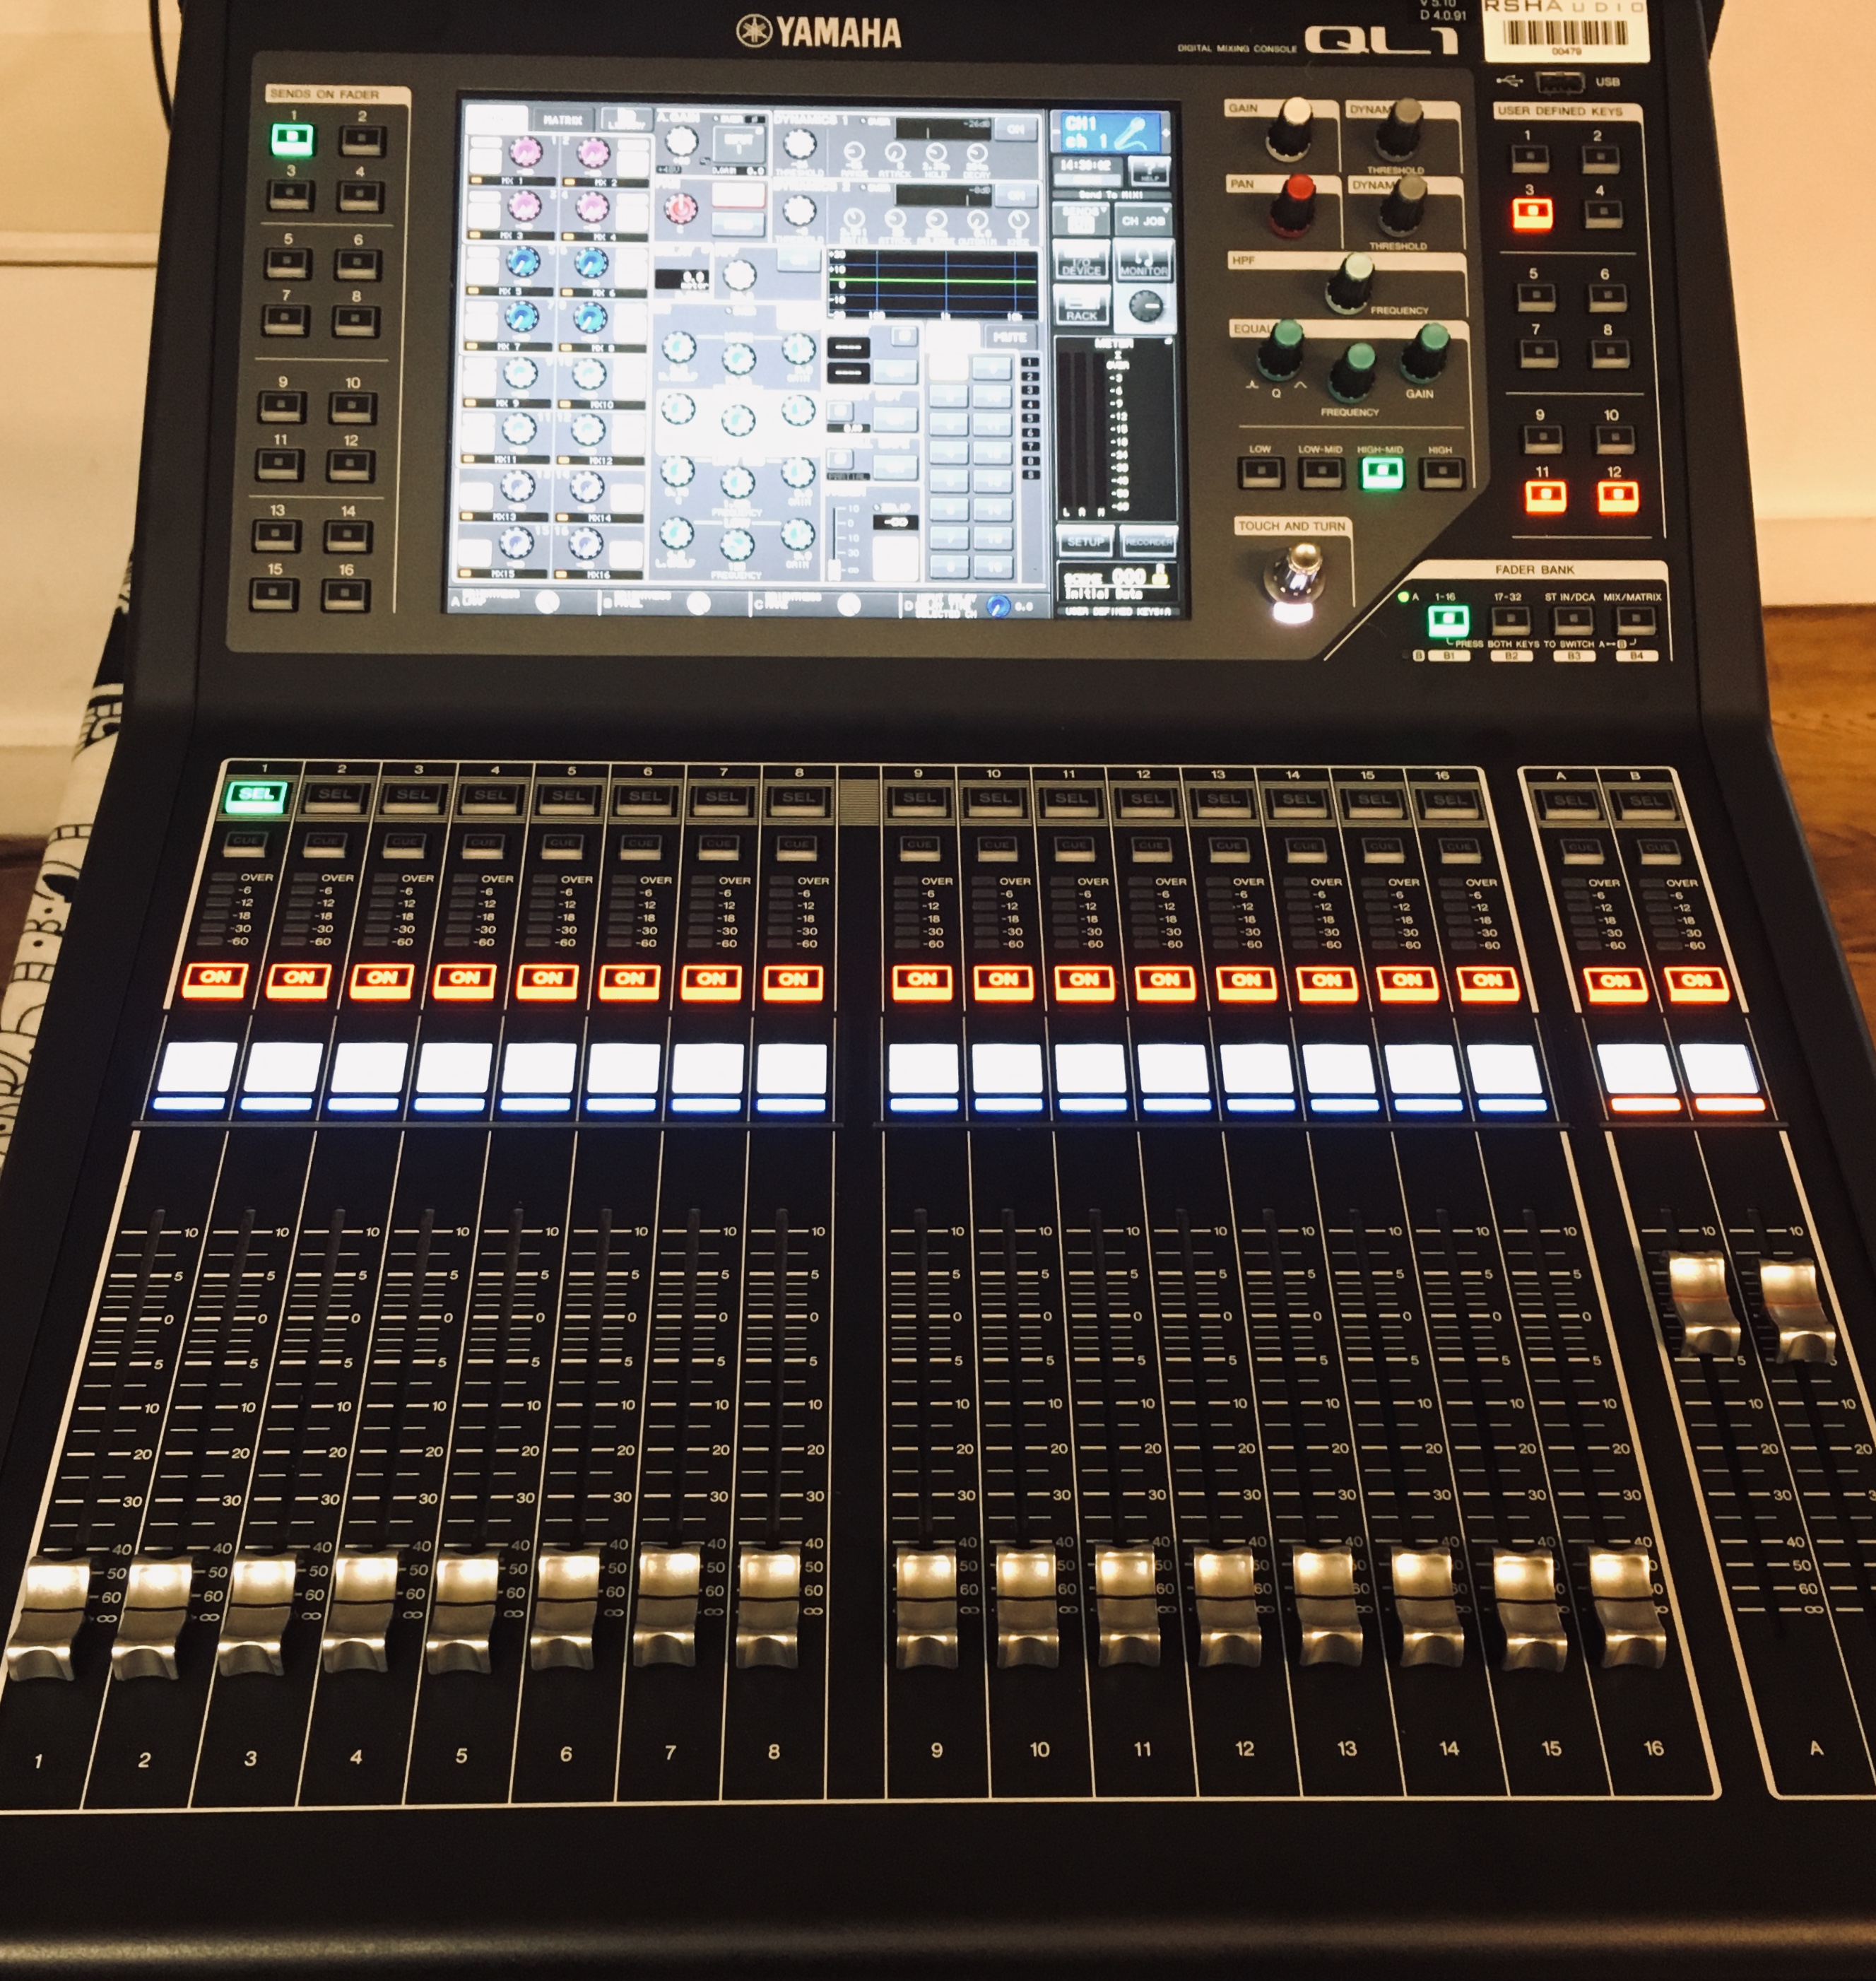
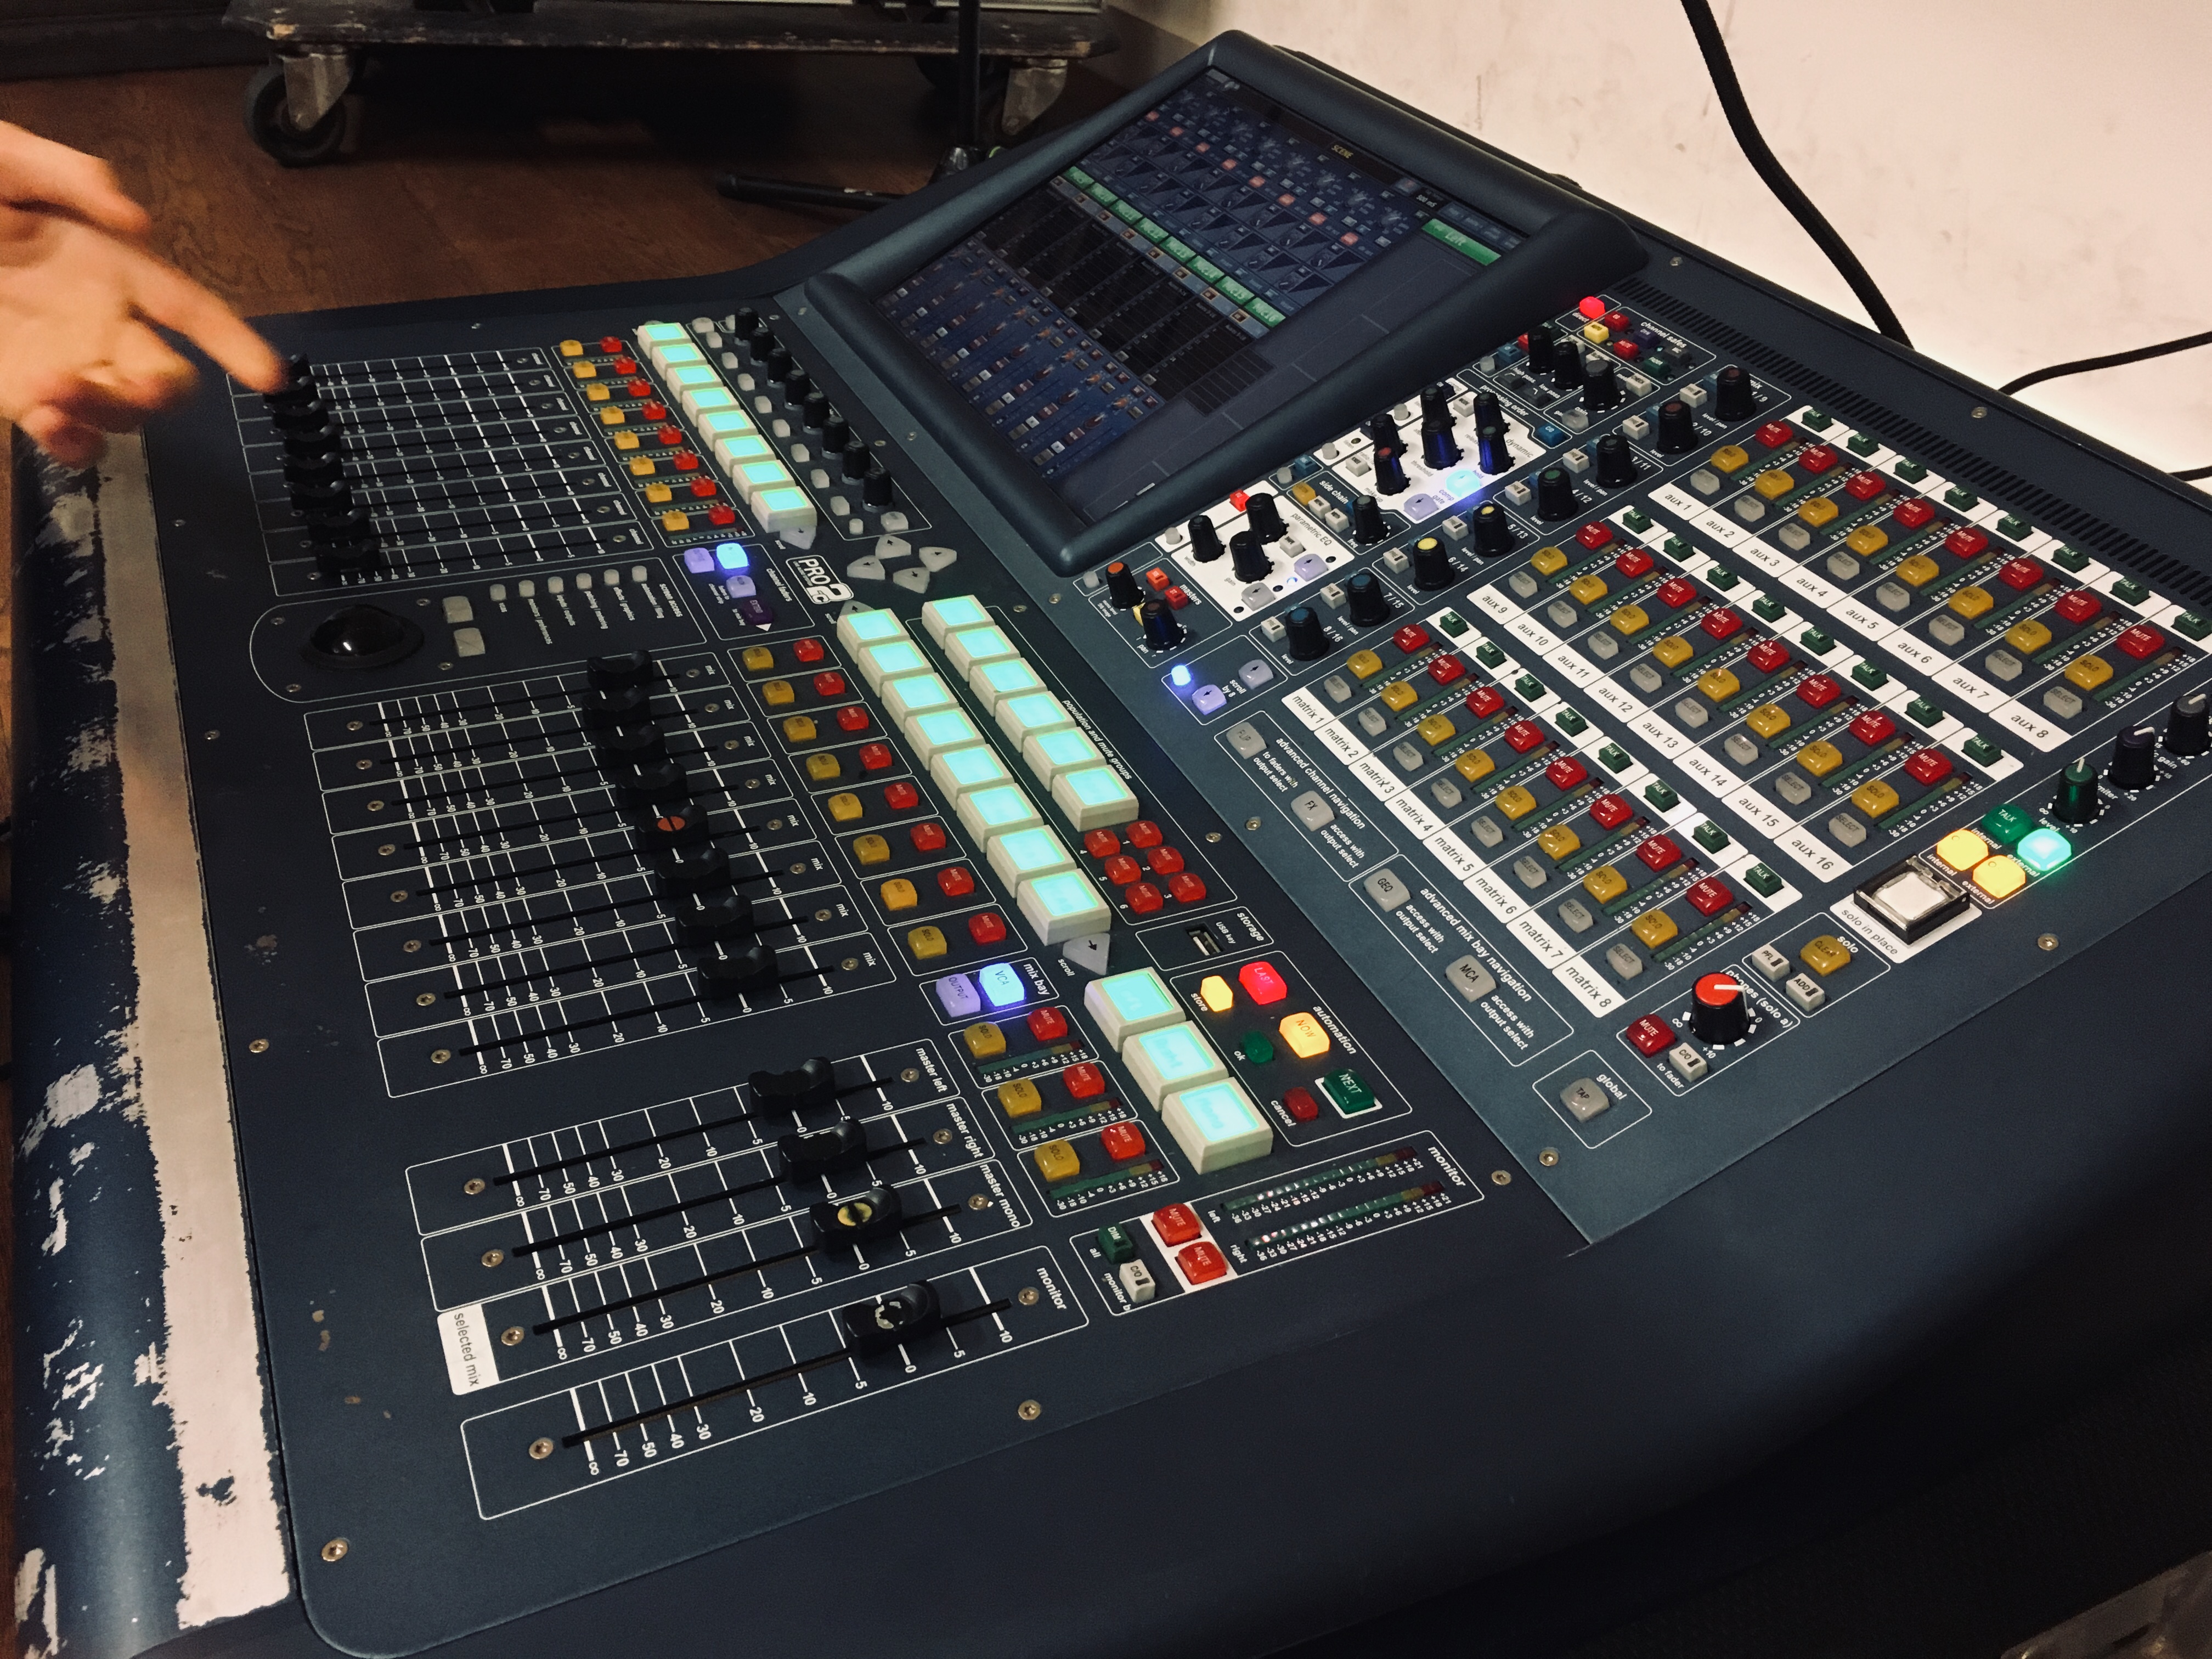
Most desks have some sort of template scene or scenes to get you started. Some are more useful than others, and you need to watch out for their little quirks. The Midas Pro2 had a notoriously sparse start scene when it first came out, with absolutely nothing patched, not even the headphones! You also need to be aware of your desk’s general default settings. Yamaha CL and QL series take head amp information from the “port” (stage box socket, Dante source, etc.) rather than the channel by default. That is the safest option for when you’re sharing the ports between multiple desks but is pretty useless if you aren’t and actively confusing if you’re moving your file between several setups, as you inherit the gains from each device you patch to.
Make it yours: It’s your show file, structure it in the way that’s best for you. The number of scenes you have will depend on how you like to work and the kind of show you’re doing. You might be happy to have one starting scene and do all the mixing as you go along. You might have a scene per band or per song. If you’re mixing a musical you might like to have a new scene every few lines, to deal with cast members coming on and off stage (see “further resources” for some more information about theatre’s approach to automation and line by line mixing). Find the settings and shortcuts that help you work most efficiently. Just keep everything clear and well-labeled for anyone who might need to step in. If you’re sharing mixing duties with others you will obviously need to work together to find a system that suits everyone.
Save early, save often: You should save each show file after soundcheck at the very least, even if nothing is going to change before the performance, as a backup. You should also save it after the show for when, or in case, you work with that act again. Apart from that, it’s good practice to save as often as you can, to make sure nothing gets lost. Some desks offer an autosave feature but don’t rely on it to save everything, or to save it at the right point. Store each scene before you move on to the next one when possible. Remember each scene is a starting point, so if you make manual changes during the scene reset them before saving.
Periodically save your show under a new name so you can roll back to a previous version if something goes wrong or the act changes their mind. You should save the current scene, then the show, then save it to two USB sticks which you store in different places in case you lose or damage one. It is a good idea to keep one with you and leave the other one either with the audio gear or with a trusted colleague, in case you can’t make it to the next show.
In case of emergency
If you find that your file isn’t recalling properly, all is not necessarily lost. First off, do not save anything until you’ve figured out the problem! You risk overwriting salvageable data with new/blank data.
- Step one is to check the manual! If that doesn’t shed light on the situation, ask a colleague if they recognise the problem. If neither of these things help, try the following. It isn’t guaranteed to fix it by any means but is worth a go.
- If your entire show file isn’t showing up when you load it, the USB might be corrupted. Try your spare USB that you cleverly backed up earlier! If you don’t have a back up try searching online for data recovery options.
- If the show file is working, but the right information isn’t appearing scene to scene, check that you don’t have anything safed that shouldn’t be. Some desks (hello, Midas) have their safes as part of the desk’s working memory rather than part of the show file, so check that whoever used the desk before you didn’t select any safes, and you haven’t selected any by mistake.
- If the safes are correct, check the recall scope. As covered earlier, all desks will save everything (unless you mess with store scope. Don’t mess with store scope), but will only use the parts of that information that you tell it to through the recall scope. I have not tested this on every desk, but you should be able to adjust and update the scene’s recall scope (not the scene itself) and rescue that data. One exception is, you guessed it, Midas: unlike other desks, the scope is an integral part of the scene and so can’t be updated separately. In this case, you need to fire the scene, change the store scope so nothing will be saved (i.e., put everything into the store scope, as per Midas’s logic) to prevent you from saving over the data you need to recover with the current settings, change the recall scope to what you want, save the scene and then refire it. Don’t forget to reset the store scope afterward! (Thanks to Will Dickinson and Liam Halpin for this solution).
- If the safes and recall scope are correct, and your desk offers it, check the store scope. If the store scope is wrong then the only thing you can do is accept this as a lesson in why you shouldn’t touch the store scope.
Utility scenes
When you’re confident with your automation skills you can utilise scenes for more than just changing state during the show. Here are a few examples of how they can be used:
Master settings: As soon as you start adjusting the recall scope, you should have a “settings” scene where you store everything, including parameters you know won’t change during the performance. Then you can take those parameters out of the recall scope for the rest of the scenes so you don’t change them accidentally. It is very important that they are stored somewhere, to begin with though! As monitor engineer Dan Speed shared:
“Always have a snapshot where all parameters are within the recall scope and be sure to update it regularly so it’s relevant. I learnt this the hard way with a Midas when I recalled the safe scene [the desk’s “blank slate” scene] and lost a week’s worth of gain/EQ/dynamics settings 30 minutes before the band turned up to soundcheck!”
I would also personally recommend saving your gain in this scene only. Having gain stored in every scene can cause a lot of hassle if you need to soft patch your inputs for any reason (e.g. when you’re a guest engineer where they can’t accommodate your channel list as is) or you need to adjust the gain mid-gig because a mic has slipped, etc. If you need to change the gain you would then need to make a block edit while the desk is live, “safe” the affected channel’s gain alone (and so lose any gain adjustments you had saved in subsequent scenes anyway), or re-adjust the gain every time you change the scene: all ways to risk making unnecessary mistakes. Some people disagree, but for most live music cases at least, if you consistently find that you can’t achieve the level changes needed within a show from the faders and other tools on the desk, you should revisit your gain structure rather than include gain changes in automation. A notable exception to this would be for multi-band bills: If a few seconds of silence is acceptable, for example, if you’re doing monitors, it is best to save each band as their own show file and switch over. Otherwise, if you need to keep the changeover music or announcement mics live, you can treat each set as a mini-show within the file and have a “master” starting scene for each one, then take the gain out of any other scenes.
Line system check: If you need to test that your whole line system is working, rather than line checking a particular setup, you should plug a phantom-powered mic into each channel and listen to it (phantom power checkers don’t pick up everything that might be wrong with a channel. It’s best to check with your own ears while testing the line system). A scene where everything is flat, patched 1-1, and phantom is sent to every channel makes this quick and easy, and easy to undo when you move on to the actual setup.
Multitrack playback: If you have a multitrack recording of your show but your desk doesn’t have a virtual playback option, you can make your own. Make two scenes with just input patching in their recall scope: one with the mics patched to the channels, and one with the multitrack patched instead. Take input patching out of every other scene’s recall scope. Now you can use the patch scenes to flip between live and playback, without affecting the rest of the show file. (Thanks to the awesome Michael Nunan for this tip!).
Despite the length of this post, I have only scratched the surface when it comes to the power of automation and what can be achieved with it. Unfortunately, it also has the power to ruin your gig, and maybe even lose your work. Truly understanding the principles of automation and building simple, clear show files will help your show run smoothly, and give you a solid foundation from which to build more complex ones when you need them.
Further resources:
Sound designer Kirsty Gillmore briefly outlines how automation can be approached for mixing musicals in part 2 of her Soundgirls blog on the topic: https://soundgirls.org/mixing-for-musicals-2/
Sound designer Gareth Owen explains the rationale for line by line mixing in musical theatre and demonstrates how automation makes it possible in this interview about Bat Out of Hell: https://youtu.be/25-tUKYqcY0?t=477
Aleš Štefančič from Sound Design Live has tips for Digico users and their sessions: https://www.sounddesignlive.com/top-5-common-mistakes-when-using-a-digico-console/
Nathan Lively from Sound Design Live has lots of great advice and tips for workflow and snapshots in his ultimate guide to mixing on a Digico SD5:
https://www.sounddesignlive.com/ultimate-guide-creative-mixing-digico-sd5-tutorial/