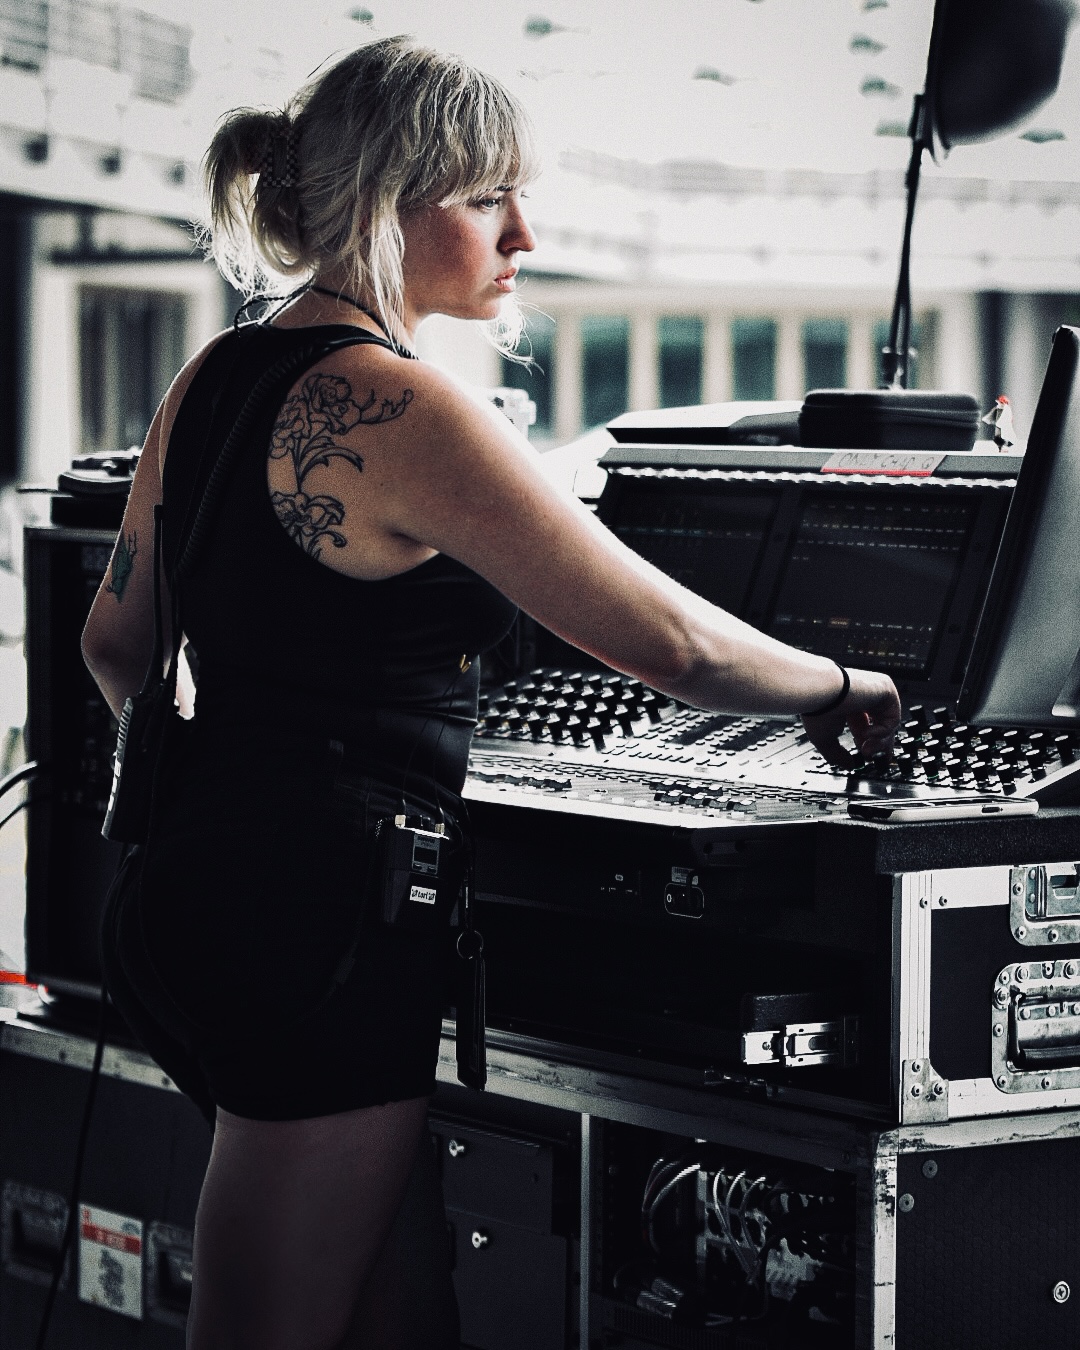
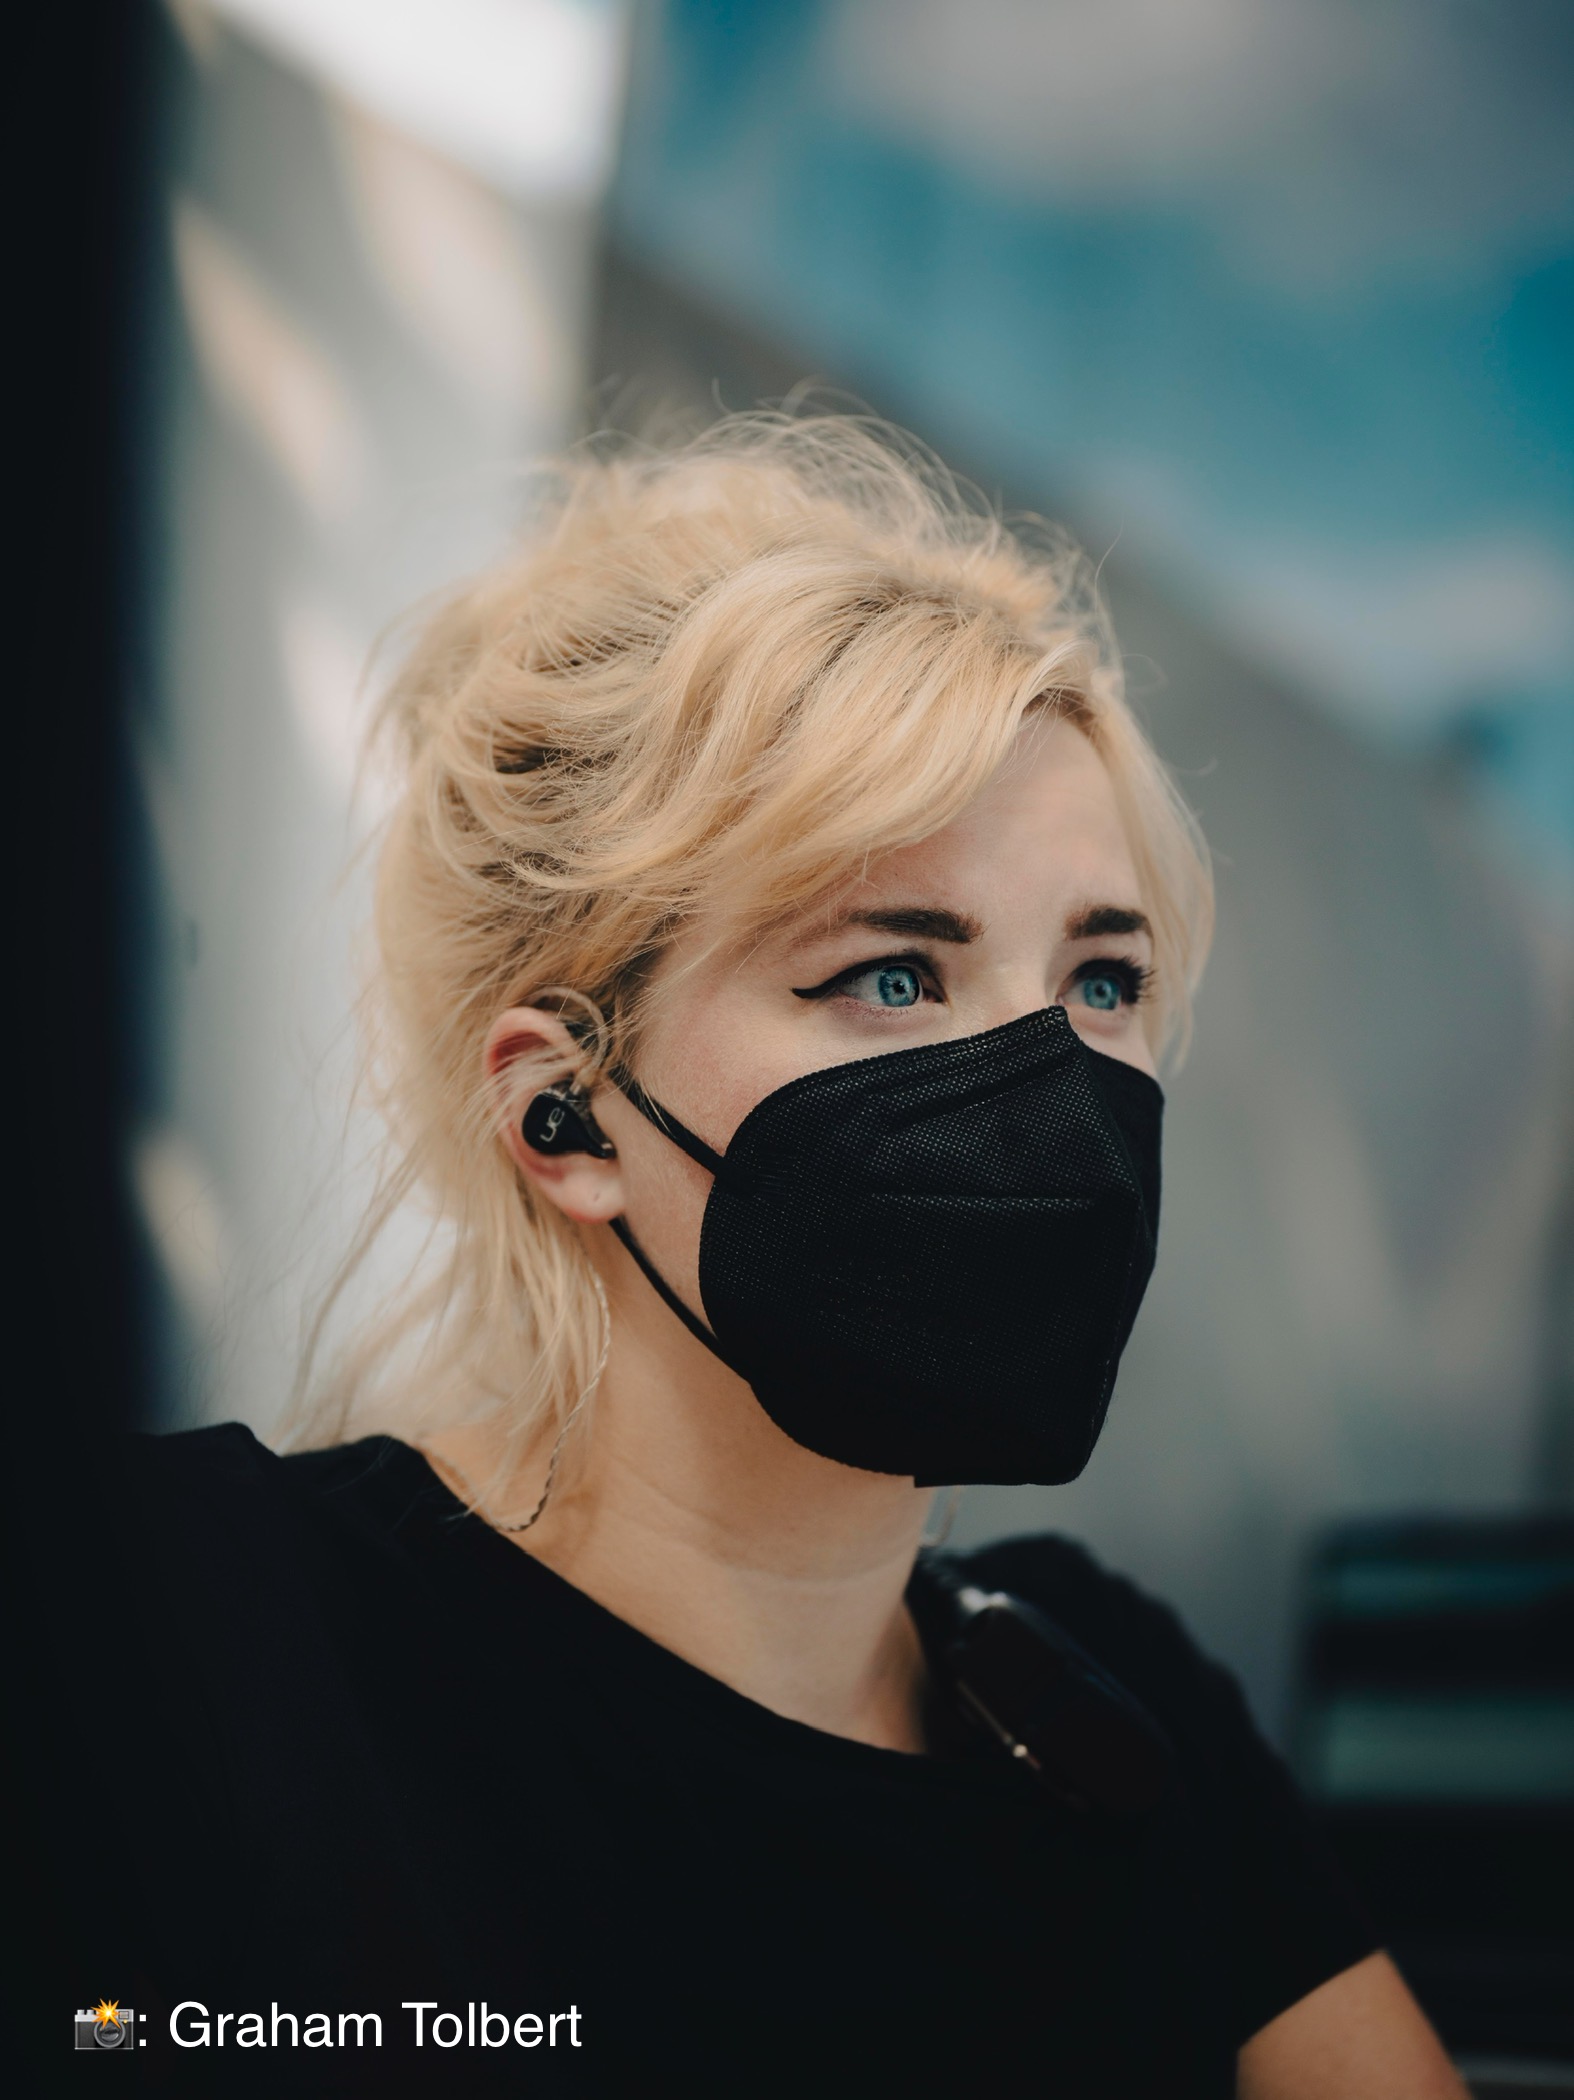
Victoria has worked in Live Sound for over eleven years and is currently on tour as a monitor engineer with Jason Isbell & the 400 Unit and works with Sylvan Esso as a monitor engineer. In addition, she works for Big House Sound, Inc. and Sound Image.
Victoria grew up surrounded by music, as her dad was a musician as well as his friends, and at age ten began exploring songwriting. She was part of the choir and band at school and can play a variety of instruments. She attended Capital University, in Columbus, Ohio with the notion of becoming a studio engineer, but realized quickly that her love was in live music and the dream of touring. She would graduate with a Bachelor of Music in Music Technology.
Career Start
How did you get your start?
I honestly didn’t know what exactly I wanted to do when I started college. I didn’t even know if I wanted to be in college at all. At first, I thought that I wanted to pursue being a studio engineer, and I realize now that that was a result of my program being so studio-focused. As soon as I got a taste of the live sound environment, I was sold. My first paid gigs were in small clubs. My friend recommended me to cover a few shows, and soon I was being scheduled regularly and was being offered shifts at other clubs that were similar in size. I was bartending to keep a steady income, but eventually, I realized how much those two tracks conflict and decided to pursue other audio opportunities.
What did you learn interning or on your early gigs?
One of the biggest lessons I learned early on was that there is more than one way to efficiently and correctly accomplish something and that you can learn so much from simply observing. I learned and practiced the nuance of asking the right questions at the right times. The other big one was that you absolutely do not have to yell or be a bully to get things done in an effective way. I watched a lot of others try that tactic, and it exclusively garnered resentment amongst the people that you want on your team. There’s a time and a place for being stern (safety), but you absolutely do not have to use it as your primary tactic.
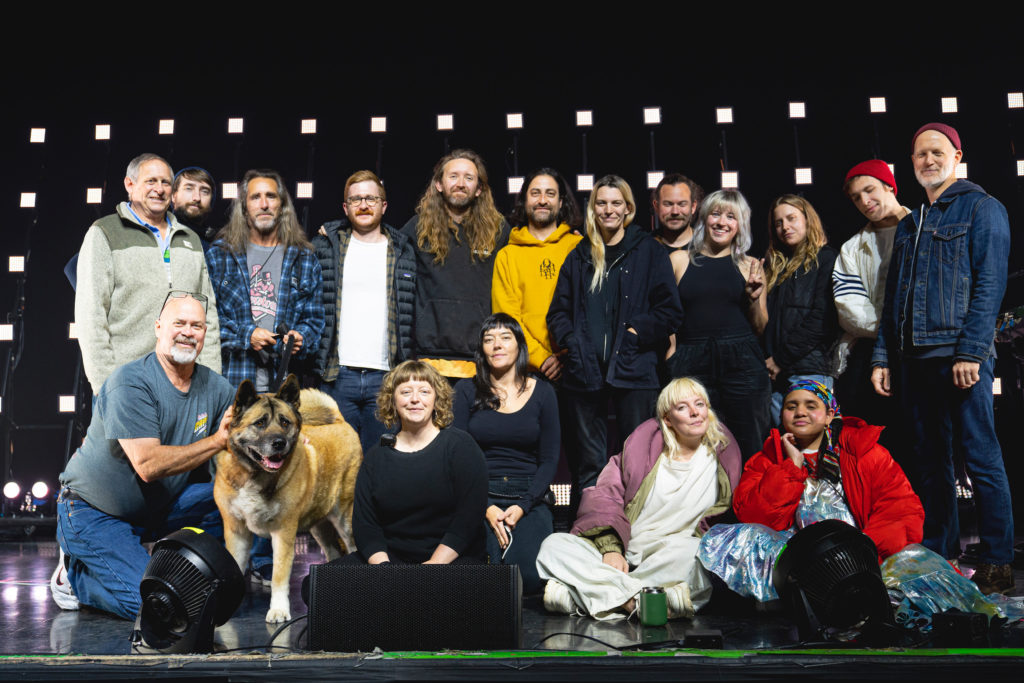
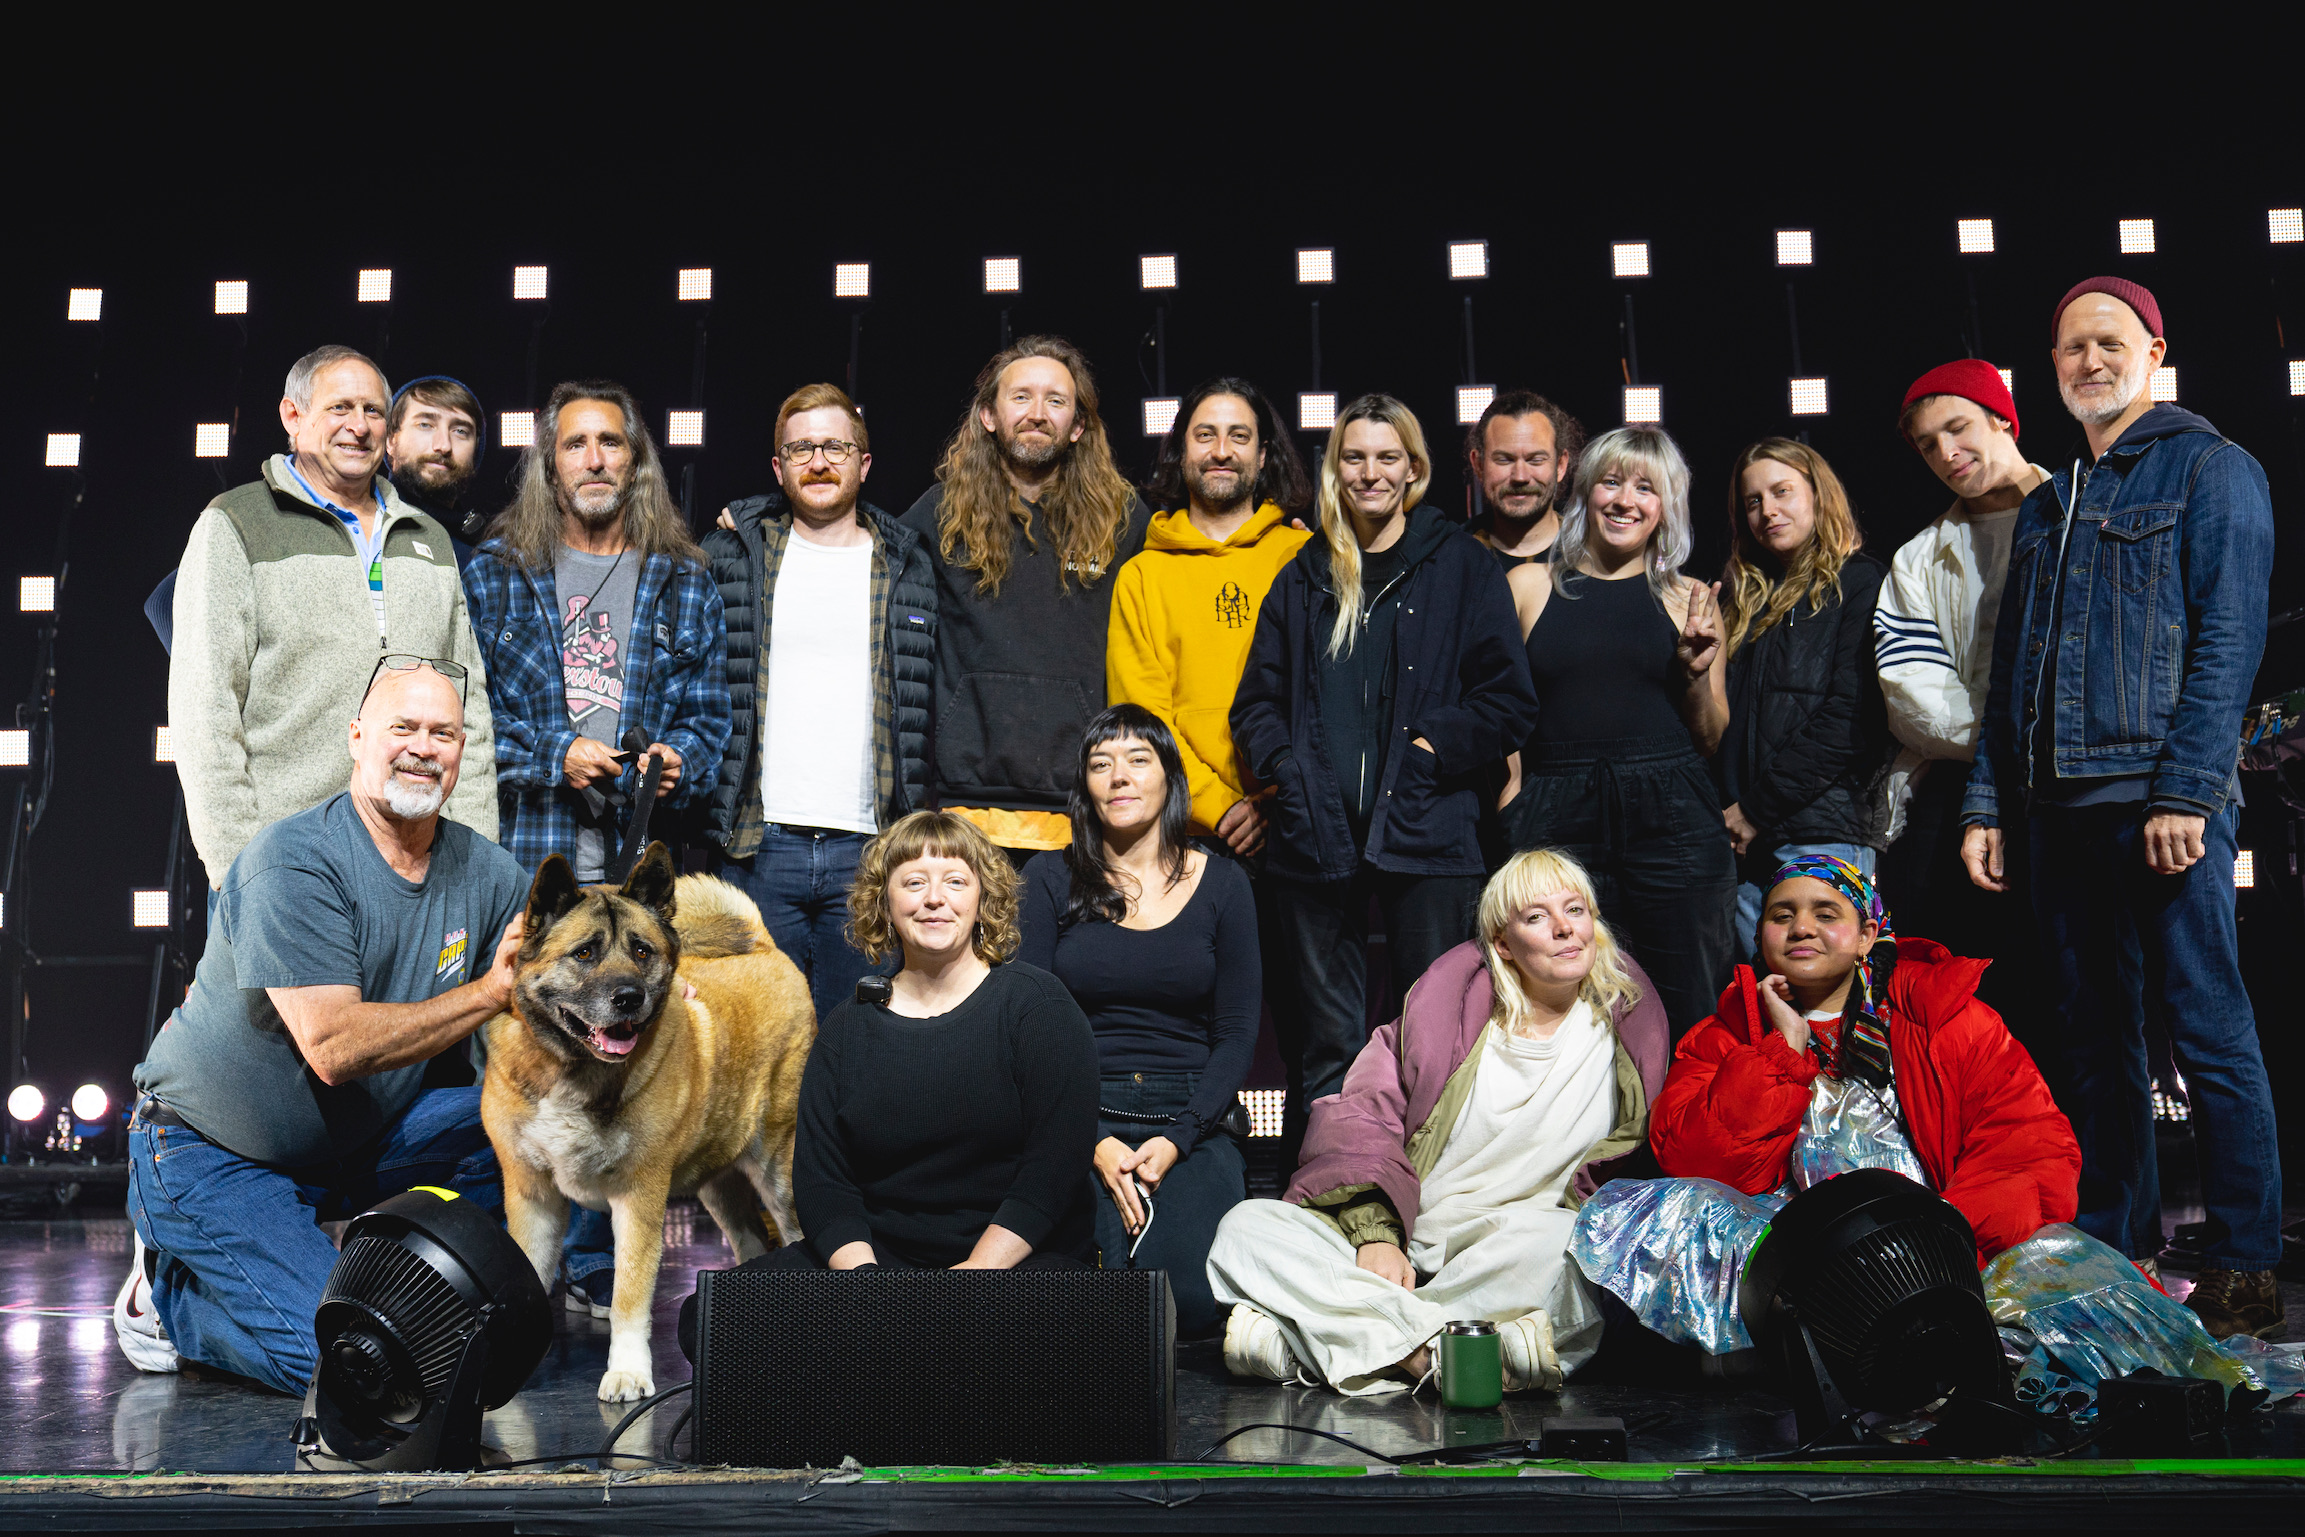
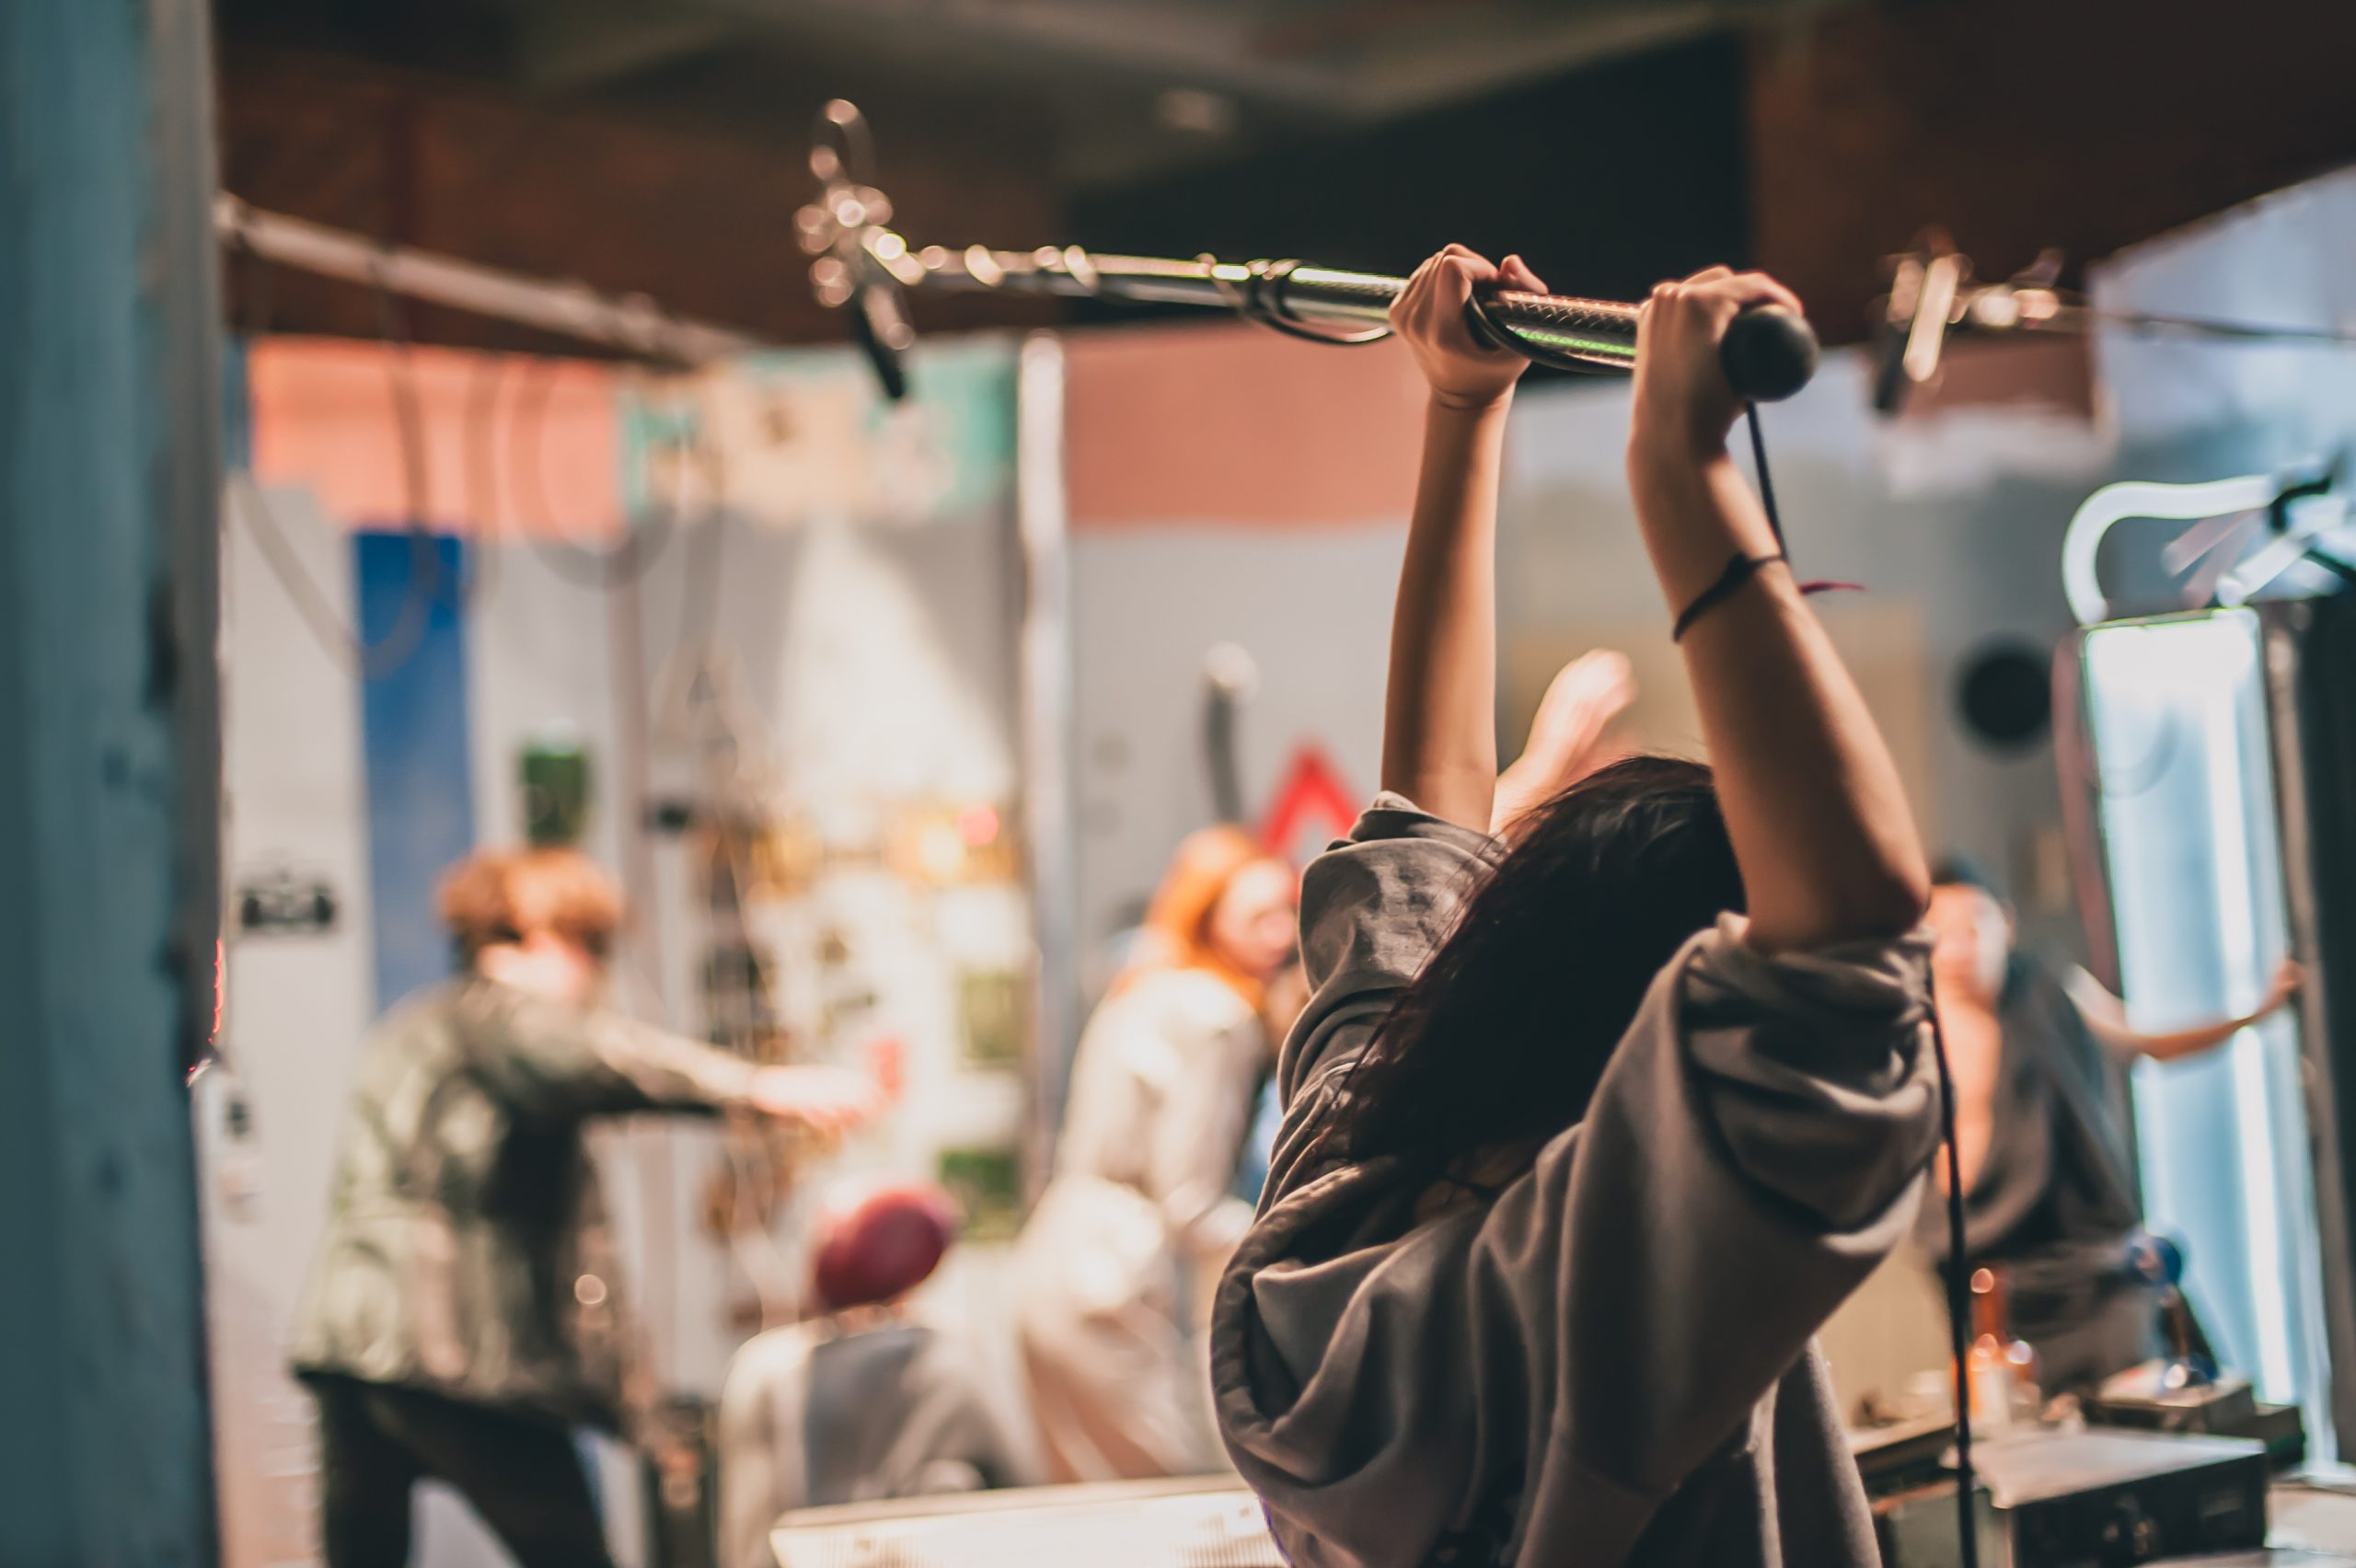
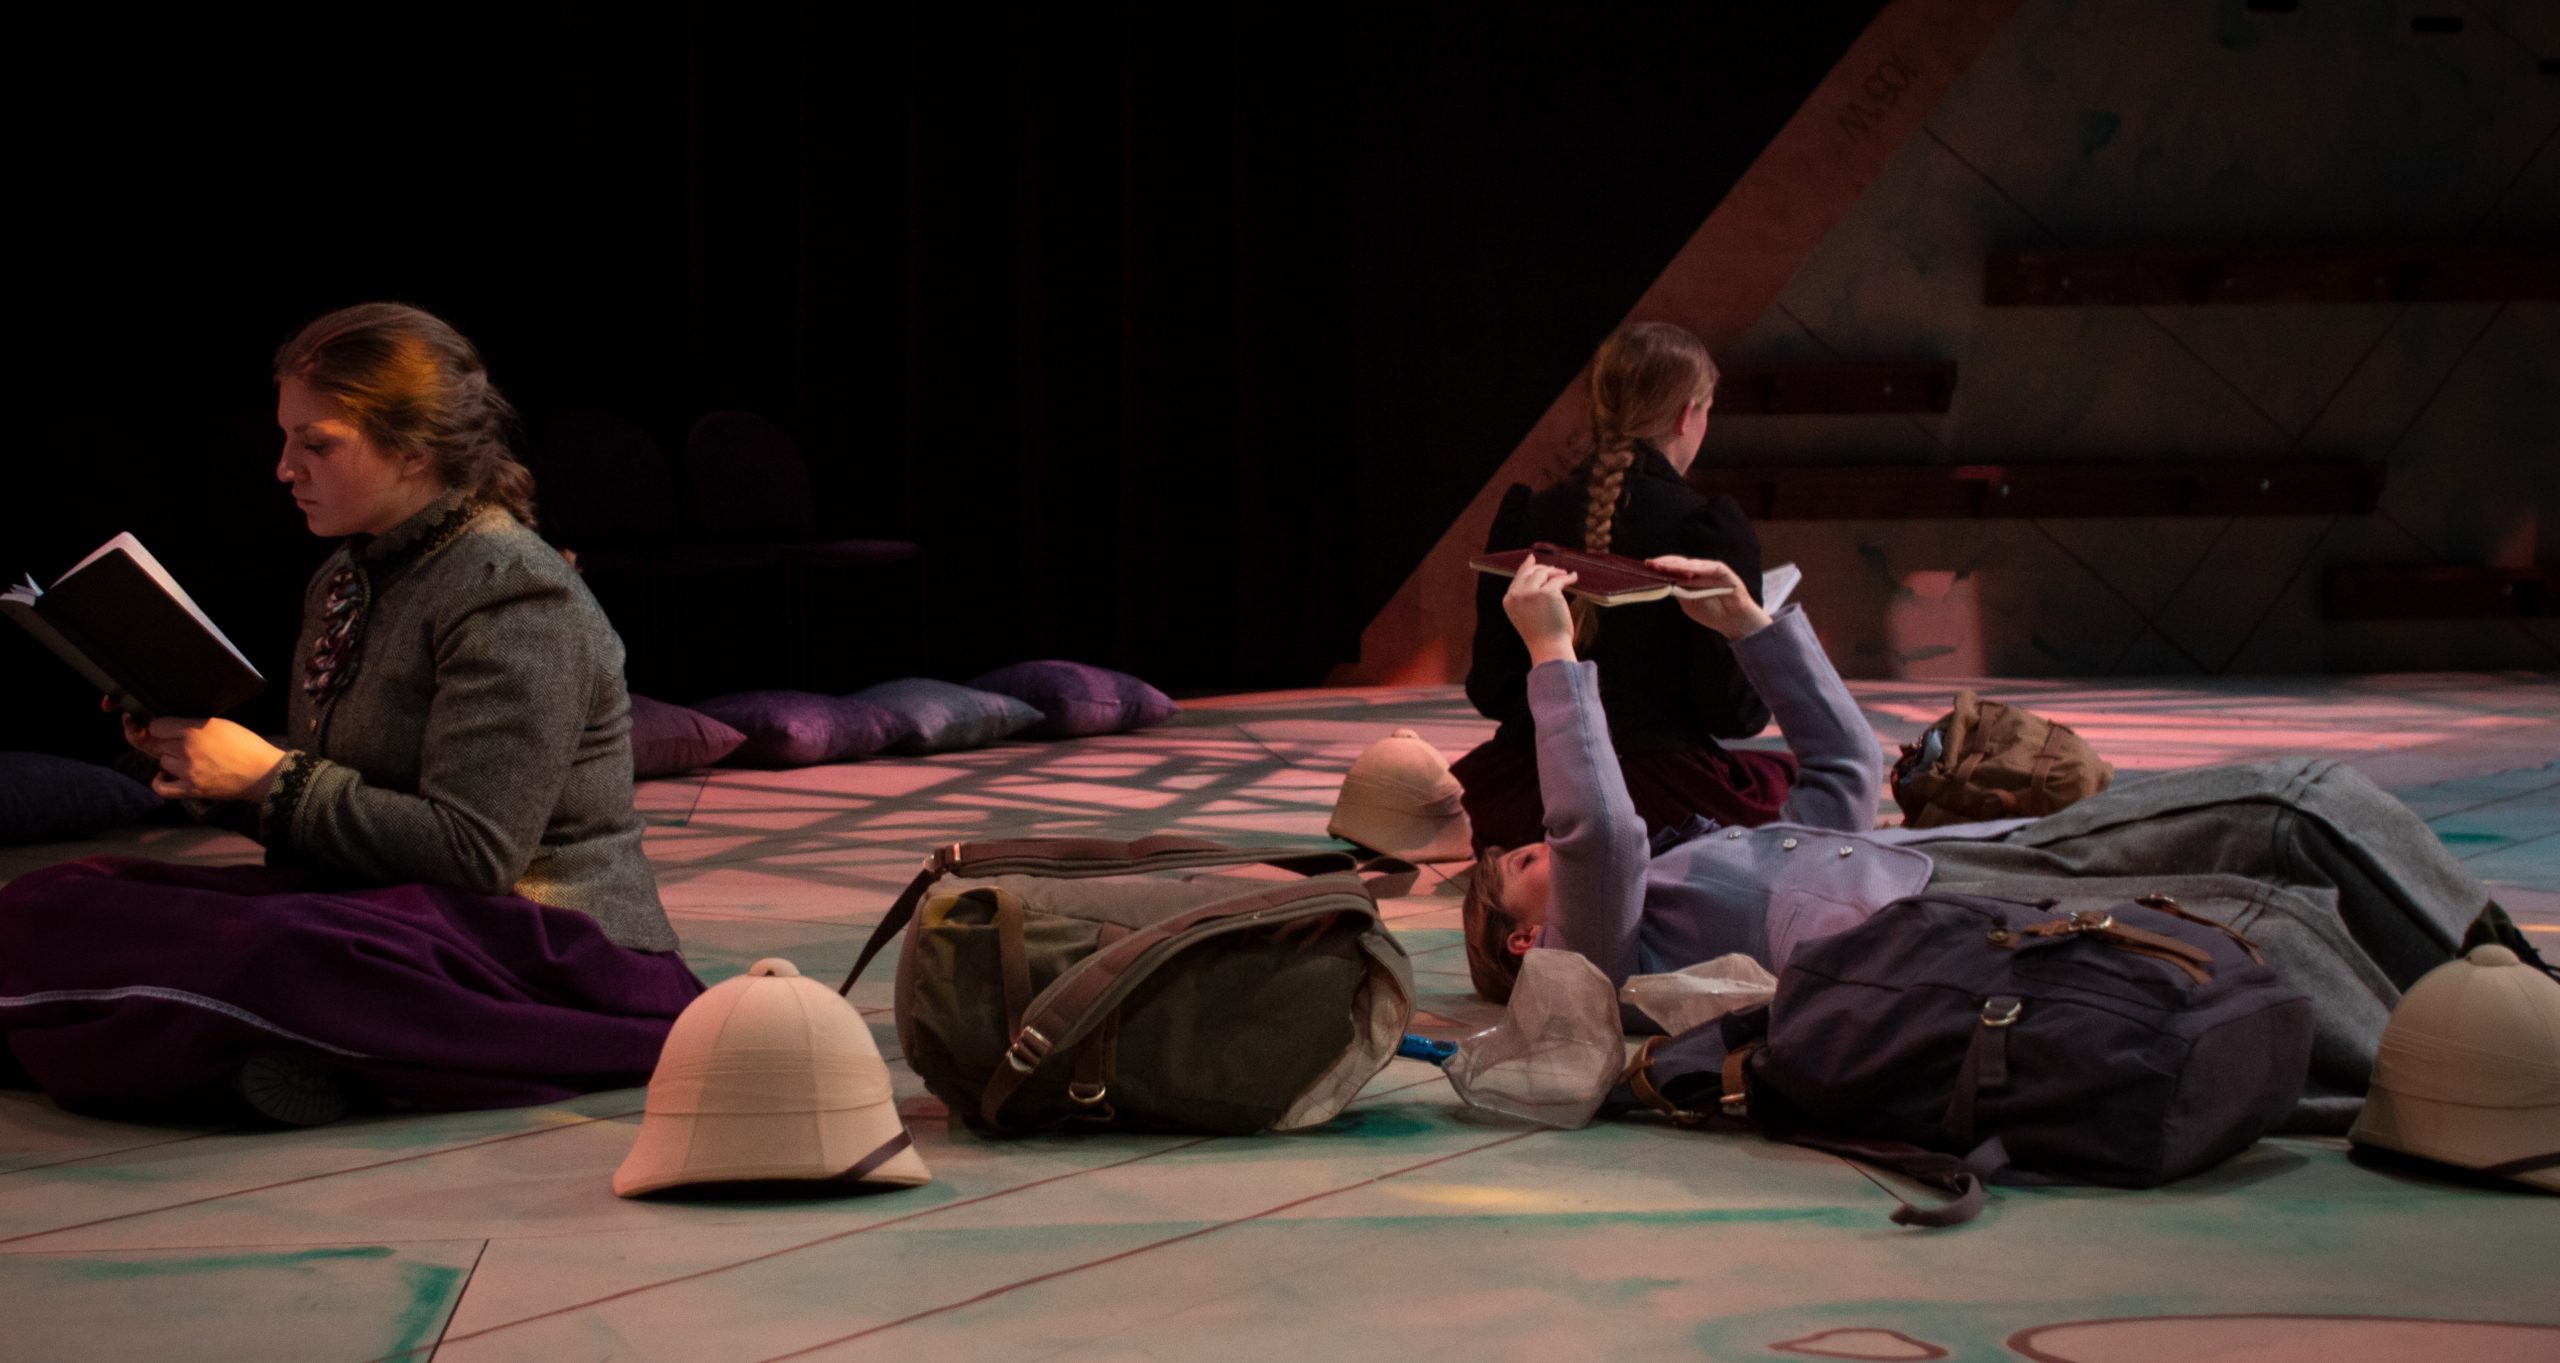
Sylvan Esso Crew
Career Now
What is a typical day like?
Wake up at least an hour and a half before walk and chalk, and check Google Maps to see where we are and if there are good coffee spots within walking distance.
Even though I’m not flying anything currently, I still go to walk and chalk to determine my footprint on SL and make sure that I’m being left enough room to operate and make adjustments if not.
Load In
Build MON world and take a look at the air space with RF Explorer and Touchstone Pro
My RF products are all Shure, so I use Touchstone Pro to visualize, and then import data into Wireless Workbench to analyze and deploy my frequencies and pair receivers/transmitters.
Open the previous show file, review my notes, and update snapshots accordingly
Once the backline is built, I run my looms to stage boxes and power drops and help patch the stage
Find some time for lunch and another coffee, and if there’s enough time I’ll call a loved one
Line check with backline pals
Soundcheck
Organize stage/prep changeover if there’s an opener
Dinner
Show
Load Out

How do you stay organized and focused?
The most important thing is taking care of your mind and body – if you’re not drinking enough water or eating consistently, your mind will not be at its best.
Outside of health, I find that having a step-by-step routine for getting your day started and setting up is helpful. If you continue to practice the same routine every day, you’ll be able to troubleshoot faster and be considerate of your team’s schedules. For instance – I wouldn’t ever run stage looms first thing because the backline has rolling risers that need to be built and placed. I really don’t like when I hear others use the phrase “work smarter not harder” condescendingly, but I can attest that running out a hefty sine loom is much easier if you don’t have to move it because it’s in the way.
What do you enjoy the most about your job?
I love being a part of the interpersonal relationships within the tour team and talent. I think that being a monitor engineer means that your crew is instilling a lot of trust in you. It’s your job to create a sonic space that honors the musician as well as the backline techs that work tirelessly to preserve tone. It’s an amazing feeling to experience the energy on stage as it morphs from song to song.
What do you like least?
When things go wrong, it’s hard not to take it personally. Even if you’re fully prepared and have done the work to secure spare lines, spare frequencies, etc., the equipment can still fail in a way that isn’t immediately fixable. That aspect can be anxiety fuel.
Luckily, I work with incredibly understanding folks who keep their frustrations in check and trust that I am doing my best to make the issue go away. It’s been great to know that if something comes up, we can have a civil conversation about it later.
If you tour what do you like best?
I have always (kind of) joked about how my number one passion in life is food and touring is my gateway to experiencing all of the world’s best food. Seeing the world is such an amazing perk.
I also love that I get to partake in so many fantastic friendships.
What do you like least?
I think that living out of a suitcase surrounded by up to 11 people in a small space as well as being away from your loved ones gets tiring during a long tour. It certainly forces you to choose what items are most important to your every day. I think even the most social people need a break with privacy sometimes, and it can be hard to come by.
What is your favorite day off activity?
I have two priorities: Find the best coffee. Find at least one good meal.
Outside of that, I usually bring my rollerskates on the road, so I’ll find somewhere to skate and listen to music. I also genuinely love hanging out with my crews, so I like planning fun group activities – especially if they can be outside. I also always make time to phone my loved ones.

What are your long-term goals?
I just want to continue staying on top of the newest technologies and seeing the world (and eating all of the food that the world has to offer!). Eventually, I’d love to dive into more Production Management. I also want to continue exclusively working for and with good humans.
What if any obstacles or barriers have you faced?
My biggest obstacles have always been my own anxieties: whether I deserved to be where I was, whether I could handle challenging situations, and being worried that I’m not communicating well enough with my team. The industry’s volatile nature has left a lot of my friends and coworkers with these same anxieties, which means that many of us can share in them and help each other deplete them. You can only control what you can control.
I would be remiss if I didn’t note that I’ve experienced a fair bit of sexism and sexual harassment. I’ve worked in spaces that didn’t feel safe, and I’ve been brushed off for asking for help.
I’ve noticed that – for me at least – it hasn’t been as up-front as it once was. Post-COVID lockdown, there’s been a level of accountability that didn’t quite exist before. That’s not to discount anyone else’s experiences, but I’m glad to feel somewhat safer in my work environment.
How have you dealt with them?
Letting go of the things you can’t control is a powerful thing. I see a therapist once every two weeks, which really helps with the struggles of having anxiety and being on the road full-time. I really, really encourage everyone who tours to seek telehealth therapy options. Many cities have programs that can help with financial support for mental health services. If you live in the Austin area, please reach out to SIMS for mental health support.
I’ve had to get better at advocating for myself and my safety, as well as the safety of those around me. I do my best to work hard and foster an environment where everyone feels welcomed and appreciated.
Advice you have for other women who wish to enter the field?
Never stop learning. Remember that no single person knows everything; it’s okay to look something up on Google if you’re second-guessing. Do your best to stay focused through the beginnings of your career: it’s gonna be tough, but you can push through. Meet everyone and try to remember their names – that goes a long way and helps with networking. Make sure that you’re ALWAYS taking breaks to drink water and eat – even on the busiest days. If you only have the budget to purchase one nice tool to start out with, grab a multi-tool like a Leatherman. You will more than likely encounter some form of sexism/discrimination, but do not let that stop you…and always reach out to a Production/Stage Manager, Tour Manager, or Venue Manager if you need help. You should not be expected to work in an unsafe environment, and safety includes sexual harassment or sexism. Advocate for your health, your pay, and your safety. And as you move into positions with more authority, despite what you may see others do, you can accomplish things with kindness and comradery instead of fear.
Must have skills?
I think the biggest skill to being on any team is work ethic and the ability to see everything and everyone from the “same team” point of view. We’re all here to do the same job, even if we work in different departments. People on your team will also notice when you care about your work, and that is a valuable trait.
Be communicative and open. Take responsibility if you mess up and put fail-safes in place to avoid the issue in the future. At the same time, also know when to let a bad night go.
Do your best to stay calm and collected when troubleshooting. Something will definitely go wrong at some point, so be prepared with the knowledge and tools to track it down and fix it.
Last but not least: do your best to be pleasant while respecting your boundaries and your teammates’ boundaries. We all have to work together through long, sometimes arduous days and then we have to get onto our tiny house on wheels and live together, which is a lot. I’d say that getting along with your team goes further than technical know-how.
Favorite gear?
My Leatherman, JH Roxannes and UE 18+ PROs, my RF Explorer, soldering irons, my SoundTools Rat Sniffer, label maker (with cool glitter tapes), anything from the Neve 500 series in a rack, and honestly…zip ties. Haha.
I just want to pay homage to those who helped me get to where I am. In no particular order: my dad Jeff and my mom Cindy, Rick Rhoads, who introduced me to recording and opened the door to a plethora of incredible music, Dr. Mark Lochstampfor, Greg Harbert, Joey Pasternak, Andie Cascioli, Melanie Renecker, Kip Montgomery, Zach Anderson, Nate Peterson, Alicia Blake, Karrie Keyes, and Jeremiah Karni.