Empowering the Next Generation of Women in Audio

Join Us

Creating Spacious Mixes with Panning

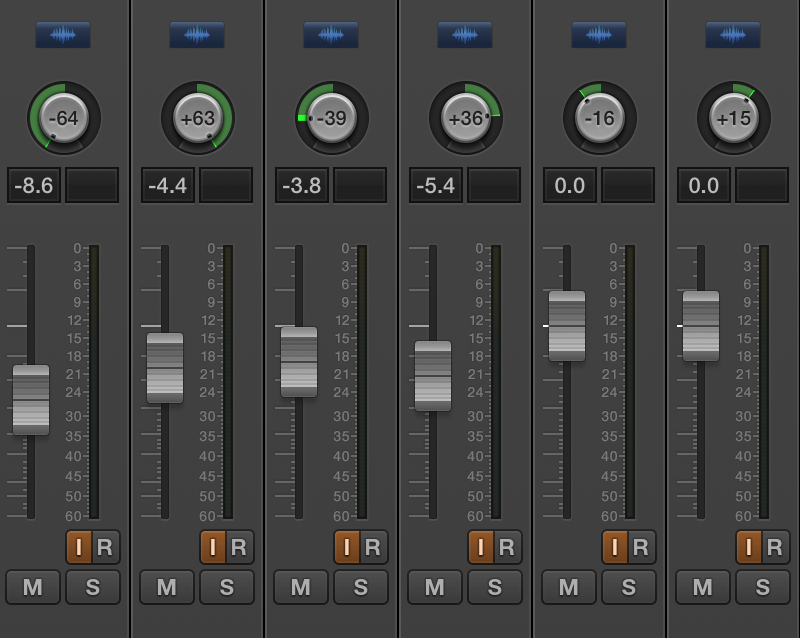
Panning in a musical context is the act of distributing the sound signal into a stereo or multi-channel sound field. Most DAW’s will have a Pan Knob that you can use to send the audio hard left, left, centre, right, hard right, and everything in between. The benefit of panning is that it can create space and width inside your mix and allow the listener to have a broader listening experience.

So how do you pan your mixes? Well here are a few top tips that will help create space and depth in your mixes.

Vocal Tracks

Music that features a voice in it, no matter the genre, typically follows this panning method. The Vocals should be panned centre, as well as any kick or snare tracks (although if you don’t want that hard-hitting sound you can always pan the snare and kick just off centre). If you have a couple of harmony vocal tracks, you can pan them hard left and hard right so that they’re not competing with the main vocal. If you have a lot of different harmonies pan the strongest hard left and right and then pan the others in opposite directions with each other. For example, if you have two of the same harmony takes pan one 90° left and the other 90° right.

Frequency Zones

If you have a few instruments or sounds that are occupying the same frequency, a nice trick can be to pan them on opposite sides of each other. This will create space and alleviate some of the muddiness.

Song Structure

Another useful trick with panning is it can allow you to diversity the sound of your song structure. For example, you could keep your intro and verses very tight, and then when the chorus begins you can open up the sound by panning certain voices and instruments out. This will create a wider sound and ultimately make it feel like a bigger chorus.

Keep it Balanced

The most important thing to remember is to keep your mix balanced! Once you start diving into panning it can become quite easy to just start panning everything. This is not recommended. The best use of panning comes from using the technique just to open up your mix. You don’t want to be left with a track that sounds too loud and muddy in the right ear and brittle in the left.

Check Your Mix

Make sure you are checking your mix on a variety of different sources. From headphones, monitors, cellphone speakers, etc. This is important as listening on only one source can give you an altered listening experience and what sounds good on your mix headphones might not sound great on a pair of cheaper in-ears. So, make sure to check check check!

Overall panning is an incredible tool to open up the sound of your music. There is no right or wrong way to do it and my advice would be to just trust your ears.


Minimalist Mixing Techniques 

Hi SoundGirls! Back in January, I wrote about the recording process for a 16 song album I was working on at the time. Although I promised that my next blog would be about the mixing process, that took a pause because my last blog ended up being about my friend Tangela’s new podcast, “Women in Audio”. I was lucky enough to be her first guest, so for my March blog, I broke down some essential topics we talked about in the podcast, and provided links to it at the end. If you haven’t listened to the Women in Audio podcast yet- I suggest you do. She has multiple interviews streaming now, plus the conversations are fun and intriguing! You’ll definitely enjoy them.

With all that being said, we are circling back to the album I just wrapped and today’s blog will be about the mixing process, (YAY!).

You might’ve noticed the title for this month’s blog is called “Minimalist Mixing Techniques”, so you already know what I’m about to dive into…the art of NOT using 10,000 plug-ins on ONE song! Now, there is nothing wrong with that at all! If the song is calling for production, or if you want to just be creative with plug-ins…do it. There are certain artists or bands I work with that I like to get very creative with plug-ins, but in this instance- we didn’t go that route, and I wanted to talk about the steps I used to get the band their final product.

Here is the list of steps I would take from when I would first open up the session to when I sent them their first mix of the song:

Clean up your session

What I mean by “clean up your session” is- get rid of tracks you don’t need. Not using that DI track you captured? Hide and make inactive. If you have two tracks that could become 1 (ex. two mono overhead mic tracks)- create it as a stereo track. Make your starting base simple, so you can move through it seamlessly.

Set up your effects

Now that you’ve gotten rid of things you don’t need. Start adding in things you do need to create some depth in the mix. I would recommend only 2 (maybe 3) effects tracks since we are keeping this mix minimal. A reverb, delay, and a slap delay are pretty effective for any mix.

Start with the drums

The way I mix is I start with the drums soloed and then I move through the mix adding in each instrument at a time. For the drums, I would recommend bussing together the things that are the same (kick in/kick out, snare top/ snare bottom, etc), but don’t get too “bus” happy. One of the reasons I sometimes like to mix minimally is because it’s easy to have control over your mix when you don’t have too many things bussing into one another (aka phase issues, and your mix could get muddy if you lose control of the low end).

EQ

Eq is always incredibly important in any mixing process. I think it’s usually best to eq minimally, and if you’re capturing things well in the studio you shouldn’t have to do TOO much of it on the back end anyways. With this, I would recommend practicing using pro-tools stock eq so you can focus on using your ears instead of your eyes. You’ll question the eq moves you make more than you would vice versa (which results in minimalist eq techniques). That will also help you avoid phases that you may create yourself by eq-ing too much.

Compression

When mixing minimally, compression is key. You want to keep the dynamics of the song, but you don’t want things poking out of the mix when they shouldn’t be! I think the most prevalent two things to compress in a minimal mix are the snare and the bass. Obviously, compress the kick, guitars, vocals, as need be, but I’d say the snare and the bass you will want to focus on most. Since we are keeping it simple, keep a small ratio, set your attack/release (all dependent on the instrument), and slowly add in the threshold. Keep it on the lighter side though. Remember, we want those dynamics there!

Bussing

I kind of went over this in the “drums” paragraph, but to go into more detail, I will say- bus together with the things that make sense and make the mixing process easier for you. The reason I would bus the kick in/kick out together is that I have more control over the total sound of the kick through eq AND compression. It would be the same thought process for two guitar mics on the same amp, and so on.

That’s the gist of mixing minimally. I hope this blog helps you go outside of your comfort zone, and trust your ears a bit more. That’s what mixing this way has done for me!

I hope everyone is staying safe, healthy, and creative out there! No matter what, never stop making music or doing what you love.

Until next time SoundGirls, and as always- feel free to email me at virginia@backbeat365.com.


X