Empowering the Next Generation of Women in Audio

Join Us

What’s the Best Music City?

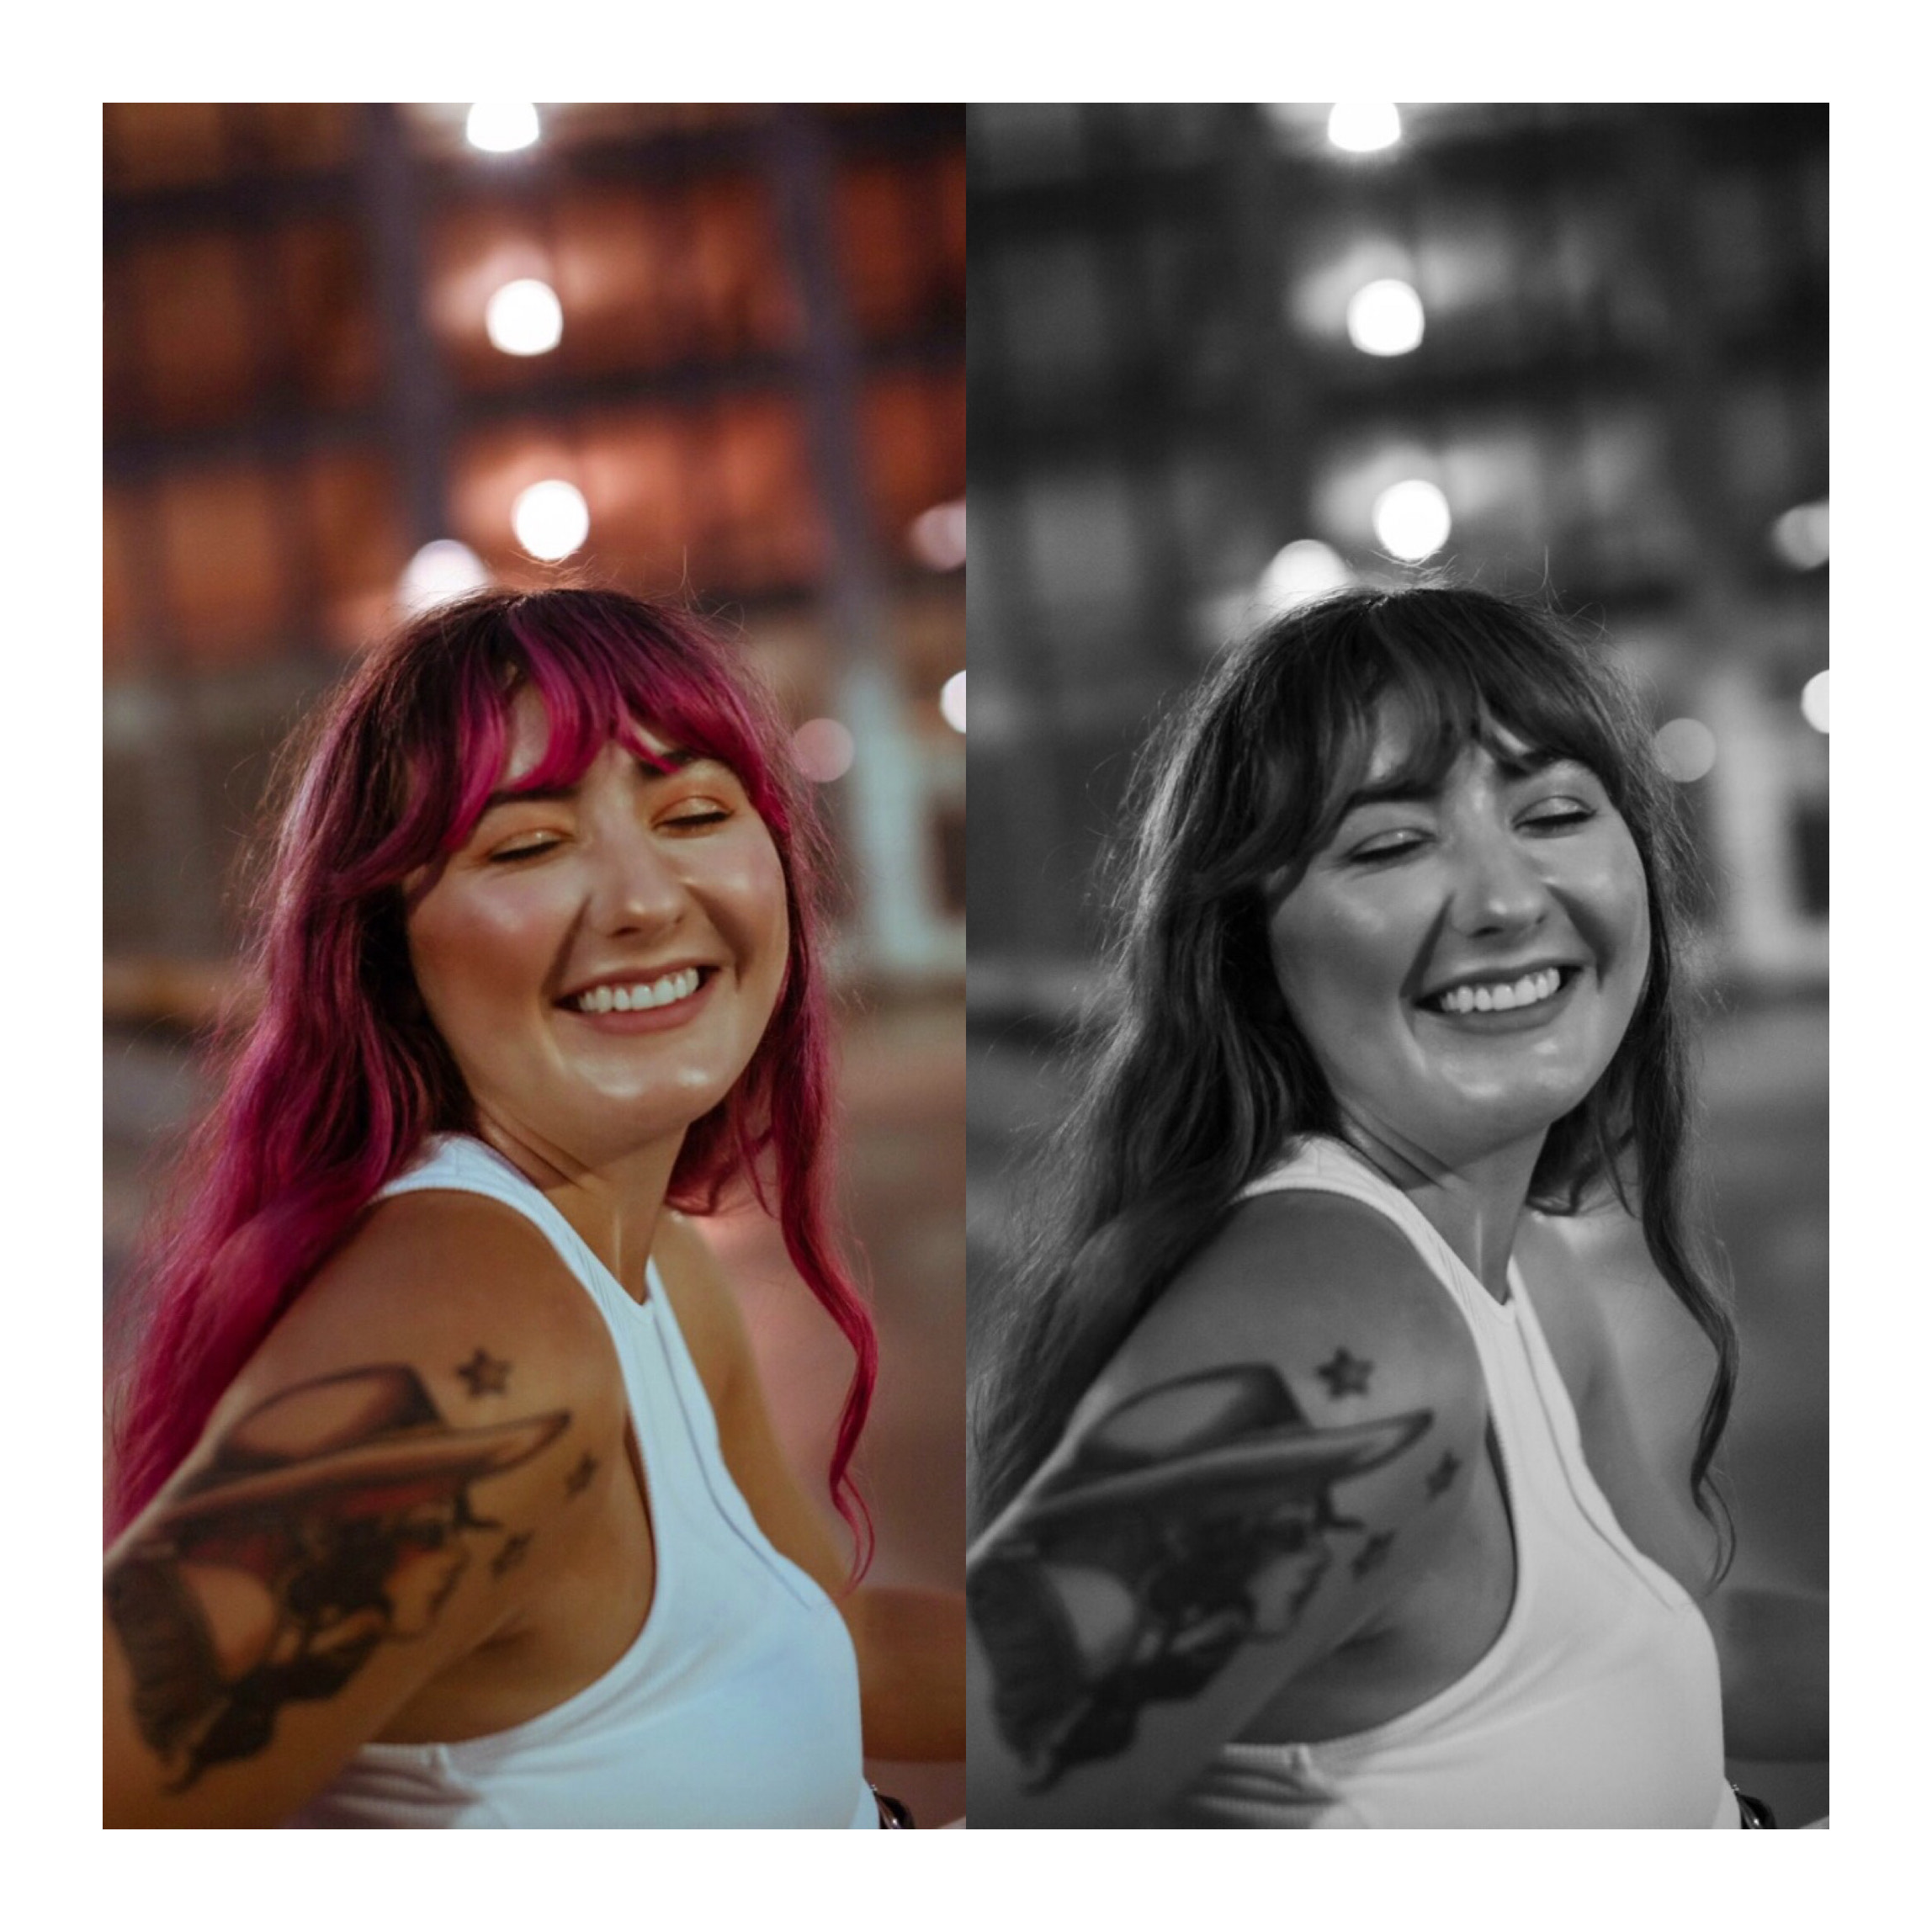
Hi SoundGirls! I hope everyone has been staying safe and healthy. With all the change that has happened over the past year, and how it has directly affected our industry- I’m wondering what’s the best music city to live in?

I’m currently living in Austin, TX. I’ve lived in Texas my entire life, and I grew up outside of Austin. As some of you may know, I moved to Austin right out of high school and began my audio engineering journey. That was 5 YEARS ago! It really is crazy how time flies. With that being said, the atmosphere of our industry in Austin has drastically changed since COVID-19. With closures of local venues and the scarcity of payable internships at recording studios- it has dawned on me that maybe it is time to live somewhere new that can offer me a different learning experience. Now, don’t get me wrong. I love Austin with all of my heart. I will most likely settle down here once I’ve achieved the level of experience I would like, but I can’t help but wonder if my time in this city has come to a close for now. I feel like I’ve experienced all I can experience here.

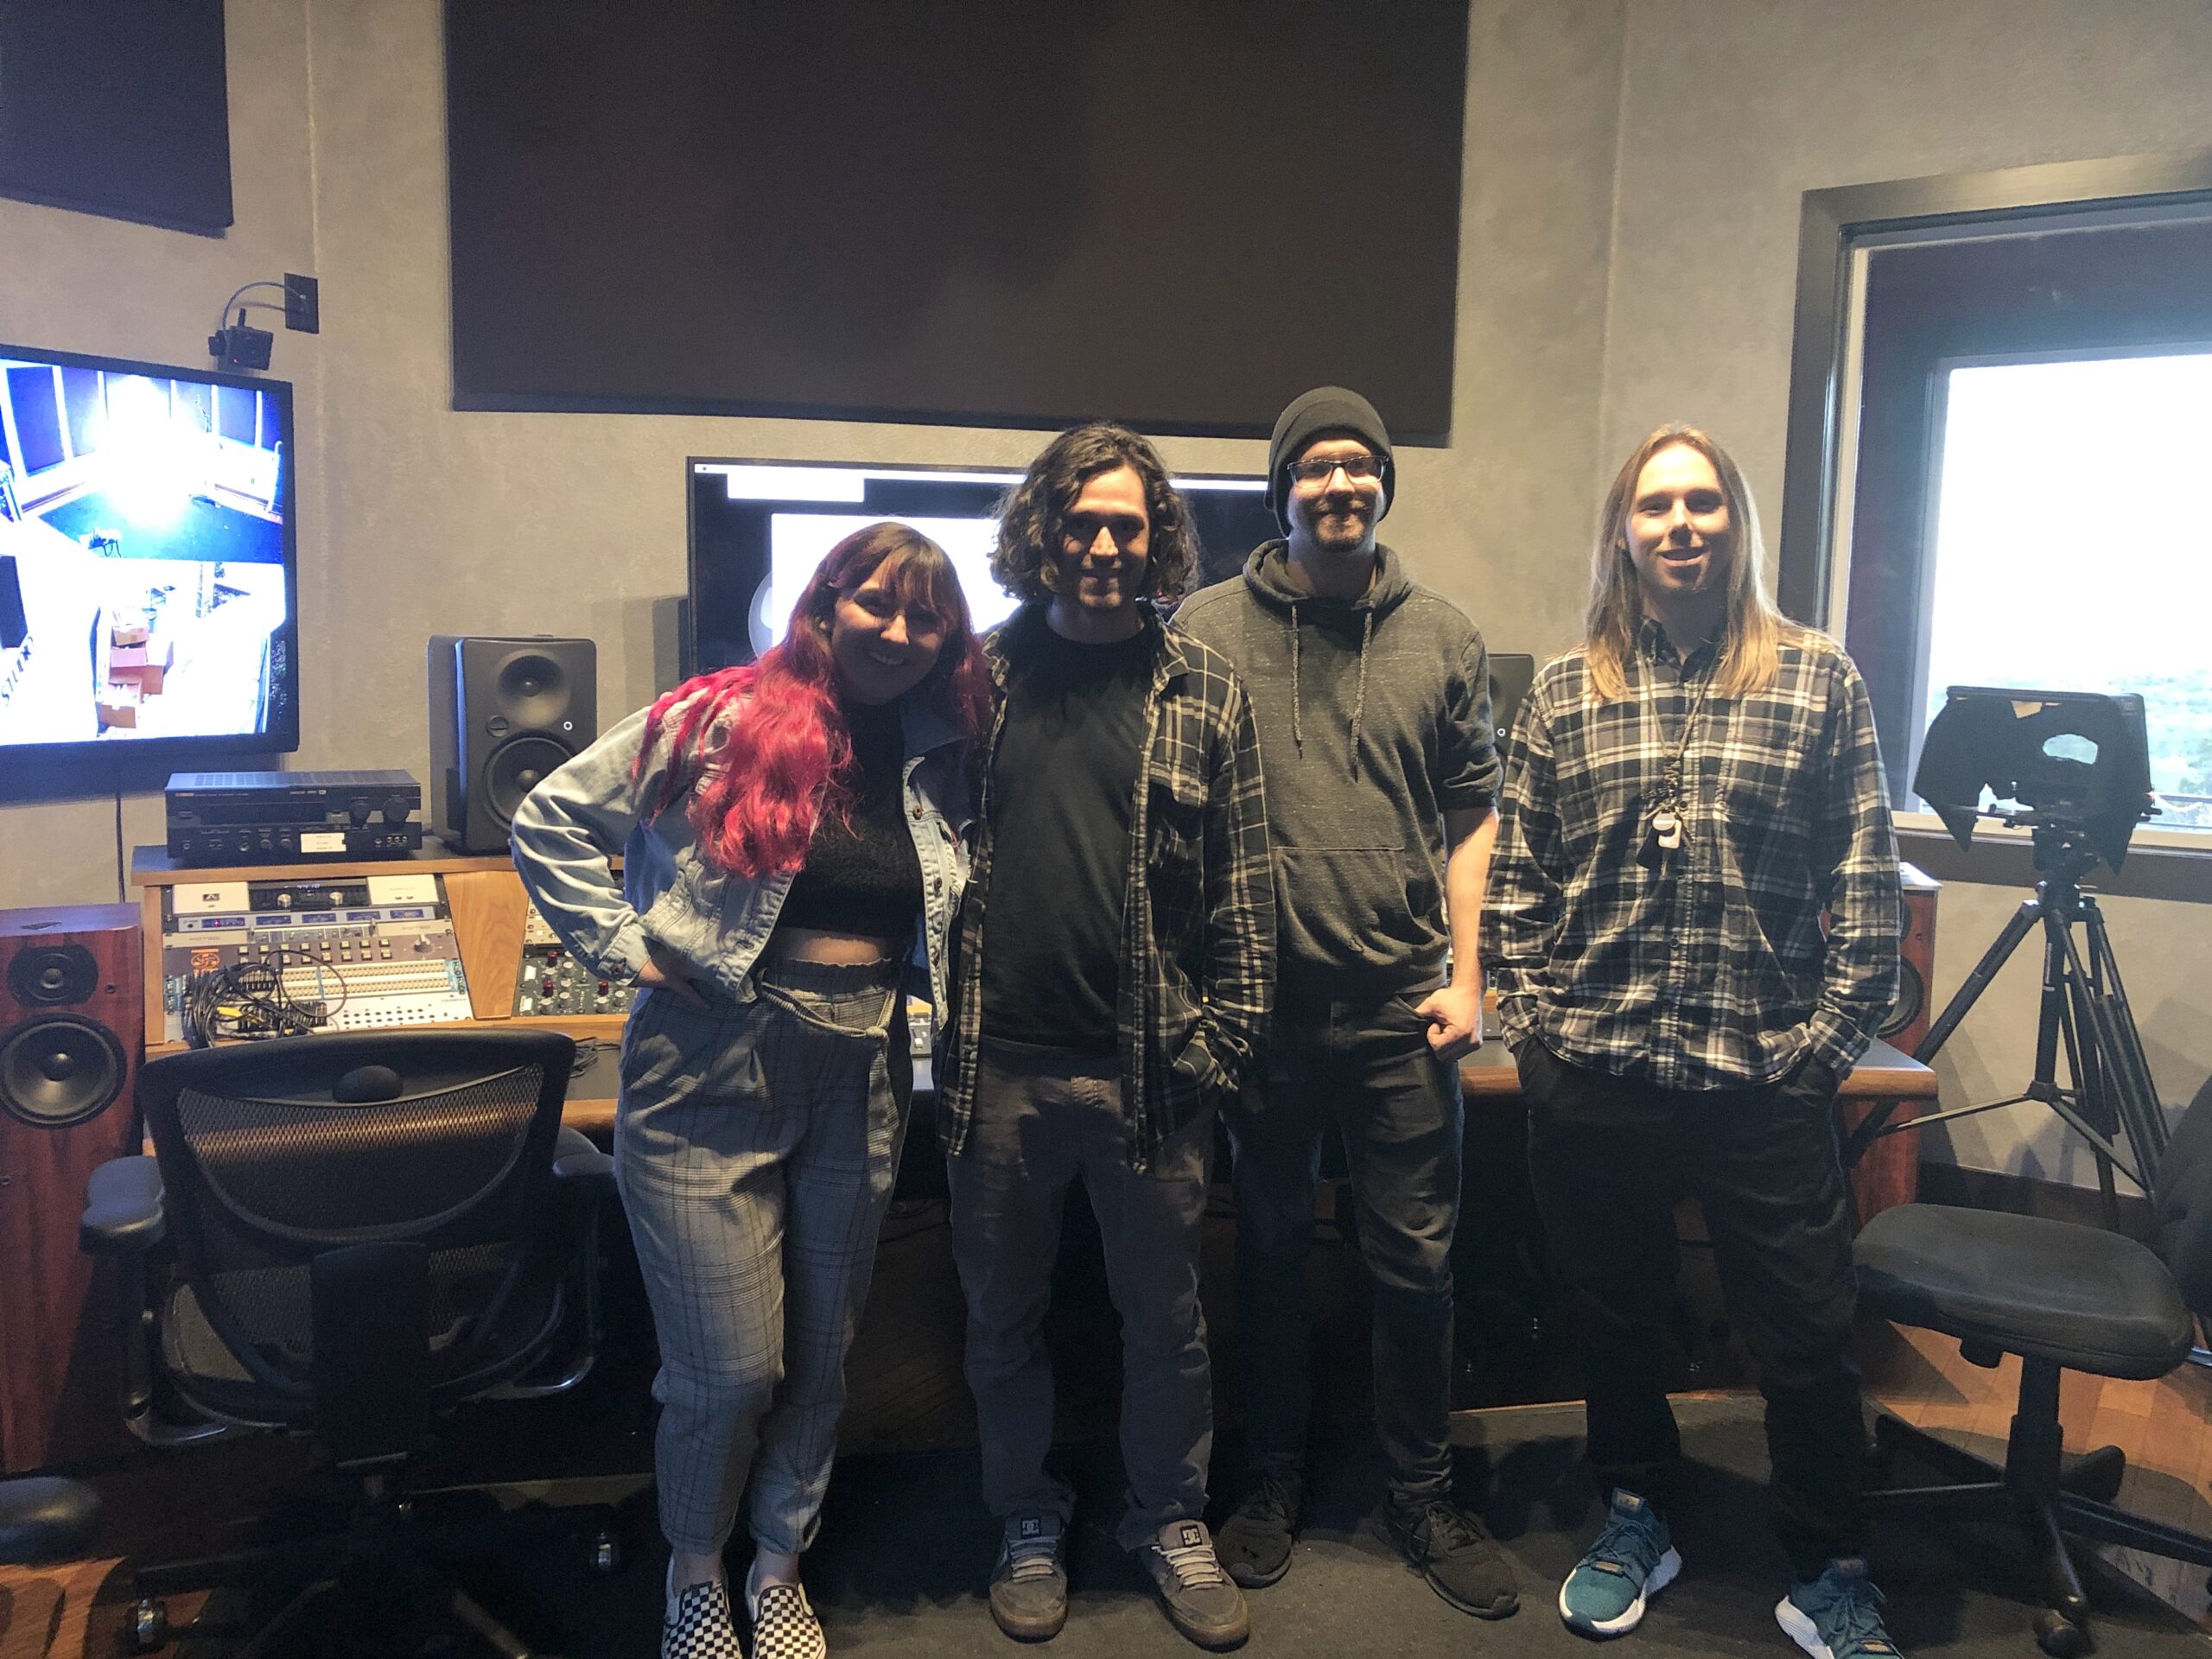
Now, the obvious choices on the list for possible cities to move to are Nashville, LA, and New York. As I am typing this out, I am sitting in my hotel room in downtown Nashville. I’ll be here for an entire week! I’ll be doing some touristy things, checking out local spots, and visiting studios. I feel like after being here a week I will know whether or not I could picture myself living here. I’ve always said I would move to Nashville eventually, so maybe this time I really will. I’m certainly enjoying my time here so far (the food in this city is INSANE). The reason Nashville has always been on the top of my list is because of audio engineering, and the fact that country music does have a huge influence on my songwriting and music. While I’m here I’d love to learn more about the alternative scene that is in East Nashville and what it has to offer.

Next on the list is LA. To be honest, I’ve never pictured myself living in LA, but I do love the west coast. First, I fell in love with San Francisco. I visited LA next, and I thought all the landscape and energy both cities had to offer was so beautiful. However, I know the cost of living in LA is very expensive, and quality of life is really important to me. Not to say that you don’t have that if you are there, but being able to write more and feel creatively inspired is what would make me most happy. I do love the rock scene and all of its sub-genres that live in LA though, and I would say that is mostly what pulls me to possibly live there. That, and the internships at fantastic studios. The learning experience would be incredible, even if just for a couple of years.

Last but not least is New York City. Before Covid, I think NYC would’ve been before LA. However, I’ve heard that the atmosphere of NYC has also changed drastically. I feel like when you move to New York, you move there for the nightlife and the amazing job opportunities that are there. The social life might be harder to grasp now due to Covid, but the job opportunities are still there.

Now, I don’t want this article to be me doubting what any of these cities have to offer. Nashville had its downsides too. I was at an outdoor coffee shop today. A girl was playing guitar and singing. She mentioned that artists don’t get paid to play in Nashville. The only money they receive are tips. This is wild to me. The city of Austin spoiled me in that sense. Playing shows with my last band, I would walk out with enough money to put towards our band fund, and to pay the other bands. I didn’t get into music to make money though, so I’m willing to eat some ramen while getting settled.

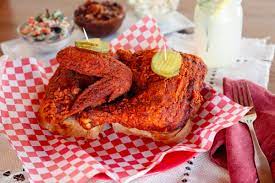
I haven’t visited LA, and NYC yet with the intent to move. I’m planning to do that this summer. However, my reason for writing this article is to get your opinions. If you live in these cities and have any advice, or want to say “YES! Move here. It’ll be life-changing, and amazing”, or if you live in a city that I didn’t mention (one that is on the cusp of becoming a great music city, or already is), but I don’t know it yet- then please email me at virginiahaladyna@gmail.com. With all of this being said, I’m going to go eat some hot chicken and see what more Nashville has to offer. Stay healthy and safe!

An Update

I hope everyone’s been doing well and staying consistent (as consistent as you can be during these unprecedented times). For this blog, I’d like to write about quarantine and how my relationship with music has blossomed from it. During quarantine, I wrote a lot of music. Now, I’m in the process of recording that music, and hearing it come to life. The most exciting part of all of this is getting MY voice back. I’ll dive into that deeper.

During quarantine, my band, “Happy, Hollow”, broke up. I’m sure we weren’t the only band to break up during this pandemic, so hopefully, some of you find this relatable. To give you a short summary- we as a band ended up in physically different places. We decided it was best to go our separate ways (again- this is the short version). Another thing to note, I loved Happy, Hollow with all my heart, but it was starting to become very hard to write music for the band. I felt like I was losing my voice, and wasn’t able to write the music I wanted to. I was starting to feel like the music wasn’t as authentic as I’d like it to be. I wear my heart on my sleeve, and the music I write is very personal, so authenticity is extremely important to me as a consumer, and as an artist. Anyways, once the band decided to break up, I was in a writing slump. I had been for a while. I’ll touch base on that again later. For now, I’d like to detour into something very sensitive that I feel a lot of female songwriters, and musicians need to hear. Something that I had to overcome from this experience the past year.

I want to start off first by saying- DO NOT ever let anyone tell you your music isn’t good enough, what you have to say isn’t important enough, or even that your music is boring. If someone does say these things to you, whatever you do… DO NOT believe them. It’s a hoax. It’s a lie. It’s a cover-up for their own insecurities. As a woman, some men in this industry get freaked out when they see us do things better than they can because they are so used to seeing themselves as the best. They are threatened when they say these things, that is where those negative words are coming from. This happens a lot. For some women, they stop writing for YEARS because of it. Luckily, I only found it hard to write for a couple of months. There was no freaking way I was going to let negative words coming from someone else’s insecurities stop me from expressing myself.

Now that we’ve touched on that, I’ll get back to my quarantine story. When trying to get out of the creative slump I was in, I reached out to my good friend, Spenser Wilson. I asked him to send me something I could write lyrics over. I wanted to get out of my head, and not worry about chords, or anything other than lyrics and melody. He sent me this great acoustic guitar demo. I wrote and sang a verse and a chorus over it. I sent it back, and we realized we had something cool here! He lives in California and I live in Texas, so we continued to send the session back and forth until we had a finished product. I cannot stress enough, that after just writing ONE verse and chorus, my creativity came flooding back through the gates. Sometimes it’s as simple as getting out of your comfort zone, and out of your own head. The song we ended up writing/recording together was called, “Managing”. This is one of the first songs of my new endeavor simply called, “Virginia Louise”. Spenser is helping me produce a lot of the songs and has always been so good at writing unique guitar and keyboard parts for my music (just wanted to give him a quick shoutout).

Now I have four songs that are all in the process of being recorded right now. I couldn’t be more excited to share these deeply personal songs with the world. They feel like me, and I haven’t written music like this since before Happy, Hollow.

I know this story is pretty personal. I thought about writing something different, but I felt readers would benefit from knowing that it’s okay to be in a creative slump. It’s okay to have things end. It’s okay to be in a completely different place than you thought you’d be because of this freakin’ pandemic! Don’t be too hard on yourself. I definitely am (to a fault). When I start something, I have to finish it or take it to the next level of success (what I wanted to do with Happy, Hollow). What I’ve found though, is that “Happy, Hollow” (as heartbreaking and as big of a decision as it was) breaking up was the best thing that could’ve happened to me. I am writing so freely now, and working with people who understand my music. It feels so authentic, and it feels like me. Besides, who wants to put music out there, that is just a facade of who you want people to think you are anyway?

Follow your hearts my fellow sound engineers, and don’t let anyone rain on your parade.

P.S A GREAT podcast I’ve been listening to over quarantine is “Dear Young Rocker” on IHeartRadio. It’s available on Spotify, Apple Music, etc. Truly a fantastic, relatable, and funny podcast. Give it a listen!

Versatile Microphones for Home Recording

I hope everyone is still staying safe & healthy. I also hope you are out there CREATING! I know I sure am. That’s why for this month’s blog I wanted to write about the best home recording microphones out there! Ones that DON’T break the bank, and some that do if you’ve got the cash! Either way, I’m really excited to write this month’s blog because this is something I am looking into myself right now with all the home recordings I’ve been doing as of late. So…here we go!

The Shure Sm7b

This microphone is SO versatile. I mean, I’ve recorded vocals on it. I’ve used it as a snare microphone. I’ve used it as a “kick in” microphone. I’ve used this baby on guitar amps and all sorts of other things. That’s why I think it’s such a great mic to have as a staple in your home recording studio. Or even if you’re like me and just looking for a better microphone to record your own vocals with- this one is a fantastic pick.

Some science behind this microphone. It is a dynamic mic. You are going to have to do a little eq-ing on the mixing side of things to get your vocals exactly where you want them, but with that being said- the raw audio this guy captures isn’t bad at all. Plus it’s only $399.99, so on the less expensive side of the microphone spectrum.

Blue Microphones “Bluebird”

I have heard so many good things about this microphone from friends who do a lot of at-home recordings. It is indeed a condenser mic, so you can expect to get some sweet top off the bat from this one. This mic has a hi-pass filter, and a 20- dB pad to help you capture the perfect tone going INTO the box. The price of this microphone is only $299.99, and they have other models that cost even less. This is just their fan favorite.

Fun Fact: Blue Microphones has an interchangeable cap series which is exactly what it sounds like. You can change the cap of the same base on a microphone giving you multiple options of sound to choose from. I’ve worked at a studio that demoed this exact cap series, and I was pleasantly surprised when some of the caps really did a pretty good job of replicating the more high-end microphones we all aspire to own one day.

Neumann TLM103

The next microphone is a large jump in price, and most of you might already be familiar, but it is a fantastic, versatile microphone that is great to have if you have the money! The Neumann TLM103. Some may say… this is an obvious choice, but I love this microphone. Like the Sm7b, I can use it on just about anything, but the range of which I can use it on is even wider because it is a large-diaphragm condenser microphone. I can use it on overheads (if I have a pair), vocals, guitars, room mics, etc. The microphone is derived from the class Neumann U 87. There are no pads or hi-pass filters on this microphone, but that’s because the capsule itself is immaculate. This microphone rings in at about $1,100.00 (which isn’t too bad if that’s in your price range especially for a Neumann).

Thanks again SoundGirls! I hope you enjoyed this blog. If you have microphone recommendations, PLEASE reach out and let me know of them! My email is virginiahaladyna@gmail.com

Minimalist Mixing Techniques 

Hi SoundGirls! Back in January, I wrote about the recording process for a 16 song album I was working on at the time. Although I promised that my next blog would be about the mixing process, that took a pause because my last blog ended up being about my friend Tangela’s new podcast, “Women in Audio”. I was lucky enough to be her first guest, so for my March blog, I broke down some essential topics we talked about in the podcast, and provided links to it at the end. If you haven’t listened to the Women in Audio podcast yet- I suggest you do. She has multiple interviews streaming now, plus the conversations are fun and intriguing! You’ll definitely enjoy them.

With all that being said, we are circling back to the album I just wrapped and today’s blog will be about the mixing process, (YAY!).

You might’ve noticed the title for this month’s blog is called “Minimalist Mixing Techniques”, so you already know what I’m about to dive into…the art of NOT using 10,000 plug-ins on ONE song! Now, there is nothing wrong with that at all! If the song is calling for production, or if you want to just be creative with plug-ins…do it. There are certain artists or bands I work with that I like to get very creative with plug-ins, but in this instance- we didn’t go that route, and I wanted to talk about the steps I used to get the band their final product.

Here is the list of steps I would take from when I would first open up the session to when I sent them their first mix of the song:

Clean up your session

What I mean by “clean up your session” is- get rid of tracks you don’t need. Not using that DI track you captured? Hide and make inactive. If you have two tracks that could become 1 (ex. two mono overhead mic tracks)- create it as a stereo track. Make your starting base simple, so you can move through it seamlessly.

Set up your effects

Now that you’ve gotten rid of things you don’t need. Start adding in things you do need to create some depth in the mix. I would recommend only 2 (maybe 3) effects tracks since we are keeping this mix minimal. A reverb, delay, and a slap delay are pretty effective for any mix.

Start with the drums

The way I mix is I start with the drums soloed and then I move through the mix adding in each instrument at a time. For the drums, I would recommend bussing together the things that are the same (kick in/kick out, snare top/ snare bottom, etc), but don’t get too “bus” happy. One of the reasons I sometimes like to mix minimally is because it’s easy to have control over your mix when you don’t have too many things bussing into one another (aka phase issues, and your mix could get muddy if you lose control of the low end).

EQ

Eq is always incredibly important in any mixing process. I think it’s usually best to eq minimally, and if you’re capturing things well in the studio you shouldn’t have to do TOO much of it on the back end anyways. With this, I would recommend practicing using pro-tools stock eq so you can focus on using your ears instead of your eyes. You’ll question the eq moves you make more than you would vice versa (which results in minimalist eq techniques). That will also help you avoid phases that you may create yourself by eq-ing too much.

Compression

When mixing minimally, compression is key. You want to keep the dynamics of the song, but you don’t want things poking out of the mix when they shouldn’t be! I think the most prevalent two things to compress in a minimal mix are the snare and the bass. Obviously, compress the kick, guitars, vocals, as need be, but I’d say the snare and the bass you will want to focus on most. Since we are keeping it simple, keep a small ratio, set your attack/release (all dependent on the instrument), and slowly add in the threshold. Keep it on the lighter side though. Remember, we want those dynamics there!

Bussing

I kind of went over this in the “drums” paragraph, but to go into more detail, I will say- bus together with the things that make sense and make the mixing process easier for you. The reason I would bus the kick in/kick out together is that I have more control over the total sound of the kick through eq AND compression. It would be the same thought process for two guitar mics on the same amp, and so on.

That’s the gist of mixing minimally. I hope this blog helps you go outside of your comfort zone, and trust your ears a bit more. That’s what mixing this way has done for me!

I hope everyone is staying safe, healthy, and creative out there! No matter what, never stop making music or doing what you love.

Until next time SoundGirls, and as always- feel free to email me at virginia@backbeat365.com.


Introducing Women in Audio Spotify Podcast

On my last blog, I talked about recording Posival. I know I promised my next one would be about the mixing process for this album, but we are going to take a pause on that. The reason we are taking a pause is that one of my very good friends that is also a (badass) live sound engineer just dropped the first episode of her new podcast called “Women In Audio” today! I was lucky enough to be her very first guest too. What I am going to do is break down some of the key conversations that took place during the podcast.

Work Ethic

Tangela and I talked about music and what it means to us, amongst many other things. I’ll break down here the topics that specifically pertain to audio engineering. The first thing she asked me (that was audio-specific) was how I record my bands’ music. I know I’ve written about the recording process for my band’s music before, so I won’t go too much into that. What I will mention is the reason I am able to record my own bands’ music out of different studios. I am able to do these things because, from the moment I started engineering, I was a go-getter. A question Tangela asked me was *essentially*, “How do you gain those people’s trust, and how do you get to that point?”. I recommend from the moment anyone starts this journey that they DIVE right in. Be the first one there, and the last one to leave. Study. Learn. Ask so many questions. Be the first one to get up during a session when the head engineer is needing a microphone fixed. Don’t be shy in that regard. People will notice your work ethic, and opportunities will flourish from there. Another interesting question she asked me that I’ll lump into this topic is “Did you feel like you had to work harder (as a woman)  to be good?” My answer was, yes I did, but this industry is so hard, to begin with, EVERYONE has to. I explained how I was very lucky to be at a tech school where I never felt talked down to, or out of place even though I was one of four women there at the time. I know that’s not always the case especially at tech schools for audio. I did touch on a couple of situations that were slightly sexist (that had nothing to do with where I’ve interned or gone to school) but all in all, I’ve been very lucky to have had a good experience as a woman in this field. I think that comes from me knowing to set boundaries very early on in my career.

Credits

Credits, and how to obtain them as an hourly worker. Credits have always been a struggle for me because it does take you having to ask for them. Most audio engineering work is hourly, and once you are done with a project- you are done. That doesn’t mean we shouldn’t get credits on huge platforms though. I’ve struggled to become a part of The Recording Academy for years because you have to have 12 separate credits on AllMusic.com. The way to get these credits onto AllMusic.com is by submitting a PHYSICAL copy of the album. That is crazy to me because in this day and age not that many people are recording albums. I record more singles than anything and most artists/bands are not printing any physical copies of their single. That doesn’t make the work I have done invalid, or *not professional*. That’s just what the industry has been moving towards for years, and we need to move with it.

Payment

Being paid is something I’ve written about before and how do you figure out what to charge someone when you’re first starting out? How to make a contract? How to be confident enough in your work and when it’s time to up your prices. When she asked me these questions I put it simply. My music business teacher asked me “How much do you need to live?” We made a template and broke down all my bills and figured out how many bands I need to reach out to a month and how many bands I  need to be working with on a monthly/yearly basis to survive. When I first started out I charged the bare minimum of what I needed to survive. Luckily, I had other jobs supplementing my income so I didn’t have to rely solely on freelance engineering. I think being as logical as possible when it comes to pricing is the best way to go about it. Ask yourself those questions, and be honest with yourself about where you are in your career. Whether you are just starting out and maybe charging too much or you’ve been doing it for years and you’re charging too little. Either way, (this goes without saying and I’ll end this here) KNOW YOUR WORTH.

Please go listen to my friend, Tanglea Lamb, and her podcast, “Women in Audio”. She is having intelligent conversations with the amazing women that occupy this field. It’s so important for our experiences, knowledge, and stories to be heard on platforms like what Tangela is starting, and what SoundGirls has been doing for a good chunk of time now.

Spotify  Women In Audio podcast

SoundGirls List of Women in Audio Podcasts


Recording in Two Days

For this first blog of 2020, I’m going to be talking about a current recording project I am working on. A few days before the end of the year, I had two full days of recording a great punk band that I am now in the process of mixing an album for! I’ll be talking about the setup I used for recording them for this month’s blog and mixing the album on my next blog.

To start, I want to talk a little about the album. It’s a 16 song album. The genre is garage/punk. We only had two days to this 16 song album, and guess what… WE DID IT! Everyone did a great job of executing their parts and staying focused (including myself). Since we had two days to record 16 songs, you’re probably thinking that we live tracked the album- and you’re right! Personally- that’s my favorite way to record, but I know not all music really calls for that *particular* recording process.

On the first day of recording, we captured drums + bass. We kept some of the guitars we used and doubled them on the second day of recording, but we’ll get to that later. For drums- lately, I’ve been straying away from the *less* is more mentality. I’ve been close mic-ing more of the kit. I ran into some trouble with a couple of my own projects by choosing not to mic certain things, and trying to use the overheads or the room to capture them, but ran into trouble when the mixing engineer didn’t have proper control over the things that I chose to not mic. On that note, if you’re also straying away from the less is more mindset, CHECK PHASE! The more mics you have up, the more the likelihood of phase happening! Anyways, we got GREAT drums tones on that first day of tracking. Now for the bass, it was very simple. I just captured a DI and put one dynamic microphone on the isolated bass amp. It was beefy, yet clean, and now I have two great tones to work within mixing.

On the second day of recording, we knocked out guitars, vocals, and harmonies. We worked the whole day through. The first thing we started on was guitars. We re-recorded some of the songs we did the day before, and if we didn’t we doubled the guitars (for a wider stereo image) and added more layers of tone, etc. For the guitars, I mic’d with one dynamic, and one condenser (sm7b, and a Mojave 201fet). I placed each mic on two different speakers in the cab. We got a great tone out of this setup.

For vocals, it was very simple! I used a microphone I wouldn’t typically use for recording vocals, but it worked for this style. I used an Sm7B and used the Universal Audio 610 for the pre-amp. We doubled the choruses, and depending on the song…sometimes we’d double the whole song. After recording the main vocals, the bass player recording harmonies. For the harmonies, I used a CM7. I wanted these vocals to sound airier and lighter than the main vocals. I wanted the main vocals to have grit, and these to counteract it, and I believe we achieved that pretty well.

As I’m going into the mixing process for this album- I’ll be taking notes along the way of techniques, plug-ins, and other things I’d like to share with you on my next blog. Until then everyone!

The Importance of Reference Tracks

While mixing and how to use them.

One of the first things I do when I schedule a time to record a band is asking them what albums, and songs they like the sound quality. I ask so I get a good idea of what they might be *subconsciously* looking for in a mix or master. Then I will ask, “What would you like your reference track for the mixing process to be?” I ask these in two separate questions because what you like and what’s right for a mix of a particular song can be two different things. I want to have options, so when I go to pick a reference track- I am picking one that’s right for the song, and that the band will like too.

Reference tracks are essential because often while mixing, your ears can lose perspective. A reference track is helpful to have this happens; you can play the track and compare it to where your mix. Once you’ve done that you can hone in on anything that isn’t where it needs to be in your mix- and with a specific goal in mind you can get it where it needs to be because of the reference track.

Now, to utilize this correctly, you have to do it right. You don’t want to just download your reference track from Youtube and upload that wav file into Pro-Tools. You also don’t want to use an MP3. When using a reference track, you want to get the rawest and uncompressed version of the track you can find (WAV file). Another thing, you need to know how your reference track translates onto different sound systems. Listen to the track in your car, at your house, on your laptop, on your headphones, in your parents’ car…you get the point. Then do the same for YOUR mix. Listen to it everywhere you can, so you know exactly what to fix when you sit back down at your computer to do revisions.

You can use plug-ins to help you compare the track to your mix. Magic AB is my favorite. It’s straightforward to use. You upload both tracks, one is A, and one is B. Then you level the two songs out, so your ears aren’t being tricked because one mix is louder than the other (Hello, Fletcher Munson), and then you just click between A and B to compare your reference track to your mix! Easy as that!

I hope this helps your mixes grow as it helped mine when I discovered how to use reference tracks! As always, you can send me examples of your mixes, or even email me just to chat about how you noticed a difference in the process after you started using reference tracks at virginia@backbeat365.com.


Getting Back in the Game


I run a small freelance business called BackBeat365 Productions. During my time in school for audio, I built a list of clientele that I recorded and continued working with throughout my time there, as well as after I had graduated. Recently, I have taken a time-out from working with clients, as well as interning, because I was feeling very burnt out. To be clear, I was still recording, but only recording MY band’s music.

I feel most creatives are extremely hard on themselves, so taking this time out was a big decision for me, but I’m glad I did it. Why you ask? Because now I’m enjoying engineering again. It’s fulfilling that creative, yet technical side of my brain that was fried from doing it every day for four years. Since I let myself take a break, now I can come back at it- full force, but remember to take a step back (probably not as long as a few months ever again), but for a week or so. This way, I let myself, my ears recover, and remember why I love this craft.

Today, I’ll be talking about how to dive back in, stay relevant to your clientele, and meet new clients. The key to getting back into running a creative business is staying practiced in your craft. I may not have been working with clients or actively seeking new clients, but what I was doing (and still am doing), is recording my bands’ music, staying up to date (because in this industry, things are always changing), and continue learning.

So, that was a very general how-to for diving back into your creative business. Now, let’s talk about staying relevant to your clientele. For all of the bands and artists, I record and have recorded I like to create a comfortable, safe, and friendly space for them to be creative. I want to create that space because it gives the artist the opportunity to trust you. They are giving their art over to you in a sense, so it would make sense to provide them with a comfortable place to express themselves.

This has created a bond between many of my clients and me. I stay in touch through social media, and texting/calling to see how they are and vice versa. Also, a way to remain relevant in the engineering community even if you are taking a slight break is posting on your social media accounts what you are doing to stay practiced in your craft. It lets your clients, and future clients know that you are still in the game!

Last but not least is how to meet new clients. The way I’ll explain how to do that is short and sweet. You just have to practice approaching people, holding a conversation, and then following up with them after you’ve spoken to them through email or social media. Keep yourself on their radar. If it’s a band that you are seeking out, and you REALLY want to work with- maybe offer to one free song for them with one mix and one master revision (that way you are not drowning yourself in too much free work- trust me I know from experience). And do such a good job that they HAVE to come back and work with you for their next single, EP, album, or whatever it may be. They will tell their friends in bands, and then you’ll start building your client list once again! If your in a band this may be even easier for you!  You’re already playing with bands, and you’re on the same level- all you have to do is let them know you’re an engineer, give them your card, and follow up with them. Even send them your most recent work that’s been released.

I hope this helped you remember that it’s okay to take a break if you’re feeling mentally fried, or more stressed out than normal. Just know there are certain things you have to keep up while you’re taking a slight step back if you want diving back into your business with ease. Thank you for reading. You can always email me any questions you have at virginia@backbeat365.com, or follow me on my socials and talk to me/see what I’m up to musically there.

Instagram: virginial97

Instagram: happyhollowband


Re-Amping a Guitar Signal

Happy June everyone! I hope you enjoyed my three-part blog about “how to” record a four-piece band (drums, bass, guitar, and vocals). For this month I am going to be talking about the significance of re-amping a guitar signal.


I JUST re-amped a guitar signal for the first time in my life two days ago, and again yesterday. So, I’m no expert, but I will say that I did enjoy the process and I wanted to share my experience with SoundGirls! I’ve never “had” to do it before because I usually live track when recording a band. When I live track, I focus on getting the tone I want for the guitar right then and there, but I’ve always captured the DI signal from the guitar just in case I ever wanted or needed to change it later. The reason I am going to start re-amping more, and why I thought it would be an interesting blog post is because I see it as a more efficient way for my band to record guitar. Why is that you say? Well, this way we can just record a clean DI guitar at my house through my Focusrite 2i2, and then schedule a guitar session at one of the studios I intern out of to re-amp the signal we got from my home studio. It’s time-efficient, and to be honest- less stressful. Also, it can save you money! If you have a small home set-up but have always had trouble getting the right guitar tones, or don’t want to settle using an amp simulator (which I am NOT opposed to- there are some really great ones out there), capturing a DI signal at home, and scheduling time at a studio for a small amount of time instead of a giant block can save you money, and get you the right guitar tones!

Now that I’ve talked about the significance of re-amping, I’ll go over step by step how to do it.

The first step would be to record a clean DI. You don’t want to overdrive whatever pre-amp you may be using because you don’t want to “color” the tone of this clean DI. I suggest running your DI through a solid-state pre, not a tube pre. Let’s say you have a good signal. Record guitar with that clean DI signal until you settle on the takes you want for your guitar part. Make sure there are no clicks or pops in the audio. Go through and listen to each track you recorded in solo mode to make sure. You wouldn’t want to get to the studio, run the signal through an amp and then realize that there were comps needing to be faded or anything like that!

Now that you’ve got the takes you want & a clean DI signal let’s re-amp. Let’s assume you’ve already got your amp setup. In this case, you’ve placed it in an isolated room. You’ve already got mics picked out and set up, etc. Open pro-tools, and go to the first DI guitar you want to re-amp. Output the audio track for that guitar to a mono converter output.

The tricky part is patching. You’re going to want to patch from the converter’s output on the patch bay into the snake channels output for the room you put the amp in.

When re-amping you need a couple of different cables and boxes. You need a male-to-male XLR, a Re-Amp box (the Re-Amp box brings the line-level your sending the signal in back down to instrument level), a power supply for the re-amp box, and an instrument cable. Now let’s put all of those gadgets to use! Put the Re-Amp box, and its power supply in the iso room with your amp. Plug in the power supply. Take the male to male XLR cable, and plug it into the Re-Amp box, and then into the snake channel. Make sure the volume knob on the Re-Amp box is turned all the way down (you’ll use this sort of like a gain stage later on when you start to work on getting your tone). Now take the instrument cable out of the Re-Amp box and into the input of the amp. Hit play on Pro-Tools, and slowly turn up the volume knob on the box. You should start to hear signals. Now you can start working on getting your tone!

A couple of things to note:

Thanks for reading this month’s blog post! If you use this process for recording, let me know what your results are. I’m always interested in hearing other people’s processes, preamp/mic choices, etc. My email is virginia@backbeat365.com.


X