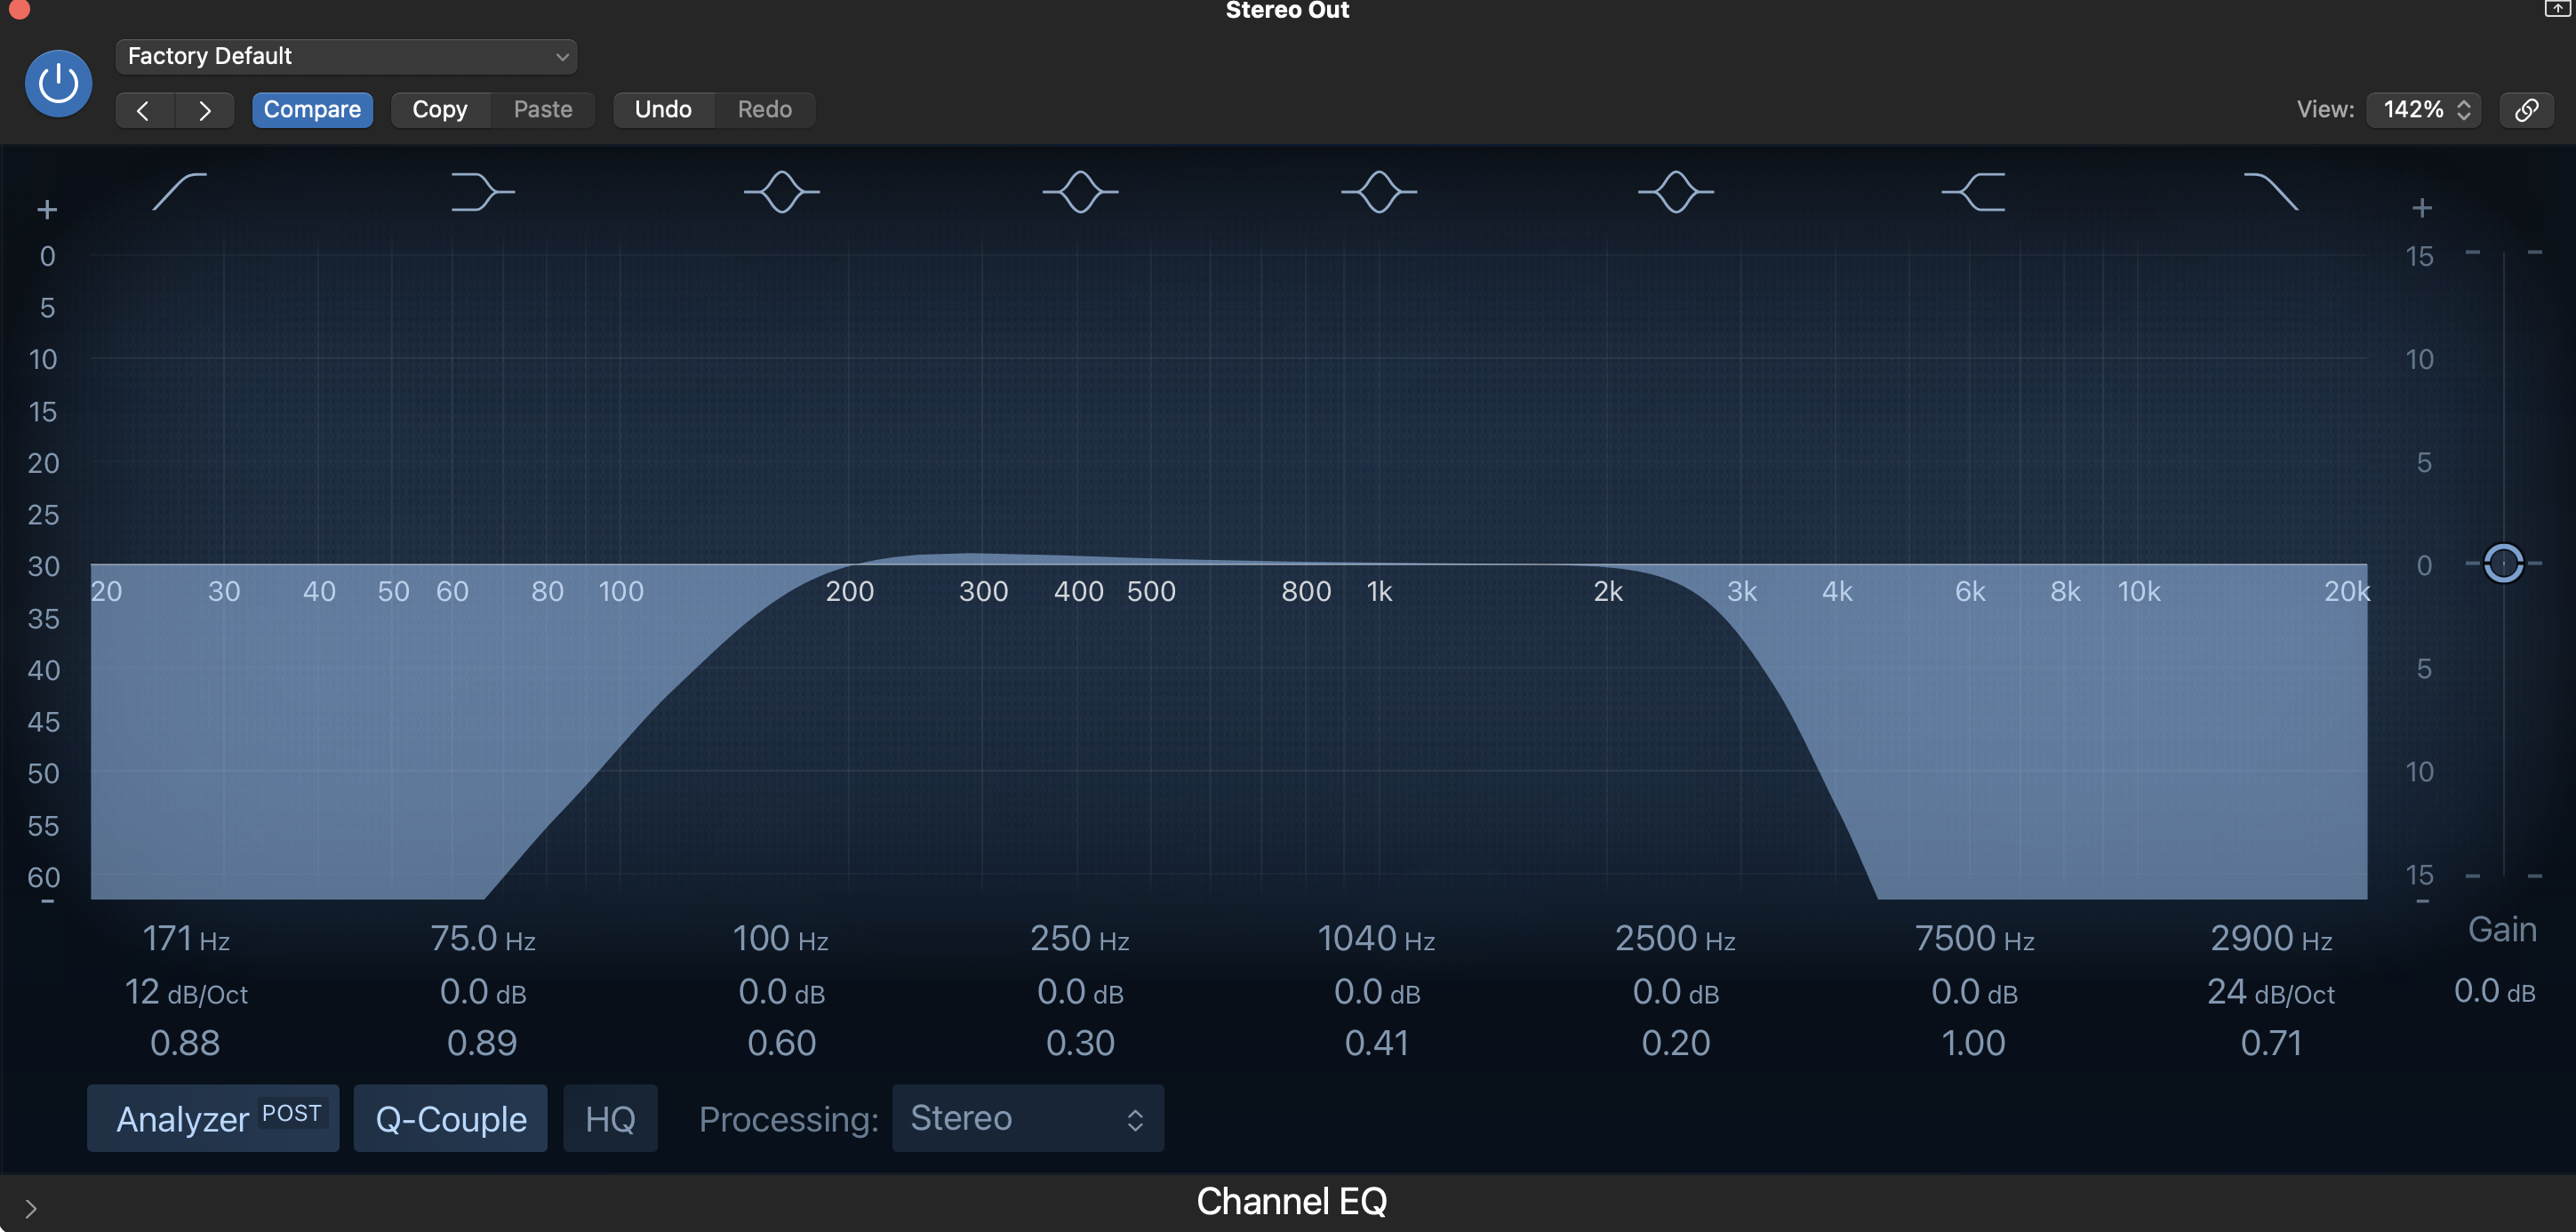
Empowering the Next Generation of Women in Audio

Join Us

Reverb Hacks to Make Your Tracks Sparkle

Reverb is a great tool to help bring a bit of life and presence into any track or sound. But why not make it sound even more interesting by applying a plug-in such as an EQ or a compressor to the reverb. It can often give your sound a unique spin as well as being quite fun just to play around with the different sounds that you can achieve.

EQ

The first EQ trick helps with applying reverb to vocals. Have you ever bussed a vocal to a reverb track but still felt like it sounds a bit muddy? Well, try adding an EQ before the reverb on your bus track. Sculpt out the low and high end until you have a rainbow curve. Play around with how much you take out and find what sounds great for your vocals. I often find by doing this you can the clarity of the lyrics as well as achieving a deep, well-echoed sound.  This tip also helps if you’re a bit like me and can’t get enough reverb!

Creating a Pad Sound

If you’re interested in making ambient or classical music, or even pop music that features a soft piano, you might be interested in creating a pad effect. What this does is essentially elongate the sound and sustain it so it gives this nice ambient drone throughout the track.

You can achieve this by creating a bus track and sending your instrument to it. Then open your reverb plugin making sure it is set to 100% wet. You can then play around with setting the decay to around 8.00s to 15.00s. Then send about 60% of your dry instrument track to this bus, making sure to adjust it if it sounds too much. Play around with these settings until you achieve a sound that you like.

In conclusion, Reverb is one of my favourite plugins to play around with and alter. It offers an incredible amount of versatility and can be used in conjunction with many other plugins to create unique and interesting sounds. This can be used on a wide variety of different music genres and comes in handy when you want to add a bit of sparkle to a track.

Explaining Effects: Reverb

“Can I get some (more) reverb on my vocals, please?”

If I had a dollar for every time I’ve been asked that, I’d have… a lot of money. Reverb is one of the most-used audio effects, and with good reason, since natural reverb defines our perception of everyday sound. In fact, we are so used to hearing it that completely dry sounds can seem strange and jarring. It’s no wonder that everyone wants a bit of reverb on their vocals.

What we perceive as reverb is a combination of two things, called early reflections and late reflections. Early reflections are the first reflections of the source sound that make it back to our ear; they are the reflections that travel out, reflect off of something once, and head back. Late reflections are the reflections that spend time bouncing off of multiple surfaces before returning to our ear. Because we experience such a large number of reflections arriving at our ears so closely together, we do not hear them as an individual, echoed copies – instead, we get the smooth sound of reverberation.

Analog Reverb

There are two main types of mechanical reverb systems: plate and spring. Plate reverb was one of the first to come along. It revolves around the suspension of a large, suspended steel plate, roughly 4×8 feet, in a frame with a speaker driver at one end and a microphone at the other. When the speaker driver vibrates the plate, the vibrations travel through the plate to the microphone, mimicking the way soundwaves travel through air. The tightness of the plate controls the amount of delay – the tighter the plate, the longer the decay, as the energy of the vibrations takes longer to be absorbed. Additionally, dampers may be used to press against the plate and fine-tune the amount of delay. Of course, the unwieldy size and design of plate reverb present some pretty significant logistical challenges. Aside from the amount of space needed, its microphone-based design means that any external noise is easily picked up, so keeping the units away and isolated from any noise is also essential. For these reasons, its use was relegated almost exclusively in studios. A famous example of plate reverb is the Pink Floyd album Dark Side of the Moon – plate reverb (specifically the EMT-140) is the only reverb used on that album.

Spring reverb, developed a little later, is much smaller, more portable, and what you will find built into most amplifiers today. Unlike plate reverb, it relies on electrical signals and does not need any speakers or microphones to function. Like plate reverb, it relies on creating vibrations but does this by sandwiching a spring between a transducer and pickup. The transducer is used to create a vibration within the spring, which the pickup then converts into signal. Spring gained popularity as the defining sound of surf music, where you will find it used in copious amounts – any Dick Dale record, for example, is a good way to get familiar with how it sounds.

Digital Reverb

Like analog reverb, digital reverb can also be divided into two main categories: algorithmic and convolution. Most digital reverbs are algorithmic reverbs. Algorithmic reverbs require less processing power than their convolution-based reverb counterparts, and most of the pre-stocked reverb plugins you’ll find in your DAW will fall into this category. Algorithmic reverbs work by using delays and feedback loops on the samples of your audio file to mimic the early and late reflections that make up analog reverb, creating and defining the sound of a hypothetical room based on the parameters that you set. The early reflection component is created by sending the dry signal through several delay lines, which result in closely spaced copies of the original signal. Late reflections are then created by taking the already-generated early reflections and feeding them back through the algorithm repeatedly, re-applying the hypothetical room’s tonal qualities and resulting in additional delays.

Convolution is the more complex method of creating digital reverb. It involves capturing the characteristics of physical space, defining a mathematical function called an impulse response that can apply that space’s characteristic response to any input signal and doing an operation called convolution to get the (wet) output. Essentially, you are using a mathematical model to define the reflective properties of a physical room and imprinting that room’s unique signature onto your digital sample. The entire process is based on the measurement of a room’s response to what is called an impulse, an acoustic trigger meant to engage the acoustics of the room. These are usually atonal sounds, such as a white noise blast or sine sweep. Microphones are used to register both the trigger sound and the resulting acoustic response. This audio is then fed into a convolution processor, which separates out the triggering sound and defines the room’s impulse response. With the impulse response obtained, the convolution processor can now use convolution to apply that room’s response to any input signal it receives, essentially multiplying the frequency spectra of the input signal and impulse response together and coloring the output sound with the harmonics and timbre of the impulse response. The end result is a signal that is a convincing model of the input sound being played in the space the impulse response defines.

The versatility of digital reverb means that the sound of just about every space you could want, real or imagined, is at your disposal. If used well, it can add completely new dimensions to your mixes or create wild effects. Just be careful not to wash yourself away in the process.

Whose Job is It? When Plug-in Effects are Sound Design vs. Mix Choices.

We’ve reached out to our blog readership several times to ask for blog post suggestions.  And surprisingly, this blog suggestion has come up every single time. It seems that there’s a lot of confusion about who should be processing what.  So, I’m going to attempt to break it down for you.  Keep in mind that these are my thoughts on the subject as someone with 12 years of experience as a sound effects editor and supervising sound editor.  In writing this, I’m hoping to clarify the general thought process behind making the distinction between who should process what.  However, if you ever have a specific question on this topic, I would highly encourage you to reach out to your mixer.

Before we get into the specifics of who should process what, I think the first step to understanding this issue is understanding the role of mixer versus sound designer.

UNDERSTANDING THE ROLES

THE MIXER

If we overly simplify the role of the re-recording mixer, I would say that they have three main objectives when it comes to mixing sound effects.  First, they must balance all of the elements together so that everything is clear and the narrative is dynamic.  Second, they must place everything into the stereo or surround space by panning the elements appropriately.  Third, they must place everything into the acoustic space shown on screen by adding reverb, delay, and EQ.

Obviously, there are many other things accomplished in a mix, but these are the absolute bullet points and the most important for you to understand in this particular scenario.

THE SOUND DESIGNER

The sound designer’s job is to create, edit, and sync sound effects to the picture.


BREAKING IT DOWN

EQ

It is the mixer’s job to EQ effects if they are coming from behind a door, are on a television screen, etc.  Basically, anything where all elements should be futzed for any reason.  If this is the case, do your mixer a favor and ask ahead of time if he/she would like you to split those FX out onto “Futz FX” tracks. You’ll totally win brownie points just for asking.  It is important not to do the actual processing in the SFX editorial, as the mixer may want to alter the amount of “futz” that is applied to achieve maximum clarity, depending on what is happening in the rest of the mix.

It is the sound designer’s job to EQ SFX if any particular elements have too much/too little of any frequency to be appropriate for what’s happening on screen.  Do not ever assume that your mixer is going to listen to every single element you cut in a build, and then individually EQ them to make them sound better.  That’s your job!  Or, better yet, don’t choose crappy SFX in the first place!
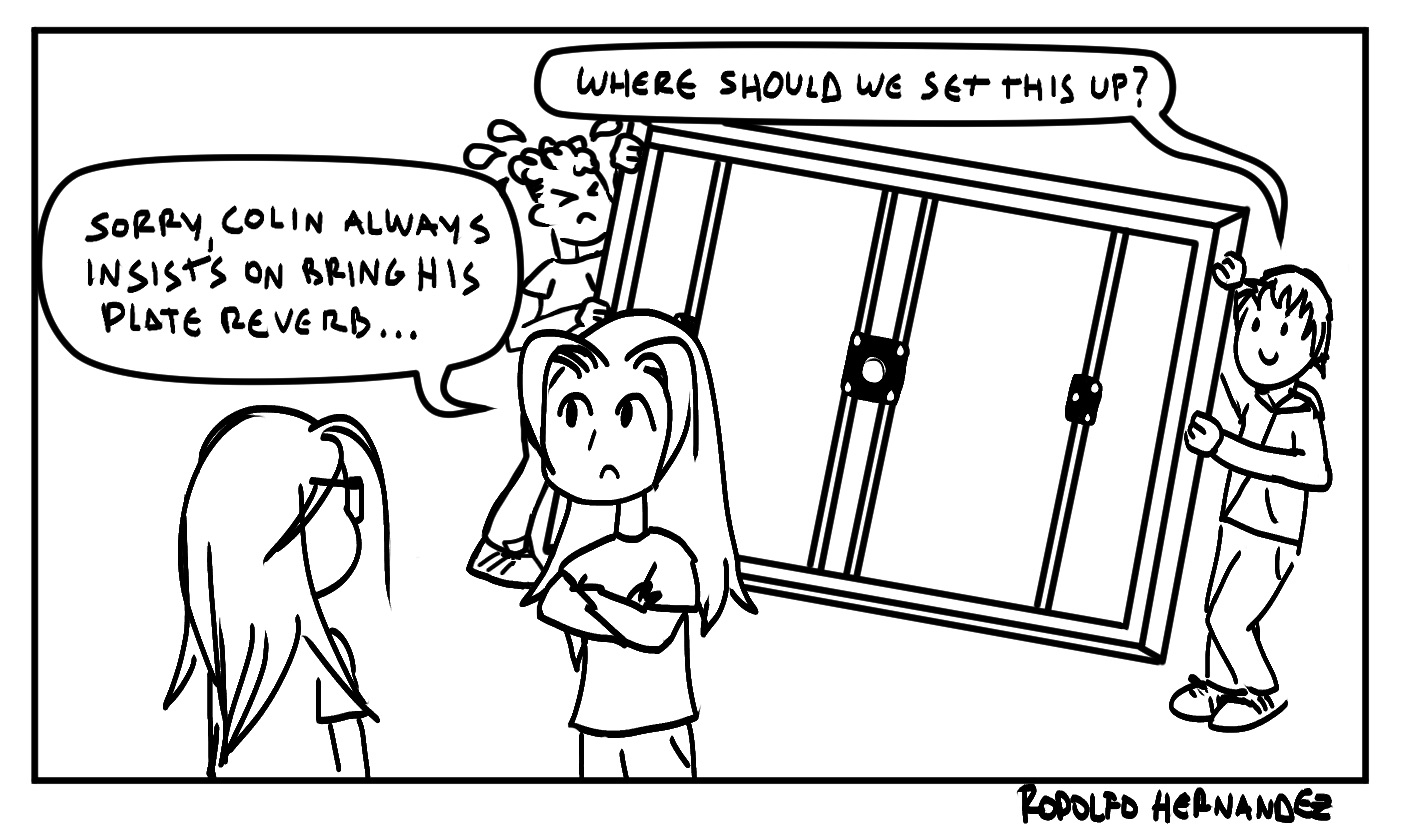
REVERB/DELAY

It is the mixer’s job to add reverb or delay to all sound effects when appropriate in order to help them to sit within the physical space shown on screen.  For example, he or she may add a bit of reverb to all sound effects which occur while the characters on screen are walking through an underground cave.  Or, he or she may add a bit of reverb and delay to all sound effects when we’re in a narrow but tall canyon.  The mixer would probably choose not to add reverb or delay to any sound effects that occur while a scene plays out in a small closet.

As a sound designer, you should be extremely wary of adding reverb to almost any sound effect.  If you are doing so to help sell that it is occurring in the physical space, check with your mixer first.  Chances are, he or she would rather have full control by adding the reverb themselves.

Sound designers should also use delay fairly sparingly.  This is only a good choice if it is truly a design choice, not a spatial one.  For example, if you are designing a futuristic laser gun blast, you may want to add a very short delay to the sound you’re designing purely for design purposes.

When deciding whether or not to add reverb or delay, always ask yourself whether it is a design choice or a spatial choice.  As long as the reverb/delay has absolutely nothing to do with where the sound effect is occurring, you’re probably in the clear.  But, you may still want to supply a muted version without the effect in the track below, just in case, your mixer finds that the affected one does not play well in the mix.

COMPRESSORS/LIMITERS

Adding compressors or limiters should be the mixer’s job 99% of the time.

The only instance in which I have ever used dynamics processing in my editorial was when a client asked to trigger a pulsing sound effect whenever a particular character spoke (there was a visual pulsing to match).  I used a side chain and gate to do this, but first I had an extensive conversation with my mixer about if he would rather I did this and gave him the tracks, or if he would prefer to set it up himself.  If you are gating any sound effects purely to clean them up, then my recommendation would be to just find a better sound.

PITCH SHIFTING

A mixer does not often pitch shift sound effects unless a client specifically asks that he or she do so.

Thus, pitch shifting almost always falls on the shoulders of the sound designer.  This is because when it comes to sound effects, changing the pitch is almost always a design choice rather than a balance/spatial choice.
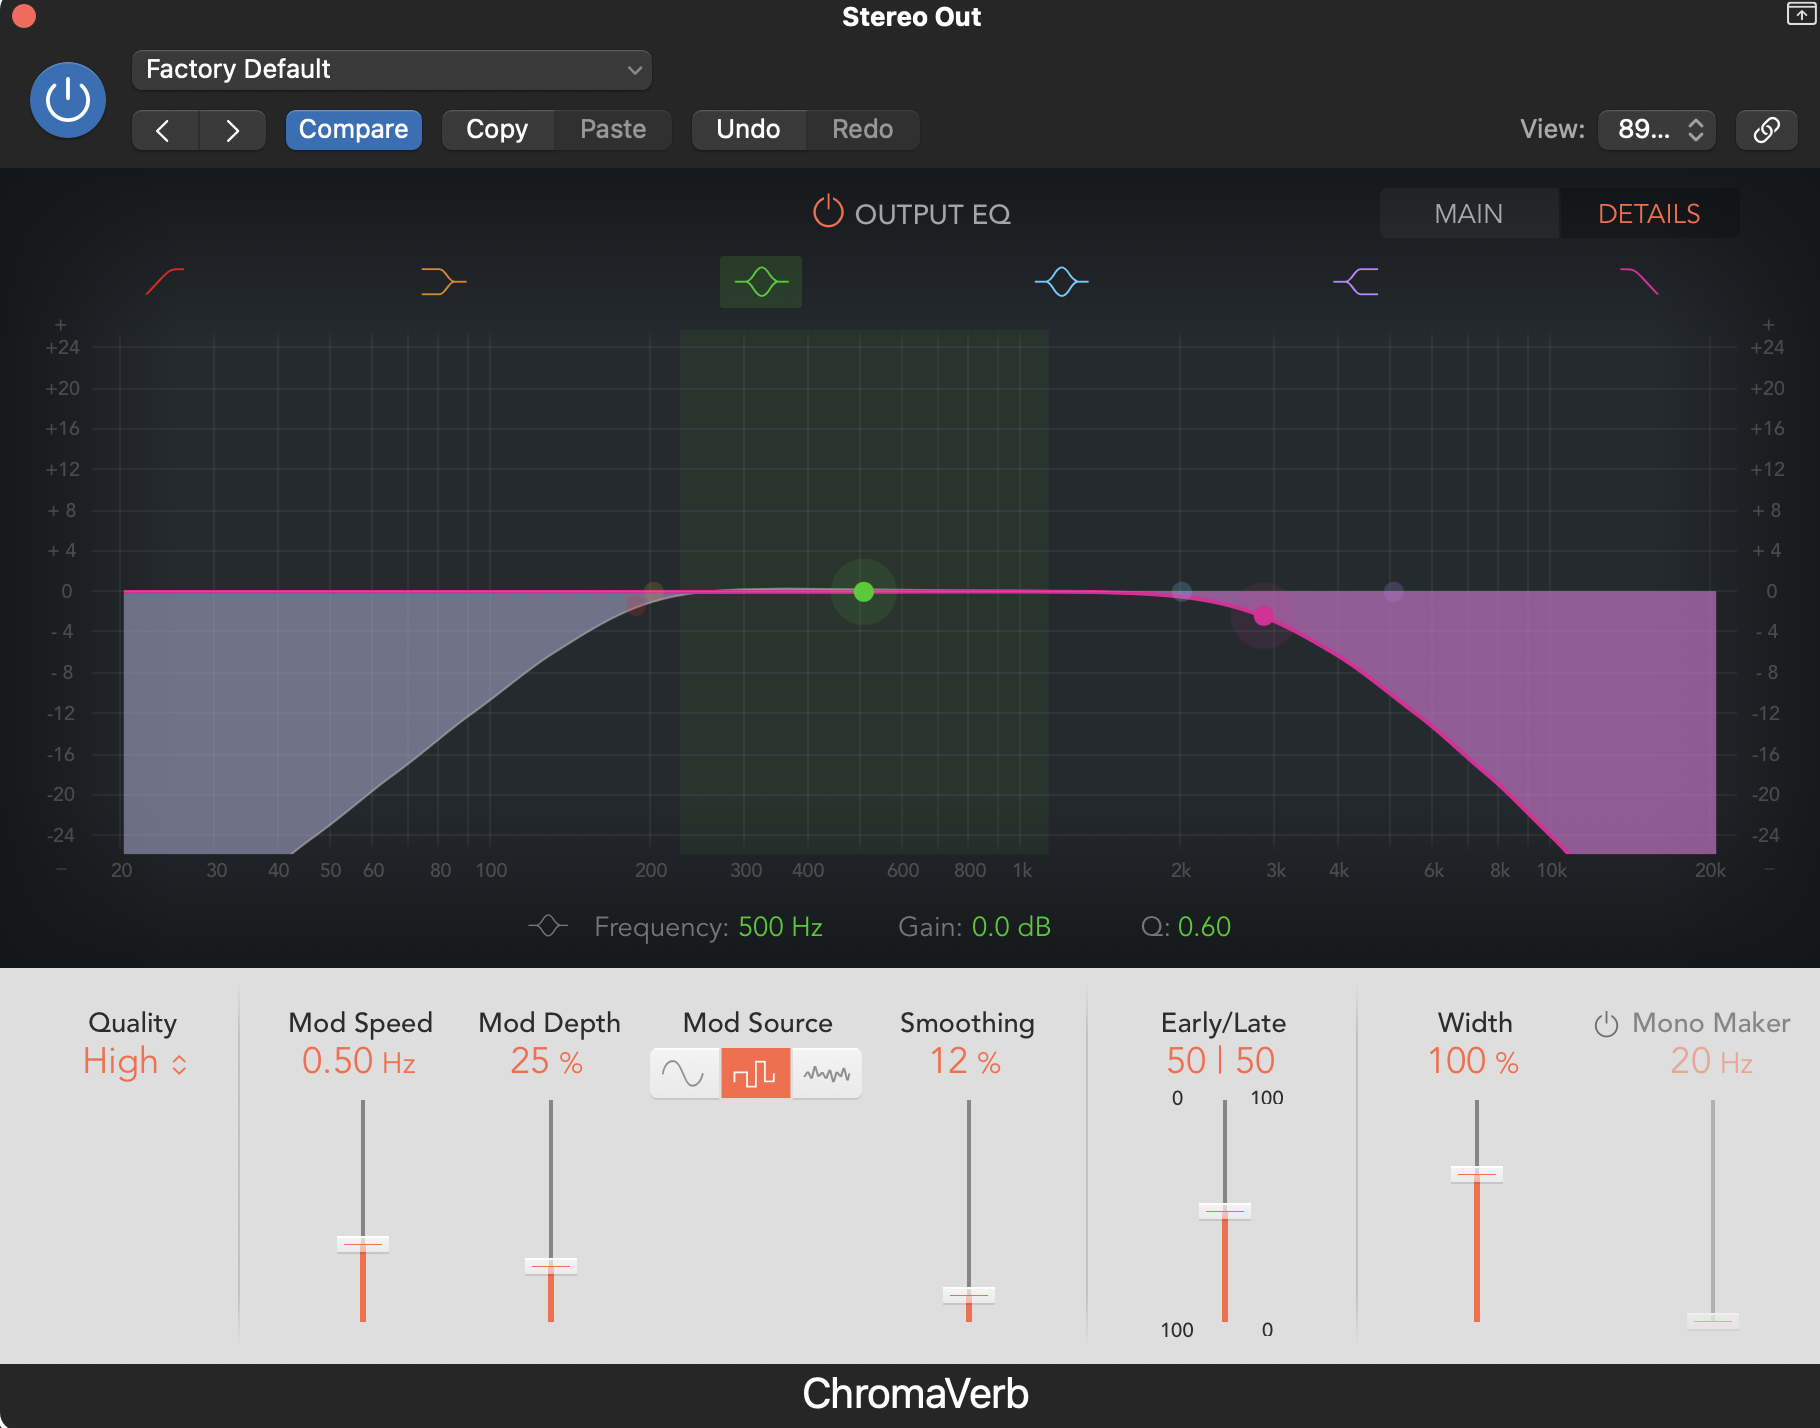
MODULATION

A mixer will use modulation effects when processing dialogue sometimes, but it is very uncommon for them to dig into sound effects to use this type of processing.

Most often this type of processing is done purely for design purposes, and thus lands in the wheelhouse of the sound designer.  You should never design something with unprocessed elements, assuming that your mixer will go in and process everything so that it sounds cooler.  It’s the designer’s job to make all of the elements as appropriate as possible to what is on the screen.  So, go ahead and modulate away!

NOISE REDUCTION

Mixers will often employ noise reduction plugins to clean up noisy sounds.  But, this should never be the case with sound effects, since you should be cutting pristine SFX in the first place.

In short, neither of you should be using noise reduction plugins.  If you find yourself reaching for RX while editing sound effects, you should instead reach for a better sound! If you’re dead set on using something that, say, you recorded yourself and is just too perfect to pass up but incredibly noisy, then by all means process it with noise reduction software.  Never assume that your mixer will do this for you.  There’s a much better chance that the offending sound effect will simply be muted in the mix.


ADDITIONAL NOTES

INSERTS VS AUDIOSUITE

I have one final note about inserts versus AudioSuite plug-in use.  Summed up, it’s this: don’t use inserts as an FX editor/sound designer.  Always assume that your mixer is going to grab all of the regions from your tracks and drag them into his or her own tracks within the mix template.  There’s a great chance that your mixer will never even notice that you added an insert.  If you want an effect to play in the mix, then make sure that it’s been printed to your sound files.

AUTOMATION AS EFFECTS

In the same vein, it’s a risky business to create audio effects with automation, such as zany panning or square-wave volume automation.  These may sound really cool, but always give your mixer a heads up ahead of time if you plan to do something like this.  Some mixers automatically delete all of your automation so that they can start fresh.  If there’s any automation that you believe is crucial to the design of a sound, then make sure to mention it before your work gets dragged into the mix template.

X