Six Things to Consider When Choosing The Right Producer
You finally have a handful of songs you feel pretty good about. You’ve analyzed them, performed them, played them for your friends and for your mom and got some feedback, made some tweaks, and feel ready to go to the next step.
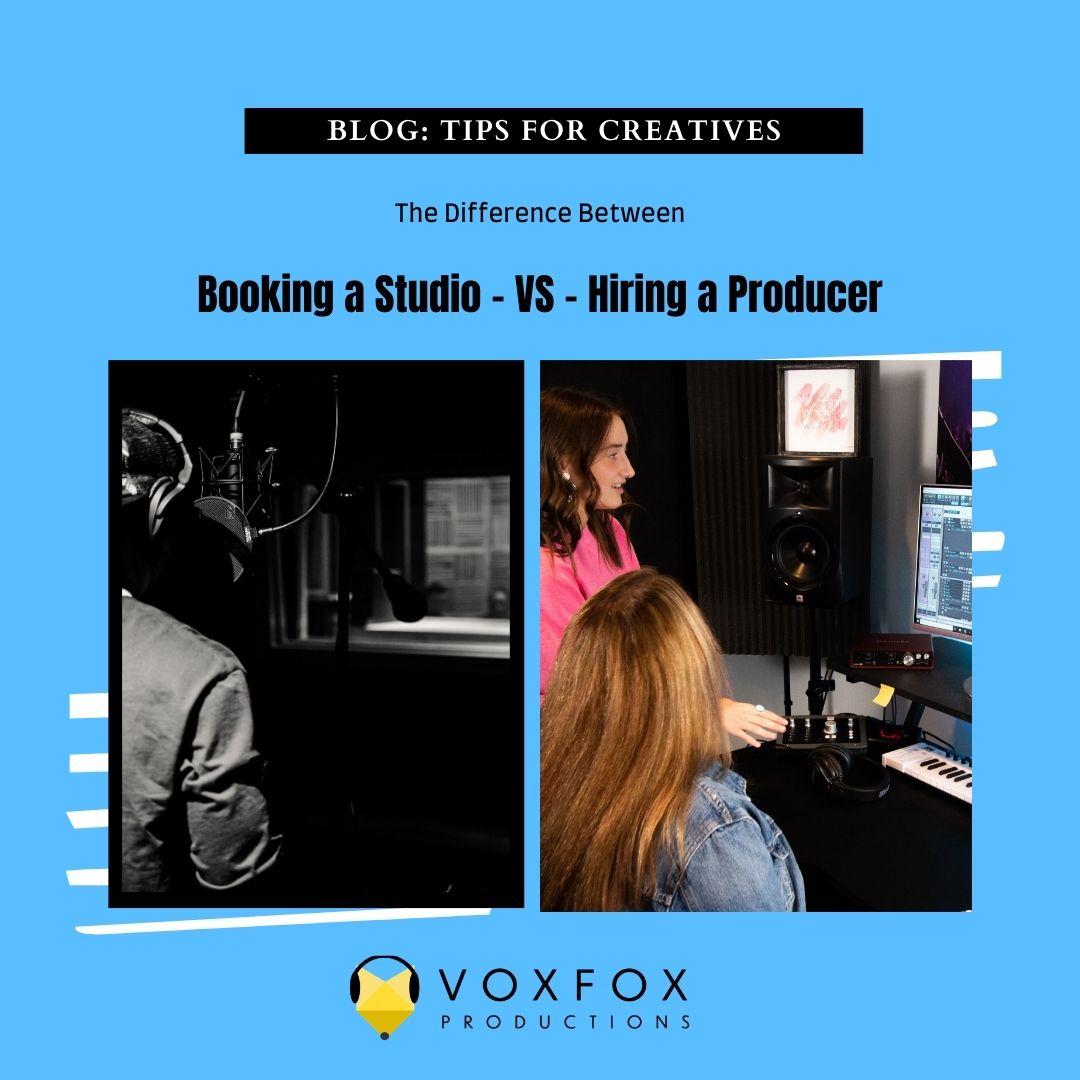
Find a Producer
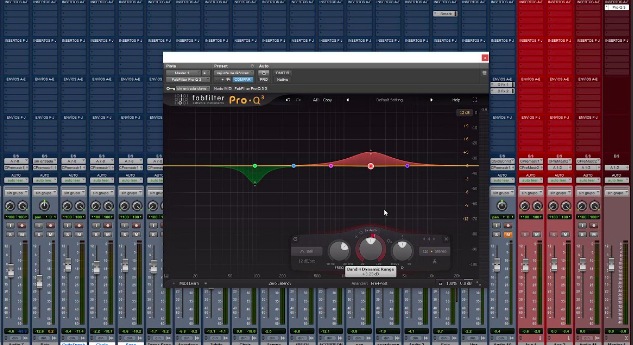
It is much easier to say than to actually do. First of all, there are sooooo many different types of producers. Not all of them do the same things or have the same skill sets. If you are surprised by that, check out this blog I wrote a while back explaining the five different categories of producers.
So, how do you even start looking for the person that you will entrust your musical vision and hard-earned money with to translate your non-technical gibberish into exactly what you want to hear when you play your song back from your car stereo?
The person or people who produce your music might just be the most important person or people on your team.
So why are you choosing your producer based on their price?
Because money is tight and you only have so much to spend on your music, right?
Believe me, I know this truth allllll too well. And while it is true you need to hire a producer you can actually afford (or will work within your budget), here are six other factors that you should also consider.
First: are they operating a professional business? Do they have a website with samples and testimonials? Does the copy on the site seem to be written by a 10-year-old or can you tell some effort went into their presentation? How about their socials? Are they professional when interacting with their followers? Are their posts appropriate for the music business? Read their testimonials, observe the way they communicate with others, notice how far back their testimonials go if you can.
Second: How does their work compare with commercial releases? It’s easy to listen to a friends recording that they did at home with “different ears” than how we listen to the next Arianna Grande hit. Would you say the quality is comparable? Or does it sound a bit more…” homemade”?
Third: Do you like their sound? Do they have samples of work they have done that fits your wheelhouse or genre? Have they said they can do your genre but don’t have any samples to show you?
Fourth: Is there chemistry between you in the first phone conversation? This relationship is like a dating relationship. You will need to “like” one another. You must be able to communicate. There must be trust and respectful honesty. Do they listen or speak over the top of you? Are they only interested in telling you how awesome they are or how many amazing credits they have or are they interested in how they can help you? Do they seem like someone you can trust? Yes, be judgemental!!! Just like you would want to do at least some screening before you hop into someone’s car, right? Trust your gut.
Fifth: What is their policy? Make sure you have everything agreed upon in writing (a legal agreement is best but at the very least, save emails and messages). Do they do “work for hire” agreements with no points? Do they want co-writing credit? What is included in their price (recording, mixing, production, mastering, musicians, etc.?) Do they limit how many revisions you can make? (This is a tricky one because many will argue why this has to be their policy to keep projects cost-effective and to meet deadlines. It is a valid issue. But from my experience, I want my artists to be 100% happy with their music and if that means I need to start over or make 50 revisions to the mix, then that is what I will do. That being said, if we start going down the road of revision after revision then there is obviously an issue with either communication OR lack of focus or both. I’ll stop the production and insist on a conversation before we move forward. Go back to #4)
Sixth: What expectations do you have of your producer and do they know what those expectations are? As there are many different types of producers, some are very interested in helping you develop your artistry all around, including your songwriting, your vocal approach, your branding, etc. Others are not, but only want to create your music and think that you have all of that already figured out. Some have an interest in helping you promote your music or find sync placements. Usually, they will only be interested in the back end if they are sharing some of the ownership of the song and will benefit from its back-end success. There isn’t a “right or a wrong” way but you need to know what to expect so that you aren’t disappointed.
Remember that your producer or producers might be the most important people on your team so do some research, have a lot of conversations, and don’t rush the process. Keep on going, friends!!