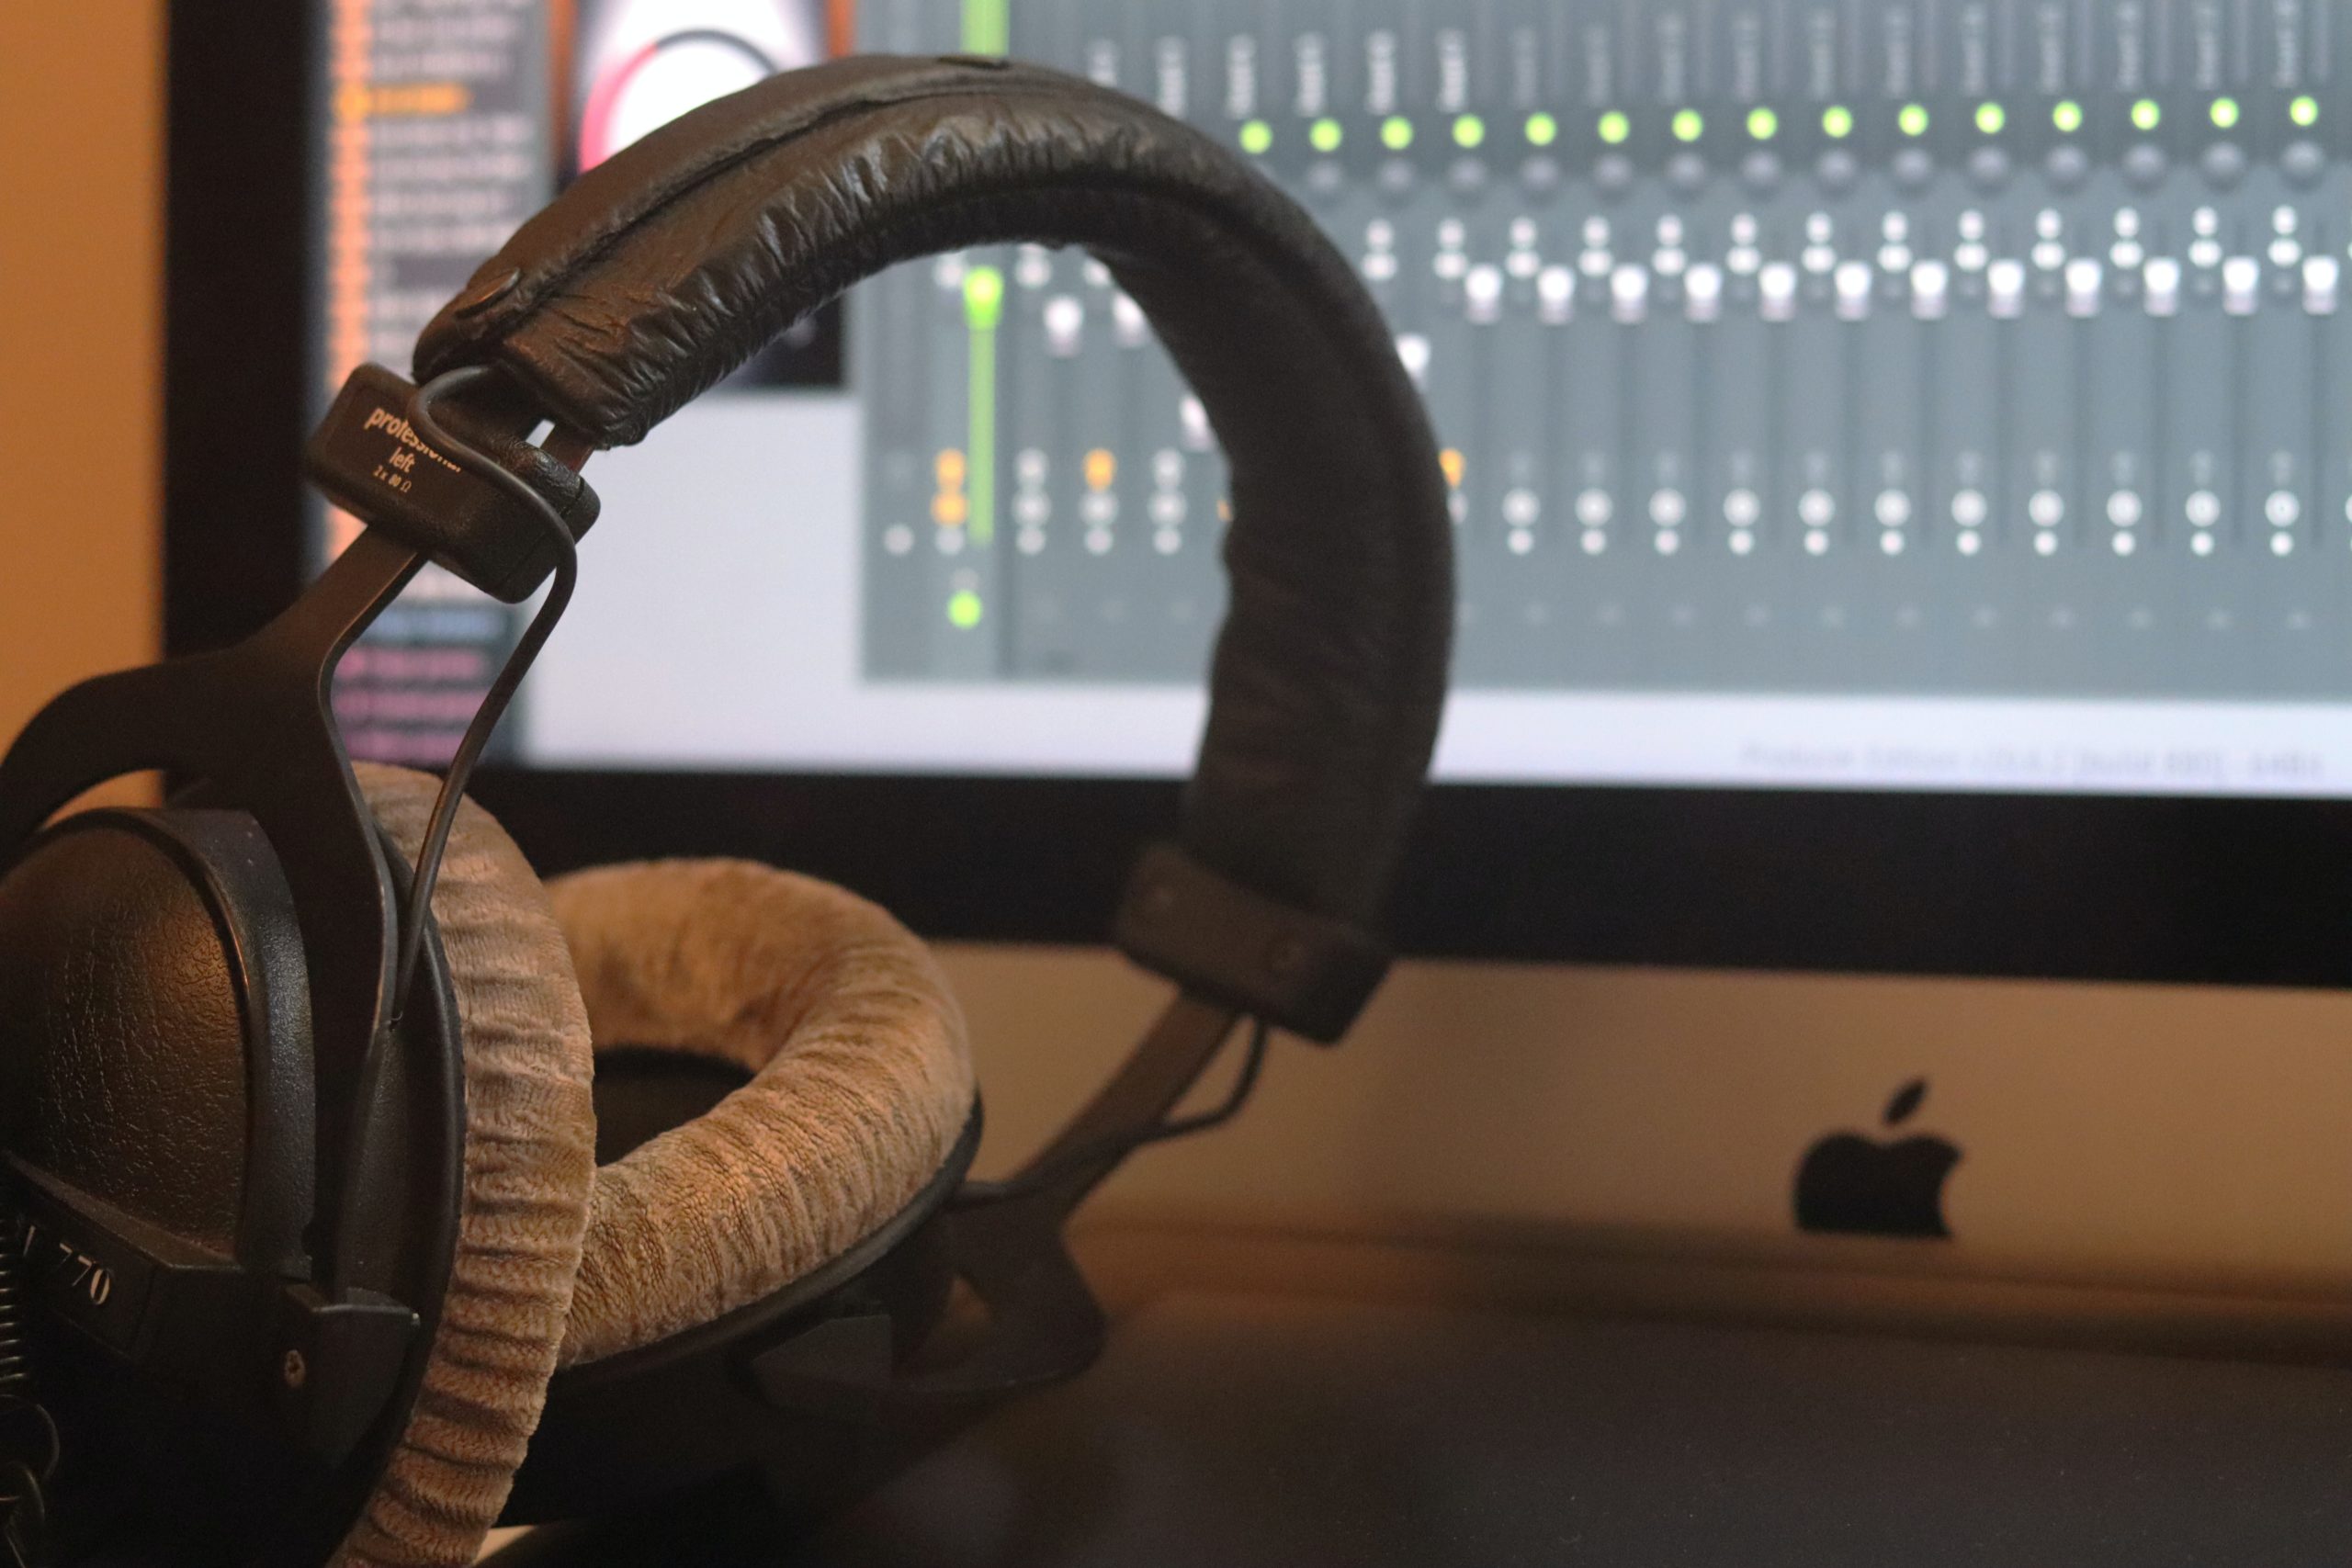
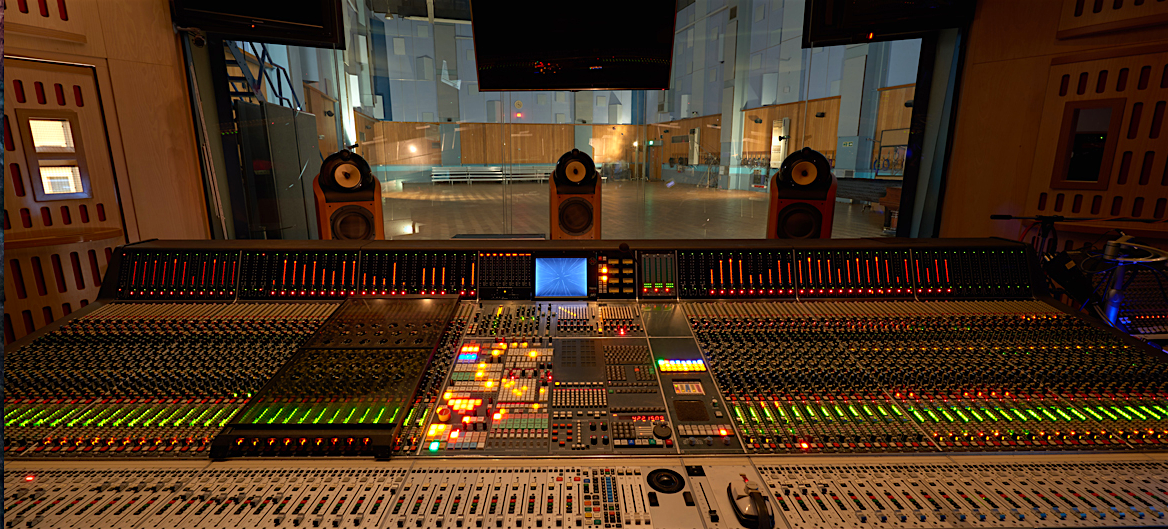
Every sound engineer refers to some kind of meter to aid the judgments we make with our ears. Sometimes it is a meter on tracks in a DAW or that session’s master output meter, other times it is LEDs lighting up our consoles like a Christmas tree, sometimes it is a handheld sound level meter, other times a VU meter, etc. All of those meters measure audio signal using different scales, but they all use the decibel as a unit of measurement. There is also a way to measure the levels of mixes that are designed to represent the human perception of sound: loudness!
Our job as audio engineers and sound designers is to deliver a seamless aural experience. Loudness standards are a set of guides, measured by particular algorithms, to ensure that everyone who is mixing audio is delivering a product that sounds similar in volume across a streaming service, website, and radio or television station. The less work our audiences have to do, the better we have done our jobs. Loudness is one of the many tools that help us ensure that we are delivering the best experience possible.
History
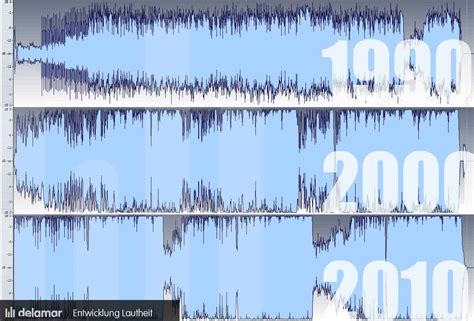
A big reason we started mixing to loudness standards was to achieve consistent volume, from program to program as well as within shows. Listeners and viewers used to complain to the FCC and BBC TV about jumps in volume between programs, and volume ranges within programs being too wide. Listeners had to perpetually make volume adjustments on their end when their radio or television suddenly got loud, or to hear what was being said if a moment was mixed too quietly compared to the rest of the program.
In 2007, the International Telecommunications Union (ITU) released the ITU-R BS 1770 standard; a set of algorithms to measure audio program loudness and true-peak level. (Chueks Blog.) Then, the European Broadcast Union (EBU) began to work with the ITU standard. Then EBU modified their standard when they discovered that gaps of silence could bring a loud program down to their specifications. So they released a standard called EBU R-128. Levels below 8 LUFS of the ungated measurement do not count towards the integrated loudness level, which means that the quiet parts can not skew the measurement of the whole program. The ITU standard is still used internationally.
Even after all of this standardization, television viewers were still being blasted by painfully loud commercials. So, on December 13th, 2012, the FCC passed the Commercial Advertisement Loudness Mitigation Act. From the FCC website: “Specifically, the CALM Act directs the Commission to establish rules that require TV stations, cable operators, satellite TV providers or other multichannel video program distributors to apply the ATSC A/85 Recommended Practice to commercial advertisements they transmit to viewers. The ATSC A/85 RP is a set of methods to measure and control the audio loudness of digital programming, including commercials. This standard can be used by all broadcast television stations and pay-TV providers.” And yup, listeners can file complaints to the FCC if a commercial is too loud. The CALM Act just regulates the loudness of commercials.
Non-Eurocentric countries have their own loudness standards, derived from the global ITU R B.S 1770. China’s standard for television broadcast is GY/T 282-2014; Japan’s is ARIB TR-B32; Australia’s and New Zealand’s is OP-29. Many European and South American countries, along with South Africa, use the EBU R-128 standard. There’s a link with a more comprehensive link at the end of this article, in the resources section.
Most clients you will mix for expect you, the sound designer or sound mixer, to abide by any one of these standards, depending on who is distributing it. (Apple, Spotify, Netflix, YouTube, broadcast, etc.)
The Science Behind Loudness Measurements
Loudness is a measurement of human perception. If you have not experienced mixing with a loudness meter, you are (hopefully) paying attention to RMS, peak, or VU meters in your DAW or on your hardware. RMS (average level) and peak (loudest level) meters measure levels in decibels relative to full scale (dBFS). The numbers on those meters are based on the voltage of an audio signal. VU meters use a VU scale (where 0 VU is equal to +4 dBu), and like RMS and peak meters, are measuring the voltage of an audio signal.
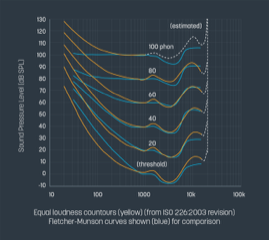
Those measurements would work to measure loudness – if humans heard all frequencies in the audio spectrum at equal volume levels. But we don’t! Get familiar with the Fletcher-Munson Curve. It is a chart that shows, on average, how sensitive humans are to different frequencies. (Technically speaking, we all hear slightly differently from each other, but this is a solid basis.)
Humans need low frequencies to be cranked up in order to perceive them as the same volume as higher frequencies. And, sound coming from behind us is also weighed louder than sound in front of us. Perhaps it is an instinct that evolved with early humans. As animals, we are still on the lookout for predators that are sneaking up on us from behind.
Instead of measuring loudness in decibels (dB), we measure it in loudness units full scale (LUFS, or interchangeably, LKFS). LUFS measurements account for humans being less sensitive to low frequencies but more sensitive to sounds coming from behind them.
There are a couple more interesting things to know about how loudness meters work. We already mentioned how the EBU standard gates anything below 8 LUFS under the ungated measurement so the really quiet or silent parts do not skew the measurement of the whole mix (which would allow the loudest parts to be way too loud). Loudness standards also dictate the allowed dynamic range of a program (in LUFS). This is important so your audience does not have to tweak the volume to hear people during very quiet scenes, and it saves their ears from getting blasted by a World War Two bomb squadron or a kaiju if they had their stereo turned way up to hear a quiet conversation. (Though every sound designer and mixer knows that there will always be more sensitive listeners who will complain about a loud scene anyway.)
Terms
Here is a list of terms you will see on all loudness meters.
LUFS/LKFS – Loudness Units Full Scale (LKFS = K weighted, but they are effectively the same thing).
Weighting standards – When you mix to a loudness spec in LUFS, also know which standard you should use! The following are the most commonly used standards.
- ITU-R BS.1770: The global standard and basis for the other two algorithms.
- EBU R128: Based on the ITU-R BS.1770 algorithm, but adds in the relative gate mentioned in the “History” section of this article. Used throughout Europe but also for broadcast in the United States.
- ATSC a/85 – More rigid rules for commercials. Only focused on digital television platforms and on AC3 codec.
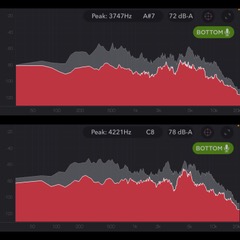
True Peak Max: Bit of an explanation here. When you play audio in your DAW. you are hearing an analog reconstruction of digital audio data. Depending on how that audio data is decoded, the analog reconstruction might peak beyond the digital waveform. Those peaks are called inter-sample peaks. Inter-sample peaks will not be detected by a limiter or sample peak meter. But a True Peak Meter on a loudness meter will catch them. True peak is measured in dBTP.
Momentary loudness: Loudness at any given moment, for measuring the loudness of a section.
Long-term/ Integrated loudness: This is the average loudness of your mix.
Target Levels: What measurement in LUFS the mix should reach.
Range/LRA: Dynamic range, but in LUFS.
How To Mix To Loudness Standards
Okay, you know the history, you are armed with the terminology…now what? First, let us talk about the consequences of not mixing to spec.
For every client, there are different devices at the distribution stage that decode your audio and play it out to the airwaves. Those devices have different specifications. The distributor will turn a mix-up or down to normalize the audio to their standards if the mix does not meet specifications. A couple of things happen as a result. One, loss of dynamic range. And, the quietest parts are still too quiet. If there are parts that are too loud, those parts will sound distorted and crushed due to compressed waveforms. The end result is a quiet mix, with no dynamics, with distortion.
To put mixing to loudness in practice, first, start with your ears. Mix what sounds good. Aim for intelligibility and consistency. Keep an eye on your RMS, Peak, or VU meters, but do not worry about LUFS yet.
Your second pass is when you mix to target LUFS levels. Keep an eye on your loudness meter. I watch the momentary loudness reading because if I am consistently in the ballpark with momentary loudness, I will have a reliable integrated loudness reading and a dynamic range that is not too wide. Limiters can also be used to your advantage.
Then, bounce your mix. Bring the bounce into your session, select the clip, then open your loudness plugin and analyze the bounce. Your loudness plugin will give you a reading with the current specs for your bounce. (Caveat: I am using ProTools terminology. Check if your DAW has a feature similar to AudioSuite.) This also works great for analyzing sections of audio at a time while you are mixing.
Speaking of plugins, here are a few of the most used loudness meters. Insert one of these on your master track to measure your loudness.
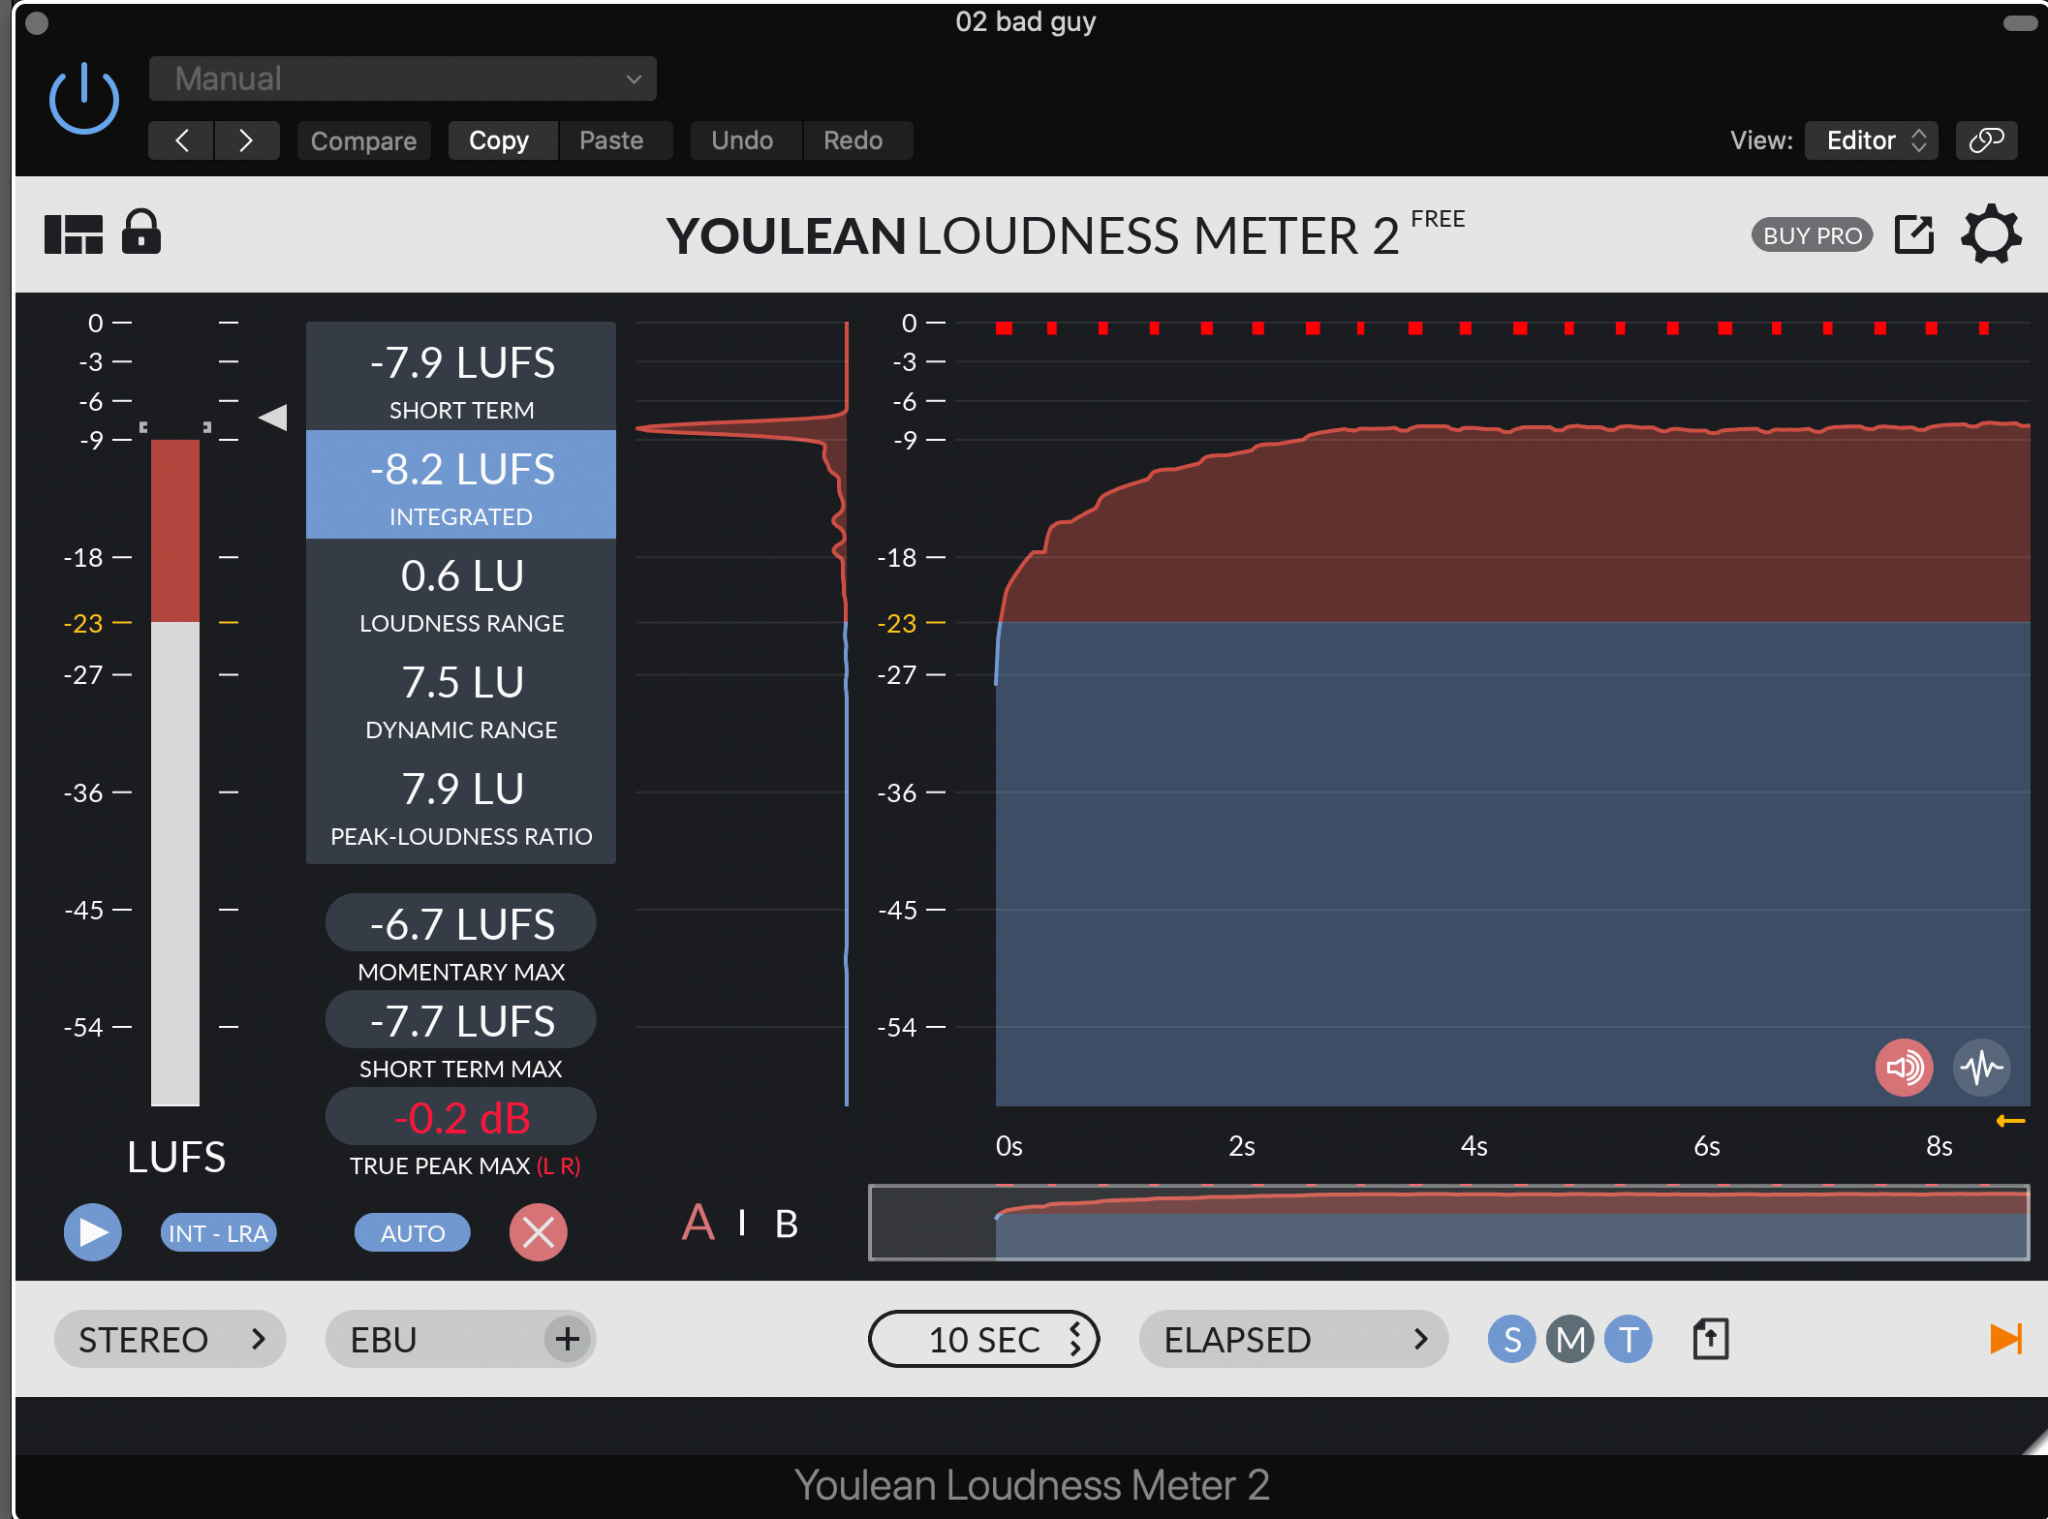
Youlean Loudness Meter
This one is top of the list because it is FREE! It also has a cool feature where it shows a linear history of the loudness readings.

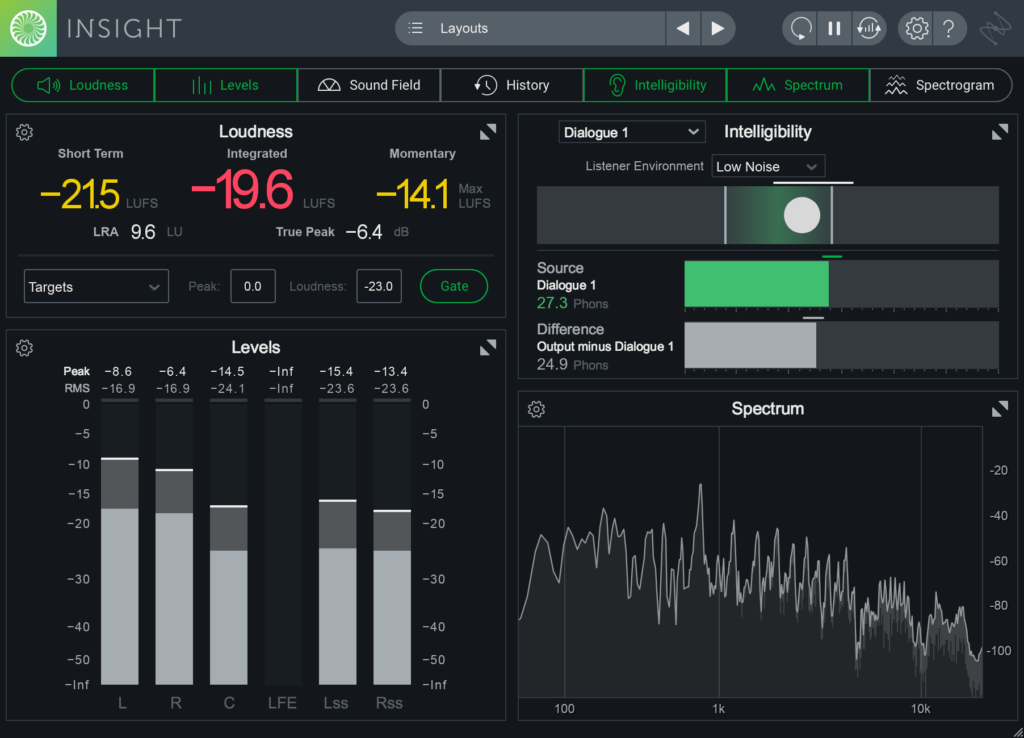
iZotope Insight
Insight is really cool. There are a lot of different views, including history and sound field views, and a spectrogram so you can see how different frequencies are being weighted. This plugin measures momentary loudness fast.
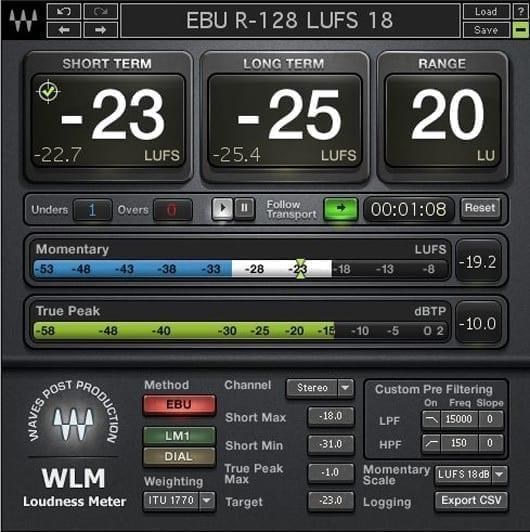
Waves WLM Meter
The Waves option may not have a bunch of flashy features like its iZotope competitor, but it does measure everything accurately and comes with an adjustable trim feature. The short-term loudness is accurate but does not bounce around as fast as Insight’s, which I actually prefer.
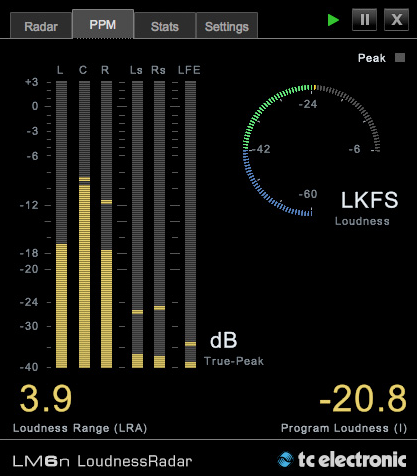
TC Electronic LMN Meter
I have not personally used this meter, but it looks like a great option for those of us mixing for 5.1 systems. And the radar display is pretty cool!
Wrapping Up: Making Art with Science
The science and history may be a little dry to research, but loudness mixing is an art form itself; Because if listeners have to constantly adjust volume, we are failing at our jobs of creating a distraction and hassle-free experience for our audience. Loudness standards go beyond a set of rules; they are an opportunity for audio engineers to use our scientific prowess to develop our work into a unifying experience.
Resources
First, big thanks to my editors (and fellow audio engineers) Jay Czys and Andie Huether.
The Loudness Standards (Measurement) – LUFS (Cheuks’ Blog)
https://cheuksblog.wordpress.com/2018/04/02/the-loudness-standards-measurement-lufs/#:~:text=Around%202007%2C%20an%20organization%20named,a%20value%20for%20the%20audio.
Loudness: Everything You Need to Know (Production Expert)
https://www.pro-tools-expert.com/production-expert-1/loudness-everything-you-need-to-know
Loud Commercials (The Federal Communications Commission)
https://www.fcc.gov/media/policy/loud-commercials
Loudness vs. True Peak: A Beginner’s Guide (NUGEN Audio)
https://nugenaudio.com/loudness-true-peak/
Worldwide Loudness Standards
https://www.rtw.com/en/blog/worldwide-loudness-delivery-standards.html