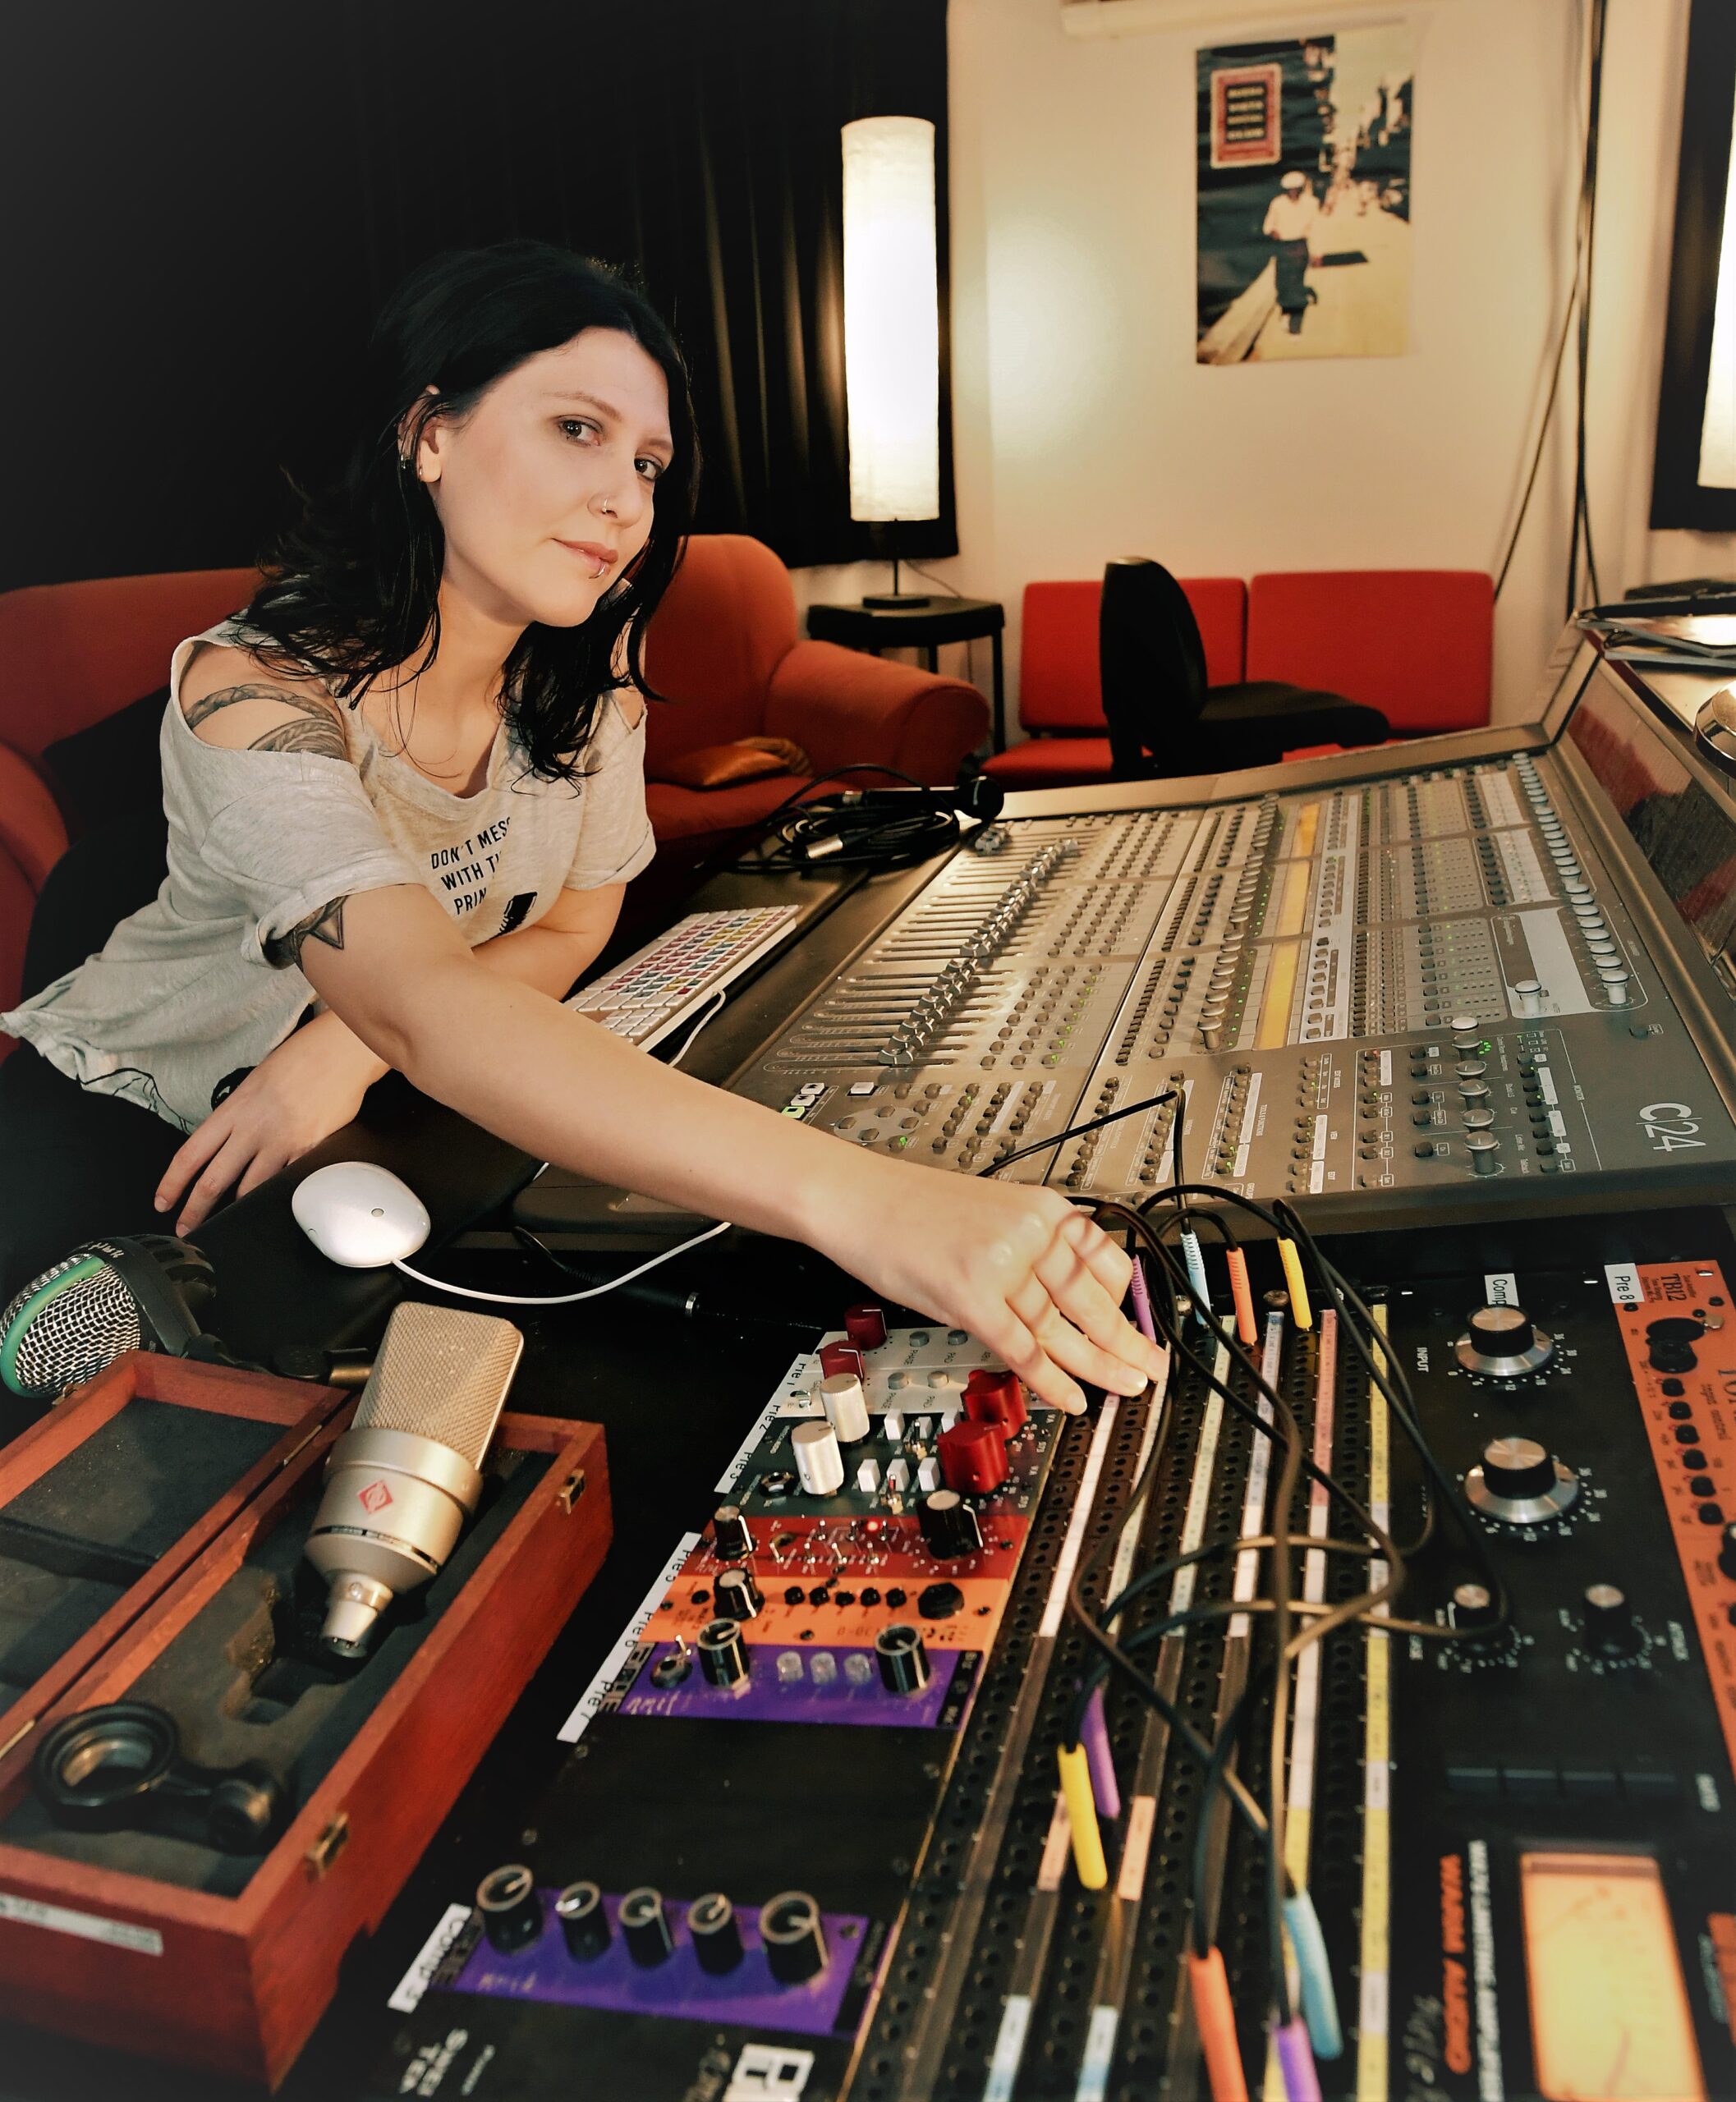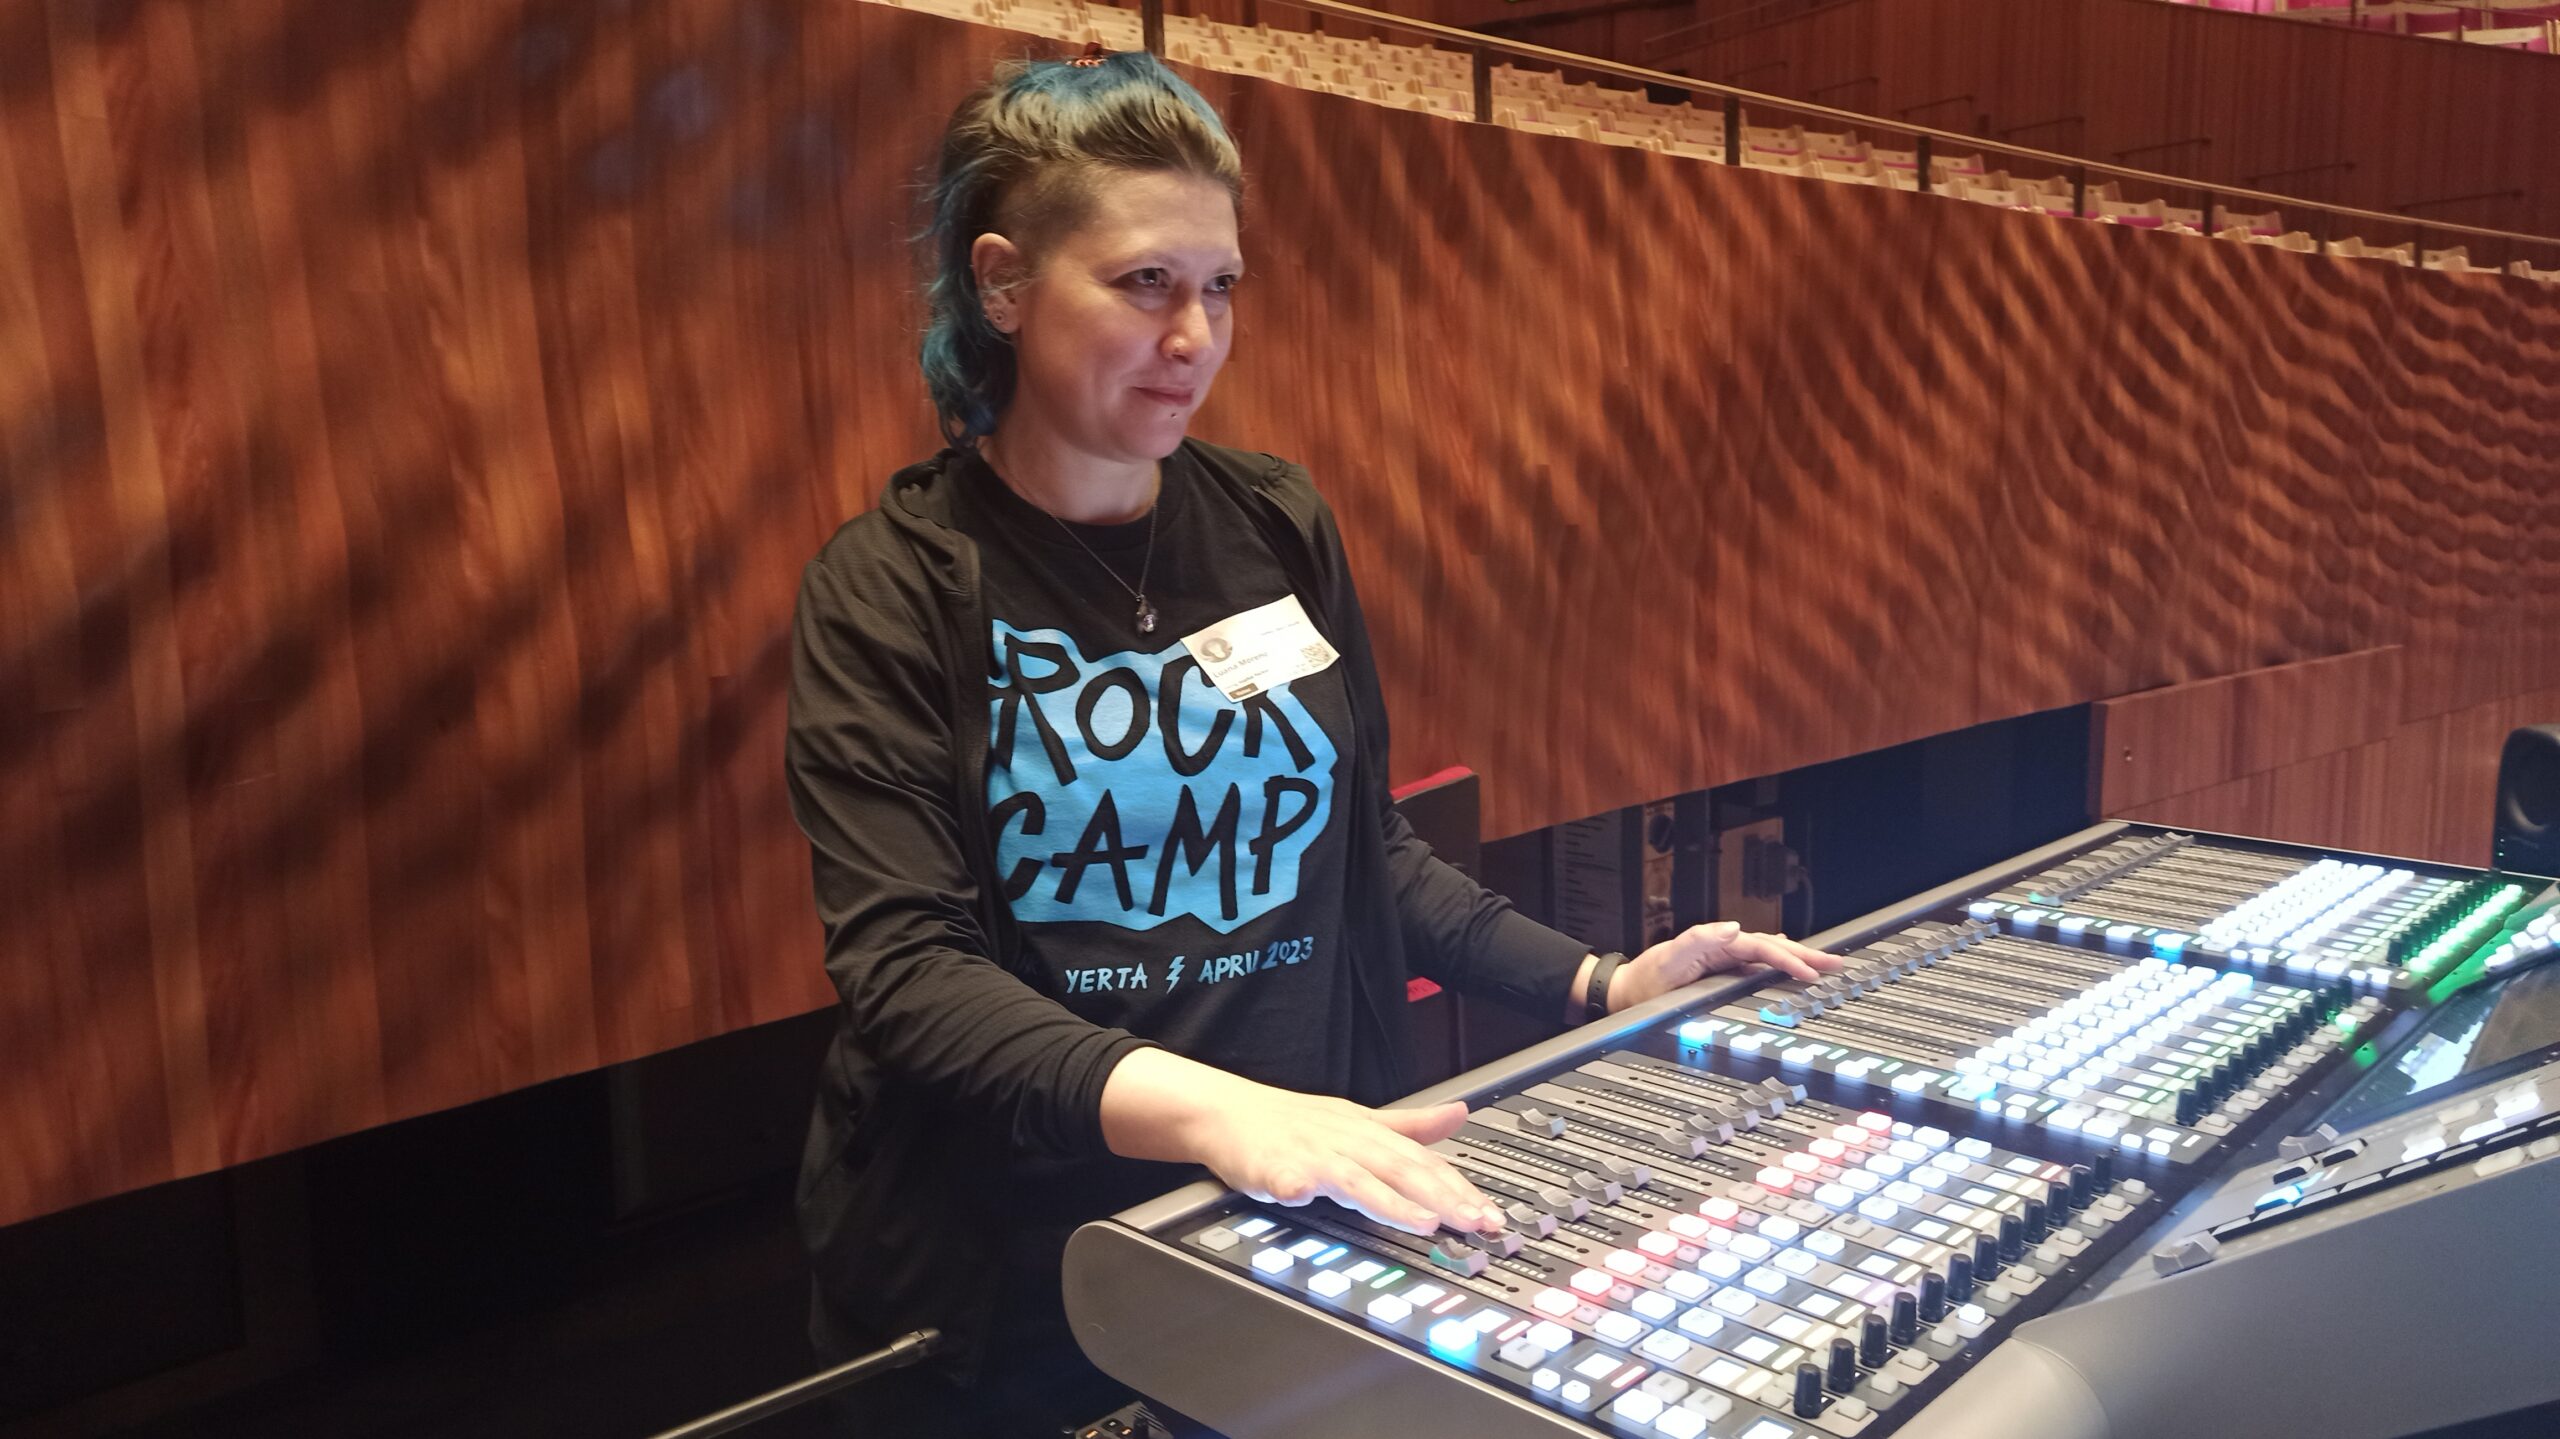
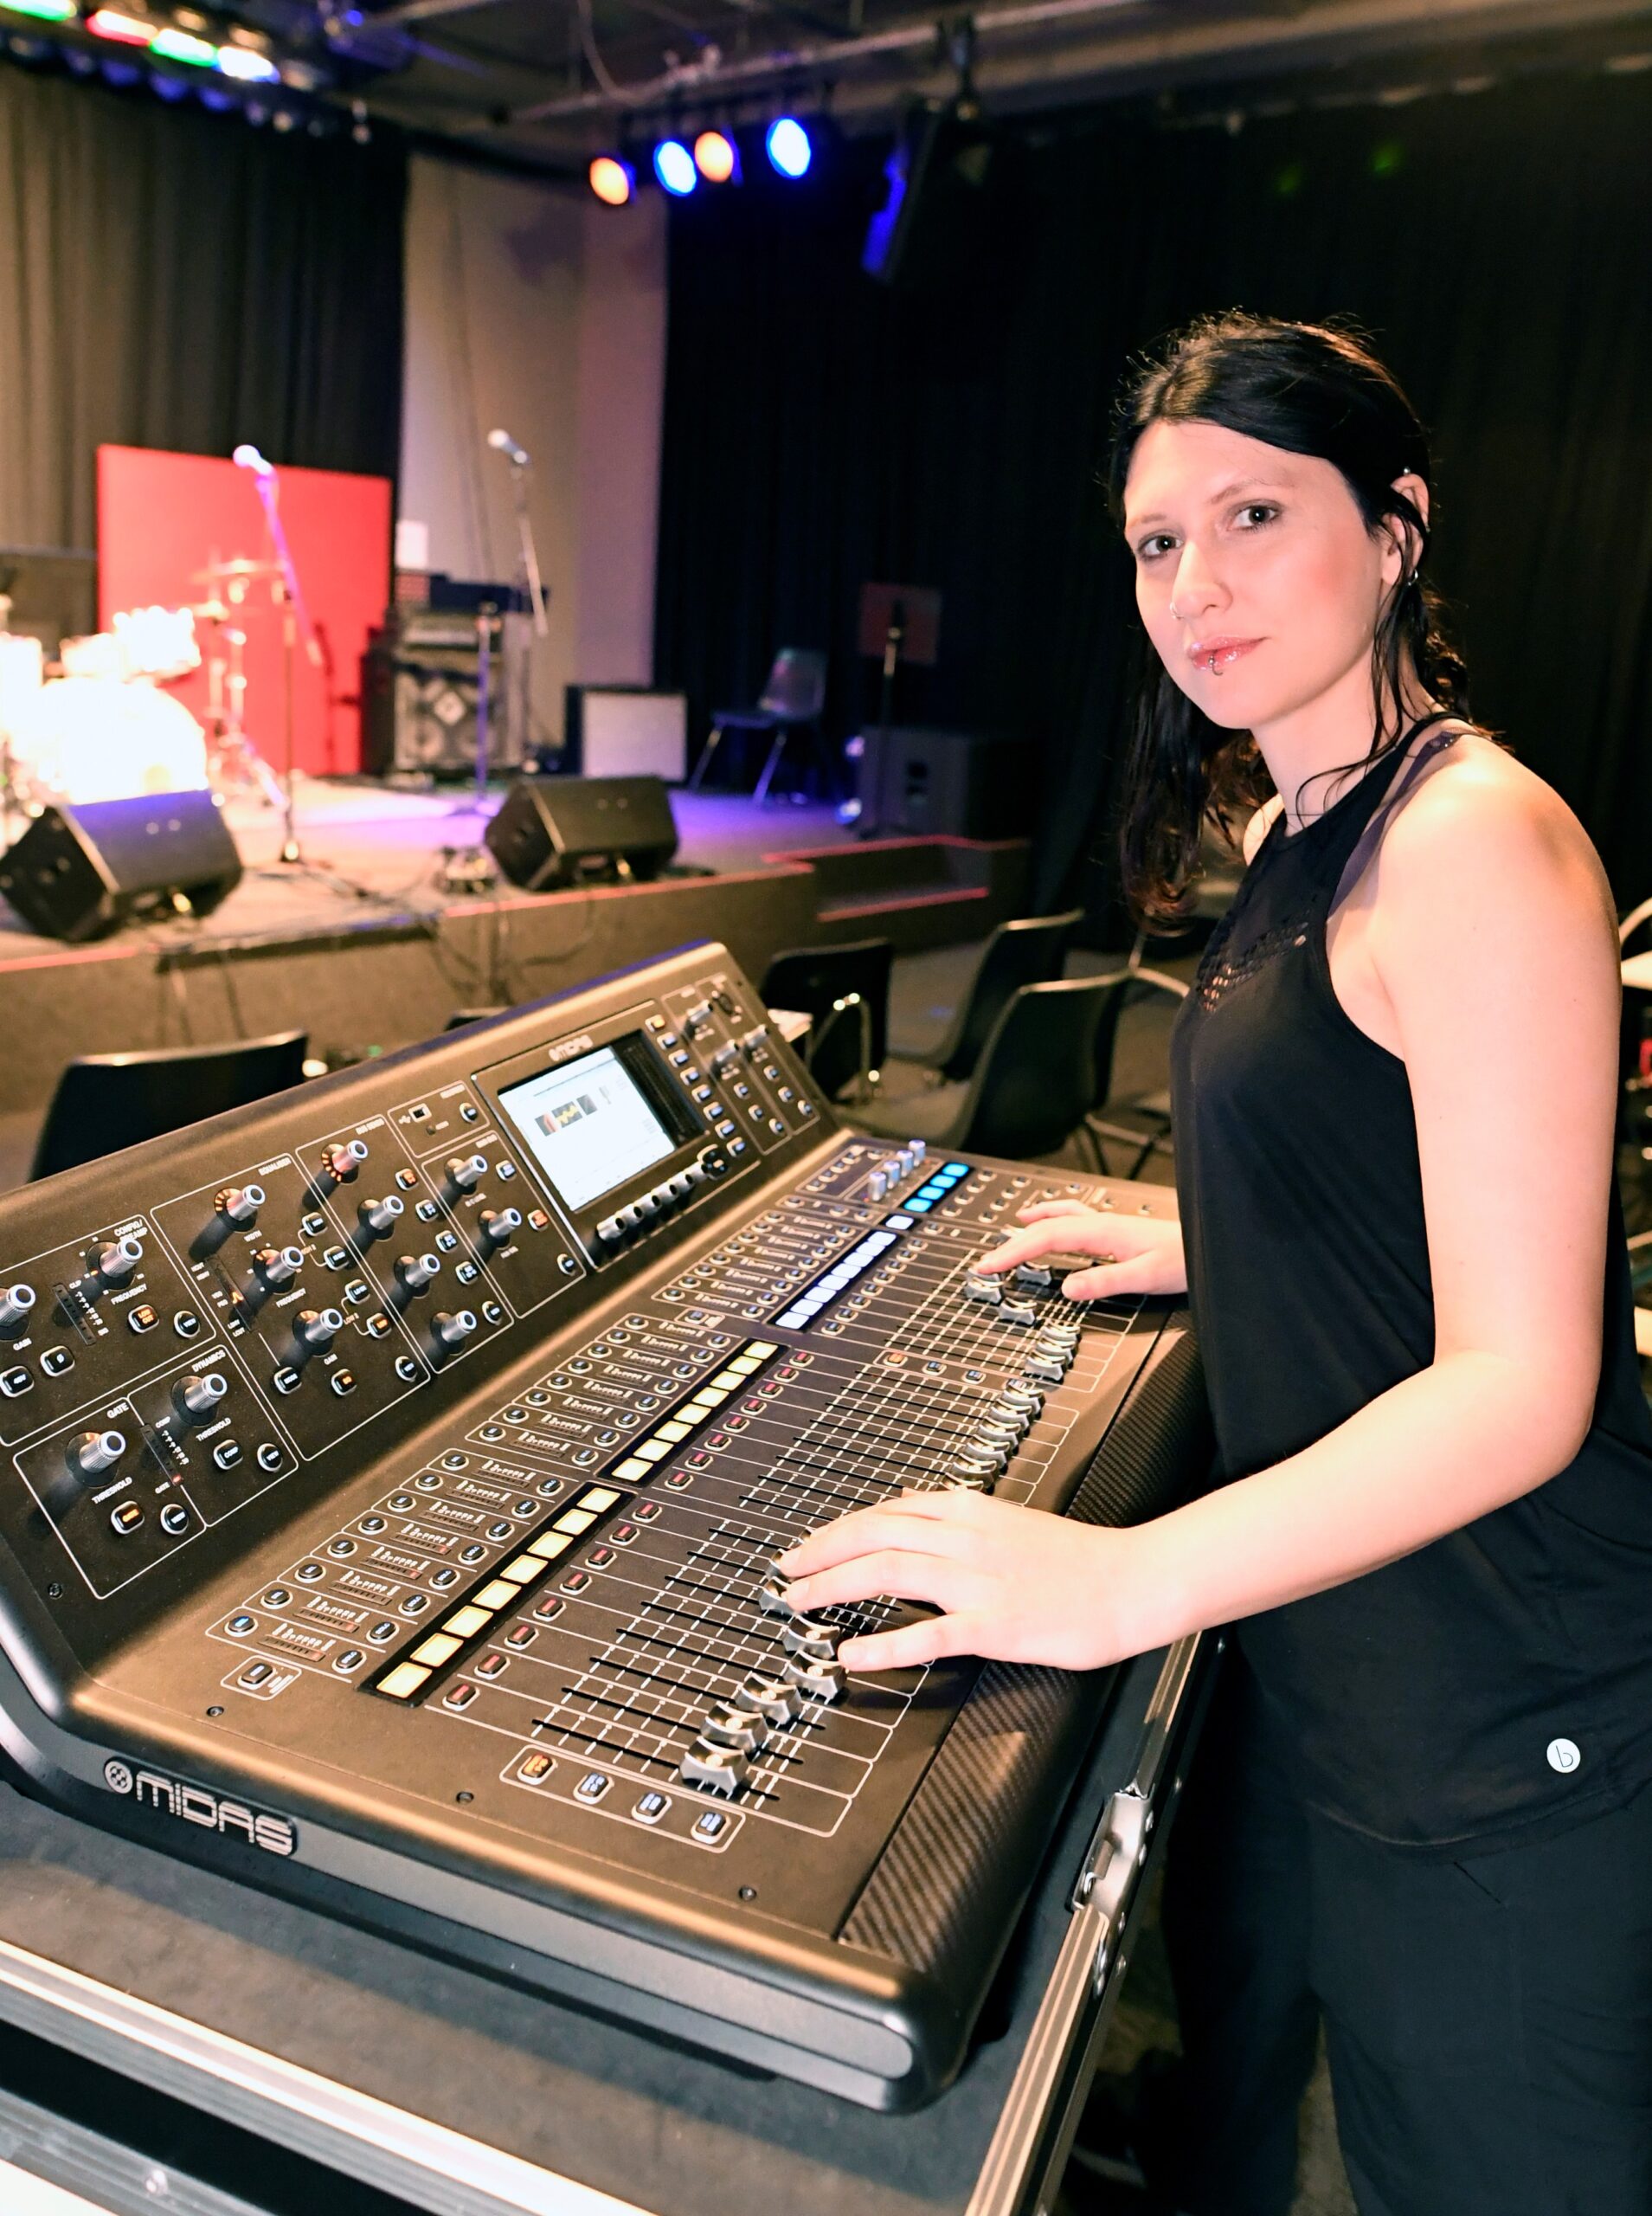
Luana Moreno – Live Sound and Recording Engineer
Luana works as a freelance engineer working with venues, rental companies, musicians, and event organizers. She currently is in the process of setting up a small commercial studio. She has been working in audio for over 15 years. Luana is originally from Brazil and now resides in Adelaide, Australia.
Luana fell in love with music when MTV came to Brazil. “I still remember watching Slayer’s “Seasons in the Abyss” and my mind was completely blown away. I bought my first CDs, Smashing Pumpkins, The Cure, Sepultura, and Hole, and became a total aficionado. I bought an electric guitar with the first payment from my first job. I have her to this day.”
Luana was introduced to audio after a recording session with her band and became interested in the recording process. She began to research courses and programs for audio engineering and also met a producer and engineer Paul Anhaia who worked at Midas Studio. She would take a short course on Audio Fundamentals where she learned the basics and then learned on the job from there. All the while Luana attended workshops and training opportunities. In 2013 Luana enrolled at Melbourne Polytechnic and received an Advanced Diploma in Sound Production in 2019. Luana says this “doesn’t mean that I have stopped learning though, as I am always looking to learn and keep up with the industry innovations”.
Career Start
How did you get your start?
My first job was at a studio/mobile recording facility called Audiomobile. They had two mobile recording units at the time, a bus and a truck. They did a lot of recordings for music DVDs. I would rarely be on-site recording, but in the studio helping them organize the hard drives and doing general maintenance. I would often sit through mixing sessions with the other techs too.
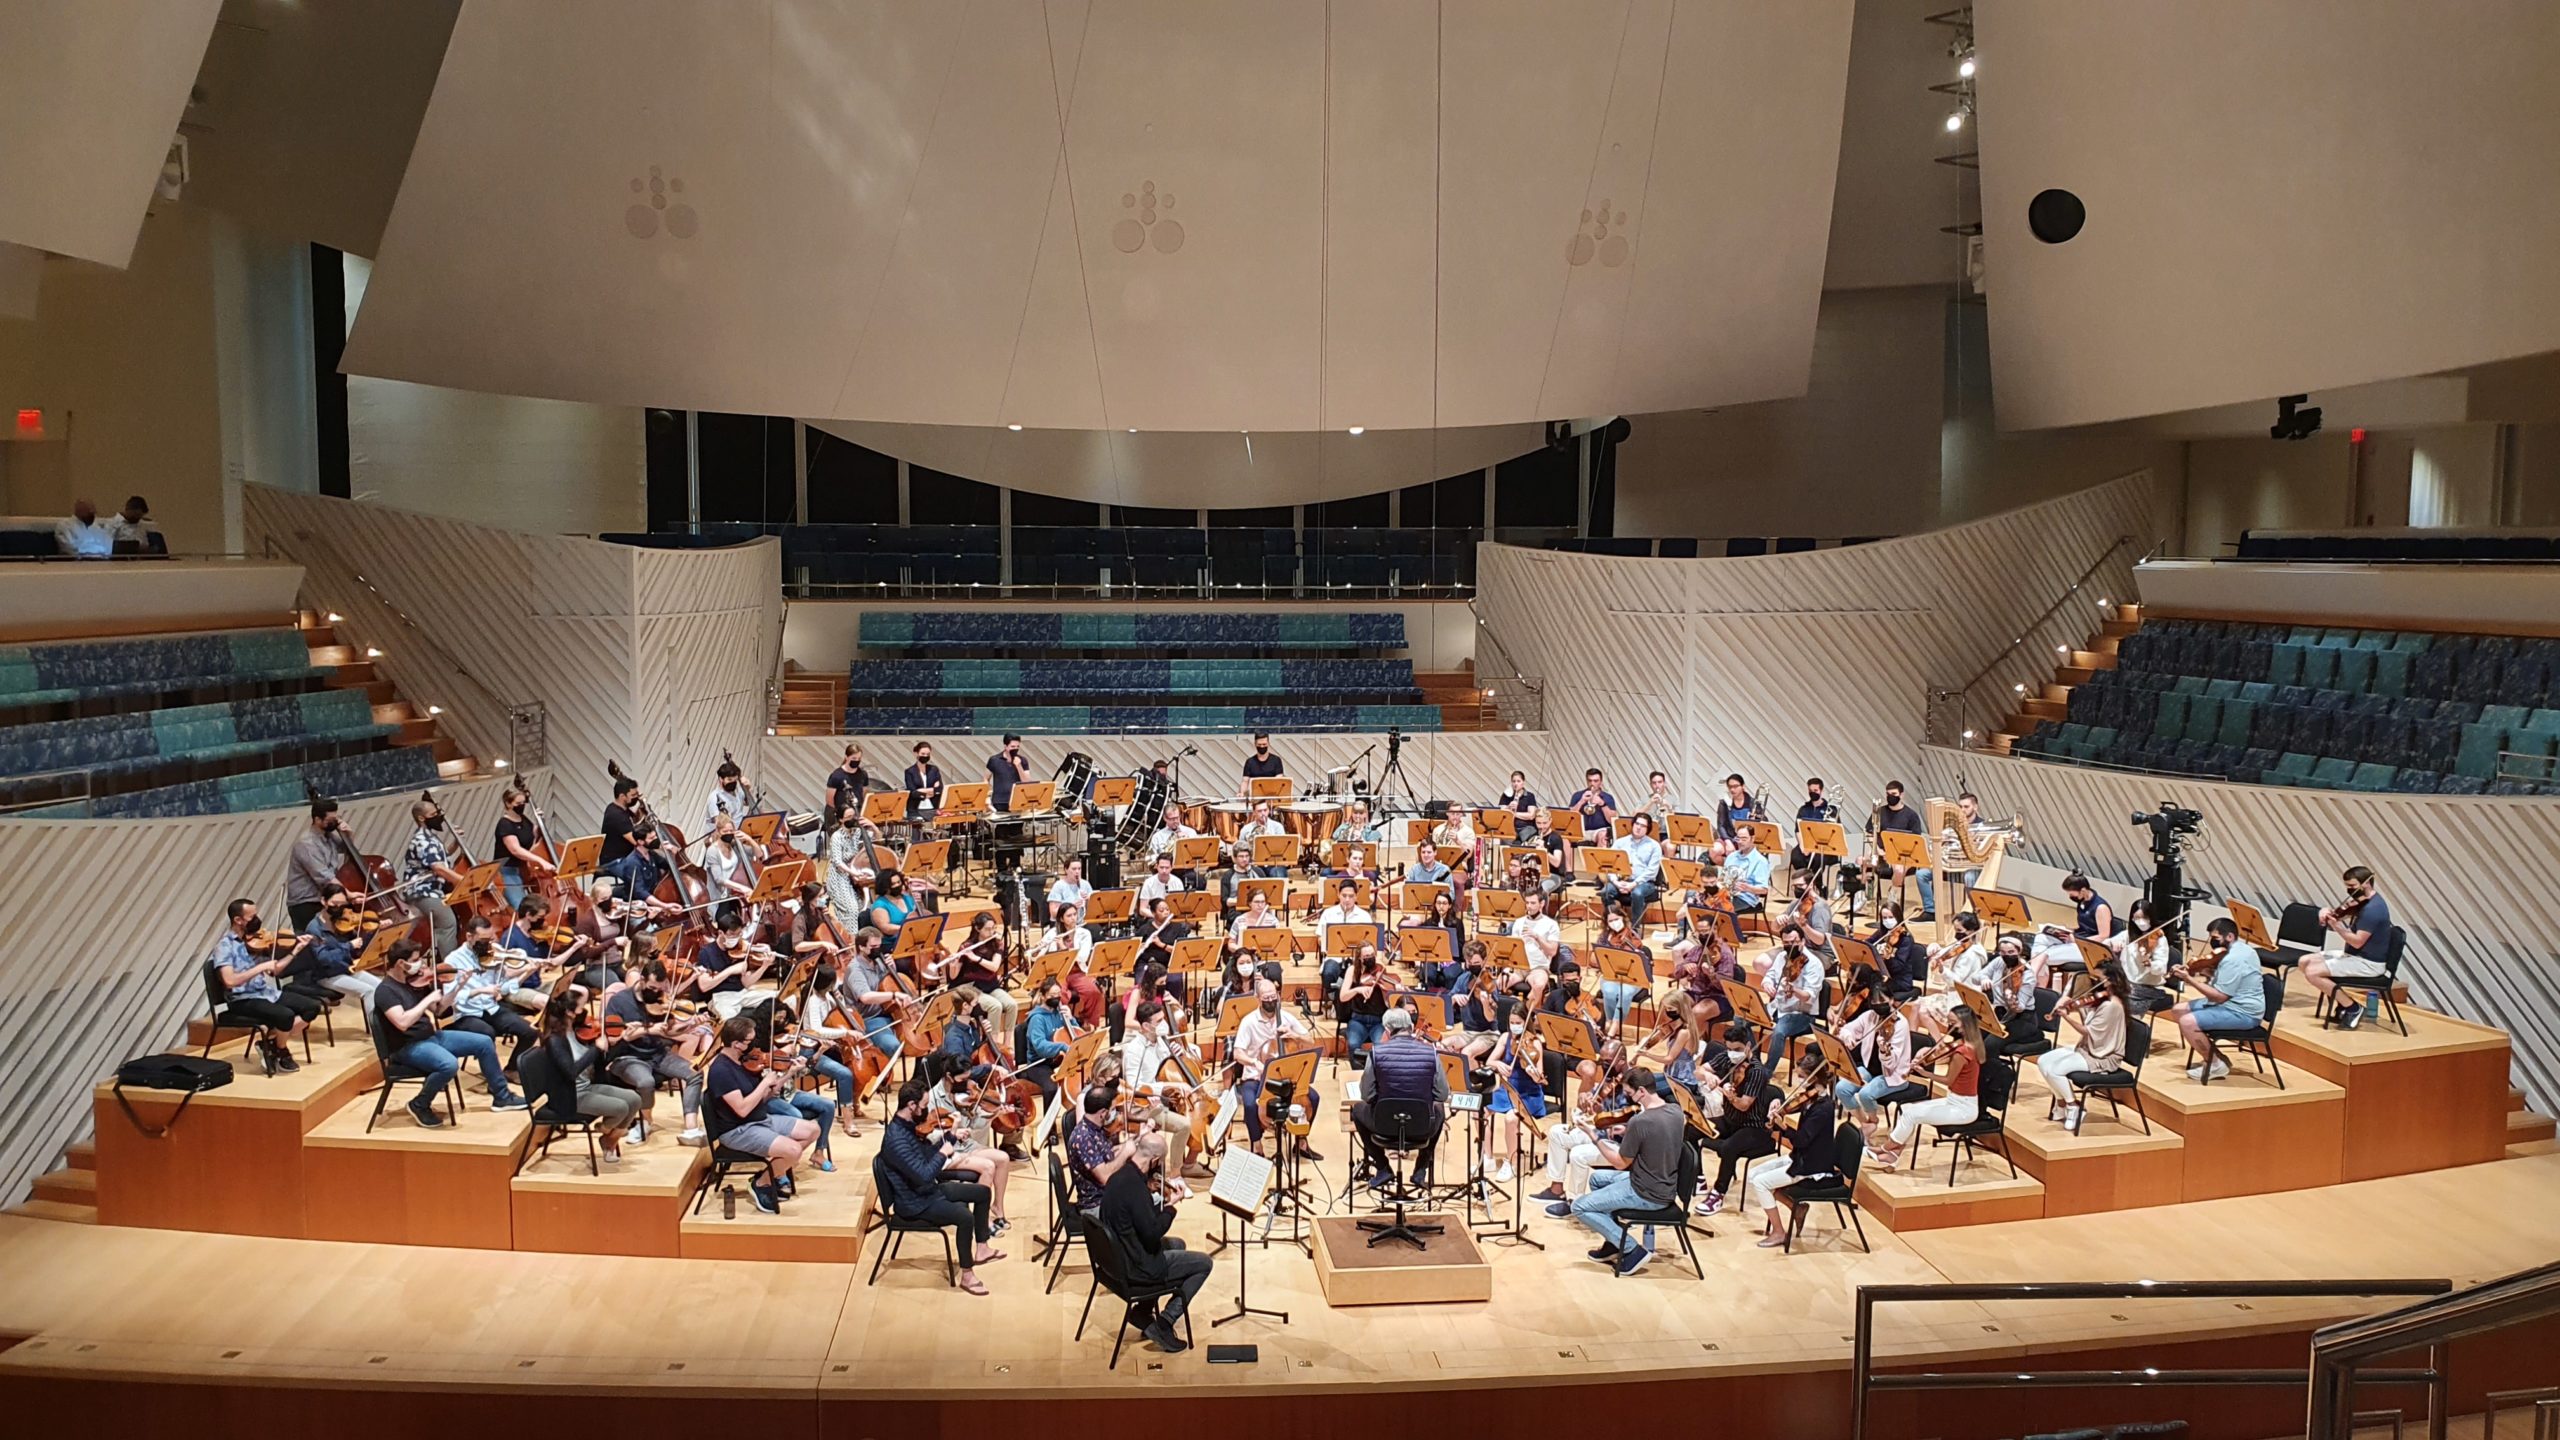
From there I started mixing live sound at nightclubs and other venues and working for rental companies and artists in Brazil. There I also had the opportunity to do location recording and post for film for a considerable time at MeuSucesso.com and to do mixing and mastering for a few bands. Moving to Australia I was able to get into the Live entertainment quite quickly and have only run out of work during the first six months of Covid.
How did your early internships or jobs help build a foundation for where you are now?
I think Audiomobile had the most impact because that’s where I learned how the industry worked and was able to sit in on sessions with talented and skilled technicians who didn’t mind sharing their process. Mixing in pubs and nightclubs was a great school as well because we would often be quite limited in terms of what the equipment was capable of, and that’s where I learned to work with whatever I had available.
What did you learn interning or on your early gigs?
Shadowing the other techs at Audiomobile was a great opportunity to train my ear and get up to speed with the basics, and at the pubs and rental companies I’ve learned how to set up a system, troubleshoot it, and make things work. It was also where I learned how to mix.
Did you have a mentor or someone that helped you?
Paulo Anhaia, whom I dated at the start of my career, was more of a supporter and role model than a mentor. The techs at Audiomobile who taught me in my early days: Egidio Conde, Fernando Ferrari, Luiz Leme, Eduardo Garcia.
The group of people who helped me for the longest time in my professional life were my colleagues from Mulheres do Audio( Audio Women), a group that started when I created a Facebook group after working at an AES conference as a Product Specialist and being confused for a “booth model” by the male attendees, who’d ask me, surprised: “You’re a Sound Tech? How many more women in sound are out there?”
That question got me thinking and one night I created a Facebook group and invited some of my mates: Adriana Viana, Lilla Stipp, among others. That group started regular gatherings, where I met many other incredible women who have supported me in my journey, such as Florencia Saravia-Akamin, who played that mentorship role being the most experienced of us; Roberta Siviero, who if I recall correctly introduced us to SoundGirls and organized our meeting with Karrie Keyes when she toured Brazil with Pearl Jam; Regiane Alves, Allyne Cassini, among others. All of these women became a network, exchanging information at the meetings, organizing workshops, and referring each other for jobs.
Moving to Australia I had to start from scratch, so Toni Venditti’s help was instrumental as she offered me insights and contacts. Other people worth mentioning would be my teachers at Melbourne Poly, Shane Simmonds, Tamara Weaver, and David Rodger, and my mates Erica D’Angelo and Candace Parham. All of these people were in one way or another instrumental in opening a door, answering a question, or giving me advice when I needed it. It might sound like an Oscar acceptance speech, but it truly takes a village!
Career Now
What is a typical day like?
I have no such thing. Working for three different companies as an employee and several other clients, some days I’ll start at 5 am and some I’ll finish at 2 am. So I try to organize my calendar in advance.
On days I’m not working out of the home, I will normally take the morning off and get things done in the afternoon or early evening. I also make sure to schedule days off, where I’ll do only leisure things or nothing at all, depending on how I feel.
How do you stay organized and focused?
I do my best! Sometimes I can’t be as organised as I’d like, but I have learned to not beat myself up about it. After all, managing your schedule as a freelancer is a challenge.
Some items that help me be as organized and focused as I can be are:
- *a paper planner
- *a wall calendar
- *electronic calendar
- *notes app – on my phone and desktop
- *paper notebooks
- *colored pens
- *hard copies of stage plots, worksheets, and most show paperwork.
Besides these, plenty of water, coffee, chewing gum, regularly exercising/ stretching, and taking breaks when I can afford to, are the main strategies that I use. Taking time to plan for the gig whenever possible. But I think the most important thing is to manage your workload the best you can because, without enough rest, all of that is irrelevant.
What do you enjoy the most about your job?
The variety. Being a casual/freelancer allows me to work in different places with different people doing varied things. I enjoy wearing several hats, even if it’s challenging at times.
What do you like least?
Heavy lifting, defective gear, and difficult clients.
If you tour what do you like best?
I did tour a bit but it wasn’t for me, so I never really pursued it. I found that it’s quite stressful and you go to great places but don’t get time off to enjoy yourself.
What is your favorite day off activity?
If I’m tired, reading in bed, playing casual games, and watching sci-fi and horror series. If I’m not too tired playing music, gardening, or going out with my partner, be it a museum, concert, movie, or dinner.
What are your long-term goals?
Grow and diversify my business, by opening my mixing studio to offer music production, mixing, mastering, and sound for film more consistently, and do more event production management. Help musicians and other creatives achieve their vision and release my projects as an artist. Continue to support the next generation of sound engineers and musicians with education and mentoring, through workshops, courses, and being involved in initiatives like Girls Rock Camp and The Tech Sisters.
What if any obstacles or barriers have you faced?
I have faced sexism for sure, especially when I was starting out. Bands would arrive at the venue and ask “Are YOU mixing?” and I’d be like “ Well if you don’t want me to you can do it yourself!” and that has always been my stance. Of course, in many situations, nobody says those things to your face, so all you can do is do your best and not worry about it. I think it acts as a filter, a place that won’t hire me because I’m a queer migrant woman is not a place where I want to be.
The other big one is toxic work environments, of which I have tasted many flavors: the ‘we are family”, the abusive manager, and the threatened colleague. It can be hard to spot at first, but once you start seeing the red flags, you can’t unsee them.
How have you dealt with them?
I have learned early on to stand up for myself and to find out whether a gig is worth the trouble or not. But the thing that has made the biggest difference for me was seeking community. Having the support of other women/GNC people who understand your struggles and where you’re coming from. Who can relate and offer advice based on their lived experience. Not to downplay the support of some awesome guys I’ve met, but groups like Mulheres do Audio, and SoundGirls have been instrumental in helping me overcome these issues.
Advice you have for other women who wish to enter the field?
Do it! There are more of us than ever and we are stronger together! Connecting with other women and gender-diverse people, SoundGirls is a great place to start. Find your local community and chances are they’ll have your back.
Must have skills?
Broad musical taste, decent hearing, curiosity, interest in lifelong learning, and the ability to learn by yourself, because changes in the industry are constant and often you need the knowledge before you can consult with someone else. I believe that basic musical knowledge is a great advantage for audio technicians. No need to study Schoenberg but knowing rhythmic figures, harmony, and scales can help you a lot, both live and in the studio.
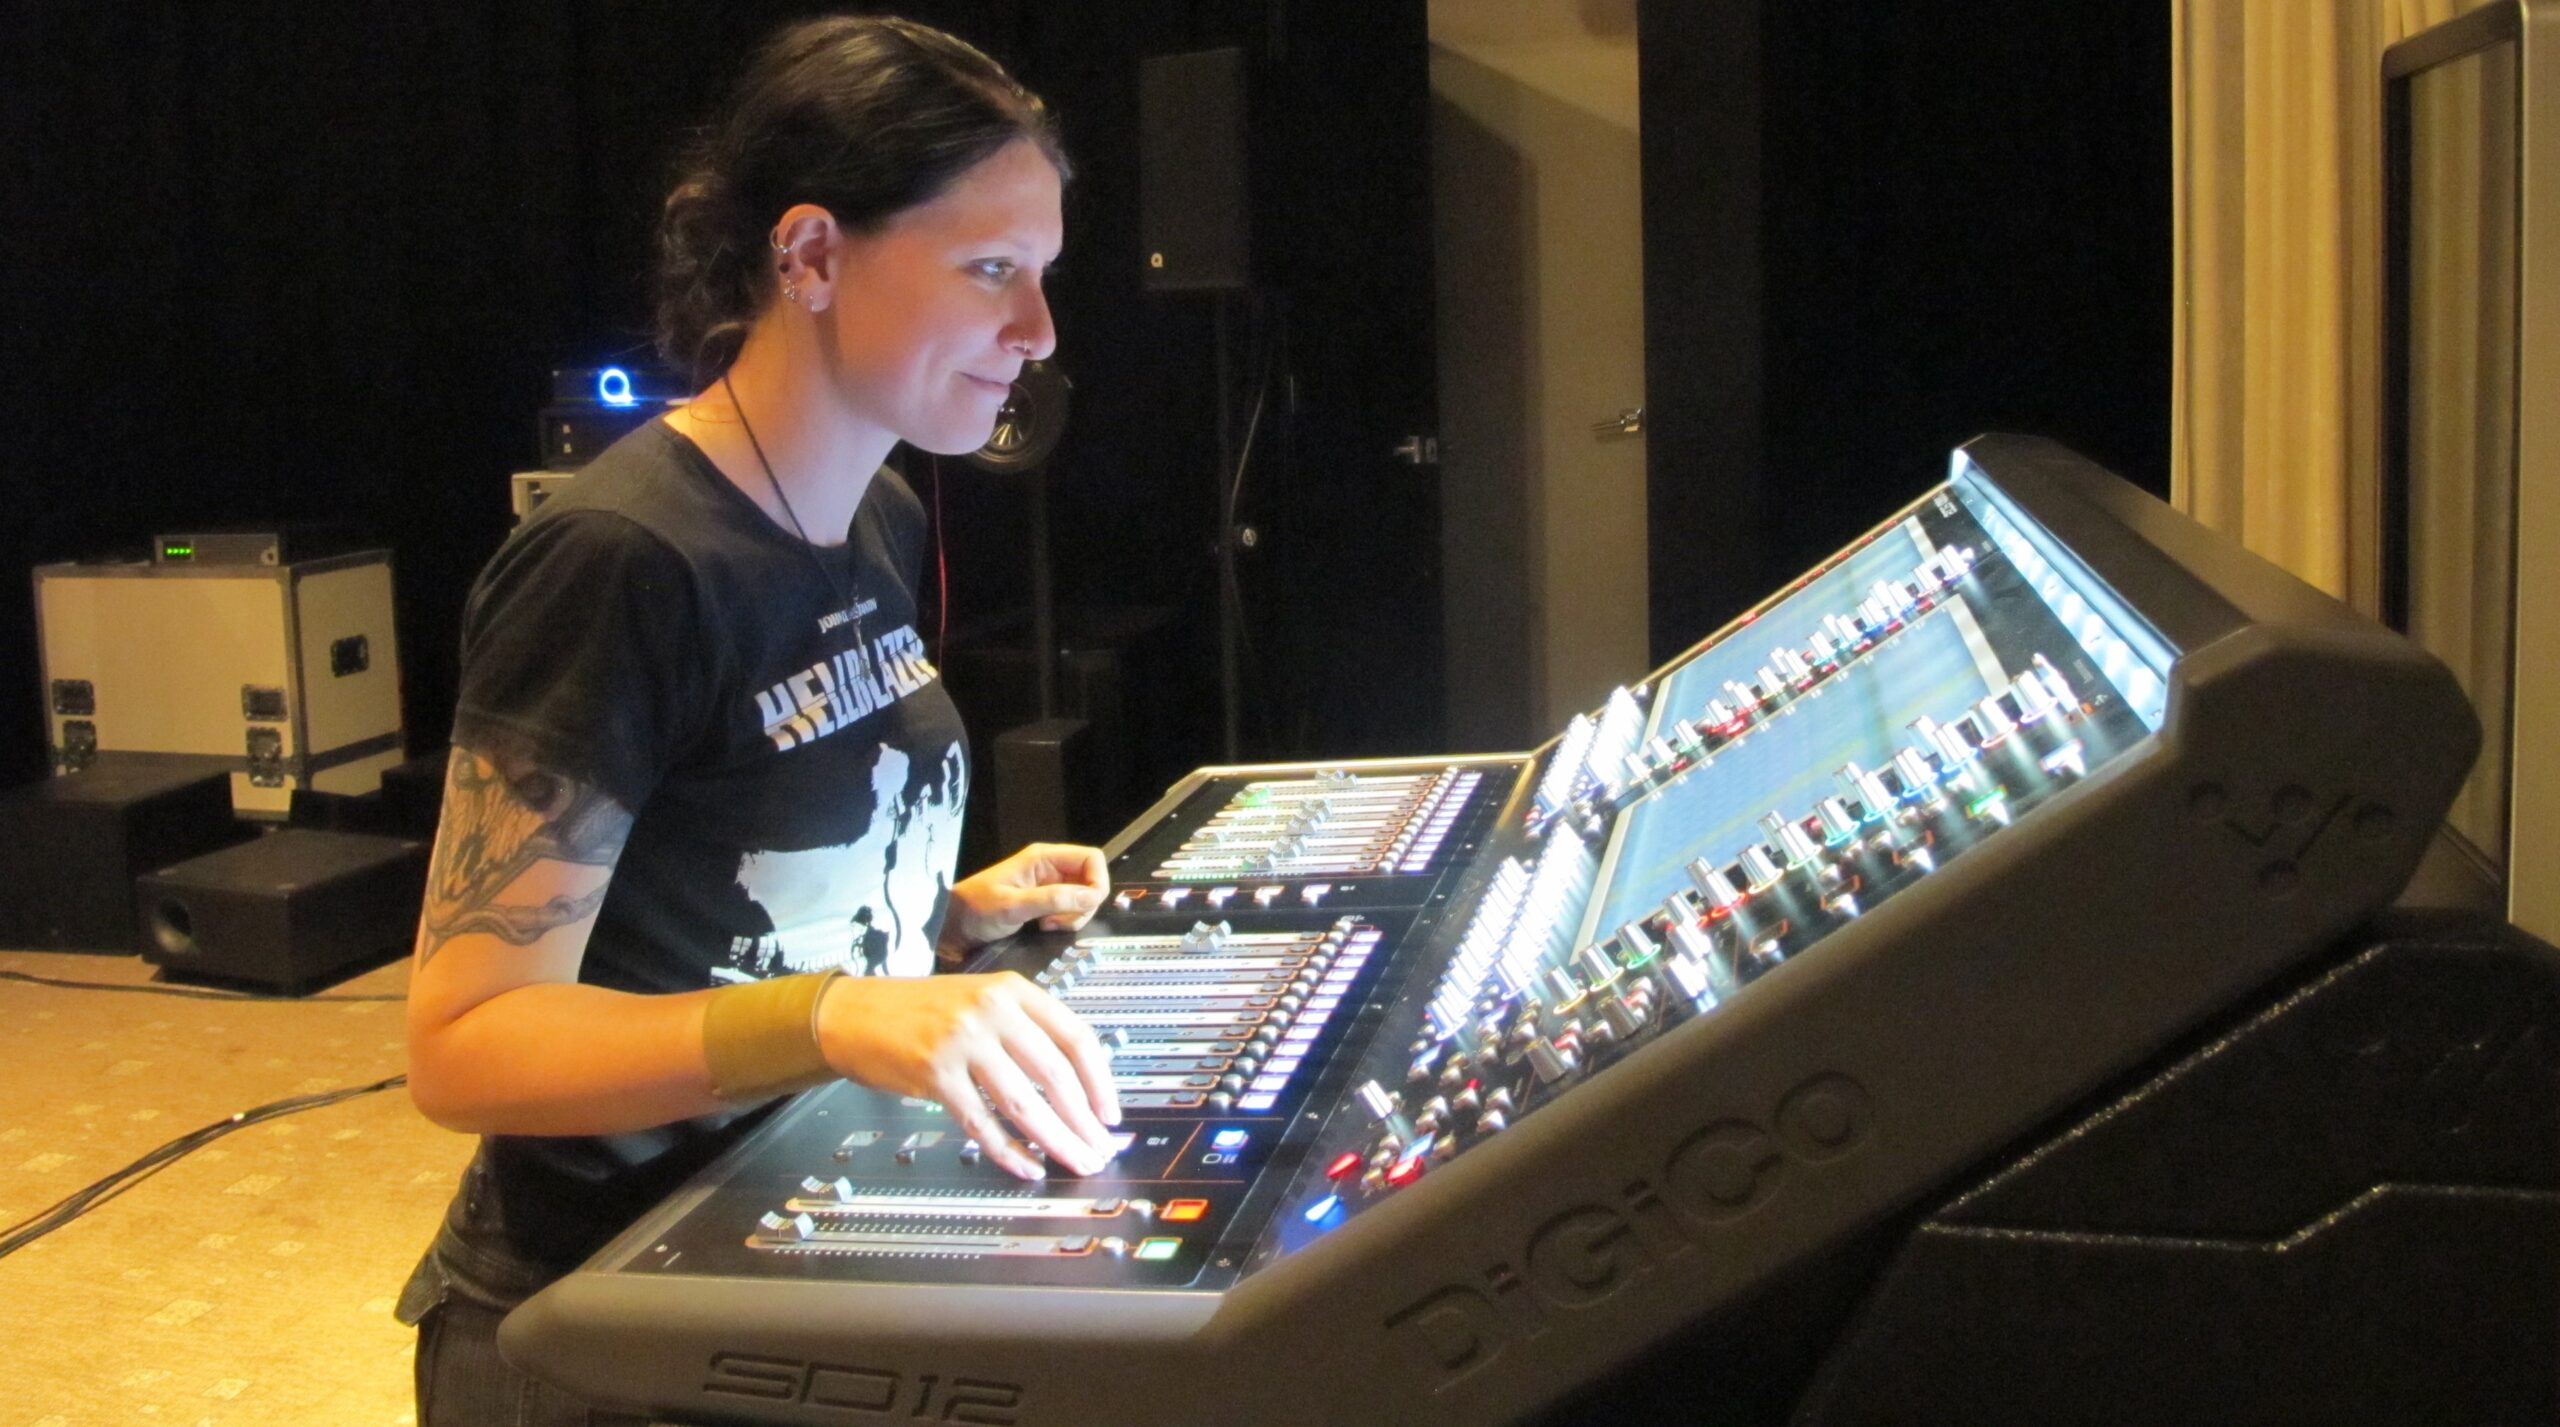
Favorite gear?
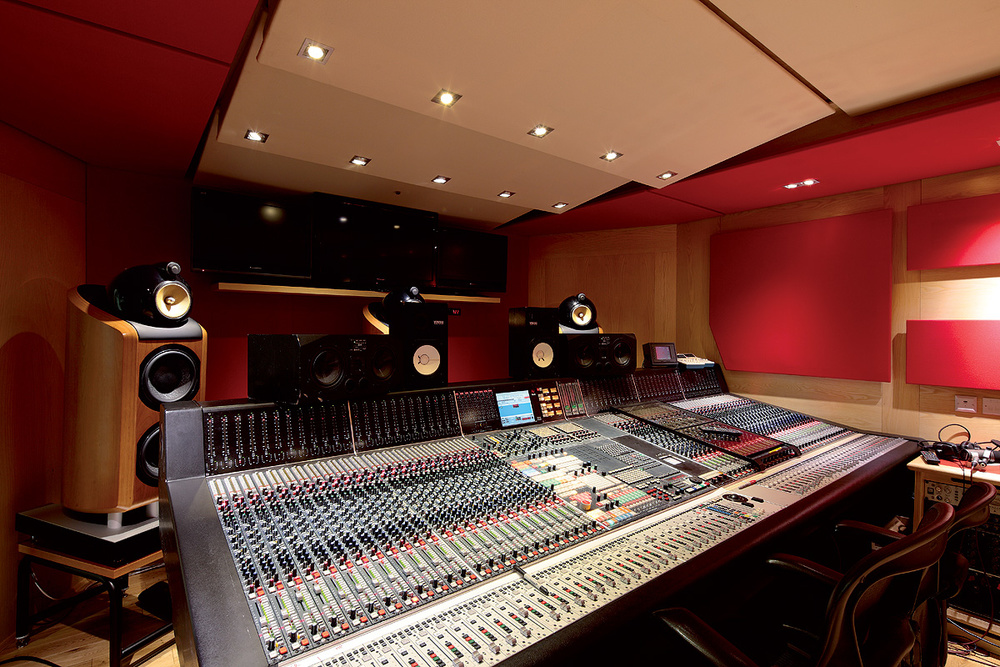
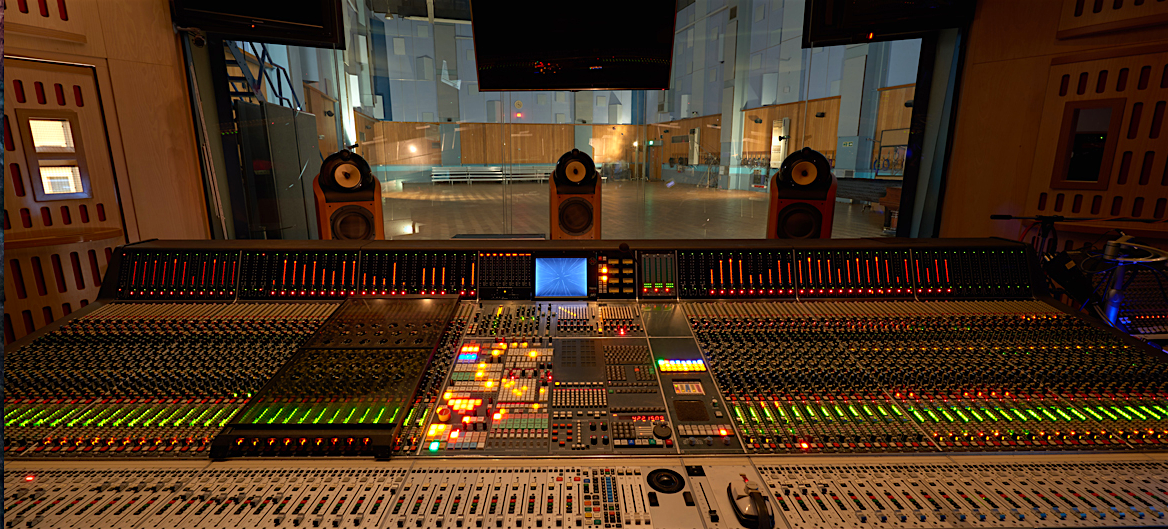
For live, any modern digital console with enough graphic eqs is fine. I’m partial to dB Technologies systems as they normally sound quite good just out of the box, and Allen & Heath consoles. The most useful items in my toolkit, besides tape and Sharpie, is undoubtedly my iPad and a router. That was the best investment I made because it helps immensely with line checks, tuning, and naming channels.
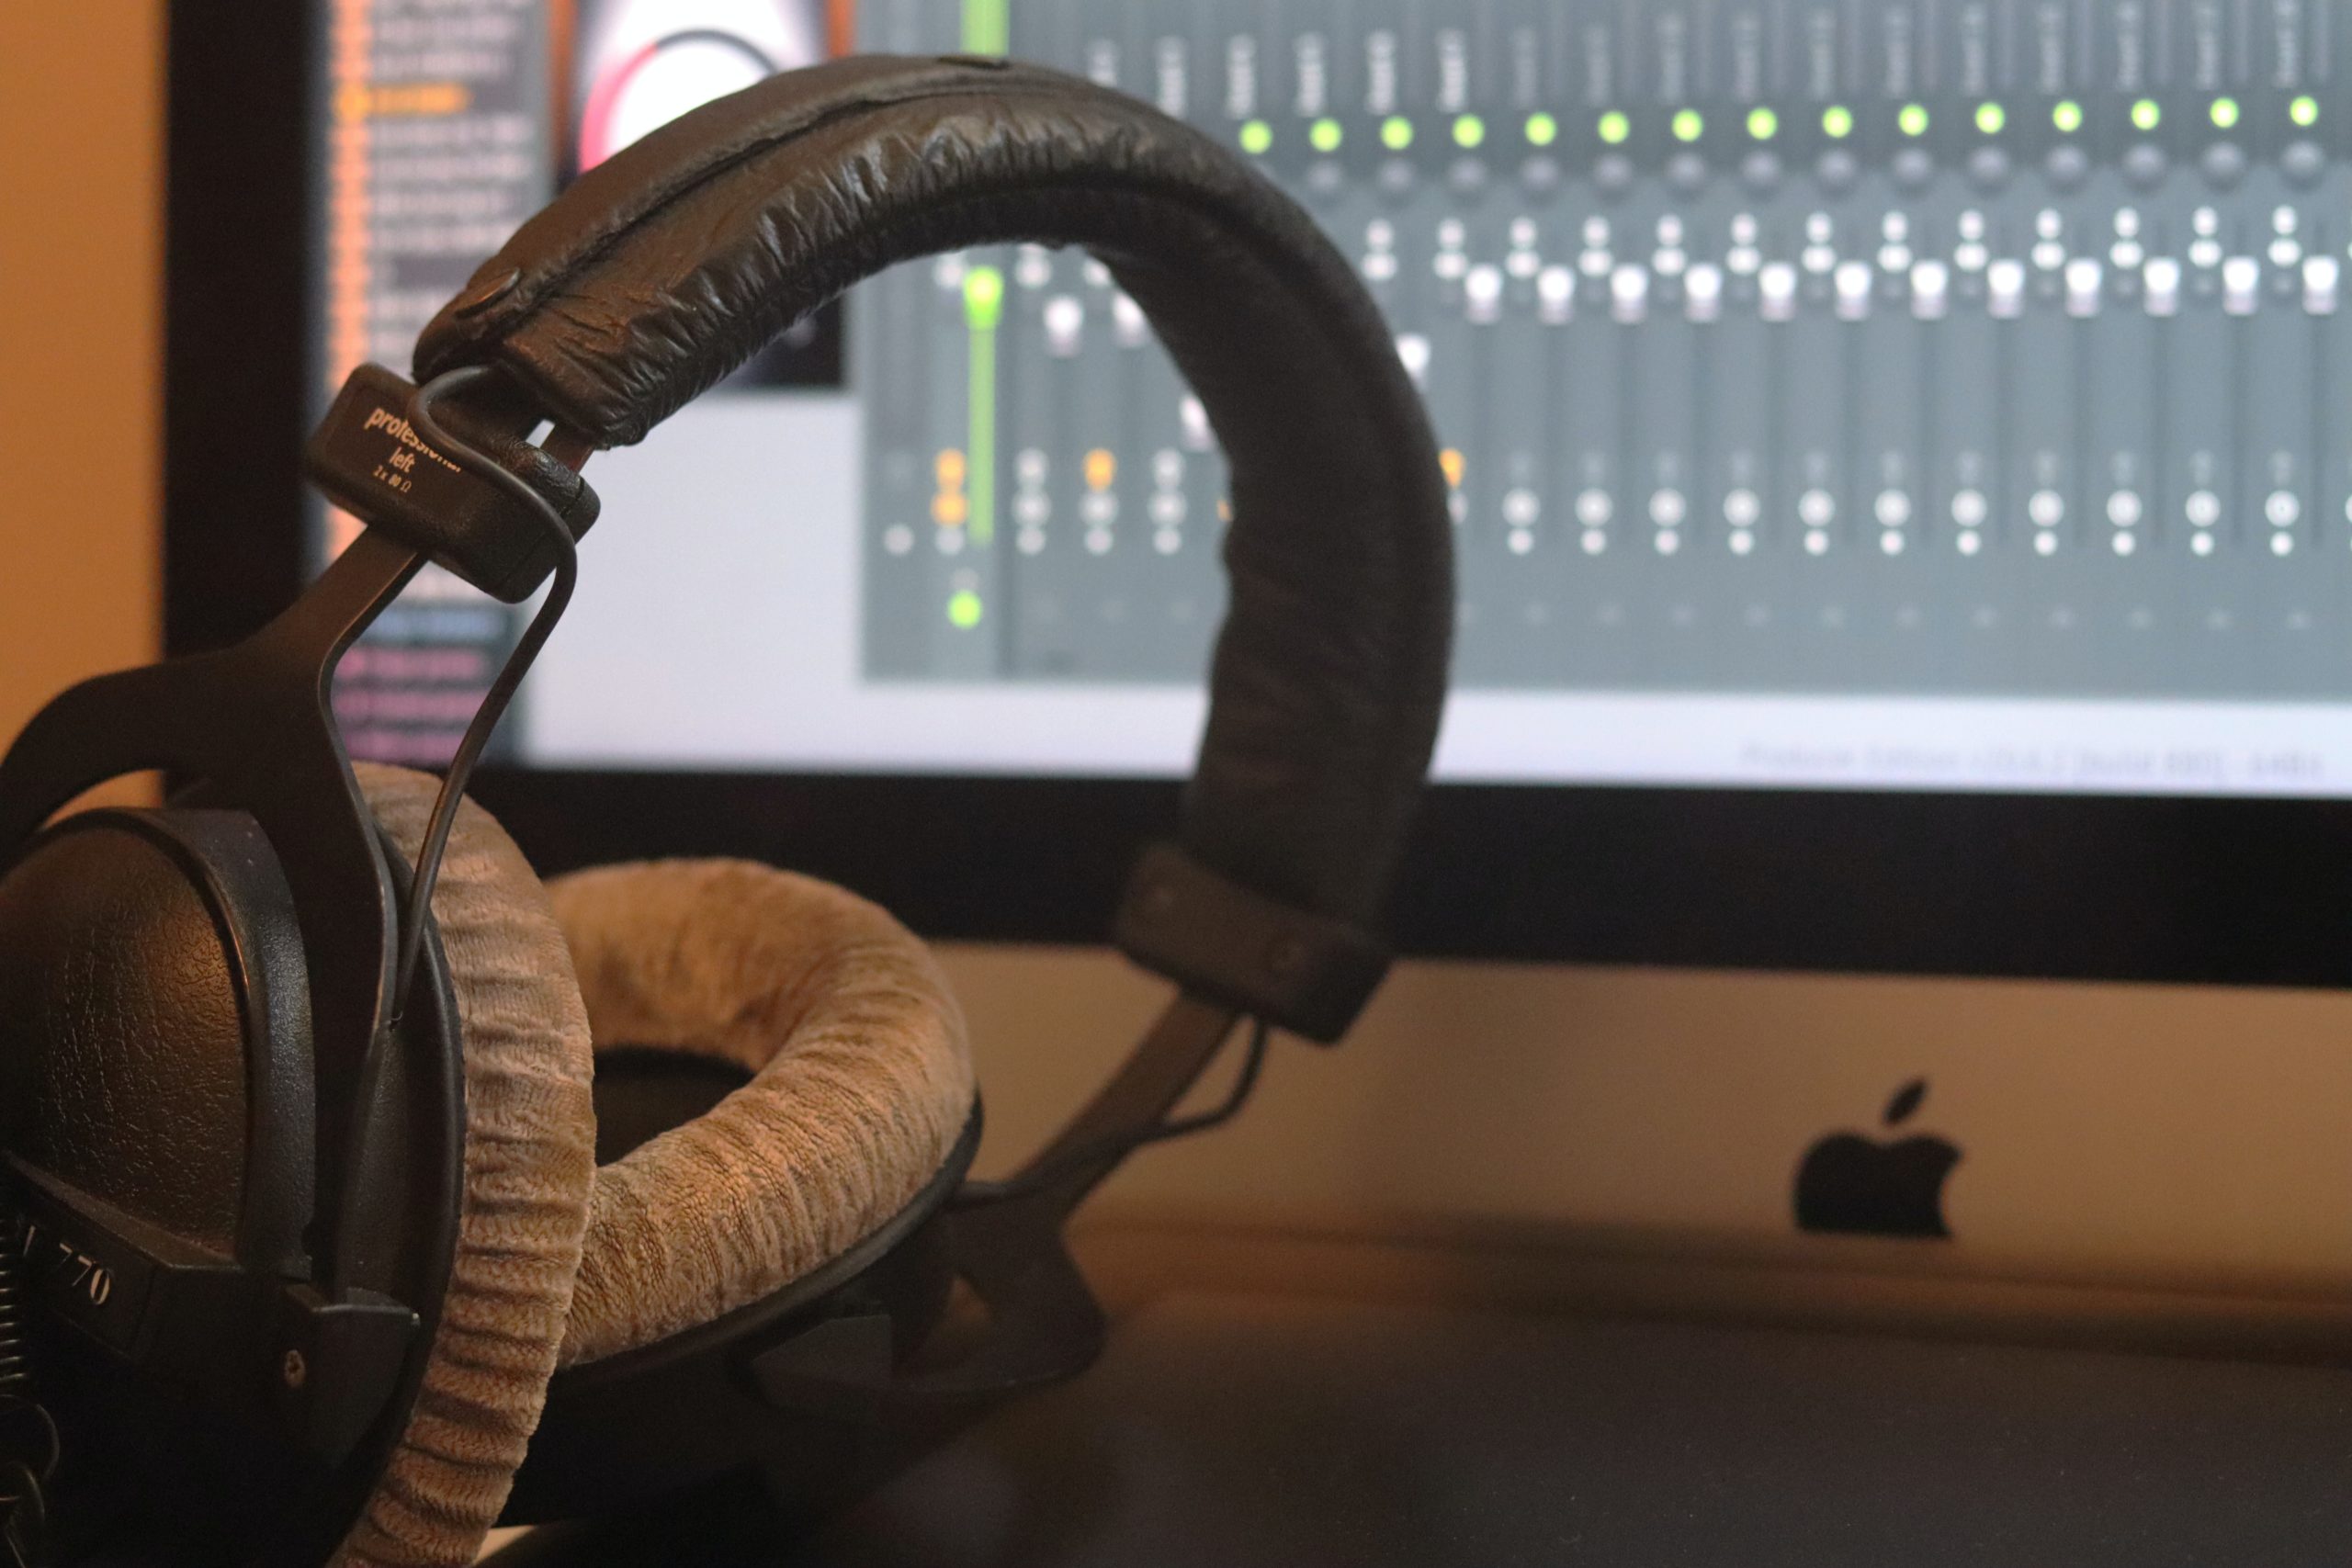
In the studio, I love Genelecs, Tannoy, Reaper, and plugins from FabFilter, Plugin Alliance, UAD, and iZotope.
Anything else you want to add?
The entertainment industry is a hard one and many toxic narratives in it need to go! Being proud of doing 80-hour weeks, the boys club, abusive behavior, and the glamorization of booze and drugs as things that are tolerable and even desirable in workplaces are unfortunately still quite common and anyone within it will likely have to deal with these issues from time to time. Still, there is a pushback against these things, especially by younger people, and I’m fully in support. Particularly in regards to long hours, yes sometimes they are inevitable due to specific circumstances, but if they are always the rule, that’s a management issue. Don’t let anyone tell you that you need to subject yourself to these things if you want to succeed in this business. There are alternatives and many opportunities to do what you love without sacrificing your mental and physical health. Boundaries are good in any relationship, professional or personal, and those who don’t respect them don’t deserve you!