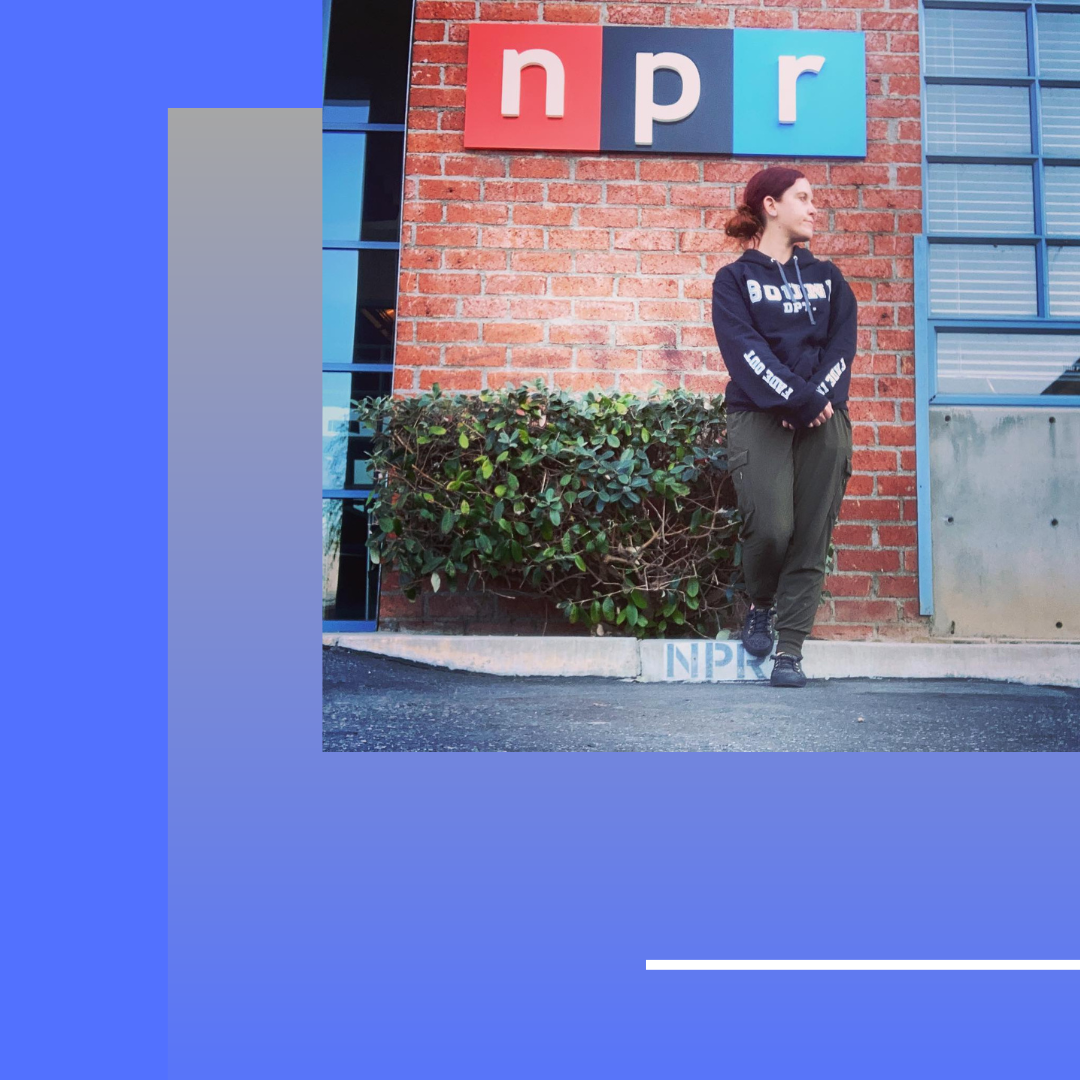
Gilly Moon – Audio Engineer and Podcast Technical Director at National Public Radio, freelance Sound Designer at Auralune Studios.
Gilly Moon’s experience is broad and deep, with a rich history of designing sound for theater, themed entertainment, film, and video games. Favorite past projects include attractions at Universal Studios’ Halloween Horror Nights and Comic Con, and in 2018 she co-won the Ovation Award for Sound Design: Intimate Theatre for a play about Japanese ghost stories that spanned three floors and an elevator in a warehouse. She did the sound design for the upcoming cozy game “Love, Ghostie.” She is always working on something delightful.
Early Life
When did you discover audio as a career path?
If you go in the way back machine — the fall semester of undergraduate college in 2007. That was when I did my first theatrical sound design.
How did you get interested in audio?
I barely touched theater in high school but always wanted to do technical theater. Finally participated during my final semester doing scenic construction — not even audio! I loved it so much that I knew I had to major in it.
In college, I was still figuring out exactly what I wanted to do within technical theater. I signed up for every opportunity I could (except costuming). I worked for our big proscenium theater doing lights for touring shows, was a master electrician, took scenic design classes, and was even a stage manager. But nothing grabbed me— I was still chasing that “thing.” The thing I’d want to do for the rest of my life.
In my second or third year, I was inspired by a sound design an older student did for a play and jumped at the opportunity to do the next one. The play was Crimes of the Heart by Beth Henley. Our system played back audio over CDs. I had to record music from vinyl records into Sony Acid and then burn it to CD. I also integrated live Foley. I had so much fun and was hooked!
In my final year, I did the sound design for a student production of Harold Pinter’s The Hothouse. This was the first time I designed sound by actually focusing on the story and creating recurring sonic themes. I had the opportunity to present my work at the Kennedy Center’s American College Theater Festival, where I won an award! I thought, wow. I can’t not do this.
Did music and audio interest you while you were growing up?
My mother, siblings, and I were avid listeners. There were many long drives where we listened to musicals and other music my mother liked. (She was a big Bette Midler fan — I am not.) When I got older, listening to music was how I would unwind. I’d lie on my bed and do nothing but listen to the rage-y crooning of artists like P!nk, Green Day, Blink 182, Metallica, Avril Lavigne… My tastes got more refined as I got older, ha! But I still have a soft spot for emo pop-punk. Then again, everyone does, they just won’t admit it.
Educational Background
Did you attend a University/College/Trade School?
Yes! The college I mentioned above was Keene State College in Keene, New Hampshire (B.A. Design/Technical Theater, 2008). Years later I took a break from working live sound to continue my education at California Institute of the Arts (CalArts). (M.F.A Sound Design, 2016.)
Musical Background?
I’ve always wanted to do music. For a lot of reasons, I never had the opportunity when I was growing up. I tried to learn guitar but eventually gave up and sold it because I needed the cash. I do know some music theory because I took a class at CalArts called “Music Composition for Non-Musicians,” where we used Ableton to make music. Some day I’ll revisit that and also learn piano.
Career Start
How did you get your start?
During my final semester of college, I panic applied to a lot of internships in theaters. It was hard because I was competing with other students who had more technical experience and/or were musicians. Somehow though, Trinity Repertory Theater accepted me into their internship program for the 2009-2010 season. I kind of got the feeling they had no other applicants, but it worked out for me.
How did your early internships or jobs help build a foundation for where you are now?
I learned audio technology on the job at my internship. I also learned what I did and did not want to do. (I’m not a fan of loading in entire sound systems for a venue, go figure, since I spent the next 15 years doing it.)
What did you learn interning or in your early jobs?
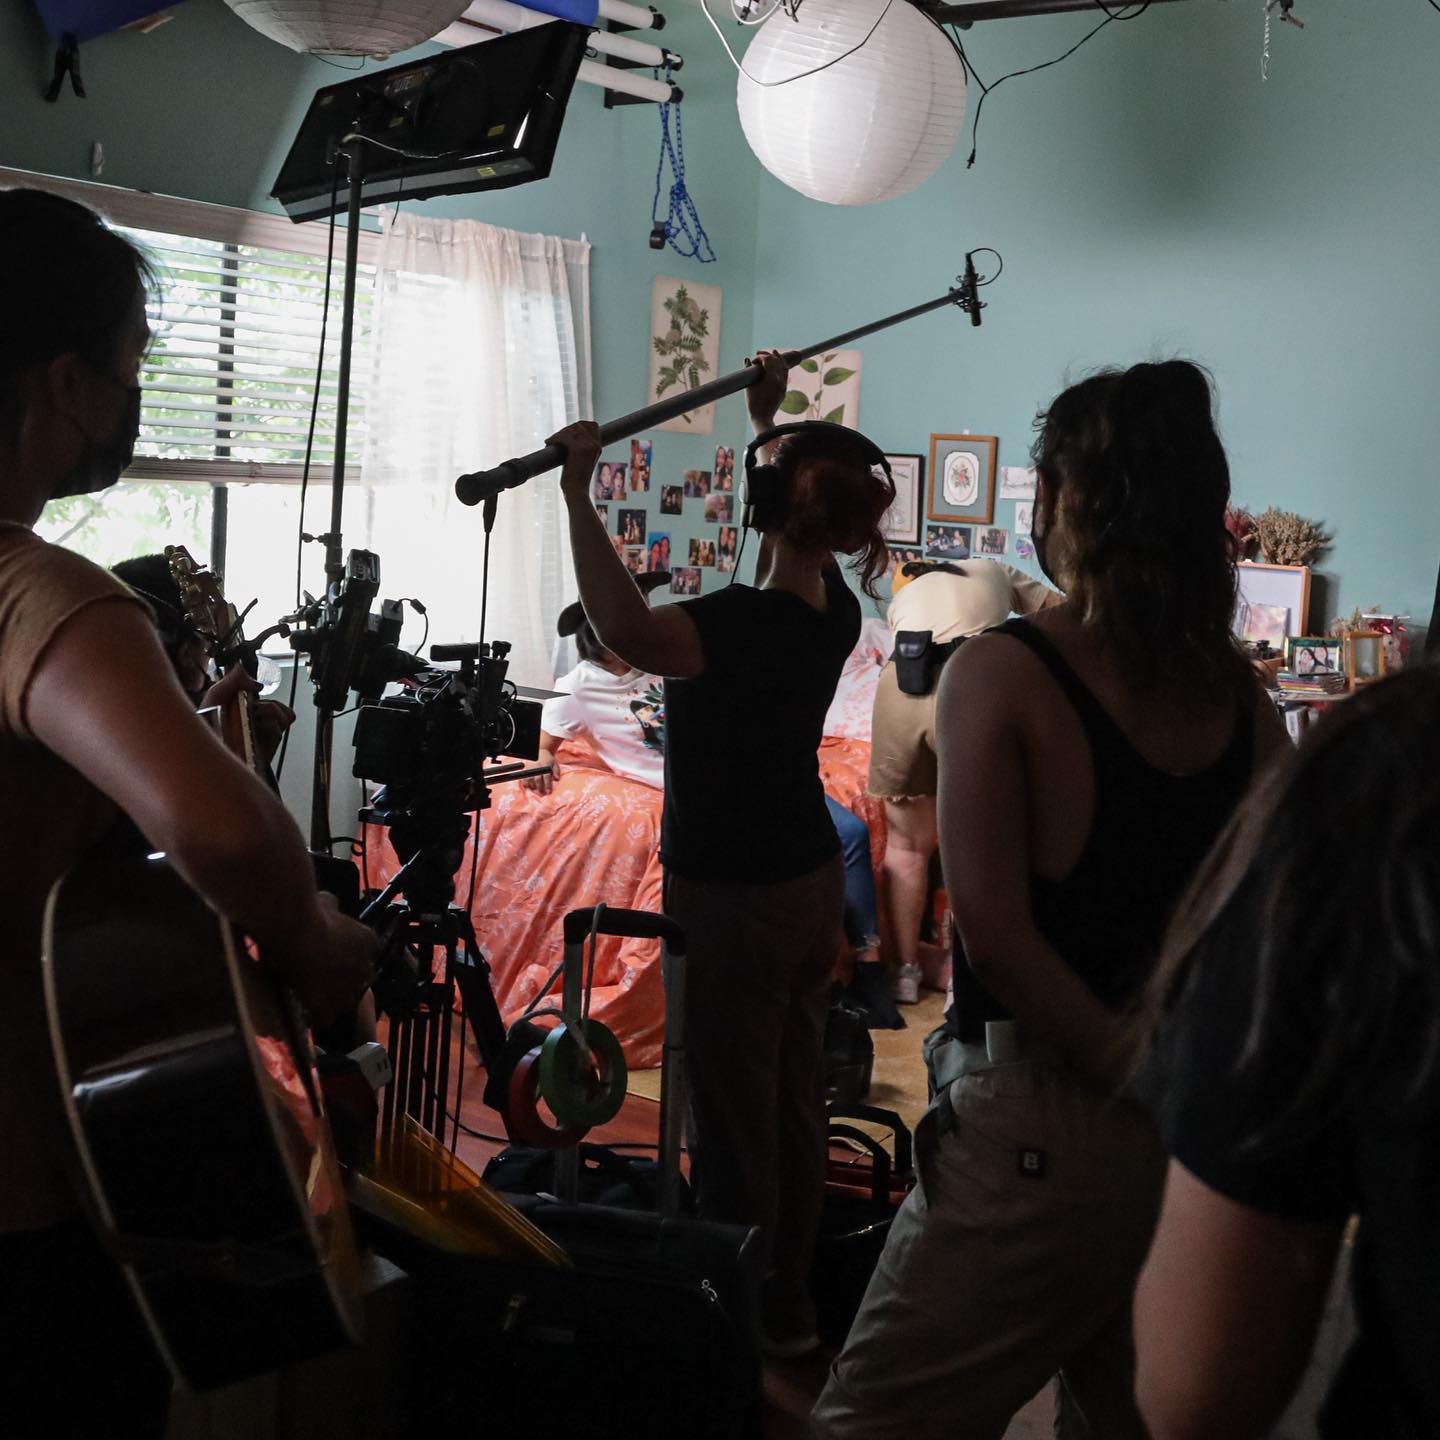
Other than what I mentioned above…In theater and themed entertainment, everything affects everyone. A speaker that is too large for the set will be distracting to the audience and take them out of the experience, so the sound designer should talk to the scenic designer early on to come up with ideas about where to hide the speaker. Lighting has more instruments than the sound designer has speakers, so collaborate with them about where you want to hang speakers and be ready to make your case or compromise. Oh, and talk with costumes about where to put mic packs. Theatre sound design taught me how to interface with multiple departments, collaborate, focus on the big picture, when to advocate for myself and my department, and when to step into more of a role of service.
Also for fun: I’ve held random restaurant and barista jobs when I was getting my education and early on in my career. I basically started working when I was fourteen and haven’t stopped. I learned to always look for something to do, how to power through a hard shift and when to take care of yourself, how to gain trust from strangers, and MOST importantly, how to appreciate a good cup of coffee. Those jobs also prepared me for lots of time on my feet in future roles as a sound technician and A2.
Did you have a mentor or someone that helped you?
So many, and so many others that I’m still gathering. You are NEVER too old or too advanced to have a mentor, and you can have mentees and mentors at the same time! Kinda mind-blowing, right?
Anyway, to name names. Michael Policare was the sound board op at Trinity Rep when I interned there and gave me constant lessons in sound technology 101. Jon Gottlieb, sound designer and head of the program at CalArts, taught me lots of things about sound design and also that you are so much more than your job. Drew Dalzell taught me about the technology and process for themed entertainment and gave the best and most challenging script analysis class I ever took. He also got me my start in themed entertainment, looping audio for Halloween Horror Nights attractions for Universal Studios and eventually sound designing for many others. Scott Jennings taught me ProTools during my Halloween Horror Nights days. Lastly, the entire management team in Audio Engineering at NPR continuously demonstrates how to be supportive and empathetic, while still setting clear boundaries and expectations.
This is all basically sneaky mentorship where no one is intentionally mentoring me but they actually are so keep this a secret, okay thanks!
Career Now
What is a typical day like?
It varies! I’m usually up at 5 AM to go to work at 7 AM. I may record interviews, assist with the broadcast of All Things Considered, mix podcasts, have meetings about podcasts or upcoming remote gigs, teach people things about ProTools…and whatever else is needed. I get an hour lunch and keep that sacred so I can rest my brain and kick ass all day. I usually go for a run or workout after my shift. I’m home by 6:30ish and do chores, journal, hang with my pets and husband, and work on a side project or hobby. I like video games, reading, and some crafts. On weekends I go running in the morning (preferably on trails), do more chores, socialize for a couple of hours, and might also work on a side project, do a random sound design thing for practice, or beef up my portfolio.
How do you stay organized and focused?
Well, this is a funny question because I was finally diagnosed with ADHD last year, so all of my organization systems come from years of masking, and at times, learning from failure. Nothing teaches you to figure out a different system by dropping the ball on something major. Like the time I forgot the bring my ID to get our marriage license…at a facility that was two hours away.
So anyway! I’m overly attached to my planner. I plan out the whole week every Sunday. I keep spreadsheets for my budget and household chores. I keep a running to-do list for general life items like vet appointments and car maintenance. I lay out clothes and make lunch and breakfast the night before. Work-wise, I keep running lists of things to tackle and have used Kanban boards in the past. I update said planner every night with the things I need to do the next day to stay ahead.
Focus— that one is hard. Now I understand my brain and know that I can get 20 hours of work done in a day or 2. I try to take consistent breaks and exercise consistently. Movement helps my focus so, so much, and if I could work out for two hours a day I absolutely would.
What do you enjoy the most about your job?
I’m surrounded by audio engineers and public radio people! We are always geeking out over gear or some podcast and learning from each other. I’ve always been a curious and open-minded person and it is wonderful to be surrounded by people who are the same.
What do you like least?
My job is a lot of mixing and facilitating technical stuff for other people’s stories, which is fulfilling in its own way. However, as someone who is passionate about sound design, I do wish I could do more creative audio work. I do still take on small projects when I have the bandwidth outside of my current job though.
What is your favorite day off activity?
Did I mention I enjoy running? I love being outside. I also love cuddling my dog Larry and our cats. Goofing around with my husband keeps my heart young.
What are your long-term goals?
Hard to say, since I seem to go in some unexpected direction every few years. But I can keep it broad so that it keeps the door open for anything. Ultimately, I want to lead teams of people and contribute creatively to audio storytelling. On a personal note, I still want to be able to maintain my relationships, run distance races, and travel.
What if any obstacles or barriers have you faced?
I sacrificed a lot of creative opportunities in lieu of being able to make a living, and was often not a great engineer because I was always stressed about making money — It is criminal how you get ahead if you’re privileged. I don’t have an answer to how to change that, but economic privilege in creative industries is something I think about a lot.
How have you dealt with them?
Saying yes to as many things as possible and being self-aware enough to learn what wasn’t working for me. I went to graduate school because I realized that I had sooooo much to learn and I’d be a sound technician forever if I didn’t get a formal education and mentorship.
Advice you have for other women and young women who wish to enter the field?
Here are the phases of attitudes you’re going to have: “I don’t know anything,” “I know everything and what I know is the right way to do things,” and “I am confident in what I know, but I also don’t know what I don’t know.” Don’t get stuck in phase two. Figure out the fine line between confidence and humility as soon as you can. That is how you gain trust and keep improving in your craft.
Must have skills?
Empathy, Curiosity, and Logical Thinking skills.
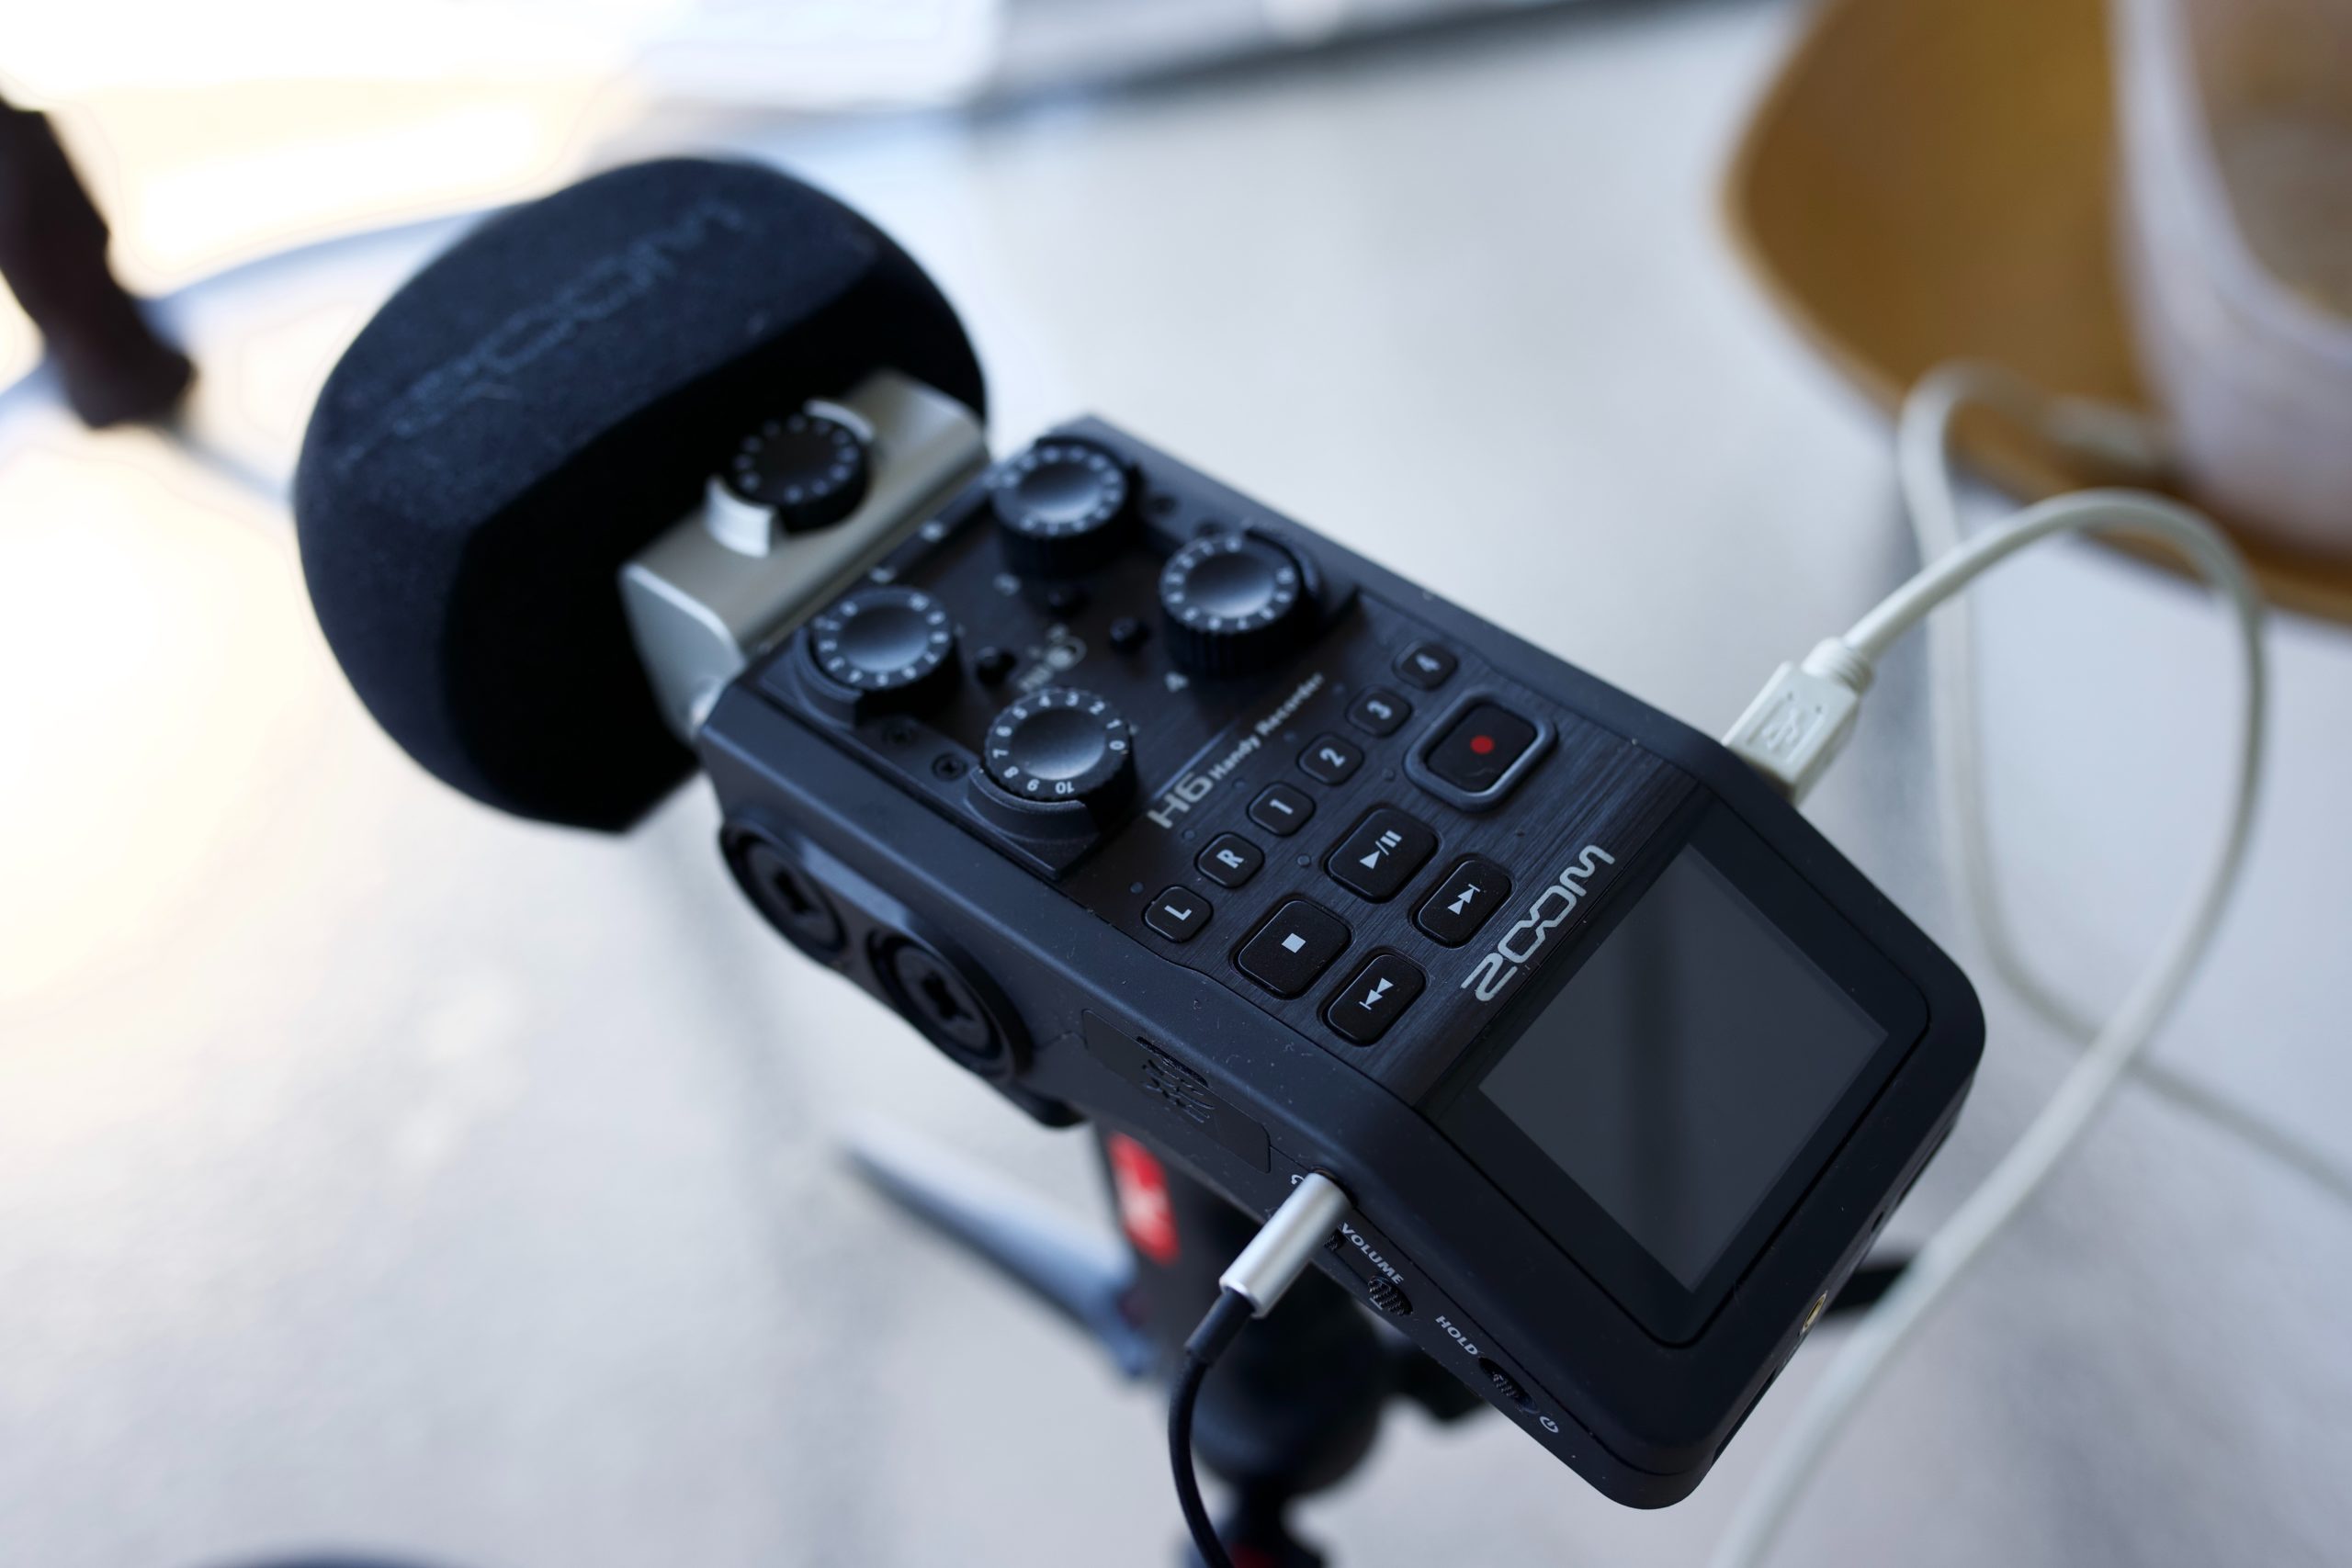
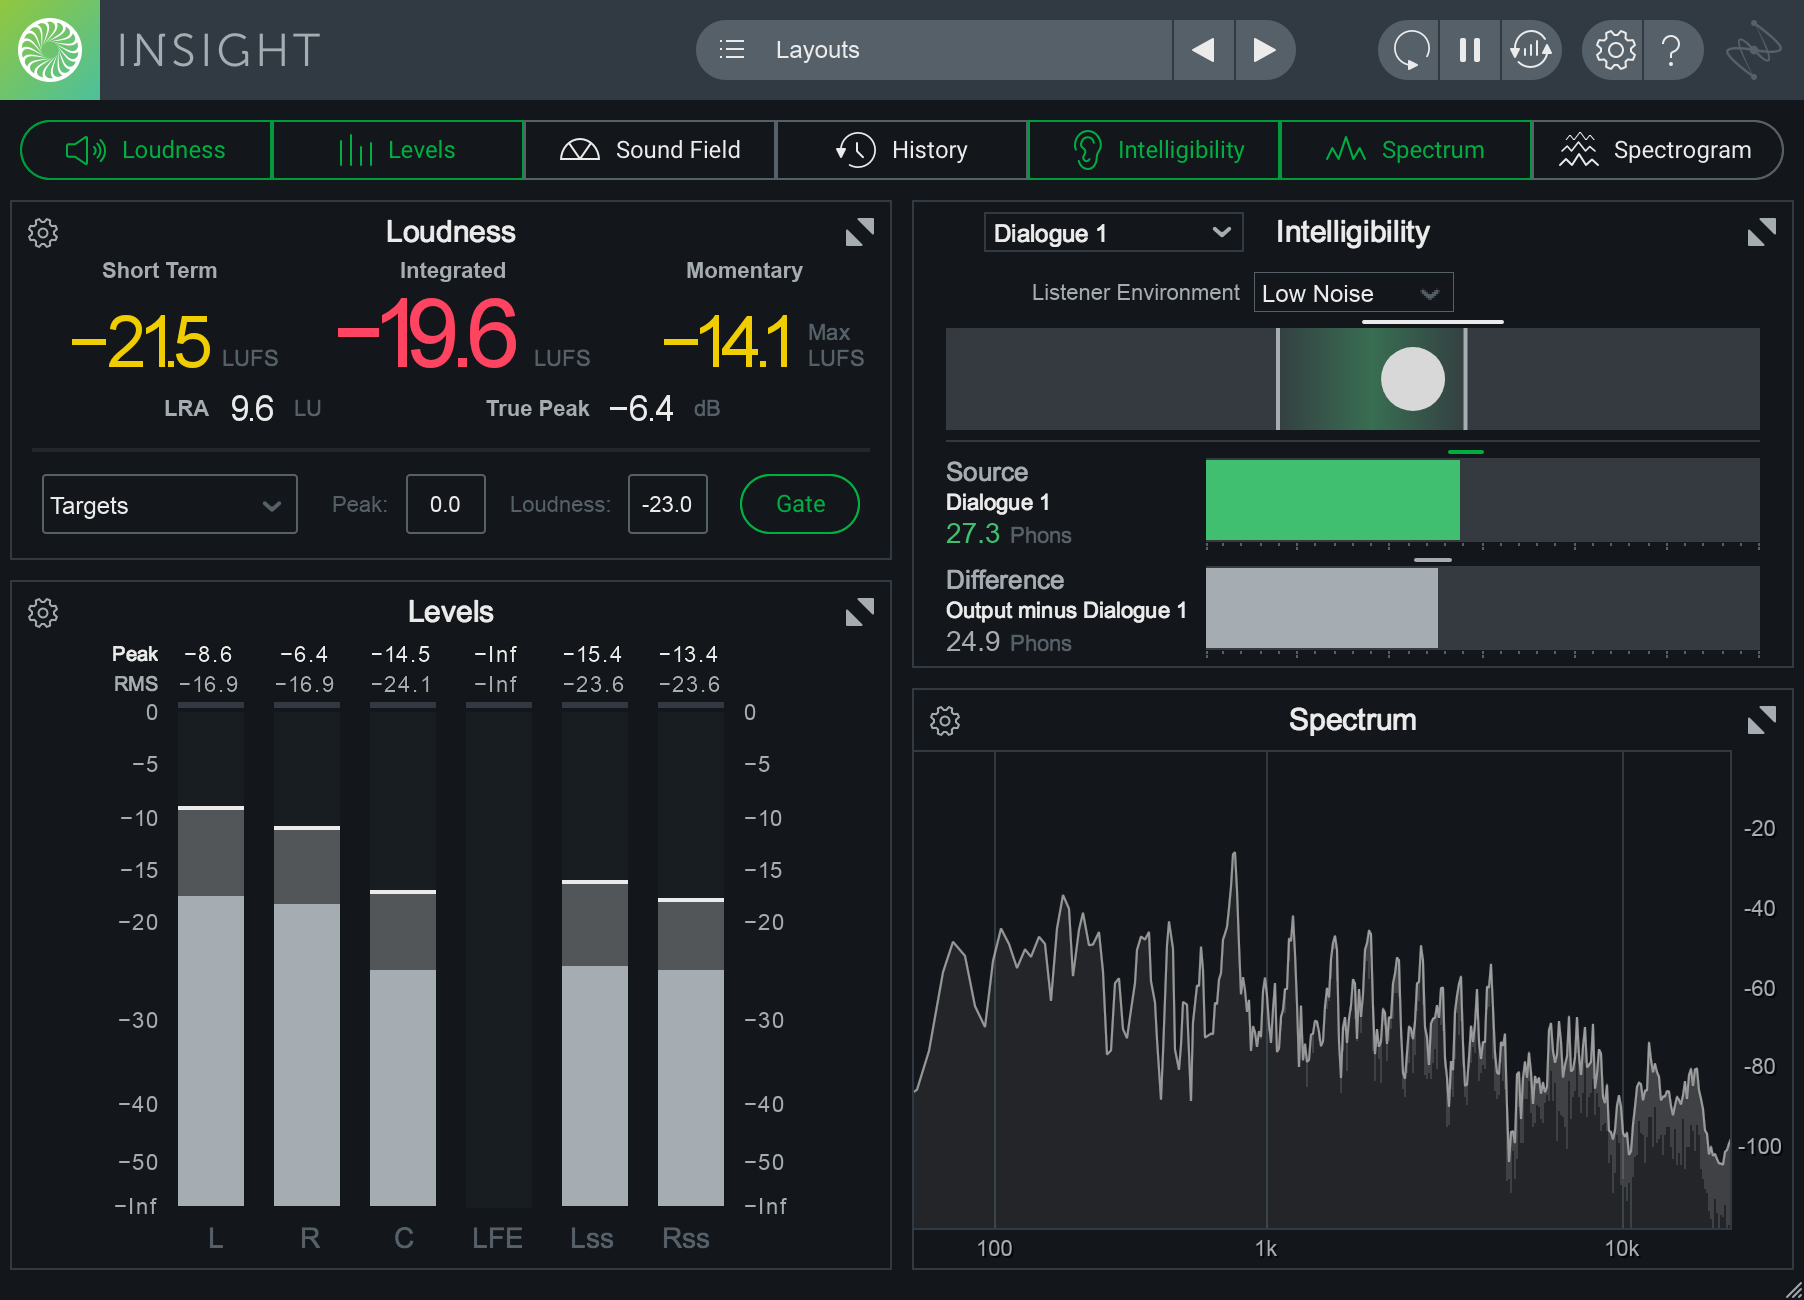
Favorite gear?
Any mic from DPA, Sennheiser MKH series microphones, and I am a sucker for those little Meyer MM4 speakers for installations.