How To Prep For Location Music Recording
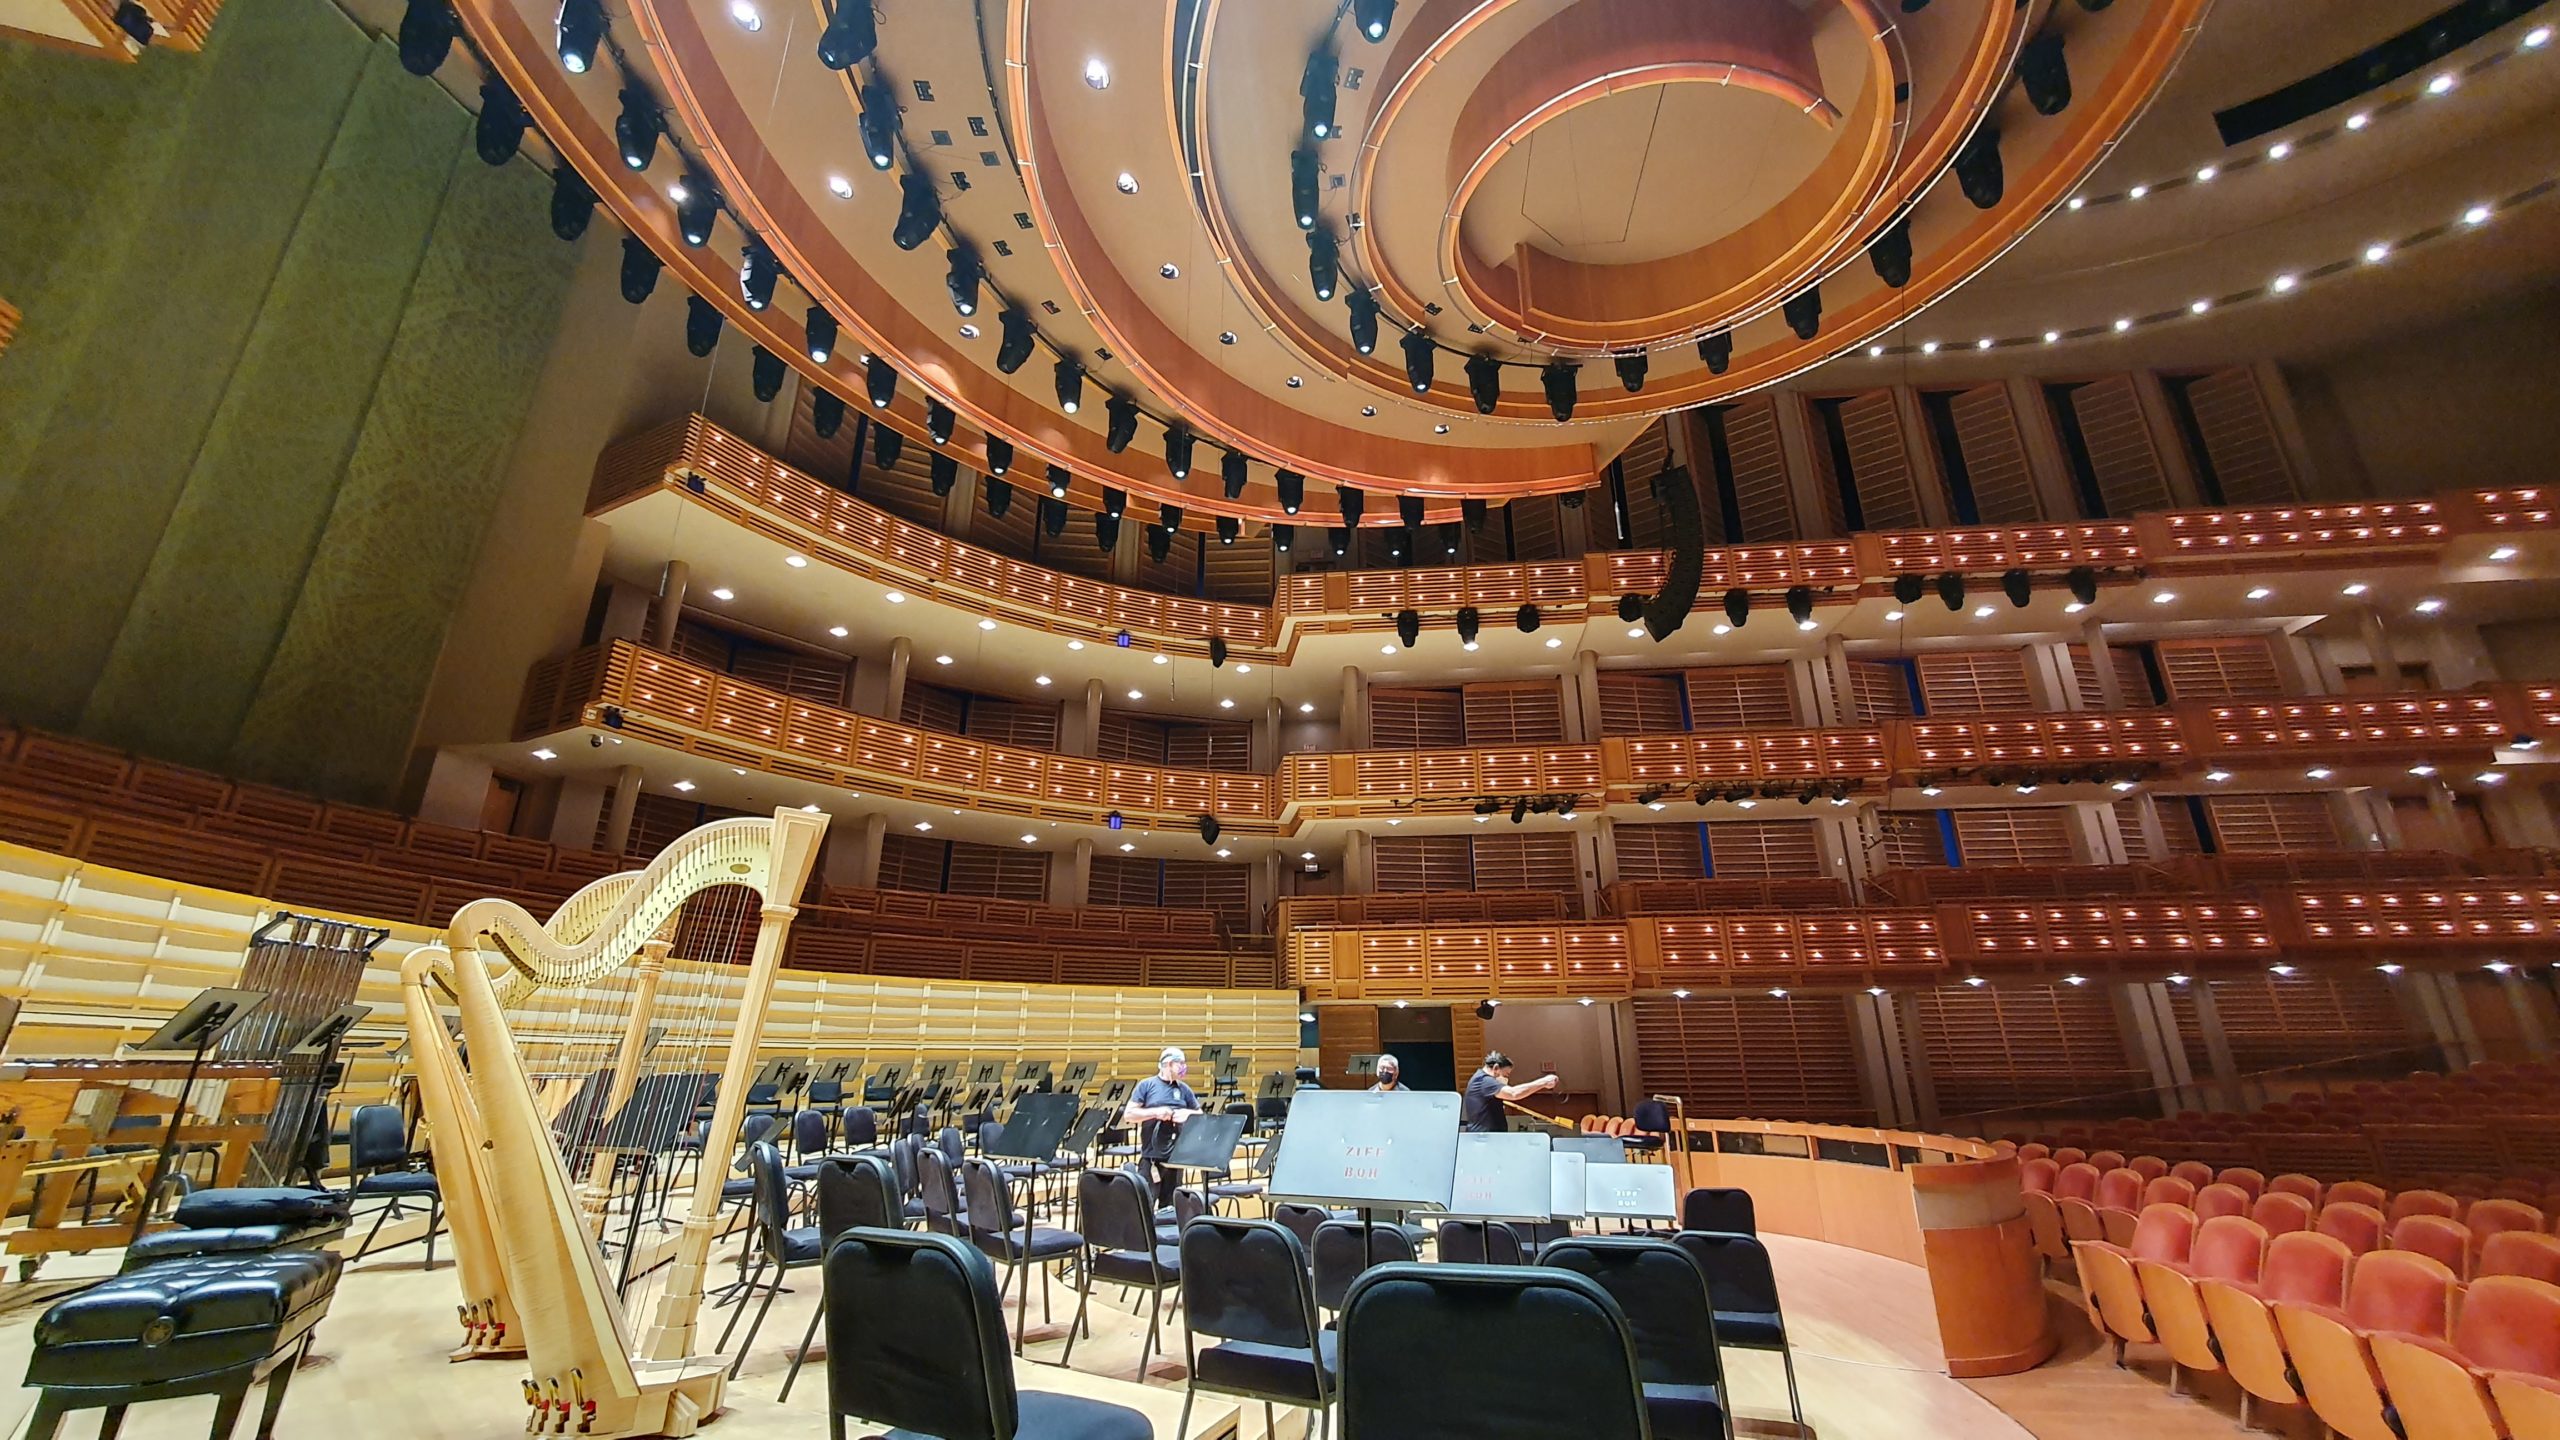
A chance to get out of the studio, have a change of scenery, record in some exciting and different spaces, and explore a new acoustic – there are many reasons why recording music on location can be rewarding and great fun. Whether it’s a live concert or an album recording in a venue chosen specifically for its marvelous acoustics or unusual character, it’s never more important to be well-prepared. There’s nothing worse than driving for an hour, arriving and unpacking all your equipment at the venue only to discover that you left behind that essential little piece of metal that connects two other essential pieces of metal, and without it, all your equipment is essentially useless!
Location recording is very common in genres such as classical music, where good acoustics are vital. More and more, artists of all genres are wanting to capture their live performances in both audio and video. Here are some things to think about when planning a location recording, particularly if you’re working solo and bringing your own gear (larger-scale productions may have more variables, more equipment, a team of people, and more detailed planning). Here we’ll focus on stand-alone recordings rather than recording an amplified concert (of course many live sound engineers also capture recordings to be mixed later, which requires a different set of equipment).
Pre-Production
Recording at a different location than your usual studio or workplace means you’ll need to be flexible and ready to deal with possible unpredictable factors or situations. Find out as much information about the production/concert and the venue as you can beforehand. Make sure you agree on a reasonable schedule that gives you enough time to comfortably set up and account for unplanned delays, such as traffic.
A gear checklist is essential, and we’ll go over this in more detail later on. If there’s a chance to go and scout out the venue beforehand, this could be extremely useful for testing out the acoustics, deciding how the musicians and instruments might be placed in the space, checking for traffic and other noises, and determining the quietest time of day to record, and for other practical matters such as power outlet locations and figuring out an appropriate spot to set up your recording station.
Questions To Ask Beforehand
These are some things to think about, research, or ask the artists or venue directly:
- Do you need any special permission or clearance to enter the venue?
- How many power outlets does the venue have, and where are they located?
- Can you borrow any mic stands or cables from the venue (and be sure that they’re working well), or should you bring these yourself?
- Will you need to set up in a separate room or will you be in the same space as the musicians – and therefore do you need to bring headphones, monitors, or a talkback system to communicate with the musicians?
- Does the venue have a sturdy table and chair that you can use to set up gear, or will you need to bring it?
- How long will the concert or recording be, and do you have enough hard drive space?
- If the recording takes place over several days, can you leave the equipment safely there overnight or do you need to pack up and reset it the next day?
- Can you include transport and food costs on the invoice to your client?
- Is there somewhere to eat nearby, or should you bring your own food?
- Do you need insurance to cover your gear and/or liability?
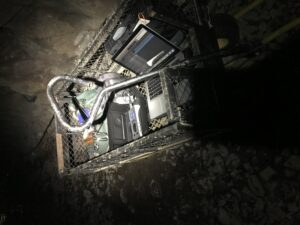
Basic Gear Checklist
- Microphones
- Microphone clips or shock mounts
- Microphone stands
- Stereo bars & other mic accessories
- Cables (XLR, jack, breakout, snake)
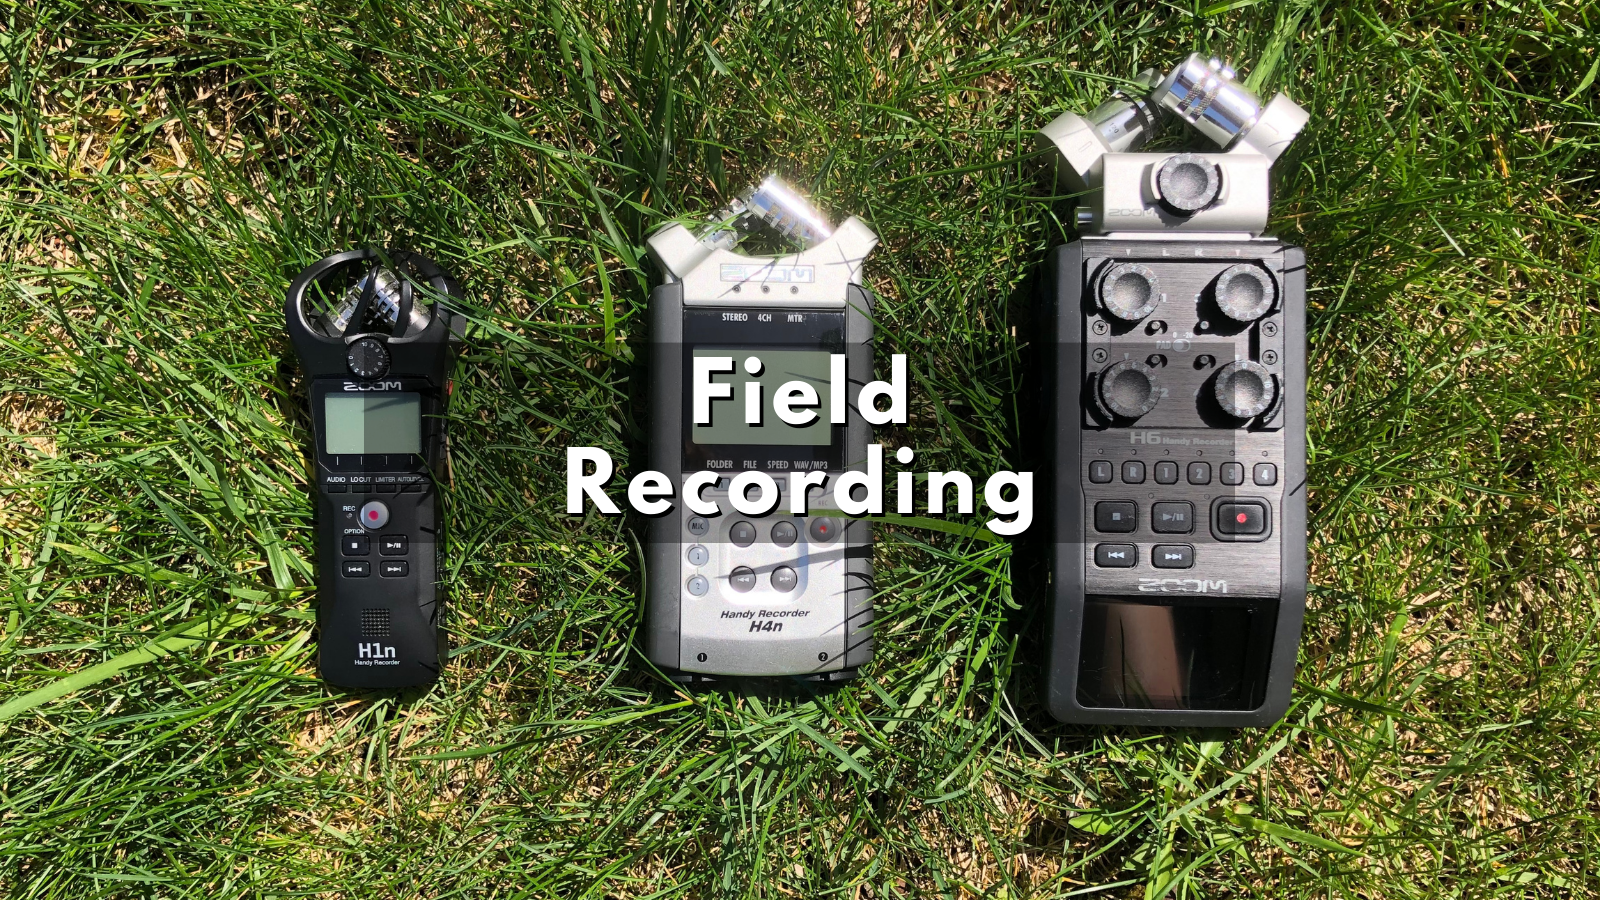
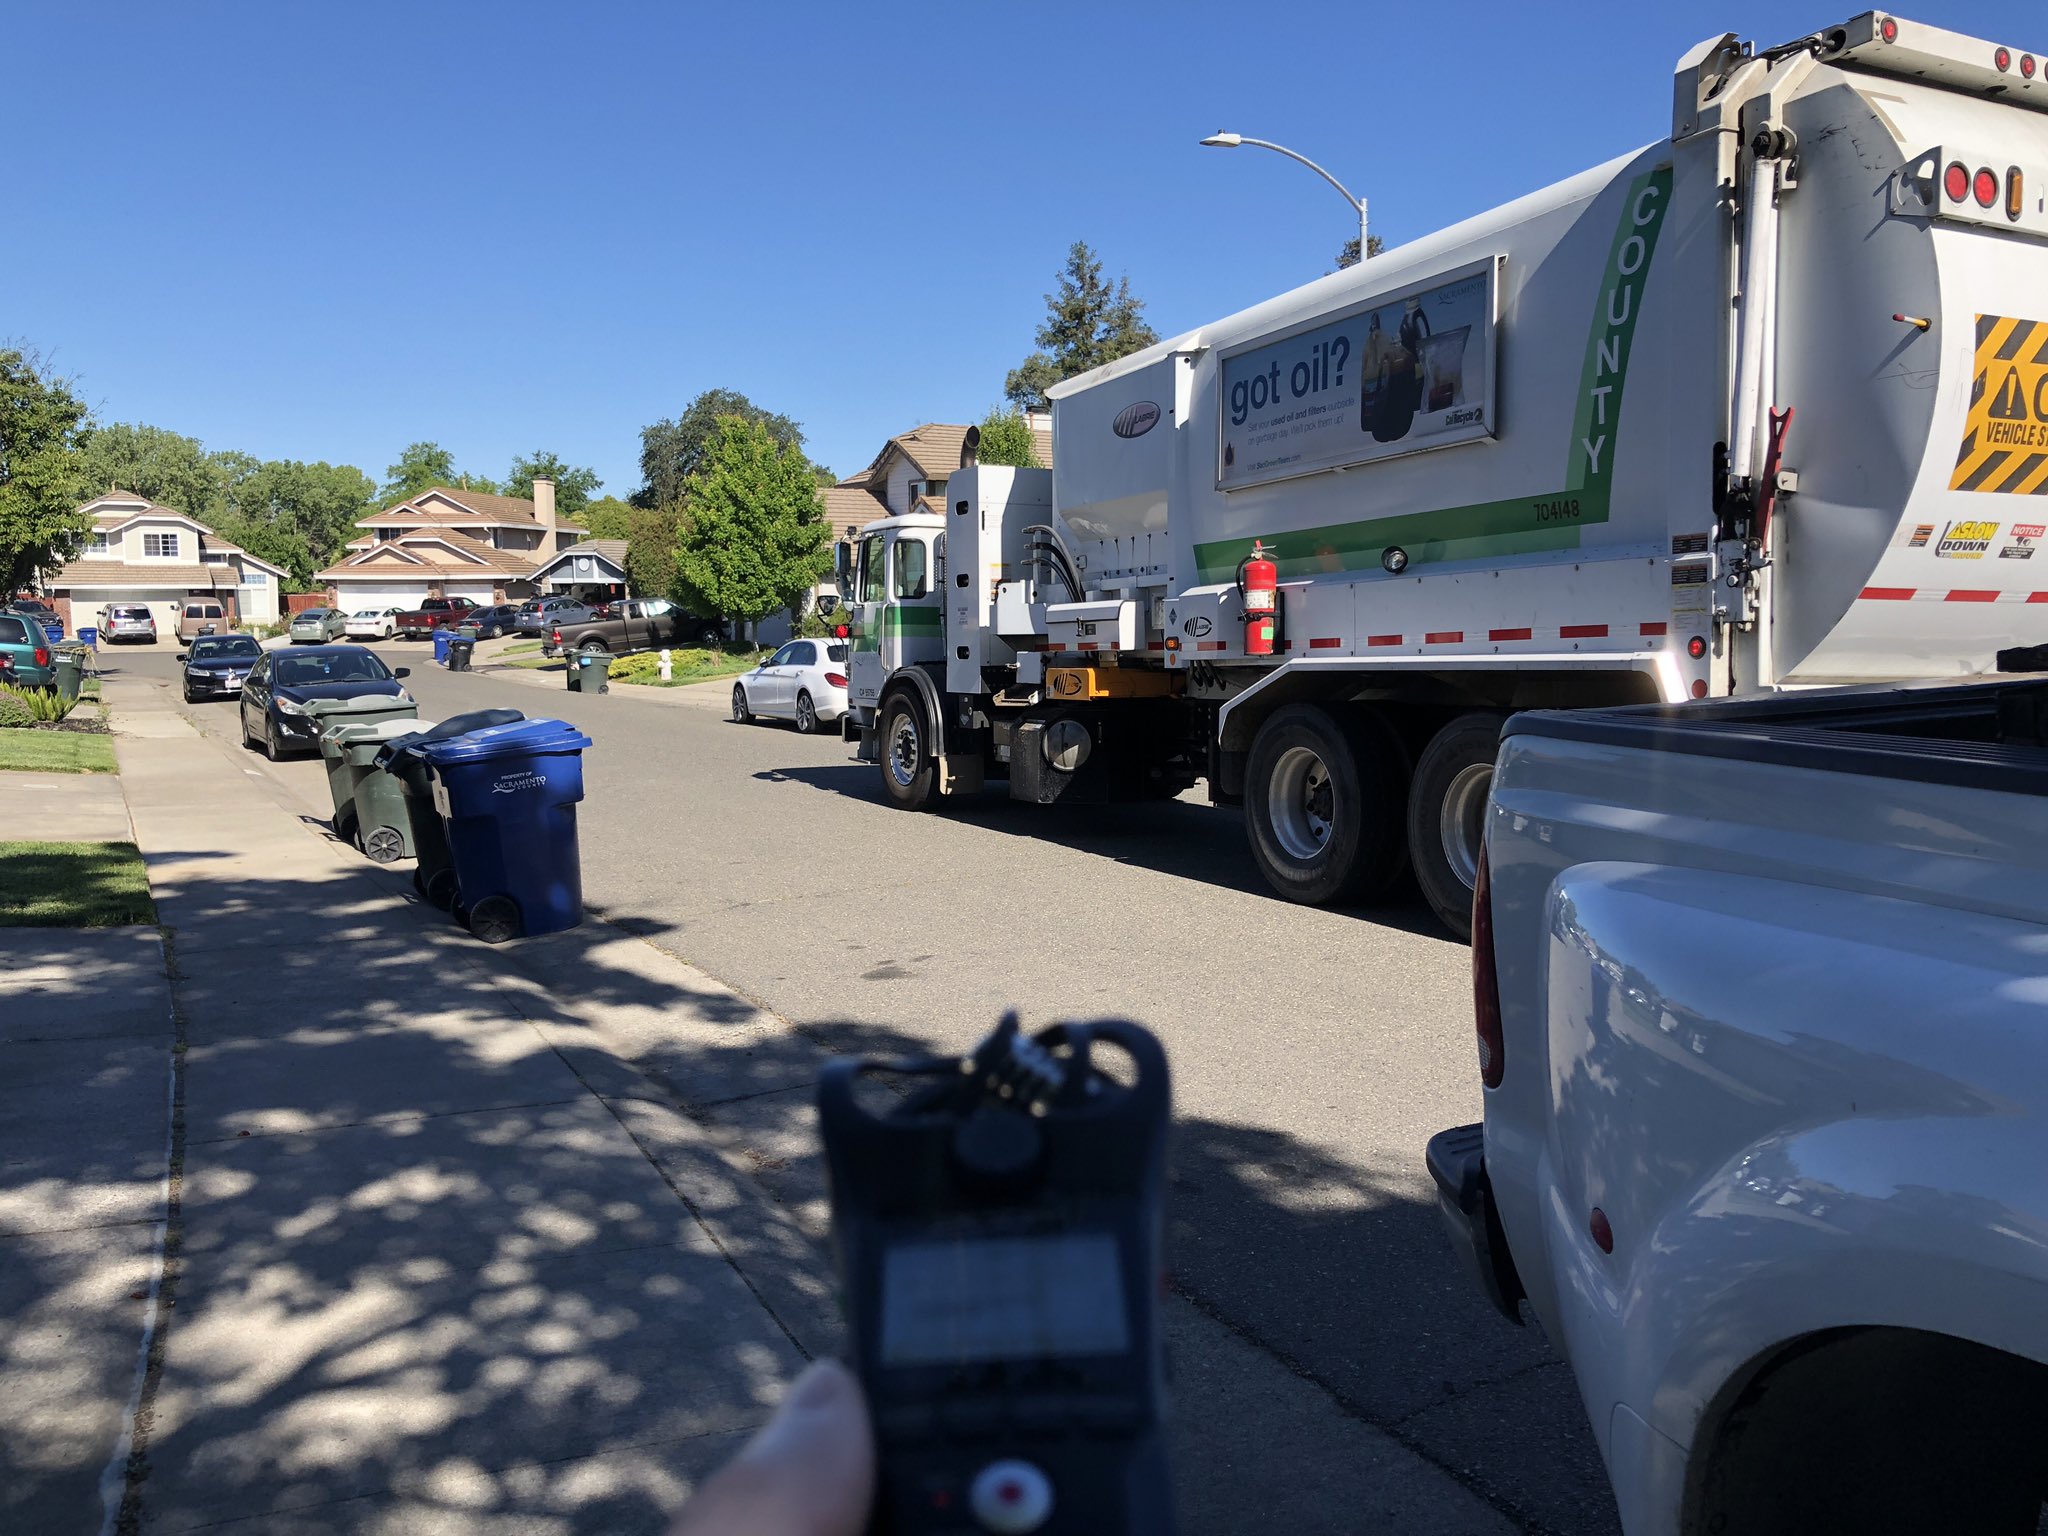
- Audio interface or portable recorder & cables
- Laptop/computer & charger
- Mouse and keyboard (if necessary)
- External hard drive
- Backup recording device
- Headphones or monitors
- Headphones and headphone amps for musicians
- Multi-socket power board & power extension cables
- Gaffer tape
- Table & chair
- Input list, take the sheet, scores/music charts
- “Recording – please do not enter” signs
- Cases and bags for carrying and protecting equipment
Additional useful bits and pieces: multi-tool, string, scissors, measuring tape, spare batteries, pen/pencil/highlighter, coloured tape for marking positions, torch/lamp, XLR and jack turnaround adaptors, headphone adaptors, mic stand thread adaptors.
Why Get Into Location Music Recording?
What makes recording music on location so enjoyable is the variety of projects and music you can work on, the thrill of capturing a live concert, the chance to explore new and interesting spaces, and the challenge of working out how to best capture music in an unfamiliar acoustic. You’ll learn how to problem-solve, you’ll likely never be bored from repetition, and you’ll have memorable recording sessions in beautiful, epic, and quirky spaces.