From Intimidation to Identity: My First Year Inside a DAW
Most of us remember the first time we used our DAW. That moment when your journey as a producer is entirely in front of you, and you have no idea what to expect or what’s coming. It’s a moment full of uncertainty, but also expectation. While at first, our beloved workstations can feel super overwhelming, it’s important to understand, as a beginner, that almost every successful producer you know and look up to faced this exact dilemma as well. While I am still in the early stages of my own personal development, I feel it’s important to share that this feeling of intimidation is completely normal at the beginning of really anything new that you’re trying. And it’s certainly nothing to be ashamed of.
The First Climb
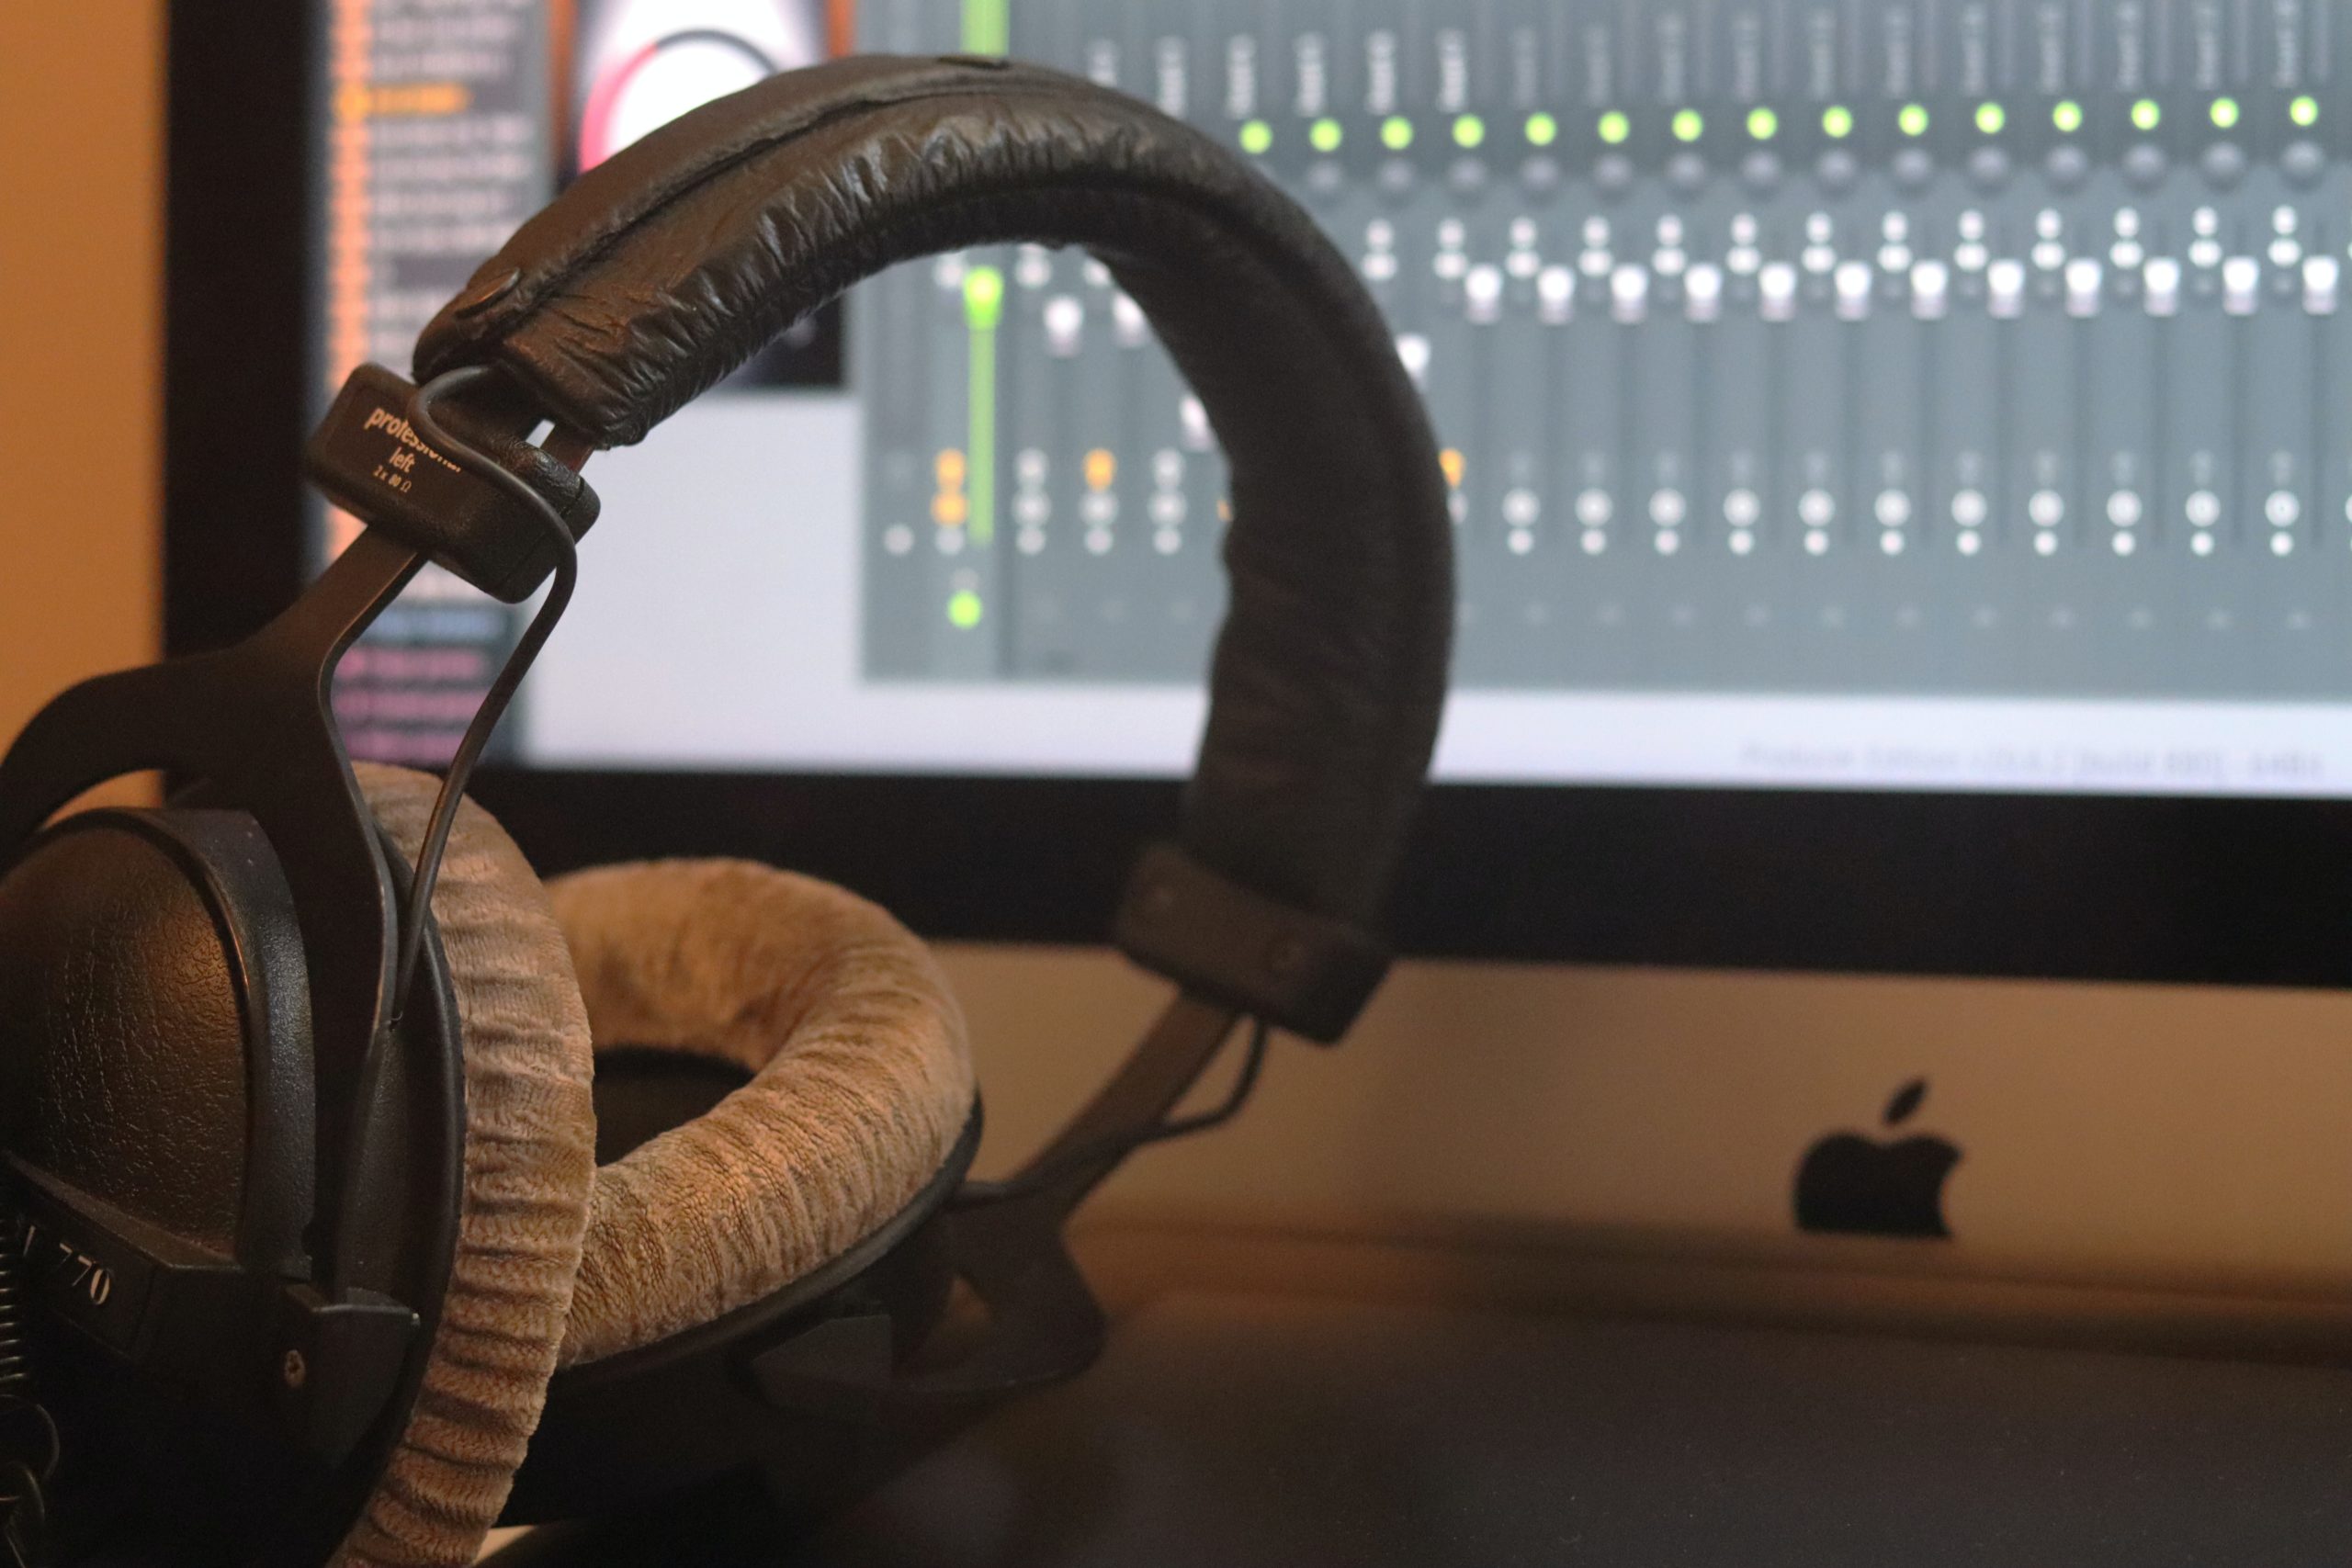
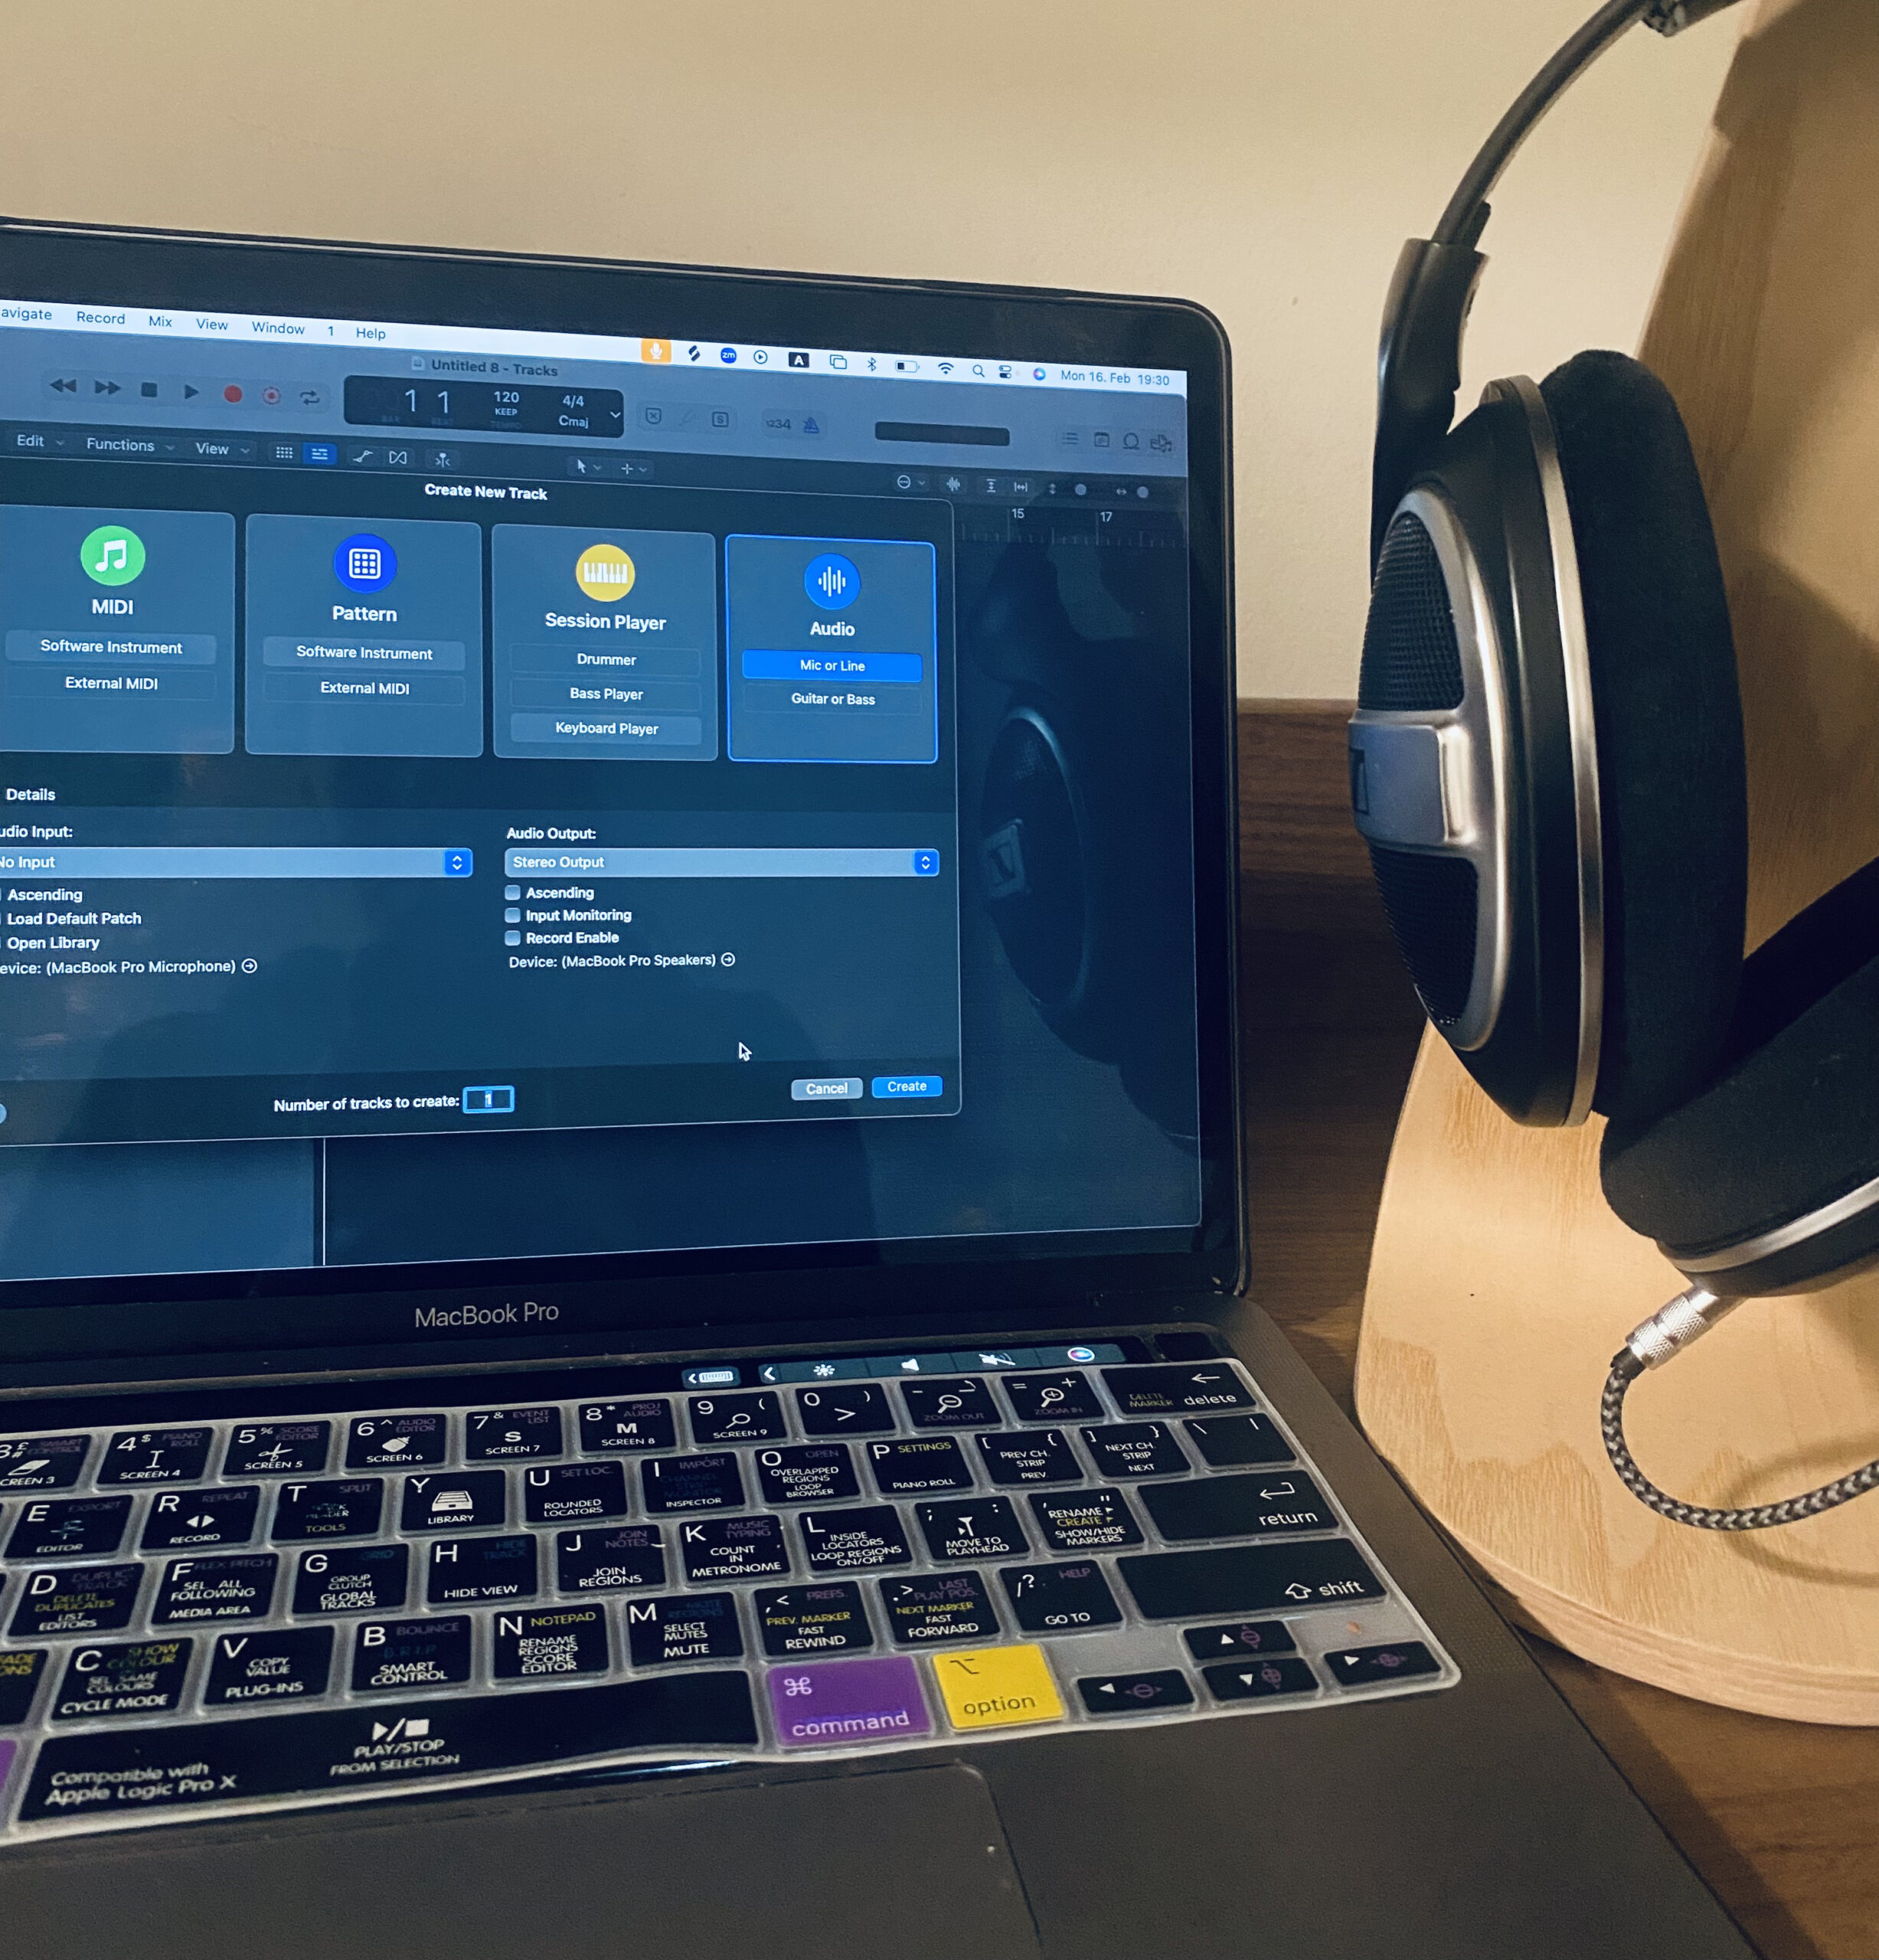
Like most of you, when I first opened my DAW, which is Logic, I felt like closing it again after five seconds. Suddenly, all the anticipation and enthusiasm I had evaporated into thin air. It felt like sitting in a crowded room with strangers that are talking about things you don’t understand, in a language that you don’t understand. I was humiliated. I was convinced that I had overestimated my technical abilities, and initially, I had. There were too many buttons, too many menus, and too many windows asking for decisions that I couldn’t even make. Every click seemed to open three more options, none of which I knew how to make sense of. I was completely lost, but thankfully, I was far from giving up.
The Noise before the Signal
Once I got past the initial shock of simply opening the program, I did what most beginners do: I went straight to YouTube. And immediately got overwhelmed all over again. There were endless tutorials promising to teach “everything you need to know about Logic” in ten minutes. One video said to always mix this way, another said to never do that. Some producers swore by certain techniques, while others insisted the exact opposite. I didn’t just feel confused, I felt buried under new information. I had no idea what actually mattered and what was just advanced advice meant for people far beyond my level. I was trying to learn everything at once instead of learning the right things first. Looking back, this stage was just as difficult as opening the DAW for the first time: learning how to filter the noise from the signal.
Flattening the Curve
OK – slowly but surely, things started making a bit of sense. Instead of trying to master everything, I began focusing on the essentials. I learned what the basic stock plugins actually did, not just how they worked, but how they affected sound in real, practical ways. I
started understanding EQ: how to cut mud, tame harsh frequencies, and make space for different elements. I learned about de-essing vocals – the simple stuff. I discovered compression: at first by overusing it, then by finally realizing less is often more. And, of course, I went through the classic beginner phase of putting way too much reverb on absolutely everything (and wondering why oh why mix sounds so muddy).
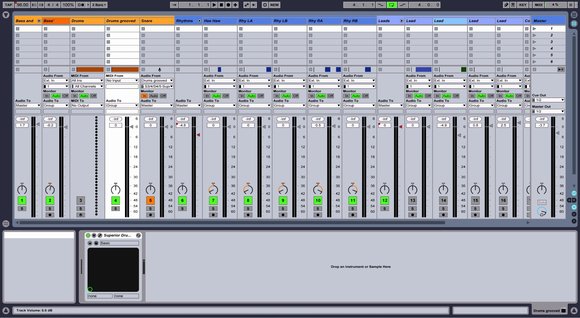
One of the most helpful things I did was create templates in Logic: personalized settings that meant I didn’t have to rebuild my workflow from scratch every time I opened a project. Having a familiar starting point made the whole process feel far less intimidating. I finally had some points of reference.
Small Peaks Along the Way
Once the basics stopped feeling so unfamiliar, I could finally focus on what I’d wanted to do from the start: creating. For the first time, I was able to translate abstract ideas—melodies, rhythms, little sparks of inspiration—into something real and tangible. Of course, the results were far from perfect. My early mixes wouldn’t have been allowed anywhere near a radio station. But it felt incredibly liberating to know my way around the essentials well enough to experiment with the sounds and tools my beautiful DAW has to offer. I obviously wasn’t making masterpieces after two months, not even close. But I had unlocked a concrete way to capture my ideas beyond the simplicity of a voice note (although I’ll obviously always be grateful for voice memos). Nevertheless, that realization alone felt like a small peak worth celebrating. From that point on, I realised I wasn’t as scared anymore. I finally felt like I could actually do this.
The First Real Milestone
The harder I worked on improving my techniques, the more of these “small peaks” I encountered. Whether it was finishing my first few songs, remaking projects from other artists, or finally trusting my ears enough to mix without constant doubt, I realized that the more time I invested in my DAW, the more progress I saw. After about a year, I felt genuinely confident in my skills. Could I compete with professional producers? Of course not. But I had time—and so do you. Looking back, I wish someone had told me sooner to stop comparing myself to others. The moment I did, I finally felt free to make mistakes and actually learn from them.
Even with a few mixes I was proud of, I was still nervous to share them. That changed when I moved to a new city and met a producer while looking for a room to rent. We ended up talking late into the night, and when I mentioned that I made music too, he asked if he could hear it. I hesitated at first, terrified of being judged, but eventually I left him alone in his studio to listen. When he came back out half an hour later, he was emotional, telling me how beautiful he thought my work was and how much I was underselling myself.
That was my first real milestone. Since then, even though I’m just a 19 year old university student, when people ask me what I do, I say “I am a producer”, instead of “I want to be”.