The First Step to Marketing Your Music You Probably Aren’t Doing
Over the past few years, I’ve been researching the marketing side of music to be of more value to the artists I work with. Heaven knows I’ve been avoiding the world of “marketing” for the same reasons you have….it’s HARD! It’s hard because:
It’s expensive
What do you actually spend your money on; ads on socials? Ads on radio or print? Billboards? Your grandma’s book club? What??
You don’t want to be annoying
You are afraid of the negative comments that are bound to come
You’ve tried it before and all you get back in return are crickets and you just can’t bear to hear any more crickets…
Right?
So after a gazillion workshops, conferences, books, and articles I’ve delved into these past few years, I think I finally figured out the one main component that most artists are not embracing or taking seriously.
Branding
By now you’ve heard this term thrown around but let’s talk about what branding really means, how to find yours and why it is the essential first step to building a sustainable career in the music industry.
Over and over again, artists I work with ask me as we are getting toward the end of completing their EP or album or single, “Ok, so now how do I get it out there”.
Get it out there
I have come to hate this phrase, even though I know it’s harmless and it feels as though there’s no other way to say it. But to me, it’s the same as saying; “I want to go to Japan. Will you drop me off at the airport and then I’ll wander around and hope that someone puts me on a plane that is heading sort of in the direction of Japan?”
We all know this will never in a million years work but I can’t think of a better analogy than this. The scenario of putting all of your time, resources and energy into the creation of music and then “hope” that it will be listened to by millions and voila you have a successful and sustainable career makes no sense.
Perhaps it’s because there are still some lingering, old stories out there about so and so being discovered in a coffee shop (the story is true for a few out of millions). Perhaps it’s the fault of the reality shows that seemingly catapult a few into superstardom (and we forget about the fact they are casting a reality show and millions and millions of talented artists have auditioned and are never pushed through to the actual show because they don’t fit what casting directors are looking for). Whatever the reason, the truth is that most artists I observe are creating with their entire heart and soul, then crossing fingers, closing their eyes, and “hoping” they’ll hit a target.
So, let’s talk about branding. I am not a branding expert, nor a marketing expert. So I am compiling notes and thoughts from quite a few resources which I will be linking you to at the bottom of this blog. Be sure to check out these amazing resources that are available to you, most for free!!
According to Stephen Linn of AmpliFLY Entertainment, branding is one of the three Artist Development Buckets that you need to focus on to have the best chance for success in the music industry. The other two are the business side (creating an LLC, registering with a PRO and with Sound Exchange, etc.) and the Digital Footprint (following, content, audience, etc.)
“Branding is what people say about you when you’re not in the room”, states Linn. I think that’s a powerful statement because it’s scary. Linn also explains that you can’t control it but only influence it.
Your brand secures your identity and makes you unique in a very crowded space.
Exercise time
Take out a piece of paper, notebook or digital notepad.
List 3 to 4 words that describe your personality.
Using these words, create (or hire someone to create) your;
Logo
Photos
Clothing style
Fonts
Wardrobe including jewelry, makeup, clothes, shoes, etc. (on and off stage, yes they can and should be different)
Everything about you that you are going to share *as an artist
Write down your Mission Statement and Elevator Pitch.
The mission statement should describe the “why” and “how” you plan to change the world with your music. Does this seem overly dramatic? Maybe a bit but don’t we all have at least one song that lifted us out of a depression, or brings back our favorite memories? Music does change the world one song, one artist at a time. Write down what your goal is for giving back to the world. Whenever you have options, doubts or decisions to make, referring back to this mission statement can keep you aligned with your brand and will even strengthen your brand identity.
The concept of an elevator pitch is if you only had 30 seconds to describe you, who you are and what your music is like as well as who it will appeal to, you should have this concise and clever summary not only figured out but memorized. Avoid statements like “unlike anything you’ve heard before” or “the best music you’ve ever heard” or some other egomaniac statement. I once heard music described as “It sounds as if Keith Urban and Taylor Swift had a baby and that child was raised in San Diego”. You can tell what that would sound like, right?? Be clever!
Define your vision
What do you see when you envision success? Will you be performing to a stadium full of fans? Will you be living comfortably as a songwriter? Will you be creating 24/7 in your own massive studio space? What does success look like to you? Spell it out in detail.
Make a list of all of your favorite products, hobbies, restaurants, social spots, etc.
Brand Extensions and/or partnerships can become part of your brand identity. Not only this but brand partnerships can become a source of income for you as well as a way to extend your reach. If you have a hobby of skateboarding or yoga or kickboxing or knitting or have a love of Hallmark movies, include this in your list. You will be able to connect with people with similar interests who may not have otherwise come across you and your music. This approach can also prop you up into the visual space of the brands you use and love.
Write your story.
The contents of your story can later be shaped into an artist bio for your website, press kit and other sites. But make this story more detailed. Tell it in the second person (not “when I was 10 years old, I won the county talent show…”) Speaking of the county talent show, this is not the story that has the list of your performances or what school plays you starred in. Think of what you would want to know about someone sitting in front of you asking for you to invest in them. What parts of your story make you special and unique? Why do you feel called to be a public figure? What was the defining moment in your childhood when something spoke to your soul and clearly stated music is what you are destined to do with your life?
Make a Brand Binder.
This is for you and your team and not for fans or the public. The Brand Binder will include;
- Personality traits you narrowed yourself down to in the above exercise
- Phrases, thoughts, statements, quotes that you find inspiring and represent who you are and what matters to you
- Mission Statement and Elevator Pitch
- Vision
- Brand Elements
Colors, Fonts, Pictures, Logo (variations, colors), Look and feel (mood/aesthetic) using pictures, Offstage wardrobe, using pictures, On stage wardrobe, using pictures, Any other pictures or swatches of material that add to your brand
- Include your list of products, hobbies, restaurants, etc. for potential brand partnerships
*Remember, you are not obligated to share every detail of your true personality with the world, only those parts you want them to see. Even if you are enhancing some qualities or hiding others, you are in control of what influences your brand. If you don’t want people to know that you personally have an obsession with collecting mini tea sets, then pull all photos of that down from your social media and pray that doesn’t get out. OR, you could embrace it and make that part of what you share. It’s up to you.
I like the idea of having a physical binder for this but you could also use something like Pinterest or Trello to organize your Brand Binder.
You might be asking, after you have gone through these exercises and put your Brand Binder together, “Ok, now what?” Your next step is
Creating Brand Awareness
This is the Hardest Part
Honestly, I think creating your brand is really fun. I mean, who doesn’t like talking about all the things they love and organizing a visual presentation of it? Brand Awareness is something that takes time. Remember, the Brand Binder is for you and your team, not your fans. It will guide every decision you make about what photos are best, what album cover looks best, what should I post on social media, etc. It is not a substitute for the business of bringing awareness to your brand. That takes time, care and consistency.
So be patient. Building Brand Awareness is a marathon and not a sprint.
Just remember,
Your brand secures your identity and makes you unique in a very crowded space.
Stay “On Brand”. Create Consistently. Contribute Always.
While you are at it, collect email addresses and give something back in return (free download, private invitation to live streaming event, etc.)
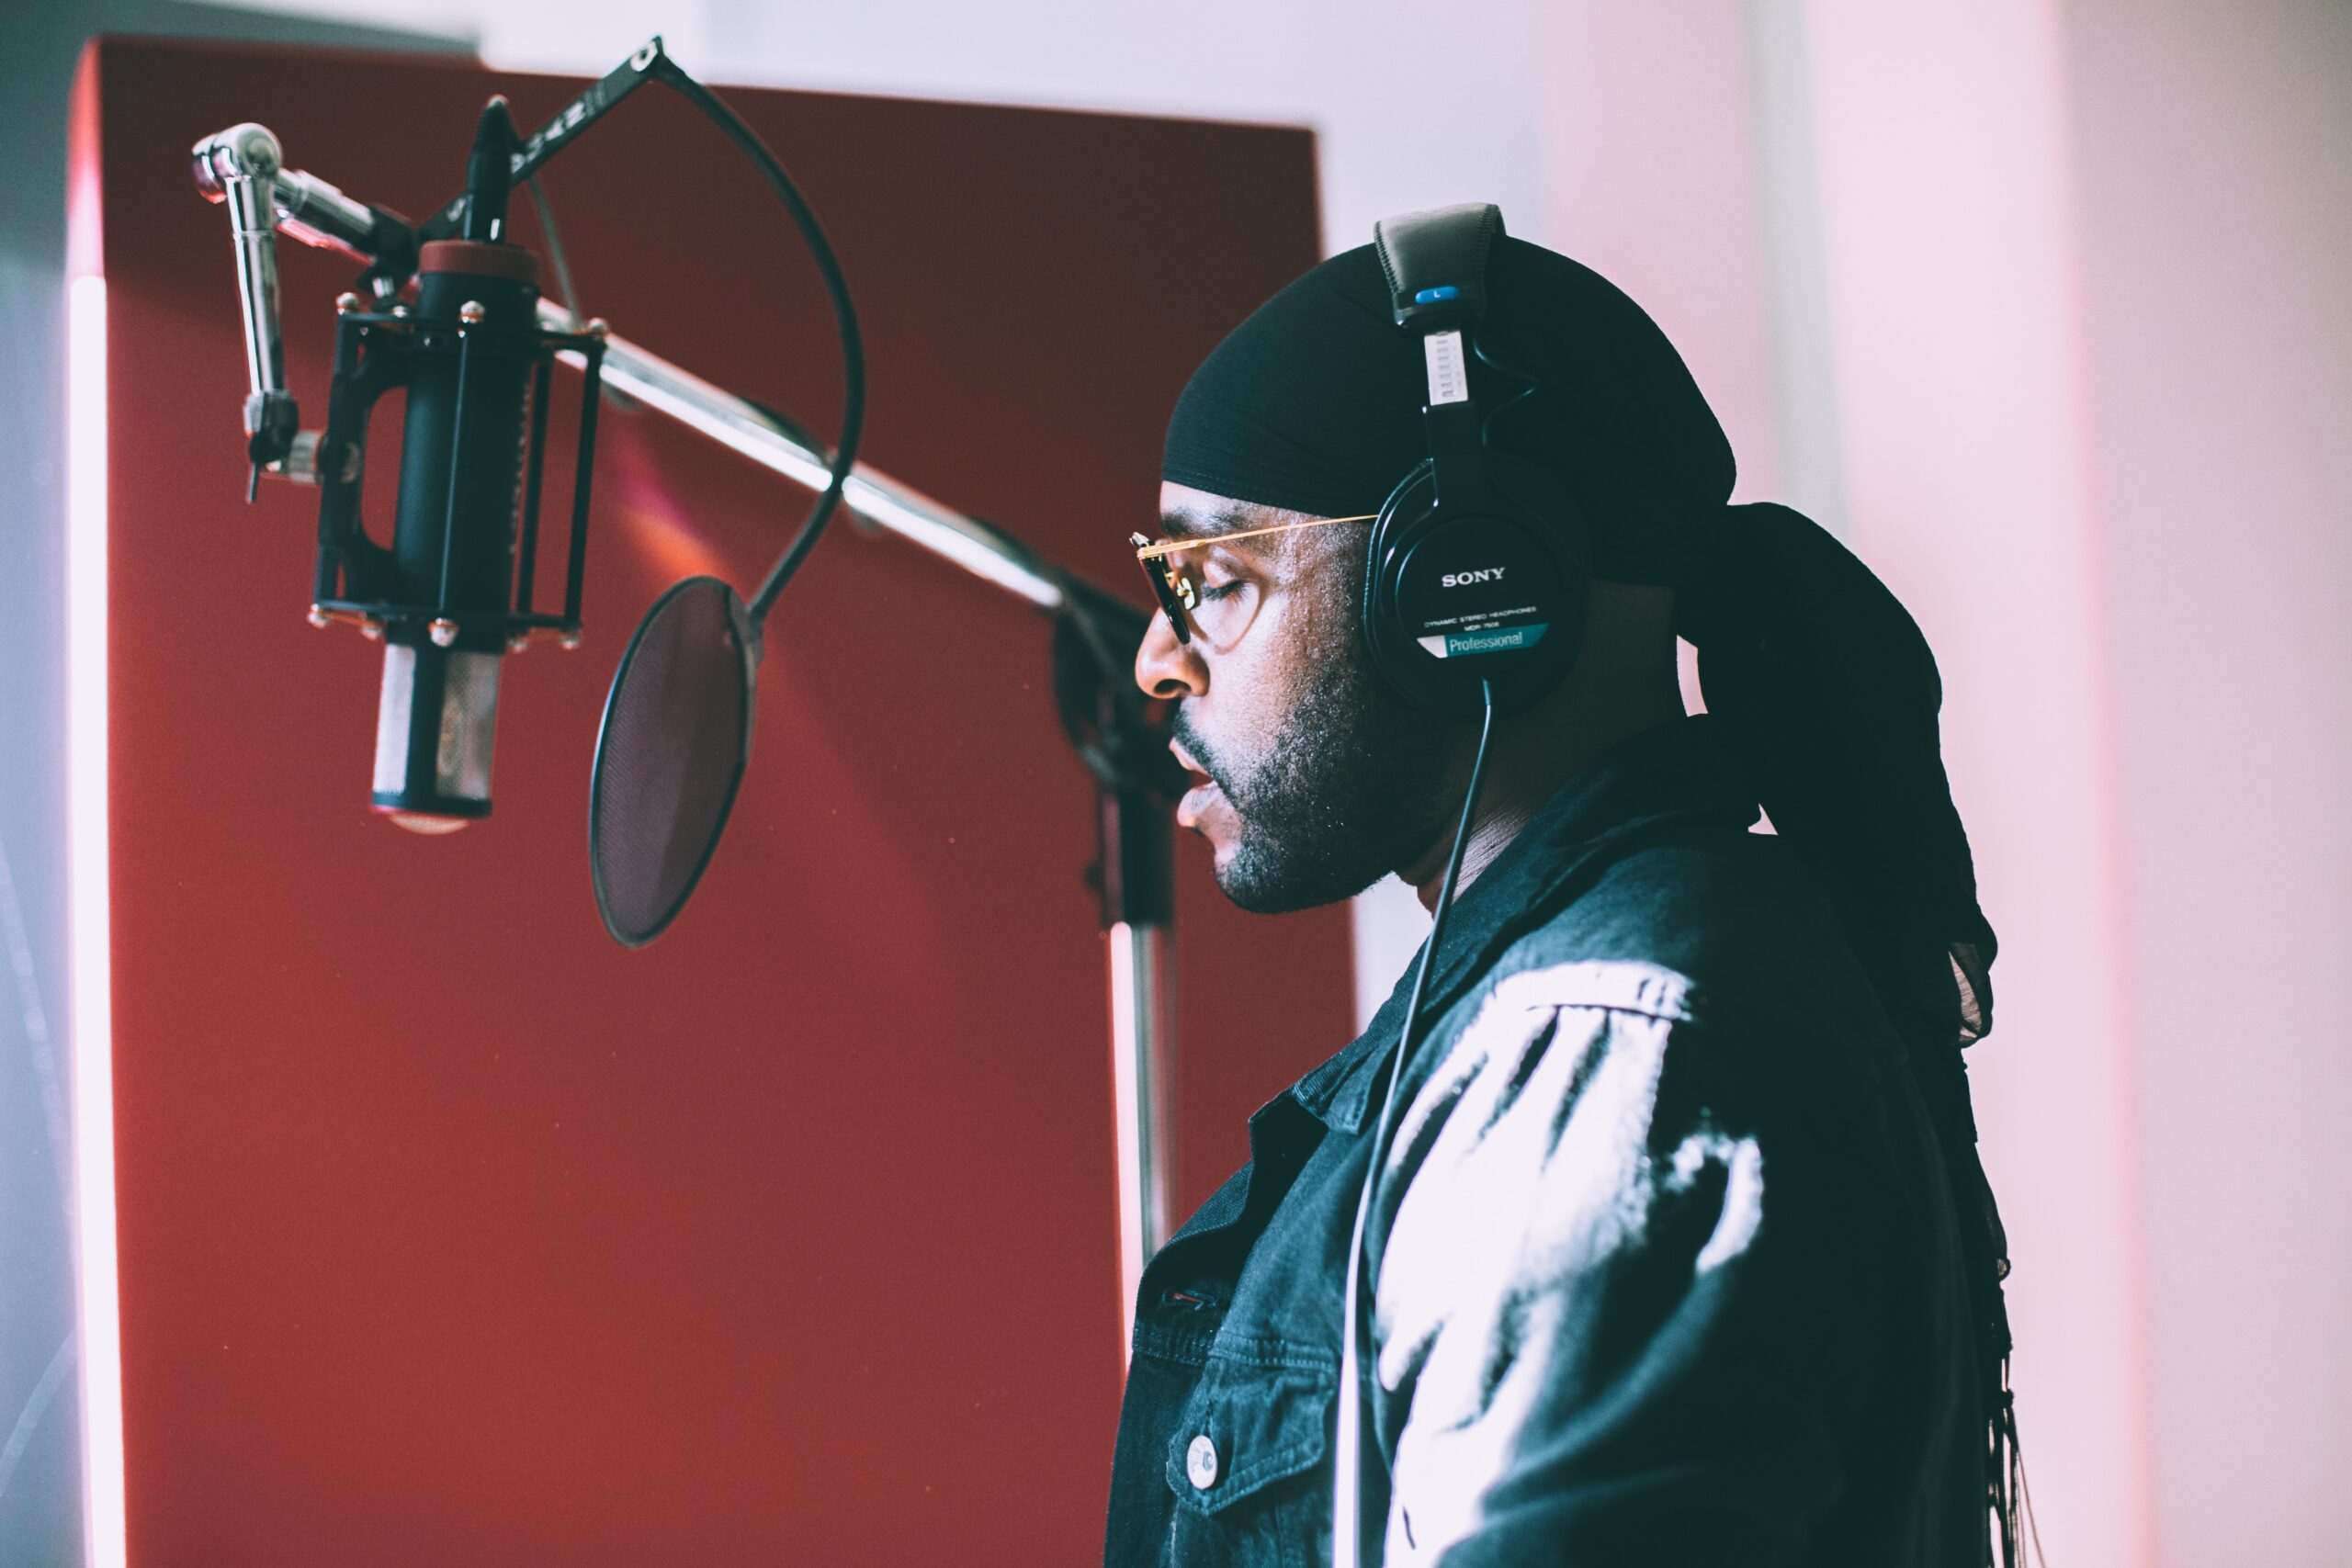
The good news is that if you do this right, you will attract fans outside of your regular circle of friends and family without spending a dime on advertising. You can also build brand awareness while you are creating music in the studio! As a matter of fact, that is great content to share as part of your brand building!
Make defining and building your brand the priority now and see how it changes things for you in six months or a year.
Happy Branding, friends!
Resources:
AmpliFLY Entertainment http://www.ampliflyent.com/
Ariel Hyatt of Cyber PR has a ton of free resources to help with all aspects of marketing, including PR and brand building https://cyberpr.com/
Mitch Joel, author of “Control Alt Delete” This book has incredible insights to brand development and building for all businesses and how to adjust your strategies when they aren’t working.
CD Baby Marketing 101 (ironically using the phrase “getting your music out there” haha!) https://cdbaby.com/campaigns/music-marketing-101.pdf
Disc Makers released this guide called “The Complete Marketing Process” by Bobby Borg. This goes into great depth about creating your vision statement and steps to marketing beyond brand building. http://www.musicianstoolbox.eu/uploads/2/7/2/9/2729124/complete-marketing-process.pdf