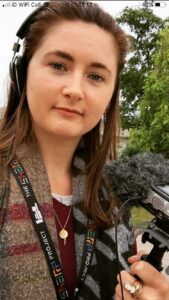
Adriana Viana: Independent Brazilian Sound Engineer
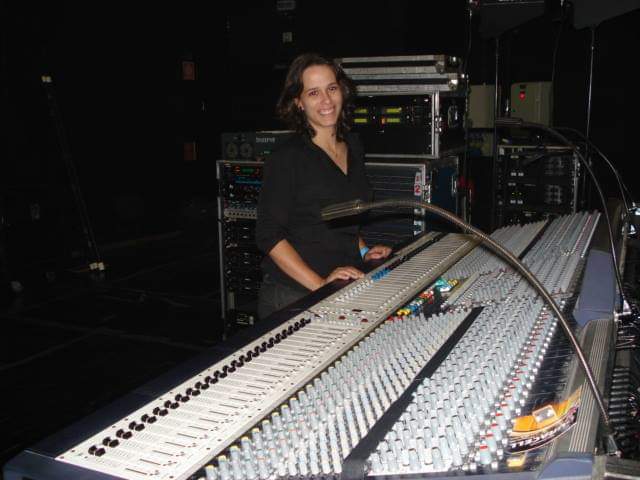
Adriana Viana is a Brazilian freelance Front of House, monitor engineer, and technical director. Based in São Paulo, she has worked with many Brazilian artists such as Teatro Mágico, Flora Matos, Plutão Já Foi Planeta, Rodrigo Teaser – Tributo ao Rei do Pop (a Michael Jackson tribute concert) and mixed international artists when they played in Brazil, such as Toots and the Maytals, Mark Lanegan and blues guitarist Jimmy Burns. She is currently the front-of-house engineer for Far From Alaska and Rashid and is also on tour with one of Brazil’s finest songwriters, Adriana Calcanhoto. She is also the technical director of Women’s Music Event, where she puts together a team of qualified women to run sound for the entire event.
Those who get to see Adriana in action might get the impression that she has been mixing all her life. But when she started out in this business 12 years ago, she wasn’t even allowed to operate any equipment. Her interest sparked from going to a lot of shows, and as most people bitten by the audio bug, she would tag along with her musician friends for soundcheck. “I wondered, what are those guys doing? I could see there were people in charge of the audio equipment, of setting it up, mixing, doing lights, and I found it super interesting.”
She learned of a couple of job openings at a local rental company and went in for an interview. She then discovered the only two positions available to her were: answering the phone or keeping track of warehouse inventory, so she chose the latter, to be closer to the equipment. “They asked me if I had any experience and I didn’t, so I told them I was very organized and I wanted to learn so I could get in the business. They needed someone to manage their inventory, so I took that opportunity. When techs brought in equipment, I would ask: what is this mic? They’d tell me; it’s a Shure SM58. Next time they’d bring a similar mic, and I’d ask, “Is this a Shure SM58? They’d inform me that it was a beta 58, so I’d learn the difference. I would keep stock, count, and organize all the equipment going out and coming in”. It’s already difficult for anyone coming into this industry to work their way up, and Adriana points out that it’s even more difficult for women who have to deal with sexism and harassment. Adriana wasn’t really taught anything about the equipment, instead, she’d find the manuals and read them. She wasn’t given the opportunity to operate the equipment either, and couldn’t afford formal training, so she bought a book about audio engineering and started studying it.“I just learned by reading manuals, workbooks, books, just any printed material I could find. I was eager to learn so I’d go to events and watch.”
At one of the events that she’d tag along to, a freelance tech noticed her eagerness to learn and invited her to his regular gig “every Saturday, at 2 pm. He didn’t mix, he was a stage tech, ran all the cables, patched everything, and taught me everything he knew. He’d tell me, this is an XLR, this is an instrument cable, this is a snake, he taught me how the system was set up. I worked Monday through Friday at the rental company, but on Saturdays, I went to his gig to learn. You could say I worked for free, I’d run cables, set up mics and monitors, then I’d quietly watch the front-of-house engineer mix, and I’d ask questions when he had a break.” Soon, the tech who taught Adriana needed a sub – and who better to call than the person he trained? “I started subbing for him as a stage tech, and soon after that, I was mixing, then I became the house engineer for that venue. Then I started working for other sound companies as a tech, and I worked a lot of shows. Then I worked at other venues and learned even more. I was always out there learning and working, I read manuals, I couldn’t afford to go to school for audio engineering, so I never did. I watched people working, and I learned. I would always go for it and just try and do it.”
 People noticed her hard work and kept hiring her for more gigs. While working at a venue, she mixed a band who liked her work so much they asked her to go on the road with them. “They had their own equipment; I’d set it up and operate it.” She emphasizes, “all I went through, all the bands I worked with, that was my learning process. Whenever there was an opportunity, I’d take it.” The more she worked, the more bands noticed her excellent work, and the more she would work! She soon landed a gig with the popular Brazilian band Teatro Mágico as their official monitor engineer. “It was full-on wireless, in ears, stereo mixes, click, everything! I learned a lot in those three years, and more people kept hiring me to mix monitors.”
Now that she’s an experienced and well-respected live sound engineer, she talked to us about the technical aspects of her work and the particularities of working with live sound in Brazil.
When asked how early she starts pre-producing a show, she replied, “as soon as I’m hired to do it. Sometimes a month ahead, sometimes a couple of days before the show. I ask for the venue’s tech contact so I can send in my rider right away and get theirs back, via email or WhatsApp. If I can’t do a site survey, I ask for photos, too; I also look online for more info on the venue and their equipment. I exchange all the information in writing, so everything that’s been agreed on by promoters, managers, the rental company, techs, and directors is documented, and everyone is informed. If the full rider can’t be provided, I ask that substitutions be worked out ahead of time, and inform that everything needs to be working during soundcheck or the show won’t happen. I stay on top of things, I request all the necessary info, and some guys will dismiss it with ‘relax, everything will be alright,’ and when I get there their equipment is terrible and their system isn’t working correctly, so I show them all the documented info and state: you either provide us with the right equipment or there won’t be a show, so they do.”
 People who don’t act professionally during pre-production are a red flag for Adriana. “They give generic answers like ‘there are four monitors’ but won’t tell me the specific brand, model or specs. That’s why I ask for pictures, so I can identify if the equipment meets our needs, and if it doesn’t, I specify what they should rent instead. With real professionals, you can work out a deal between what you need and what they have, but you can’t really negotiate with people who don’t act professionally, they walk in circles, so I go straight to the promoter and let them know that the rider is not being met. The promoter then demands that all technical aspects of the rider be honored.”
Another problem is when people aren’t even qualified to tell good from bad. “You play pink noise through a speaker and it sounds terrible, but the house tech listens to it and says it’s working fine. Some people can’t hear hum noises either.”
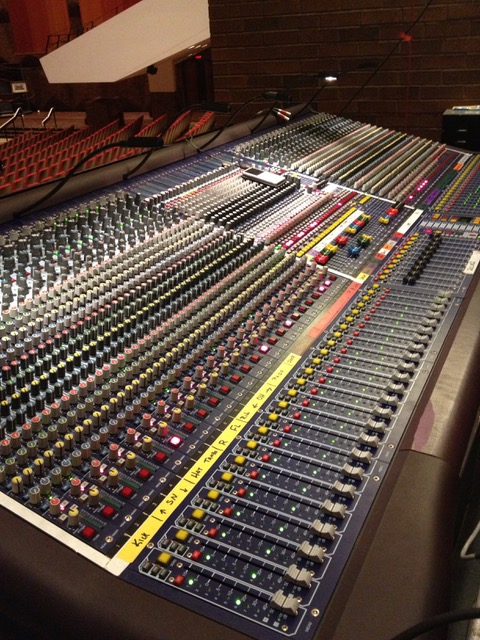
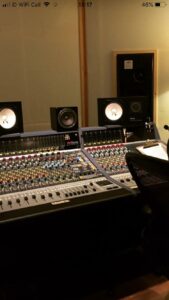
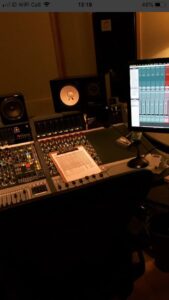
So, what consoles does she request in her rider? “I love getting good consoles to work with – Soundcraft consoles, the Vi, 3000 and 2000 series, I like Digico SD8 and SD9. Midas and SSL consoles are great but hard to come across on the road”. So what does she usually get? “Yamaha’s, usually in bad condition, unfortunately. M7CL, PM5D, and LS9 are the most commonly used consoles, and if they’re not regularly checked and well maintained, they won’t work properly. I never request them on my riders, not even when mixing a small indie band – because that’s what I’ll usually get anyway, and though they have enough inputs and outputs, they’re usually poorly maintained.”
When it comes to outboard gear, she says venues usually just have a pair of graphic EQs, and if that’s not available or in poor condition, as often is the case, she’ll resort to using the console’s graphic EQs on her outputs. “I avoid poorly maintained equipment; the cables might be in poor condition too, so as not to waste time, I deal with it in the console. I’m used to working on any console that’s available. I have my preferences, but whatever is there, I’ll use it, I’ll mix on it. I don’t depend on equipment to do my job. Of course, the better the tool, the easier my job will be, but I’m used to getting a good sound out of not-so-good equipment.”
Brazilian bands have a common issue that makes them hire Adriana as a monitor engineer. “They have trouble hearing themselves on stage. If the band can afford an engineer, they’ll usually hire just one engineer, not two different people for monitors and FOH. And that one person will mix FOH. Sometimes it’s a one-off gig for that tech. Musicians that are used to having a monitor engineer are used to hearing themselves well, and when they happen to not have a monitor engineer, they’re in trouble.” That’s why even when Adriana is the only engineer in the crew and is mixing FOH, she’ll get a basic monitor mix up for her musicians, because “I can’t begin to mix FOH if they can’t hear themselves – they won’t play right. It doesn’t matter if I have a great-sounding PA if my musicians aren’t playing well if they can’t hear what they’re playing. At least that’s how I see it. A lot of people will just stick to mixing FOH because technically, that’s all they’re getting paid to do, but I think this makes my work better, more complete. And if I do a good job, the band recognizes and appreciates it, they see that I presented a solution, and I make sure they get a monitor engineer when their budget is bigger.”
So do bands only hire one tech because they don’t think they need two or because of a tight budget? “Some bands never heard themselves well on stage, and they’re used to it. Some bands only play if there’s a monitor engineer. Some productions don’t allocate the budget for it – they’d rather spend the money on a different professional, a dancer, a stylist, than having a larger audio crew.” Adriana is used to working with professional bands that hire at least one sound tech, one light tech, and one roadie. The bigger the show, the bigger the crew. She also makes a point of not working as a roadie and informs bands of the importance of hiring one, as that’s someone else’s job that she’s not taking. “If you’re playing a show and something goes wrong, is the artist going to turn their back to the crowd to fix it? That’s a roadie’s job. I try to add as many people to the crew as possible because everyone’s work is better that way. I always put together a good team and show the artist how important that is.”
Reflecting on the reality of working in Brazil compared to the US, Adriana points out that “You have to know how to do everything – tune the system, set up wireless equipment, coordinate the RF, mix FOH, mix monitors, a lot of different things. Overseas there seem to be different professionals for different tasks… but here, if something goes wrong with the audio, that’s all part of my job, and I want to make sure everything works. If it’s a big event, you need people dedicated to specific functions, the equipment needs to be working, but in smaller shows, my artists will bring their own mics and in-ears, and if something goes wrong, I have to fix it. We may not have an RF tech, but we have common sense. Each situation is different, but I won’t let the artist encounter difficulty and do nothing about it.”
When asked what difficulties she usually encounters, she sighed, “We go through so much…” but replied with a problem-solving attitude: “if there’s a problem and you learn how to deal with it, you can anticipate it and make sure it doesn’t happen again. You take precautions to avoid possible problems. And if you set up correctly and test ahead, you won’t have to stop what you’re doing to troubleshoot it. Things might go wrong, you might get a bad cable or a noisy input channel, but experience makes you identify possible issues and deal with them faster. Ok, something is not working, we’ll set it up differently. Poor wireless signal? Send the singer’s mix to her floor wedges. You know? You take precautions so you won’t waste time trying to fix a bunch of different things, because usually, I’m the only person there to fix it.”
Speaking of thinking ahead, we asked Adriana what she takes with her to a show: “Fresh batteries, tape, Hellerman tool, towels, Listerine and hand sanitizer, a couple sm58 grilles, pens, memory stick. An artist complained that the mic was stinky? Well, next show, you hand them a freshly clean mic. An artist complained, I called her production and said I was on my way to buy two spare sm58 grilles and asked them to reimburse me. There, problem solved. You have to come up with solutions instead of complaining about the problems. Good audio techs will find solutions and avoid problems.”
Earlier this year, she went to Europe on vacation with her siblings – even off duty, she took gaff tape with her. “I taped my brother’s shoes; they were coming apart on the sides; the cover was coming off on my sister’s book. I taped it! My glasses were falling apart; I taped them. My siblings were amazed that I took tape with me on a vacation trip. I carry around a multimeter too. The less I depend on others, the fewer problems I have.”
One thing I’ve noticed from watching Adriana set up and sound check, is that she’ll usually build up her scene from scratch. “Each day is different; I don’t always get the same console… I have a lot of scenes on my memory stick, but I hardly ever use any. Sometimes the console won’t read the flash drive!”
Needless to say, she encounters different rooms and PAs every time. She uses pink noise to check the system, see if all frequency ranges are responding correctly, then she’ll play some music. “I really like Eric Clapton’s Change the World,” she also uses dub versions of The Police songs to check the subs. “Massive Attack, you know, music I’m familiar with, so I’ll know what’s missing.” She plays Jeff Buckley’s Everybody Here Wants You, which has a distinctive long verb on the snare, “I can tell if the PA is reproducing the harmonics. With these mixes, I can also check the stereo image, especially the mid and hi mid-range. When you play a song that has a wide backing vocal mix, I can tell what’s there and what isn’t but should be.”
Ten years from now, Adriana hopes to be still doing what she does. She wishes she could spend more time in a studio learning recording techniques, but she “can’t afford to stop working and assist at a studio making less money. I gotta work. And I really love what I do. Some gigs make you feel like you’re part of them. I go to sleep happy because I know the next day I get to work with Far From Alaska, this gig is the apple of my eye! I don’t see myself doing anything else. Since I started working with live sound, I never stopped, and I’ve always worked a lot, and the more I work, the more work I get. When you’re determined, and you work hard to do your best, you reap what you sow.”
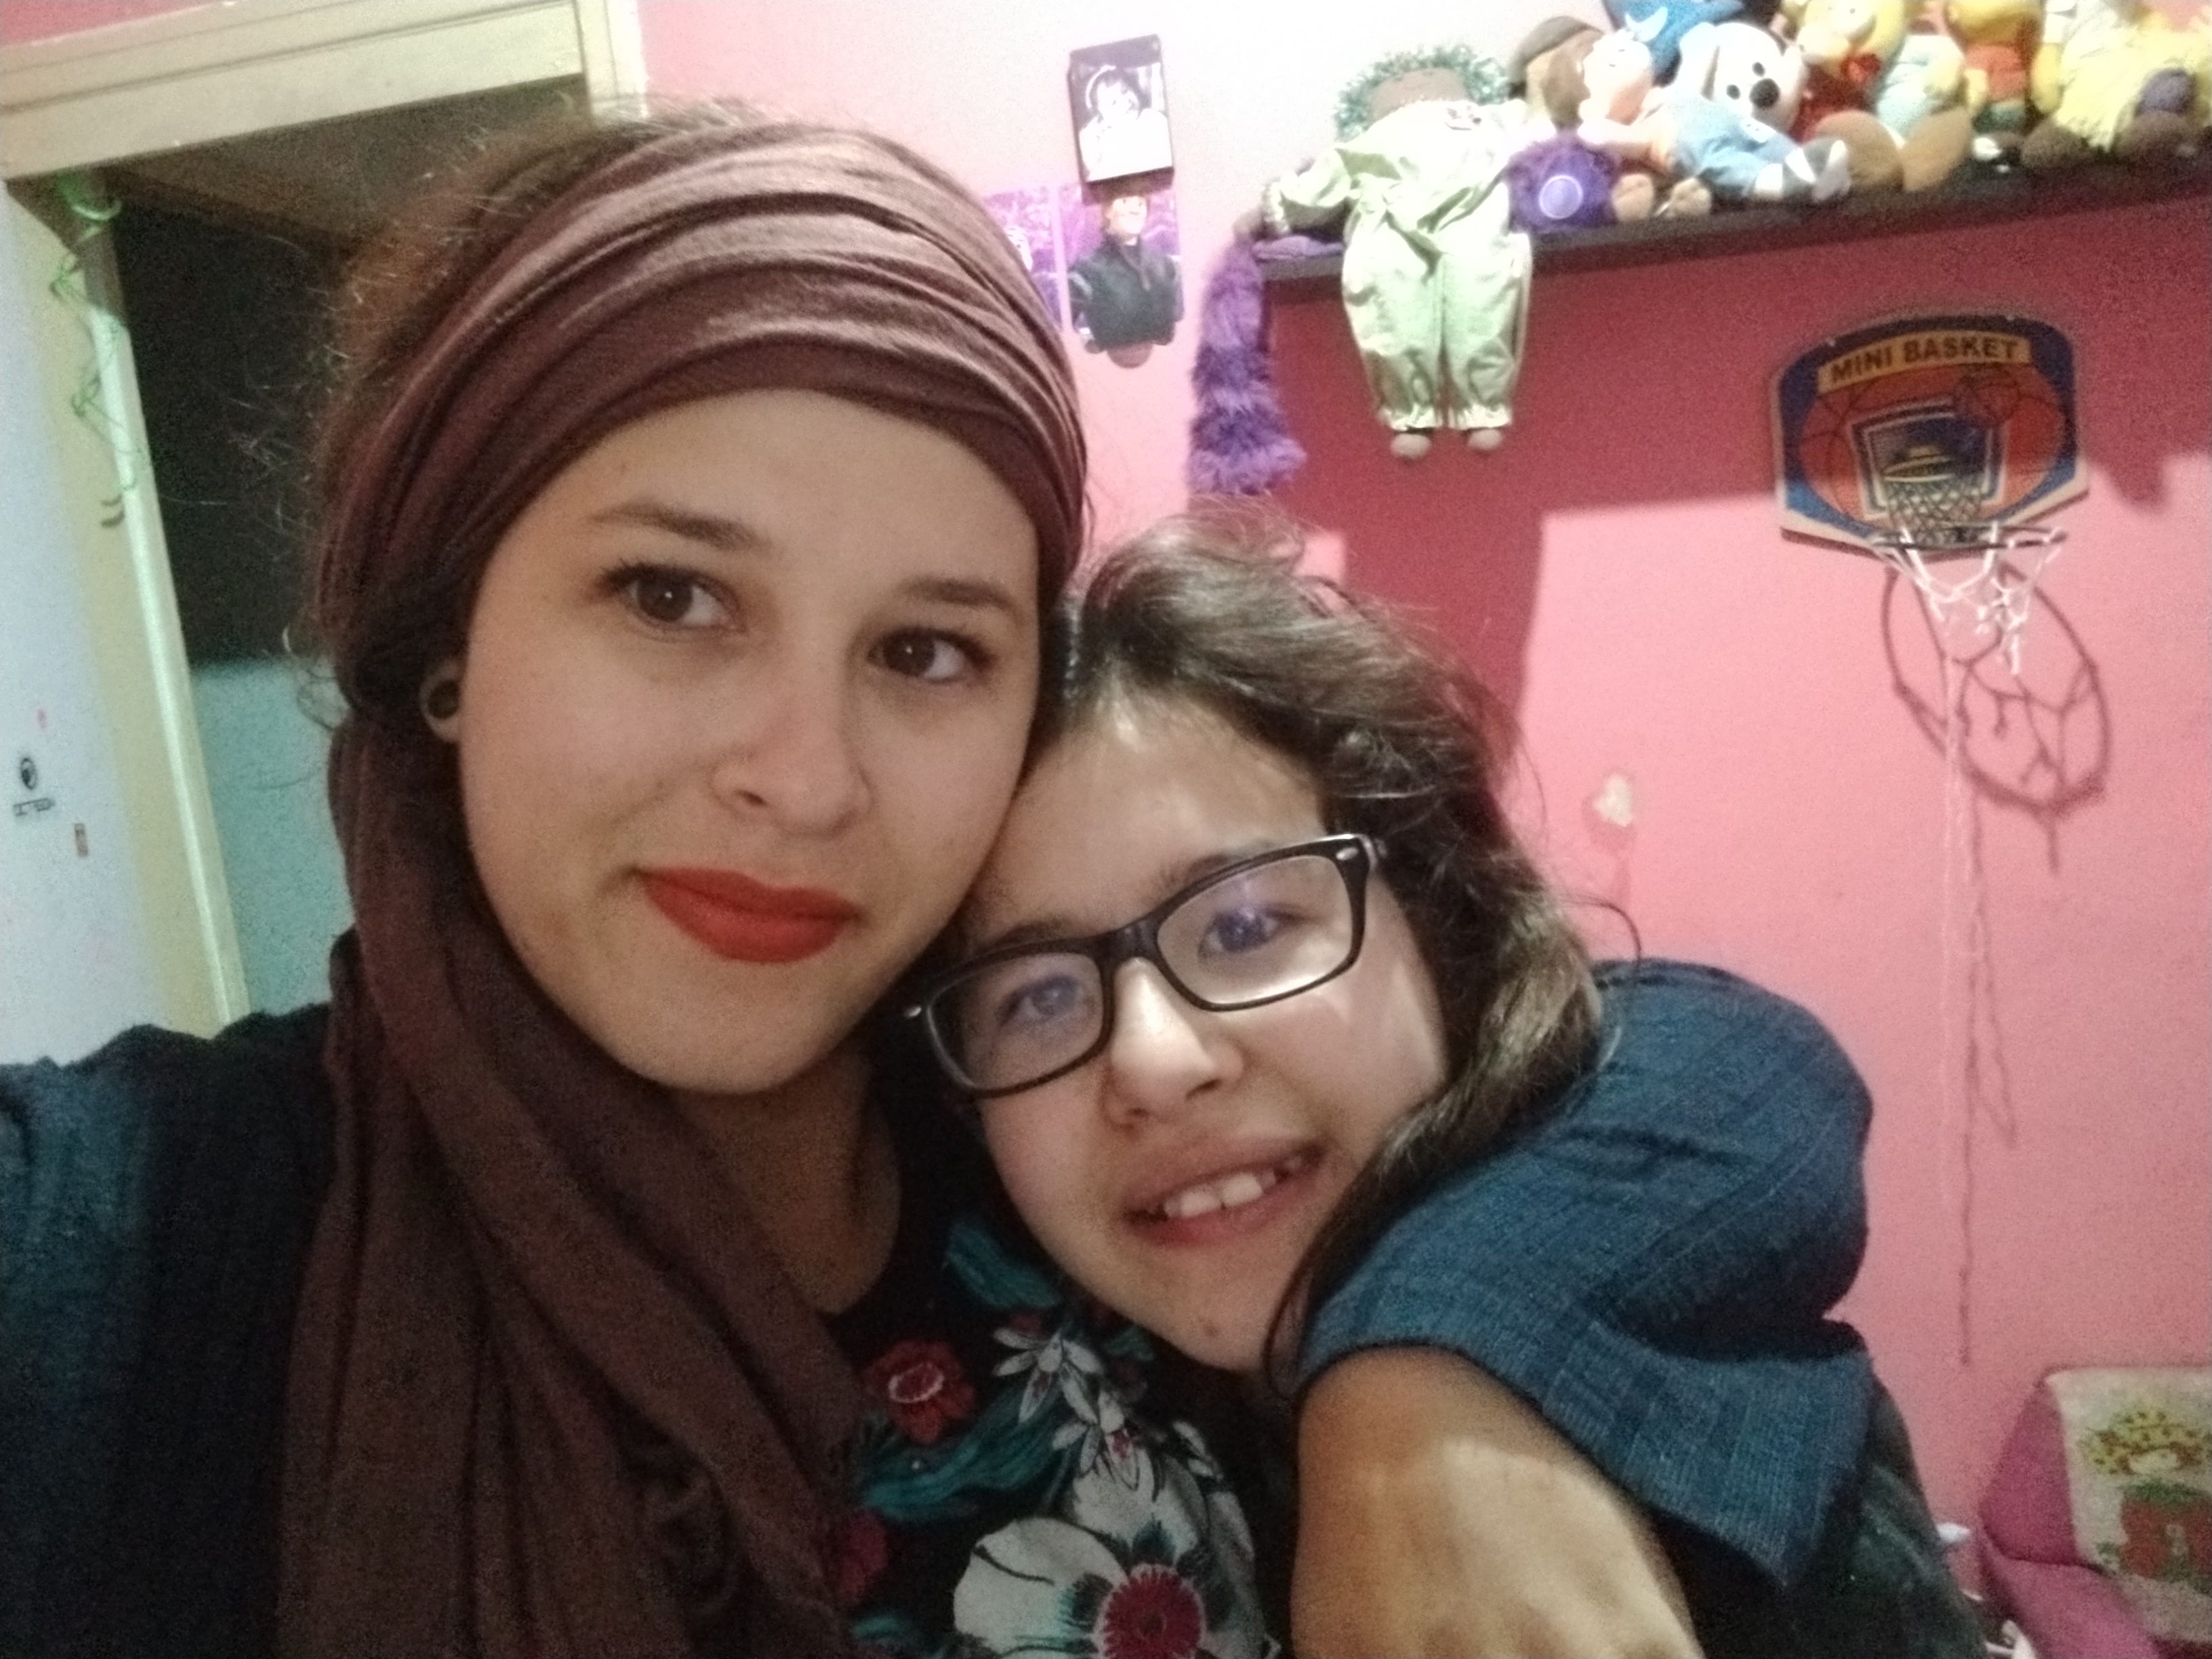 The only time Adriana stopped working since she started 12 years ago, was when she got pregnant with her daughter Luka and even then worked till she was eight months pregnant. “I took a six-month break when she was born; then I had to go back to work, that’s why I haven’t had more kids, because I can’t lose momentum, and it’s also not financially possible for me to stop working. And I really love my job; I always worked for different bands at the same time, different styles, different crews, different productions, it all makes my learning much richer.”
People keep asking Adriana to teach about live sound. Her reply? “Tag along, and you’ll learn.” One guy went as far as paying her for private lessons. Hard-working as she is, she developed a teaching plan and taught him everything she knew. In the end, she told her student, “It took me years to learn what I taught you in months – from now on, you’ll have to learn from your own experience. Look for a gig, go to venues, say you’re learning audio, ask if they need an assistant. Do you really want it? Knock on doors.” She said she couldn’t recommend him for gigs, because he didn’t have any real live hands-on experience. “I learned from a guy who didn’t know what an HPF button on a console was, he kept turning it on and off to find out – but everything else he did know, he taught me. And I’m very grateful.” Recently Adriana was mixing a show where her mentor happened to be, so he went up to her and gave her a big hug to tell her how proud he was. “You have to go after what you want. Nowadays there’s a lot of information available, youtube videos, workshops, panels. It’s important to know how to operate the equipment, but most importantly, you have to know what to do with it. It’s a tool, like anything else, you can learn a lot about audio and about your tools, but the most important thing is your ears.”
Adriana insists: things don’t happen if you don’t make them happen. “Nothing fell on my lap. Things happened because I went after them. Thank God I was never out of work. The more I work, the more work I get. That’s a fact.”