Ableton Show Control
For a show not so long ago in RADA (Scuttlers, written by Rona Munro), it was my intention to use Ableton Live for the playback of a variety of songs, beats, and rhythms which the cast would create and interact with throughout the show.
As I have mentioned in my blog Choosing Software, I had decided to use Ableton Live in shows because it allows me the diversity to create my own sound palettes, add in effects, and take them away again easily. Crucially, I can control all of this via MIDI in Qlab, which adds important stability for the show, but still, retains a wide dynamic range of filters and features that can be blended and mixed.
*I’m using a Mac for all of the following features, coupled with Ableton Live 9 Suite, and Qlab 3 with a Pro Audio licence.
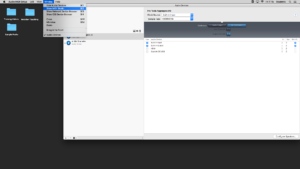
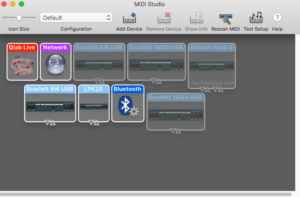
First things first, you’ll need to go into your computer’s Audio MIDI Setup, you’ll want to go to Window in the Finder bar, and select Show MIDI Studio.
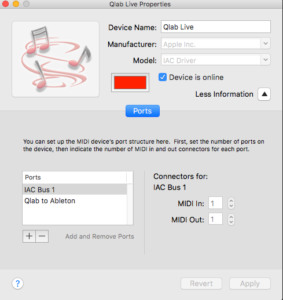
Qlab Live will pop up as an IAC Driver, and you’ll need to double-click the Qlab Driver to show the Qlab Live Properties.
In this new window, you’ll need to add a second Port such as below:
These buses will be used to trigger Ableton from Qlab, and Ableton to trigger itself internally.
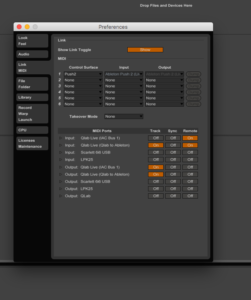
This then brings us to setting up Ableton MIDI. You’ll need to open a new Ableton file and open up the Preferences pane, from here you’ll need to set up the internal MIDI ports to transmit and receive MIDI via the buses to Qlab that we previously set up in the Mac Mini’s own Audio MIDI Setup. It should look something like below:
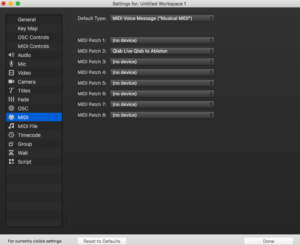
You can then open up Qlab and check the MIDI Port Routing in the MIDI preferences and ensure that MIDI is being sent to Ableton via one of the ports like so:
You’re probably going to want to leave at least one MIDI port before the Ableton bus free for a MIDI send to your sound desk, or even to Lighting or Video.
Once you’ve set up these initial steps, this is when it gets slightly more complicated. You’ll need to keep a strict record of the MIDI triggers that you’re sending, and indeed all of the values and channel numbers. These will eventually each do different commands so getting one value crossed with another could end up with not only a lot of confusion, but you could end up triggering cues before they’re supposed to Go!
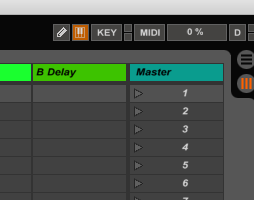
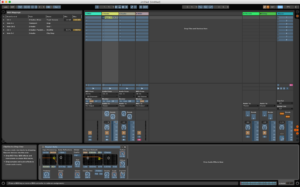
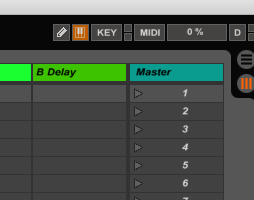
In your Ableton session, look to the top right-hand corner, and you will see a small MIDI toggle button. This is your MIDI view button, and when clicked you’ll also be able to track your MIDI across your session and throughout the show. It will be generic Ableton colour until you click it, when it will become pale blue:
A portion of the rest of your Ableton session will also be highlighted in blue, and the highlighted sections are all of the features available for MIDI control. This can range from volume control on Ableton channels, changing the tempo, fading in/out effects, and starting ‘scenes’ on the Master channel bank.
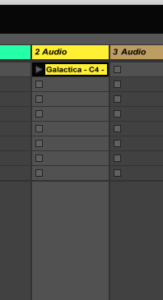
So I’m now dragging in a sample to the first Audio channel in Ableton
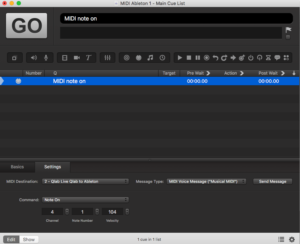
This is the first Audio track that I’d like to MIDI, so I set up a new MIDI cue in Qlab, and make sure that it’s a simple Note On MIDI command – Qlab will always default to Channel 1, Note Number 60, Velocity 64, but this can be changed depending on how you plan on tracking your commands. I’ll set this to Channel 4 (leaving the first 3 Channels free for desk MIDI, LX and maybe Video or spare in case something needs re-working during tech). I’ve then set it to Note 1, with a Velocity of 104 (104 is a key number here, this roughly works out at 0db within Ableton, so is handy to remember if MIDI’ing any level changes). Because all I’ve done here is send a simple ‘Go’ command to the Audio track, however, the Velocity number is sort of irrelevant – because the track is at 0db anyway, it will simply play at 0db.
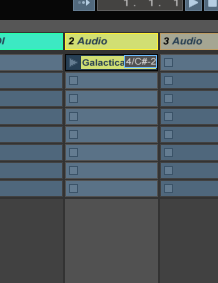
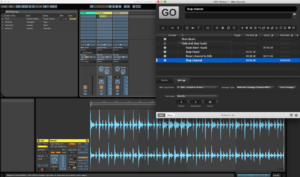
I’ll then ensure that MIDI output is enabled in Qlab, and open the MIDI window in Ableton, again, from the top right-hand corner, and select my track with my mouse (this might not necessarily be highlighted any more, but it will be selected). I’ll then jump back to Qlab, and fire off the MIDI cue. Ableton will recognise this, and not only will the programmed MIDI show up in the MIDI Mappings side of the session, but it will show up directly on top of the Audio cue, like thus:
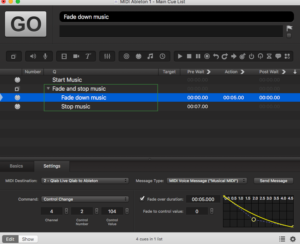
So now that we have an audio track playing and the action is happening on stage, you might have even fired through several other generic Qlab cues, but you want to stop the music and start the scene. There is no escape in Qlab for Ableton, so Ableton is going to keep going until we programme some more MIDI cues; So I’m simply going to programme a fade down of the music, and then a stop.
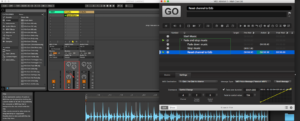
What I’ve done it programme a MIDI fade, which as you can see in the picture, it starts at the 0db value of 104, and then fades down over 5 seconds to 0, or infinity. You can also control the curve shape of the fade as usual in Qlab, and of course, the fade time is completely adjustable.
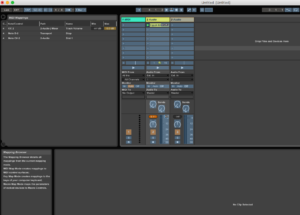
Once I’ve programmed the fade and added in the stop, my MIDI window looks a bit like this:
Ableton has accepted what ‘notes,’ or for Qlab, what values I’ve added in that complete different commands, and also given me a description of what these are doing. Something to note here is that the value to change the volume, whether you’re adding in fades up or down, will always be the same – it is the volume value in Qlab that will see the change.
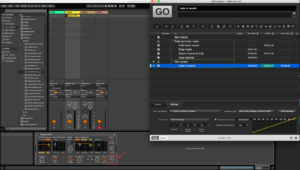
So now that I’ve stopped the music, I might want to start it again in a separate scene if it was a motif for a character, for example. This programming can be part of the same cue:
Again, you’ll notice that the Ableton fader is resetting back to 0db. Of course, this is just one channel, and just one track within Ableton, and the more you add, the more complicated the programming can get. I’ve also added in a channel stop to make sure that should we want to play something off a separate scene in Ableton; nothing else gets fired off with it (just in case).
In terms of MIDI’ing within Ableton, when in your MIDI pane, as a general rule, anything that shows up in blue is viable to receive and be altered by MIDI. This means that you can add in reverbs over a certain amount of time, take them away again, and alter any of the highlighted parameters completely to taste. You’ll then just need to go back and make sure that any fade ins have outs again and a reset.
This is a brief intro to having more control over Ableton during a show within Qlab, and of course the more effects and cues might get added, the more complicated the MIDI mapping becomes.
The great thing about using Ableton in a show is that there are certain parameters (also with MIDI control) that can be changed such as how long after receiving a stop should the track last (one bar, or half a bar, or a beat for example) to always ensure that music ends on beat and makes sense to the listeners. For me, Ableton allows you enough control over what it does, but enough flexibility.
