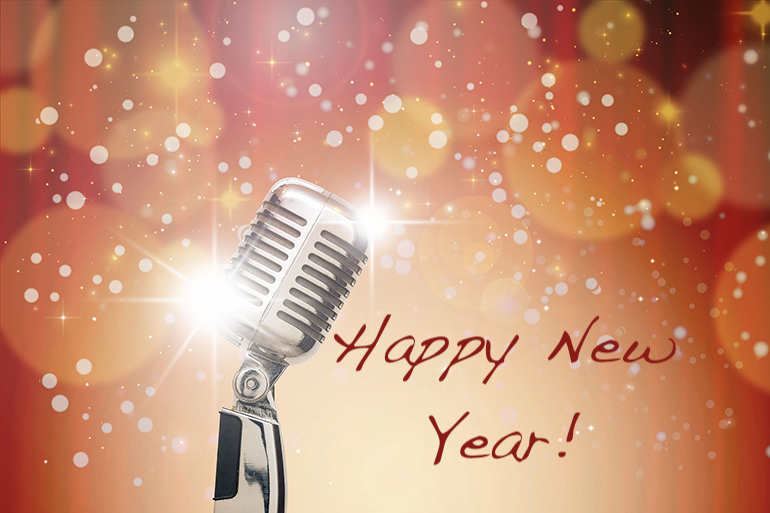
2021 – Change, Hope, Possibility
 Well, here we are. We made it to 2021, and at the time of my writing of this blog, I don’t know if it’s better. We are still drowning in a pandemic, unemployment insurance hit a big snag when the CARES Act expired in December of 2020, the President of the United States attempted to stage a coup by inciting his supporters to storm the Capitol, and yes, the entertainment industry is still shut down. It’s been almost a year. My youngest daughter, who is in the first grade now, has yet to have a school year where she did not have distance learning for at least part of the year. This is obviously not what I planned for my family. I didn’t really prepare to be out of work for months and months when I left my full-time residency in 2019, and none of us were prepared for the emotional/mental toll all of this would take. As dark and sometimes hopeless as it seems, there seems to be some light at the end of the tunnel.
We have a vaccine and have already begun distribution to those who need it the most. It seems that the President might finally be held accountable for his actions. By the time you read this, you will know more than me, but as of just a few minutes ago, House Democrats introduced their resolution of impeachment. States should be about finished ramping up their systems to support a new round of unemployment relief, and finally, there will be a very significant changing of the guard on January 20. I have all of my fingers and toes crossed that this means we will finally be getting down to the serious business of getting our country on track and ready to thrive. Please note that I did not say “back on track.” We need to move forward from all of this, not back. Actually, we need to launch forward, with fresh ideas and open minds.
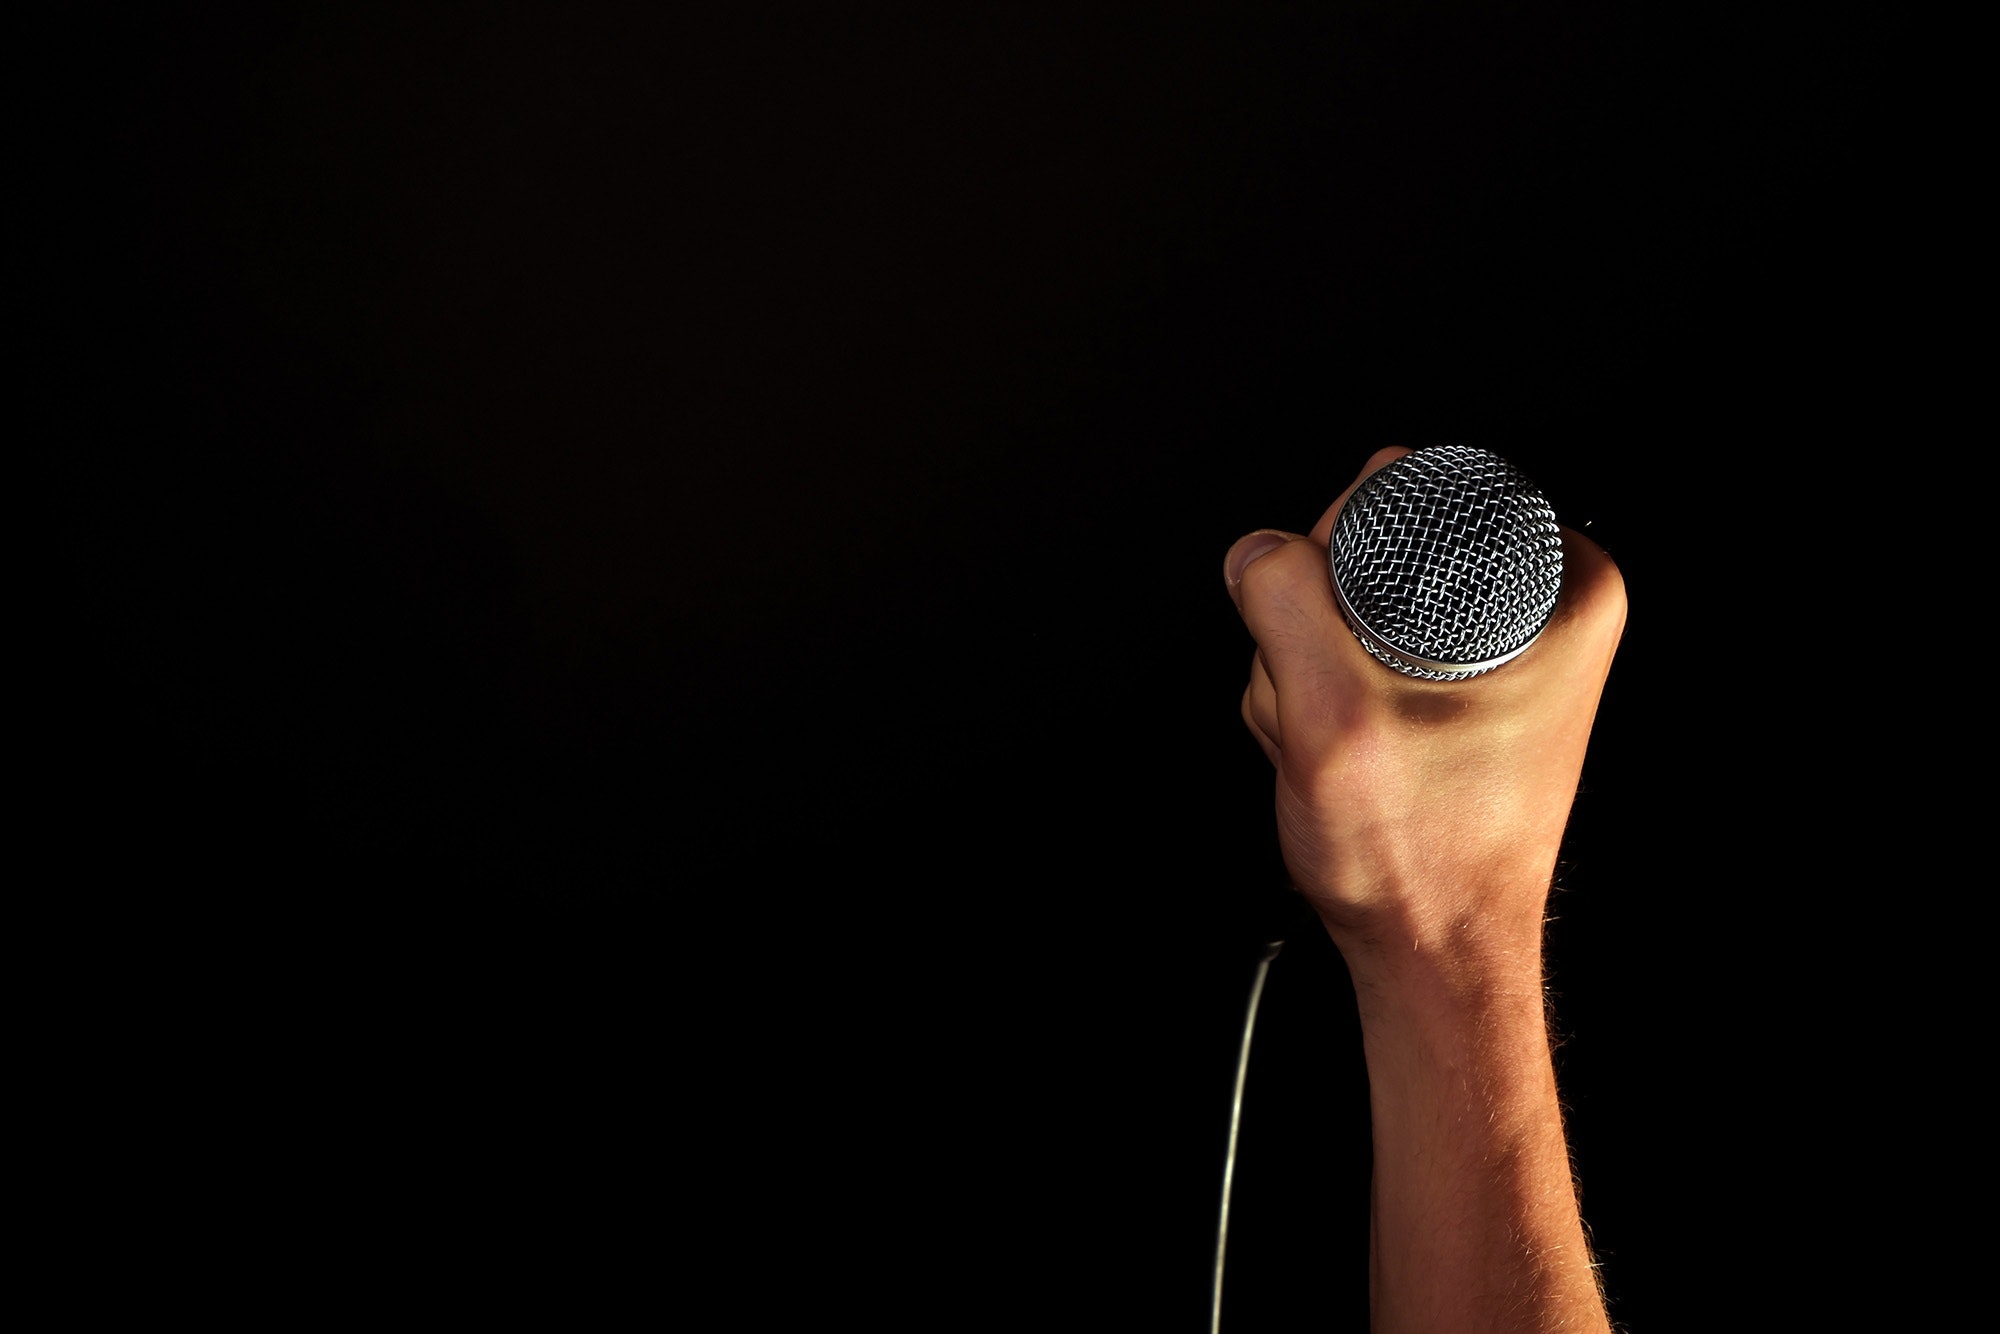
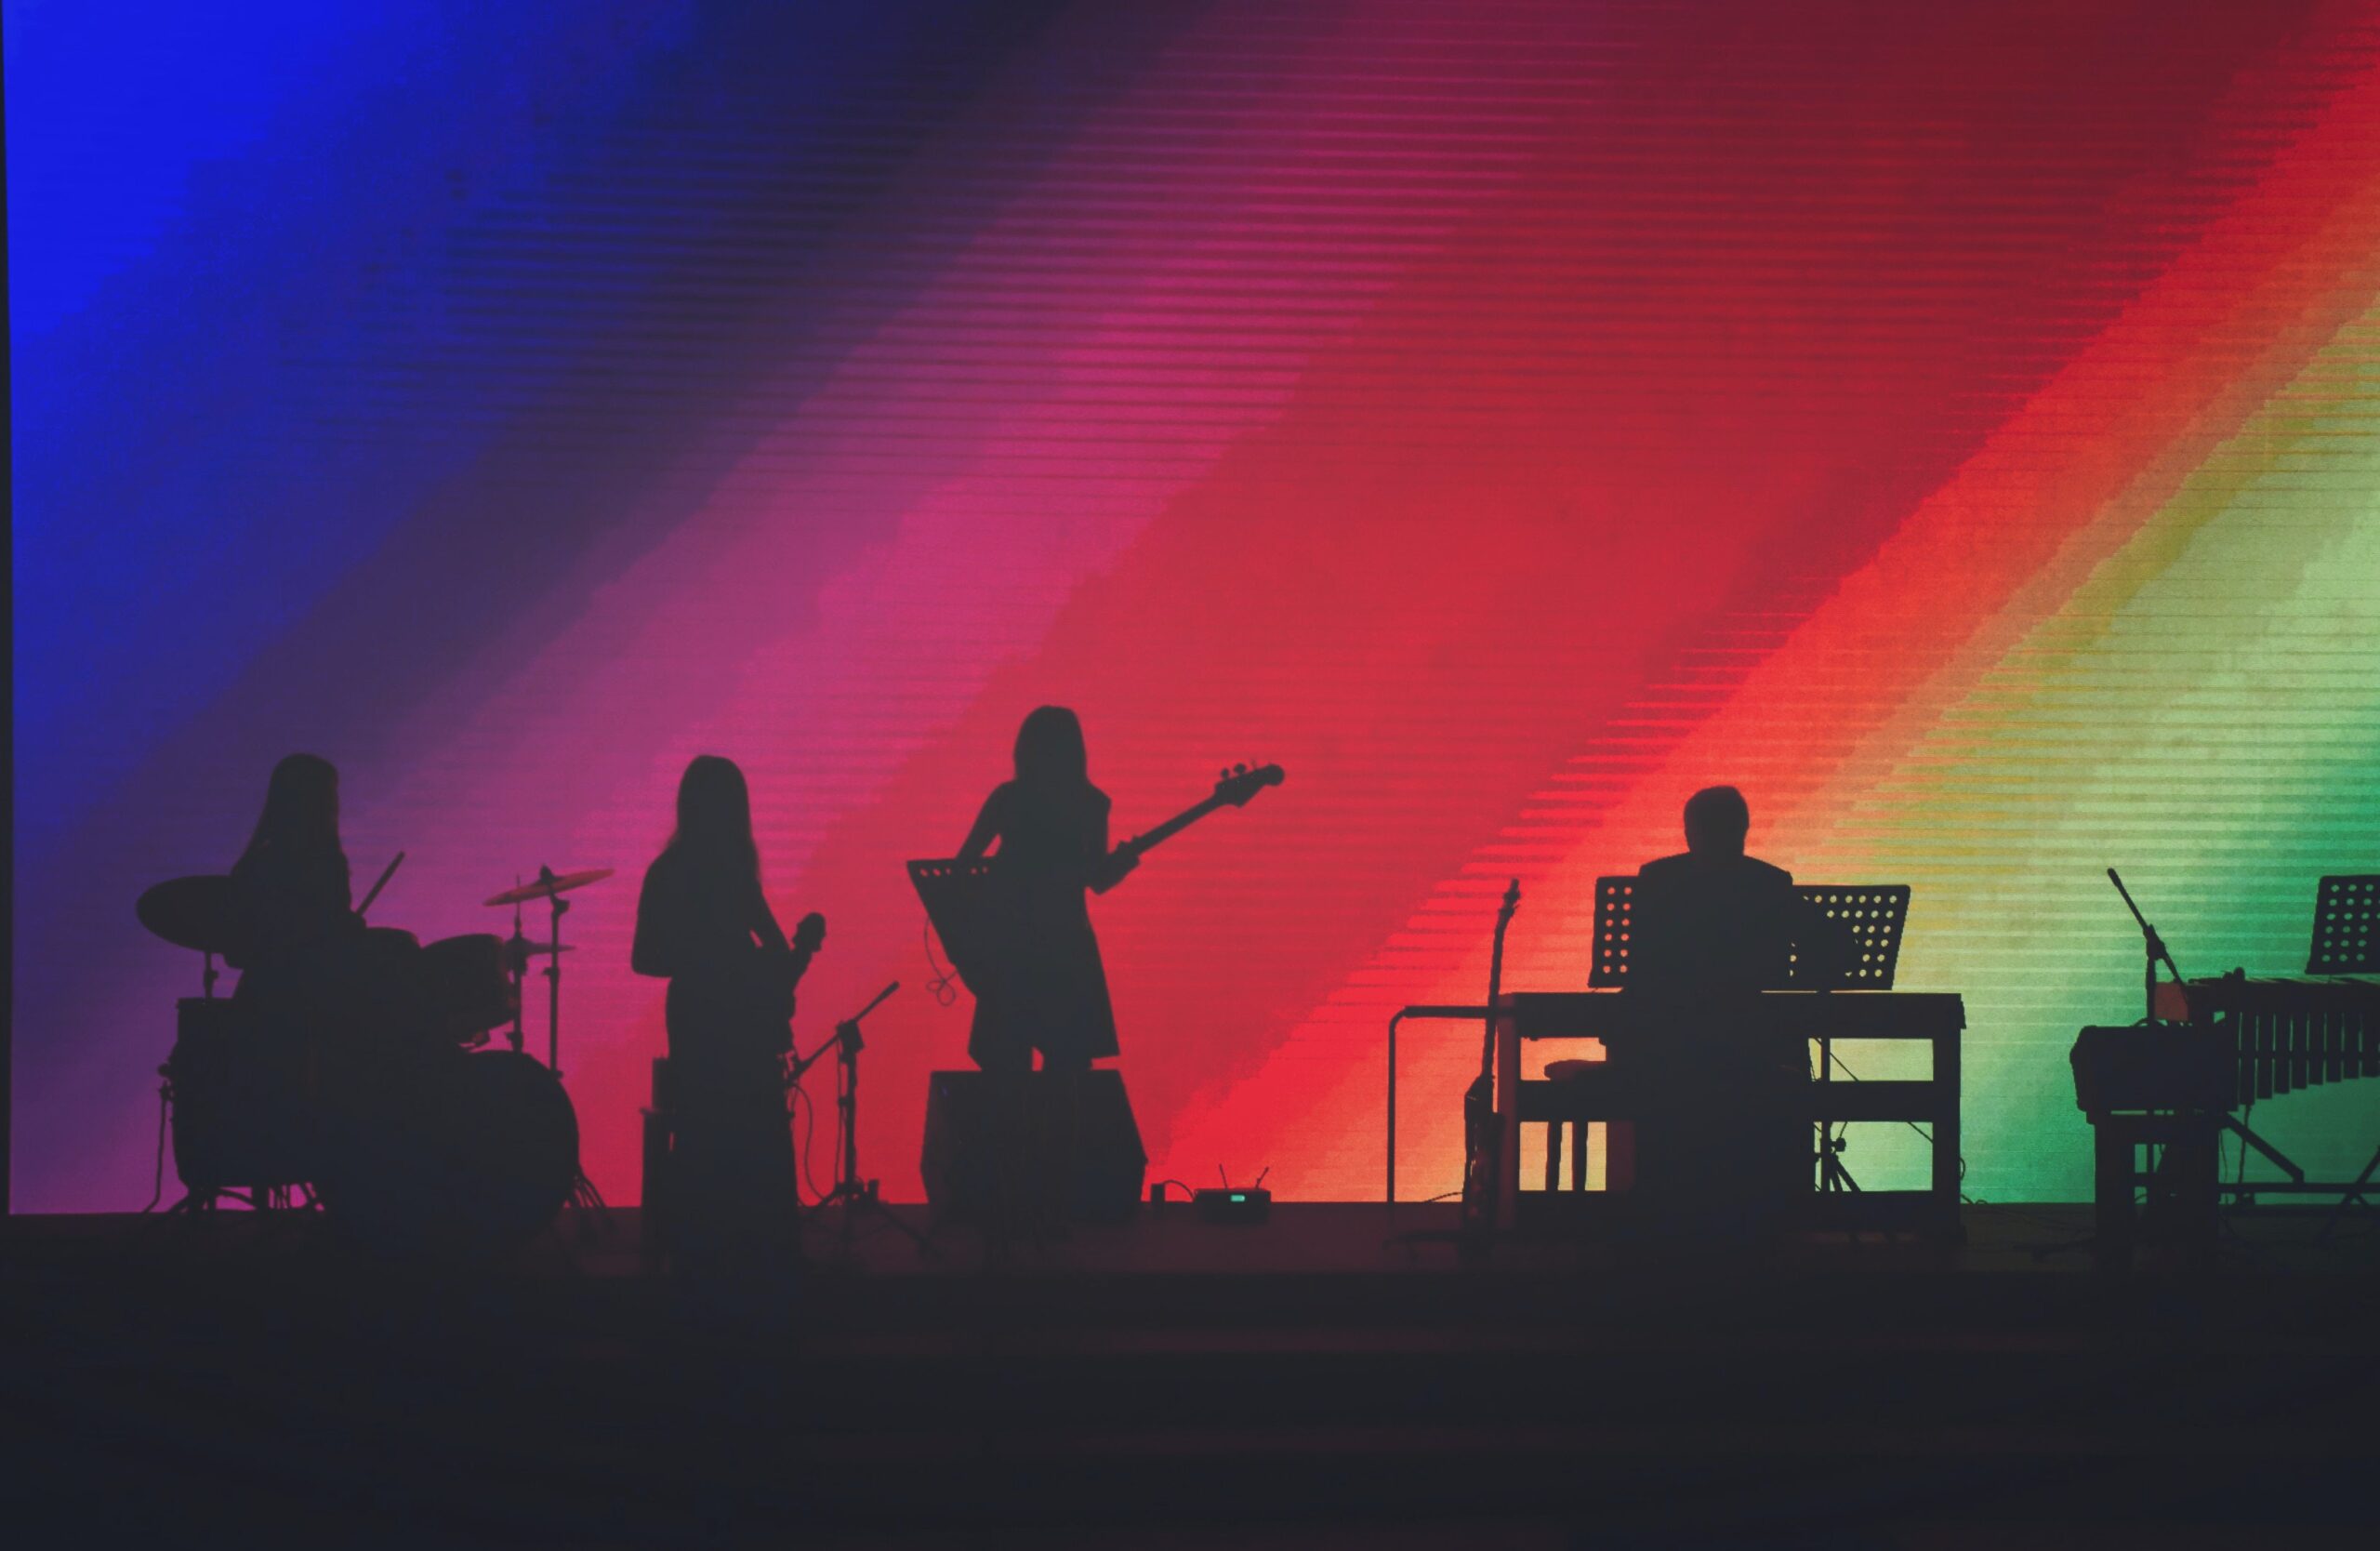
When concerts and theatre come back, I hope we remember what we learned in the downtime. Pre-Covid there was an entire group of people that had never once been to a concert or to the theatre, and it wasn’t because they were afraid of the virus. I think we often forget that while performing arts is so important to humanity in so many ways, it’s also very much a luxury. Millions of people who had previously never experienced a live performance due to lack of funds, inaccessibility, or chronic illness experienced their first (almost) live performances during the pandemic. I have personally spoken with multiple people who told me, through tears, that watching some of the theatrical livestream events that have been available recently was the highlight of their year, and they truly never thought they would be able to afford a theatre or concert ticket. I don’t know how the ability to attend a live performance became a marker of elite status, but I hope that we are able to continue offering this kind of programming in a more accessible way long after we’re able to gather together in person. Why can’t we offer in-person ticketing as well as a livestream experience for any and all performances?
I also hope that this sense of community and camaraderie that has been overflowing in the entertainment industry will continue when we re-enter some kind of normalcy. We’ve all been doing a great job of lifting each other up, checking in, sharing jobs and projects, donating, and offering support in many manifestations during the pandemic. Let’s always remember how much that has meant. My fear is that once we are back, and working, and busy, we won’t remember to slow down and check-in. Some of us will fall into the old grind seamlessly. Some of us will not. I am used to having many plates spinning at all times, and I have always taken pride in my ability to stay focused, to remain detail-oriented, and to keep going no matter what happens.
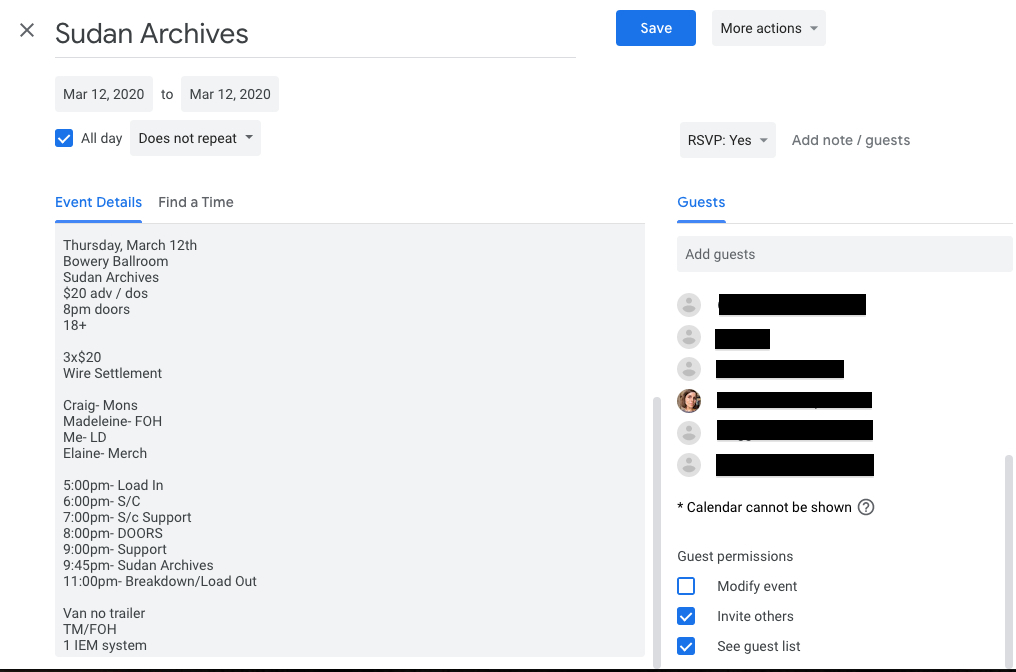
I’ve already noticed that I haven’t been able to necessarily lock in to work the way I could pre-pandemic. I had a one-off event in October mixing one of three stages for a telethon, and of all things, I forgot to bring my headphones. There was no PA, and this event was being streamed directly to live tv, and I left my headphones at home 3 hours away from where I was working. That’s just not really like me. I don’t forget details, especially not big ones, and it made me wonder what else I would forget when I’m back to regular work. I’ve also been finding that when I’ve been lucky enough to work here are there, I am just filled with anxiety over it—before, during, and after the work is done. I really can’t even pinpoint the source of my anxiety in these moments. Maybe I’m worried I won’t have the stamina to make it through, I’m rusty, I’m making mistakes, employers are regretting having hired me…you name it. Whatever the unfounded reason is, the point I’m making is that if it’s there for me, it must be there for others, and I hope that we all just remember that safety net we built for each other as we continue trickling back into the industry.
Let’s also remember all of the work we’ve been doing to make our stages a more equitable place for all of our people. It is easy to sit behind a computer screen and say, “Yes, I will call out and call in inequities when I encounter them in the workplace. I will ask the hard questions. I will respond with grace when I am questioned, and I will keep working to level the playing field.” It’s harder to speak up when there’s a group of real live people staring back at you telling you to stop rocking the boat. I’m telling you right here and now that I am planning on rocking every boat I sit in, so if you’re riding with me, make sure you can swim.
This morning my horoscope said, “Geminis will never take anything a politician says at face value; they’re always going to do their own research and dig deeper. It’s not that Geminis are pessimistic-they believe that change can happen and that things can get better-they’re just not going to blindly believe it.” One hundred percent, internet astrologist, one hundred percent. In 2021, I’m inviting you to join me for some Gemini skepticism powdered with hope and possibility. We’re not beyond hope, but we do need to keep our eyes and ears open and remember the lessons we’ve been teaching each other, and ourselves, in the meantime.
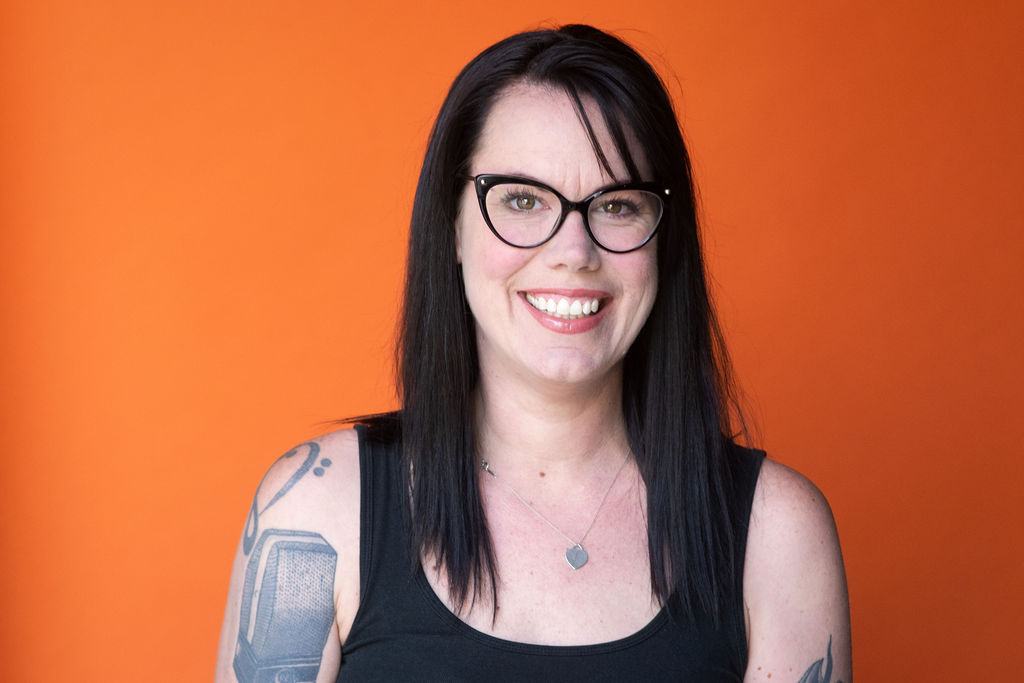 Elisabeth Weidner is a Sound Designer and Composer for theatre. She served as the Sound Director/ Resident Sound Designer/Composer for 10 years at PCPA-Pacific Conservatory Theatre, before going full freelance in 2019. Elisabeth is also an adjunct professor at California Polytechnic State University SLO where she teaches Sound Design and Engineering for Theatre, and she sits on the USITT Sound Commission jury for the Current Practices and Research in Sound papers submissions. In 2020 she was elected to serve as Co-Vice Chair of the TSDCA )Theatrical Sound Designers and Composers Association). She is also the producer of the podcast: No One Likes Us. www.elisabethanneweidner.com