Ashley Ann Lambert is an actor, vocalist, and partner with R.A.W. Voice Casting out of Los Angeles, CA. She describes herself as “passionate about sound and all of its forms.” In her role at R.A.W., she uses her well-trained ear for acoustic direction and sound mimicry to cast accurate sound-alikes, direct voiceover actors individually or in groups, and lead ADR sessions to hone many of the performances we hear in our favorite big and small budget films. A professional voiceover actress herself, at times you can even hear her own voice among them. With remote work having risen during the COVID-19 pandemic, she is now busily working from home as well as in the studio.
Ashley and I spoke via Zoom in August of 2022. Her responses to the following questions have been edited for length and clarity.
What was your earliest inclination that you may have a future working in sound?
I think I did my first school musical, when I was, like, six. And I had a solo, and it really spoke to me. I got “the bug” early, I guess you could say. I always loved singing or saying lines, reading out loud for the class, or whatever. I loved speaking. And I actually ended up booking when I was 10. I started booking voiceover work, and language learning books for a Japanese tech company (I did all of their English learning series, which I guess would be sort of like the Rosetta Stone today), and I did books on tape. It had always been a part of my life. And then I also started taking singing lessons very early on, because I loved it so much. I started training in opera when I was 12, studying classical music.
Talk about some other experiences, educational or otherwise, that prepared you for your current career.
Classical training was huge. You understand it’s so technique based. Particularly with voiceover, and now that I do a lot of voice direction one-on-one, understanding the mechanics of the mouth and sound placement is huge. If you understand it yourself, you can then understand how to explain it to someone. And then I went to NYU Tisch. In Tisch, you have [courses in] voice and speech, breath work, projection, so I feel like I got conservatory training at NYU. And I went to RADA, which is the Royal Academy of Dramatic Arts in London. They had a very intensive program. I performed Shakespeare, so again, it’s about diction, accents, and being able to really understand and control your voice. We studied the phonetic alphabet. So, understanding that has been huge, and, I would say, my music background and, just, love of music. I have nearly perfect pitch, and being able to hear, when you have a group of actors working together, [if] one thing is off, has been very helpful in directing large groups, to be able to pick up the one thing that just isn’t working.
What skills have you cultivated that set you apart at your job?
I would say, funnily enough, the link of being a conductor. Either I do sessions one on one, which is more about the technical voice placement, being on-voice/off-voice, or I direct sessions with 20+ actors in a room together, doing group sounds and single sounds. When I work with a group, being a conductor is not how everyone approaches it, but I really do approach it that way – where I find what your strength is, and that’s what I’m going to have you do. Maybe you think you’re good at one thing, but maybe I need to kind of gear you back towards what your voice should be doing. I approach things as a conductor, to make a tapestry of voices really work to support a project instead of it being a little mismash that people are going to have to edit later. That’s what I like to lead with. I want the product to be perfect for right now, and you’re not going to have to be like, “Oh, I’ll fix it and make it okay later.” Especially when you’re in a recording studio, and they’re like, “Well, we have three decent takes, and I’ll edit all three together and have it be fine.” I want that one take to be great. And then I would say, I also am a really great communicator. A lot of Hollywood is being able to take what the producer wants, take what the actor wants, take what the people behind the scenes want, and figure out how to be a single voice giving the direction to the artist that isn’t going to stifle their performance; to figure out a way to describe what I mean technically, but also still give room for creative freedom. I’m very good at being that. I’m like a translator, a conductor of a translator! And underneath that, I’m respected because I also am a good voice actor and musician, so I’m not speaking from a place of not knowing. I’m speaking from a place of having been there and wanting to make it the best. And I think everyone I work with knows that the goal is to have the best product.
Can you describe a typical day? Are there certain routines that help you to get into a flow?
Yes. I’ll do a couple of different options. If I have a one-on-one session with, like, a high-profile talent, I definitely show up having prepped the script. I like to be action based when we’re working on performance, so I’ll look at each scene and know the emotional action base that needs to be behind it. But on a day where I’m going to direct, like, a four-hour session for a video game or something, I come with the script prepared, I come with my notes for knowing vocal performance (what’s loud, what soft), paint some visuals so they can creatively get in the space. Then we just kind of dive in and plow through it, but I feel like having a little map of where I’m gonna go is huge for the one-on-ones. The group sessions… they’re crazy. I just kind of show up – again, prepared, I have my notes, I’m ready to go – but I pre-assign who’s going to do what to the best of my ability. Because I cast it, I know what my troupe is for the day, so I do a little pre-assigning, but then I just go. Coffee. Coffee is my number one prep source. Just have a really good cup of coffee, and then be ready to go. When I’m recording, I do like to try to get in a little five-minute meditation. If I’m singing ever, I do a full 30-minute vocal warmup – I like to return to my Italian roots, do a little Italian aria warmup – and be extremely hydrated. I mean, those are very technical things, but three different categories. [Laughs.]
I hear you on the hydration for sure.
Very important! And it’s amazing, some days will go by and I’m like, “I had one glass of water.” But if you are hydrated? Oh! Huge difference! When I do a voice for a video game or I’ve been cast for something, I just have to keep hydrated. Your mouth starts making weird noises if not. It just gets weird. Chapstick: another good secret. Have a good amount of chapstick so your lips don’t make noise.
Beyond the essentials (you mentioned your notes), which tool do you find most helpful in the context of a typical workday?
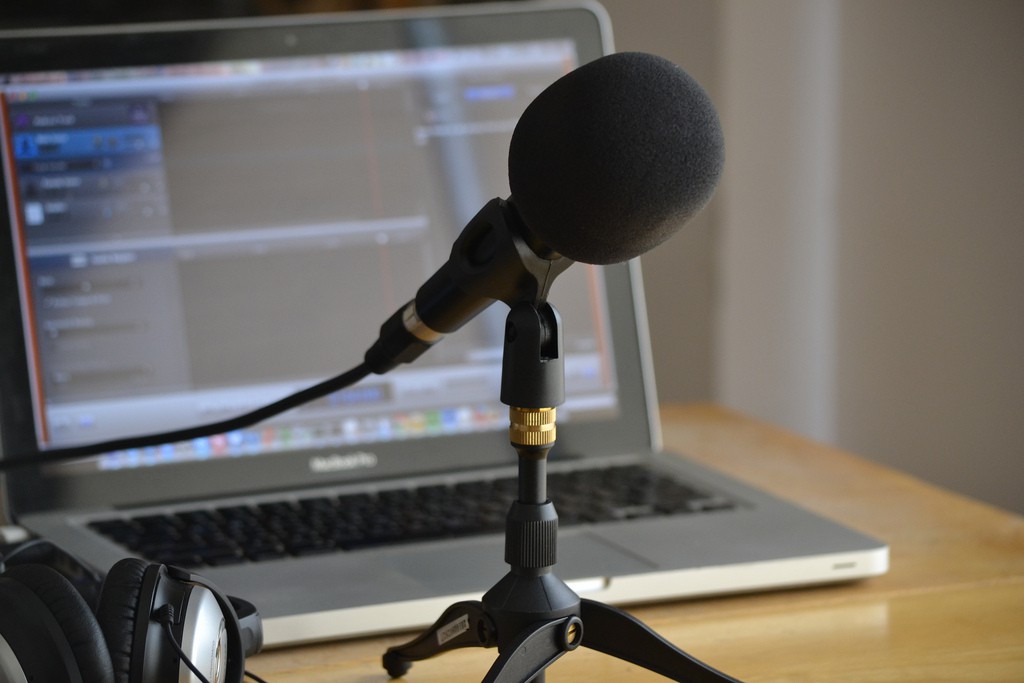
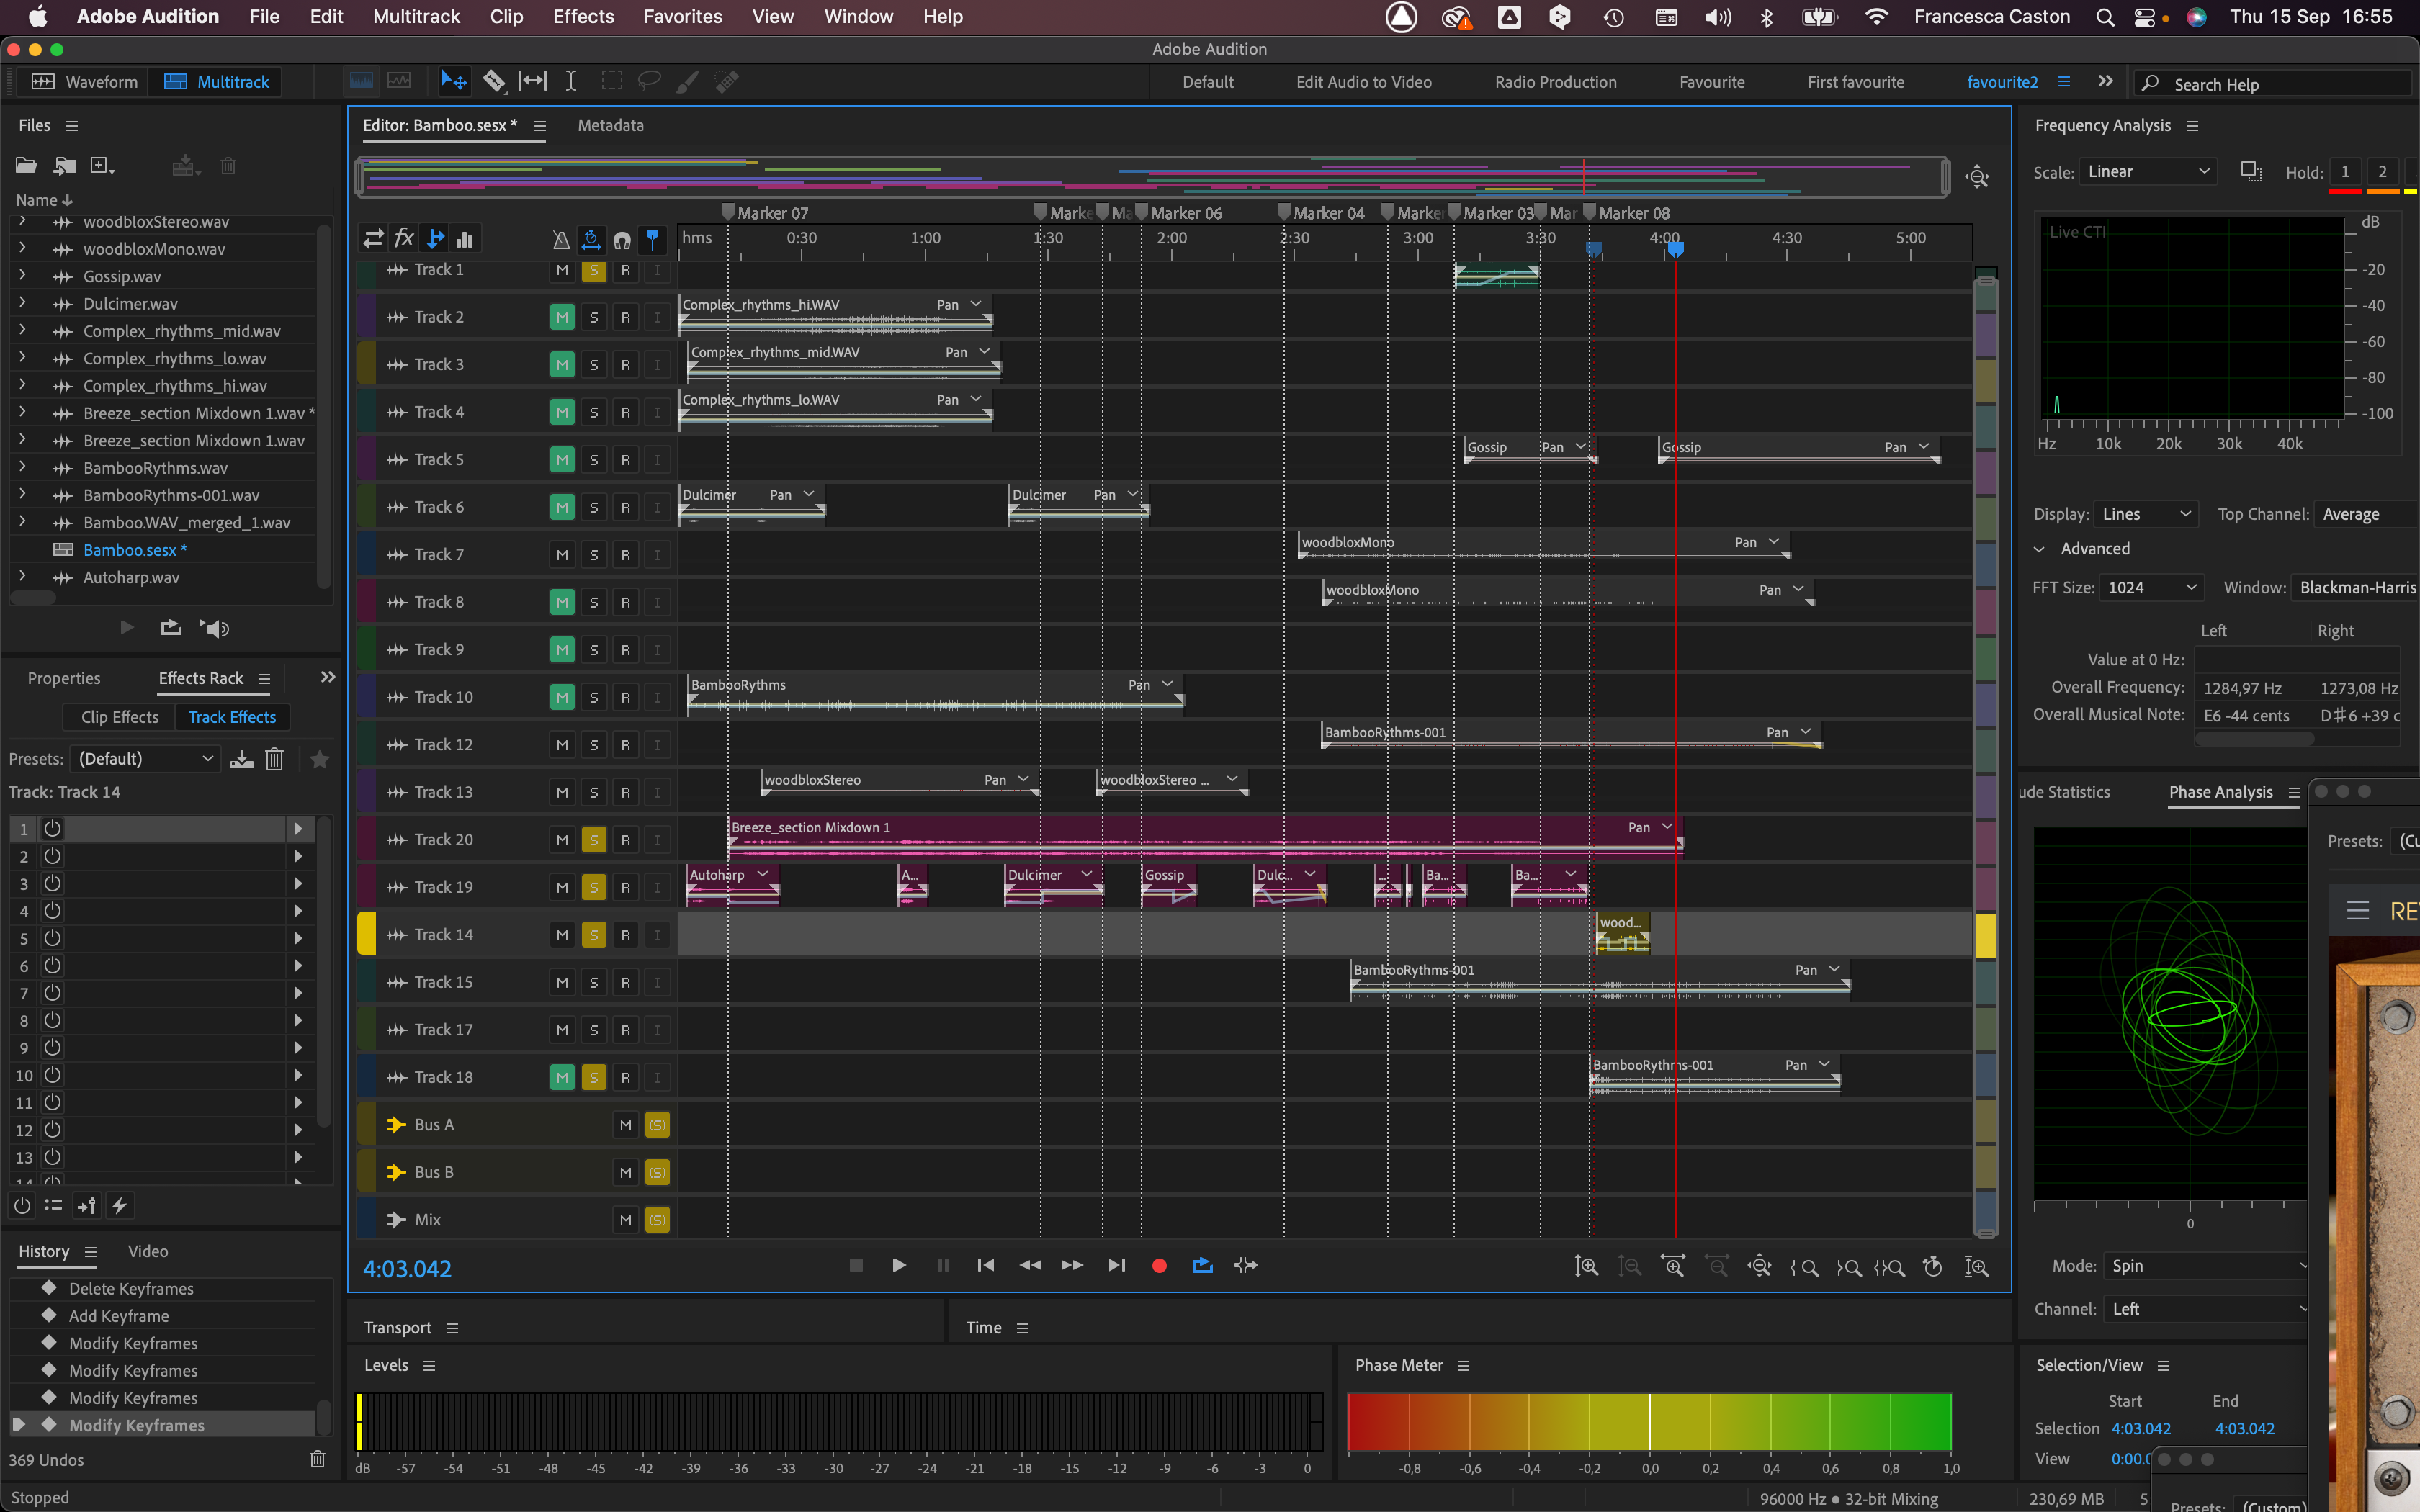
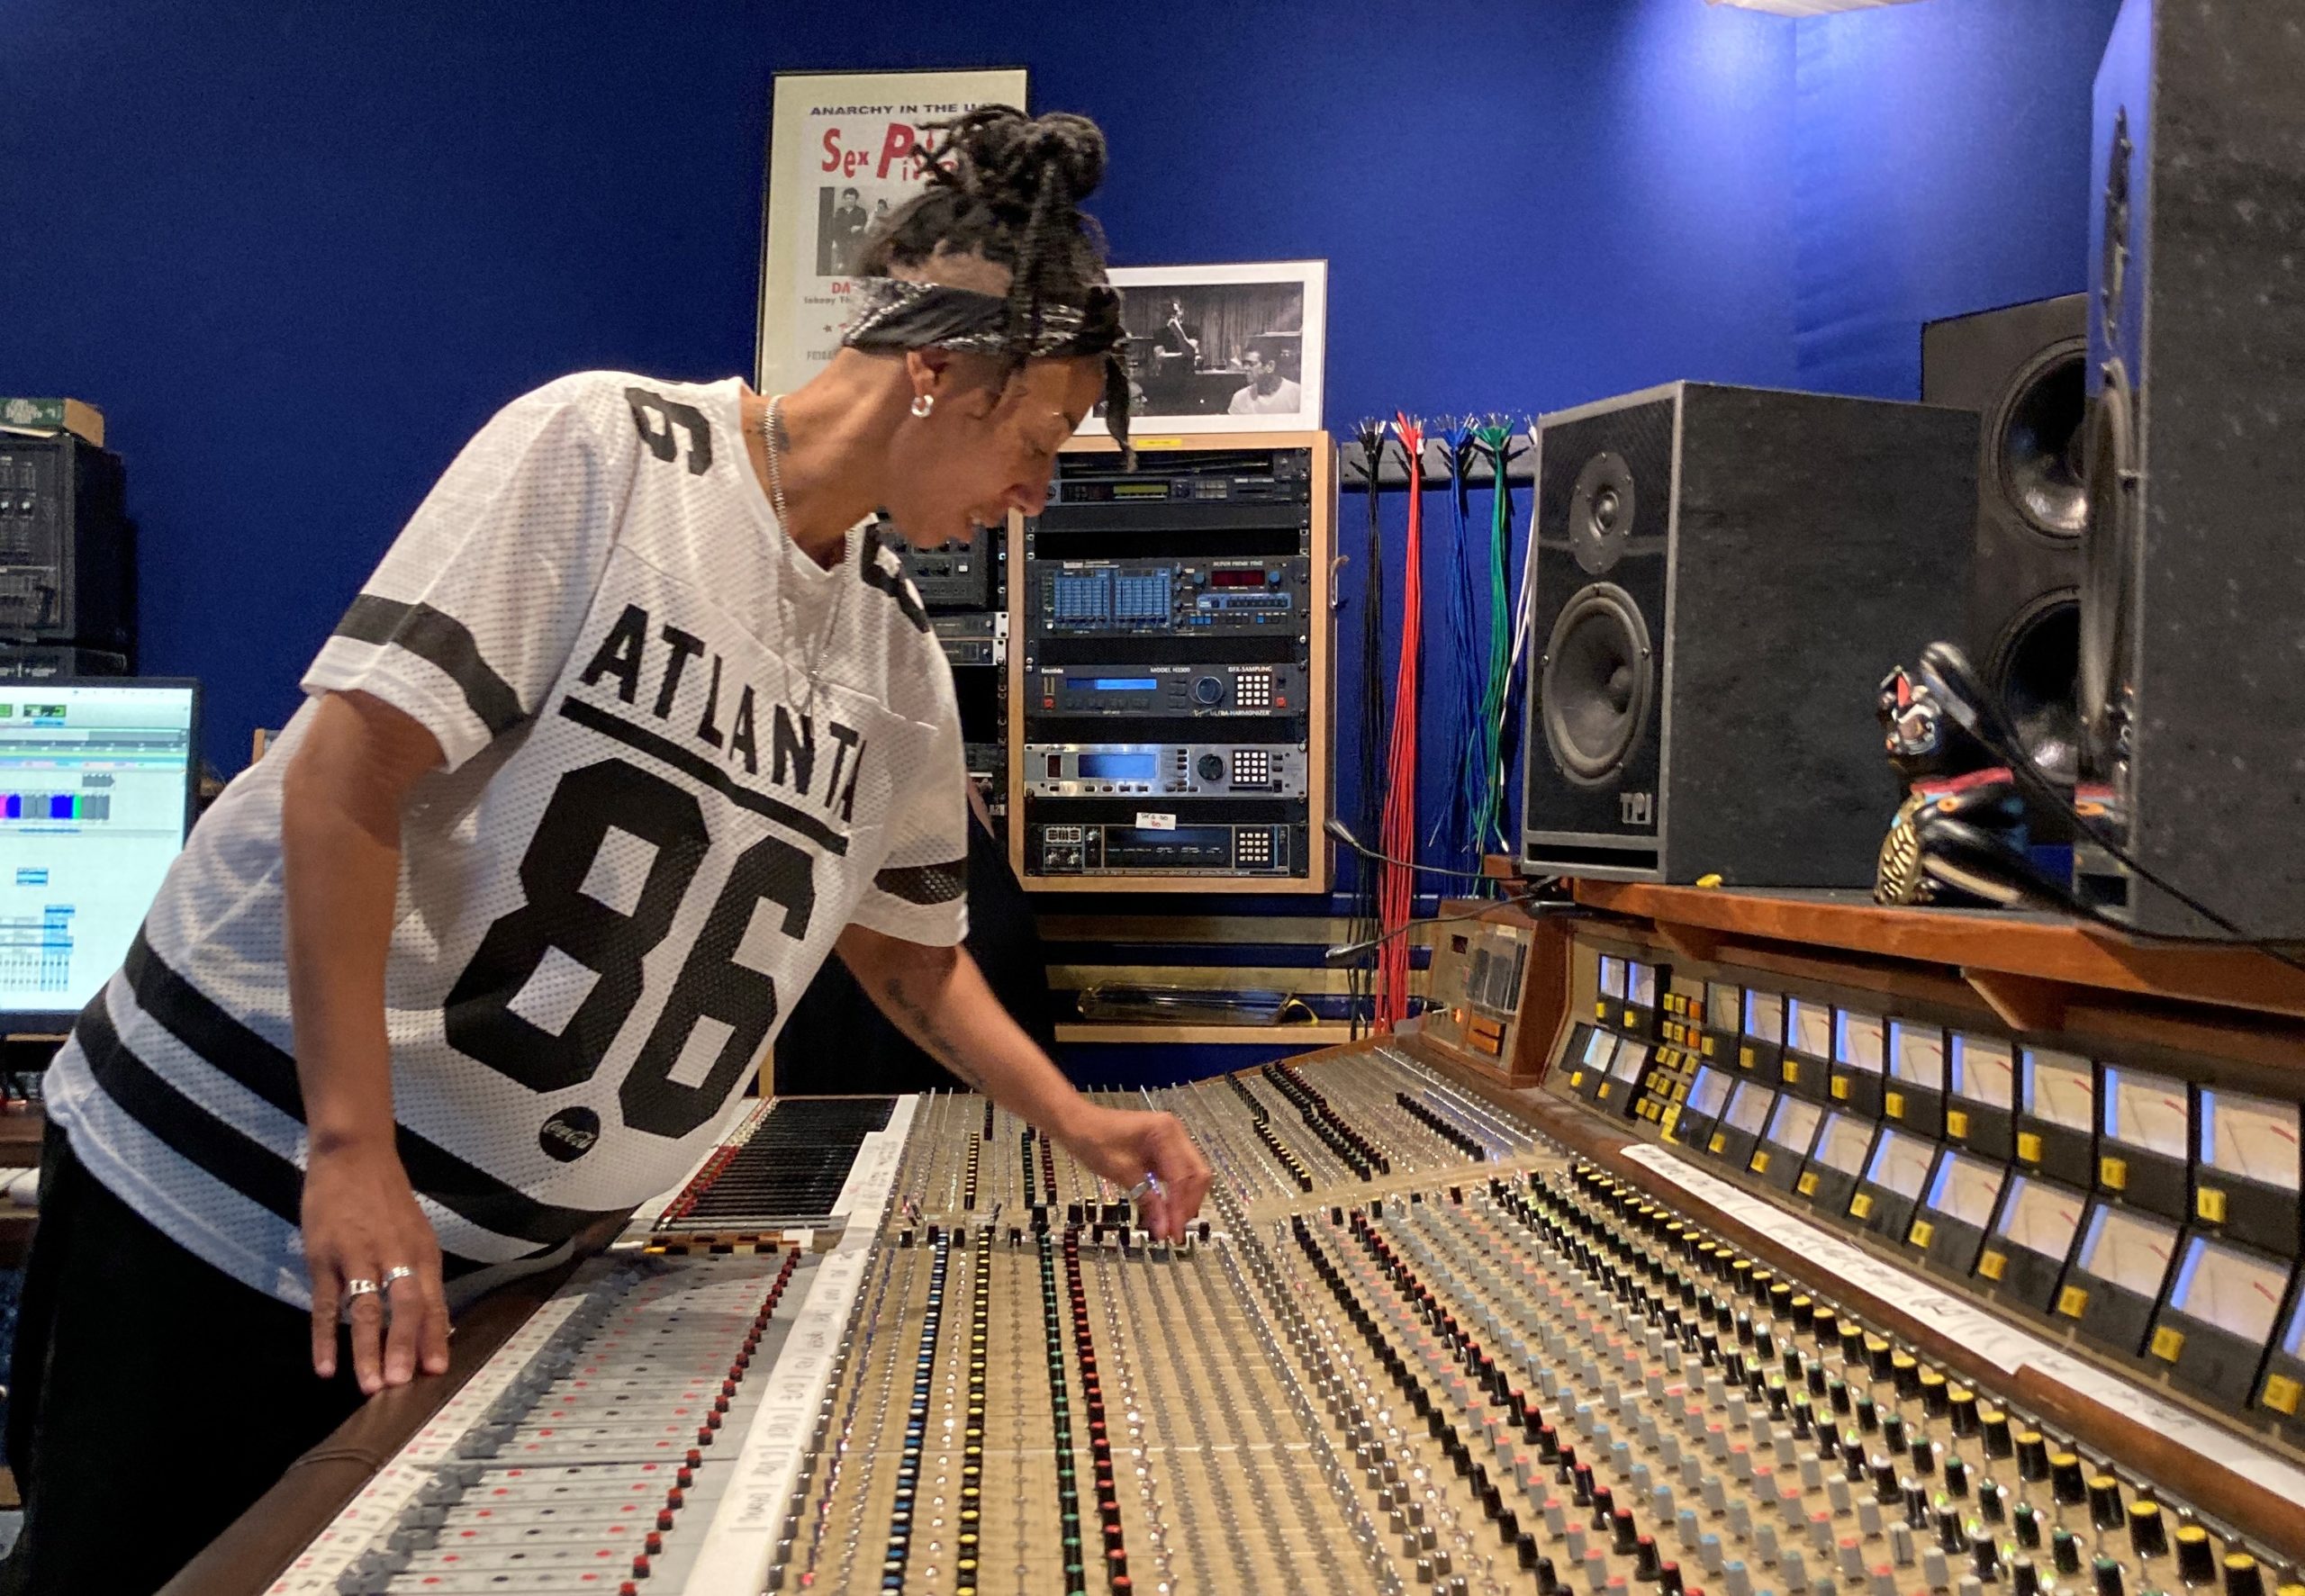
Well, again… coffee. No, I would say if I’m doing a remote session, the sound equipment, and the headphones are everything. I use Bose headphones that I just love. They’re great. I actually have a mic on the go that I bring with me, the Shure MV88, which has been such a little gem. You just plug it into your phone and the sound quality is great. That’s been a good little secret weapon. And then I also use the Hype MiC that I just love. For my home sessions, you can kind of soundproof any room, but I work in my closet. My gowns really pad it well, you don’t need to do much. When I’m doing a remote session: good internet, good headphones, good mic. That’s it. When I’m in the studio, they take care of the technical. I’m on a giant soundstage, it’s more just have my water and have my wits about me. That’s it.
“Have my water and have my wits about me.” That’s the quote.
That’s the quote. That’s it. “Water and wits.” When I do large group sessions, it’s all improvised work, very rarely scripted lines. For loop group, or adding voices to a movie, they don’t script stuff for us. So you have to be on your toes. And like, if it’s a scene with reporters, we get the gist of what we need to be asking about, and it’s like, “Go. Come up with questions. Go.” So wits are very essential. Lately, having had a baby, I’m only functioning at like, 60%, so we’re doing our best. [Laughs.]
Eventually, that’s going to make things even more interesting, because he’s going to start to inform your whole process and your language mentally. And you’re just going to have [laughs] these little phrases in your head that come from him and your life.
Oh, my God. Totally. Already, some of those things have come out where I’m like, “whoa… I just… sorry about that!” [Laughs.] I fully volunteer myself for any mom cue. I’m like, “I will do a great voice for this. It’s authentic.”
Yeah, you’ve got it down. It’s gonna take your skill set and your art in a whole new direction.
Yes.
So what qualities do you seek in collaborators in the audio world? And this can go for casting as well.
I like people who are going to get in the trenches. In terms of the production side, and actually, for artists, it can be long days. I want you to be someone that has a pleasant attitude, that’s going to get in the trenches, knows your talent, and knows to not get your feelings hurt if you’re not the right one for it. To be collaborative is huge, right? Like, sometimes, I want you to bring your ideas to the table, but not get offended if your idea doesn’t get used. And I try to foster an environment where that’s what we’re doing, we’re all throwing ideas up. But at the end of the day, I’m the one that’s going to make the final say, or the producer in the room is going to make the final say, and I don’t need to deal with ego. I would also say I like people who are collaborators and willing to try something out of the box and do that not begrudgingly, because sometimes you can come up with great things, and sometimes we all have a good laugh that it was a disastrous idea. So yeah, I think that that’s the biggest thing, being collaborative. And also having a high standard for the quality of work. I think that we all work really hard. And I like to work with people who want to work really hard, but also want to make it a great day. Because it doesn’t then feel like hard work. I want us all to be proud of what we’ve done at the end of a session.
Whose mentorship has been most crucial to your current work? And what was the most important lesson you gleaned from them?
I have a couple. My business partners who I run my company with Wendy Hoffman and Ranjani Brow, they really taught me. They took a chance on me, when I was like 24, to just start running things basically, to start directing actors. They saw I had a skill for talking to people and being very direct, and they just threw me up there. But within that, they really taught me how to finesse the politics of it all, and how to have the right wording to command respect even though I was young. And, I mean, they threw me in, but always had bumpers on the side. I feel like they really taught me the world of voiceover direction and large group collaborations. They gave me sort of a guidebook by watching what they did, and then they would give me gentle notes on how I could do things better. But they were both people I looked at and was like, “I want to be able to dial it in as they do.” And then, in my personal music career, my singing mentor who is still my mentor to this day is a man named Val Underwood. He has brought my voice back from the dead. He always has amazing training, voice therapy, and encouragement. And he’s known me since I was 14. He’s been incredible and has always been like, “Keep doing it. Keep doing it. Your voice will continue to grow. Keep doing it.” He’s been a constant source of inspiration and encouragement that’s just amazing. And he works with the coolest artists, too. He’s been with opera divas and pop singers. It’s so cool to hear his stories and want to make my own.
What great people to be surrounded by.
Yeah.
So what do you wish others knew about the work that you do?
I wish people knew how hard we work for the group recordings. People don’t know a lot about it, first of all, but I think sometimes people think it’s very easy to do. They don’t realize it’s improv. You have to be on your toes. Sometimes they’re eight-hour sessions, where you’re just constantly using your brain, using your voice, changing your voice up. There’s a technical aspect, to understanding the technical parts of how you record in that environment and to still sound natural. It’s such a skill that not everyone has. I have so much respect for the actors I work with because it’s basically like they play 100 characters in a day in that environment. And you would never know it. I think people are like, “Oh, you’re just coming to do a couple of reporter voices or whatever.” And I’m like, no, they’re doing, like, a reporter, a kid, a little old lady at the grocery store, they’re speaking five languages. I think there’s a lot of credit owed to voice actors. People don’t know how talented they are. And I think also, on the side of more the one-on-one, people don’t understand how the tiniest adjustment to your voice can either take away from the emotional performance or add to the emotional performance, like the difference between saying, “I love you,” whispered versus fully on-voice versus shouted. Those are three entirely different characters, three entirely different motivations. And it’s so powerful. I think it’s not that I wish people knew it, but I think sometimes there’s a moment of pause that people could have. Performance can be so finessed with the voice. You give away so much when you have your face, your eyes, and all the things, but if it’s just the voice, there’s really a lot of unpacking of emotion that can be done just based on volume and, again, being on-voice or off-voice. There’s more finessing than just hopping up to a mic. It’s nice to take a moment and actually think about it. I rarely do, like session to session, but I’m very passionate about sound. I think it’s a little bit of magic art.