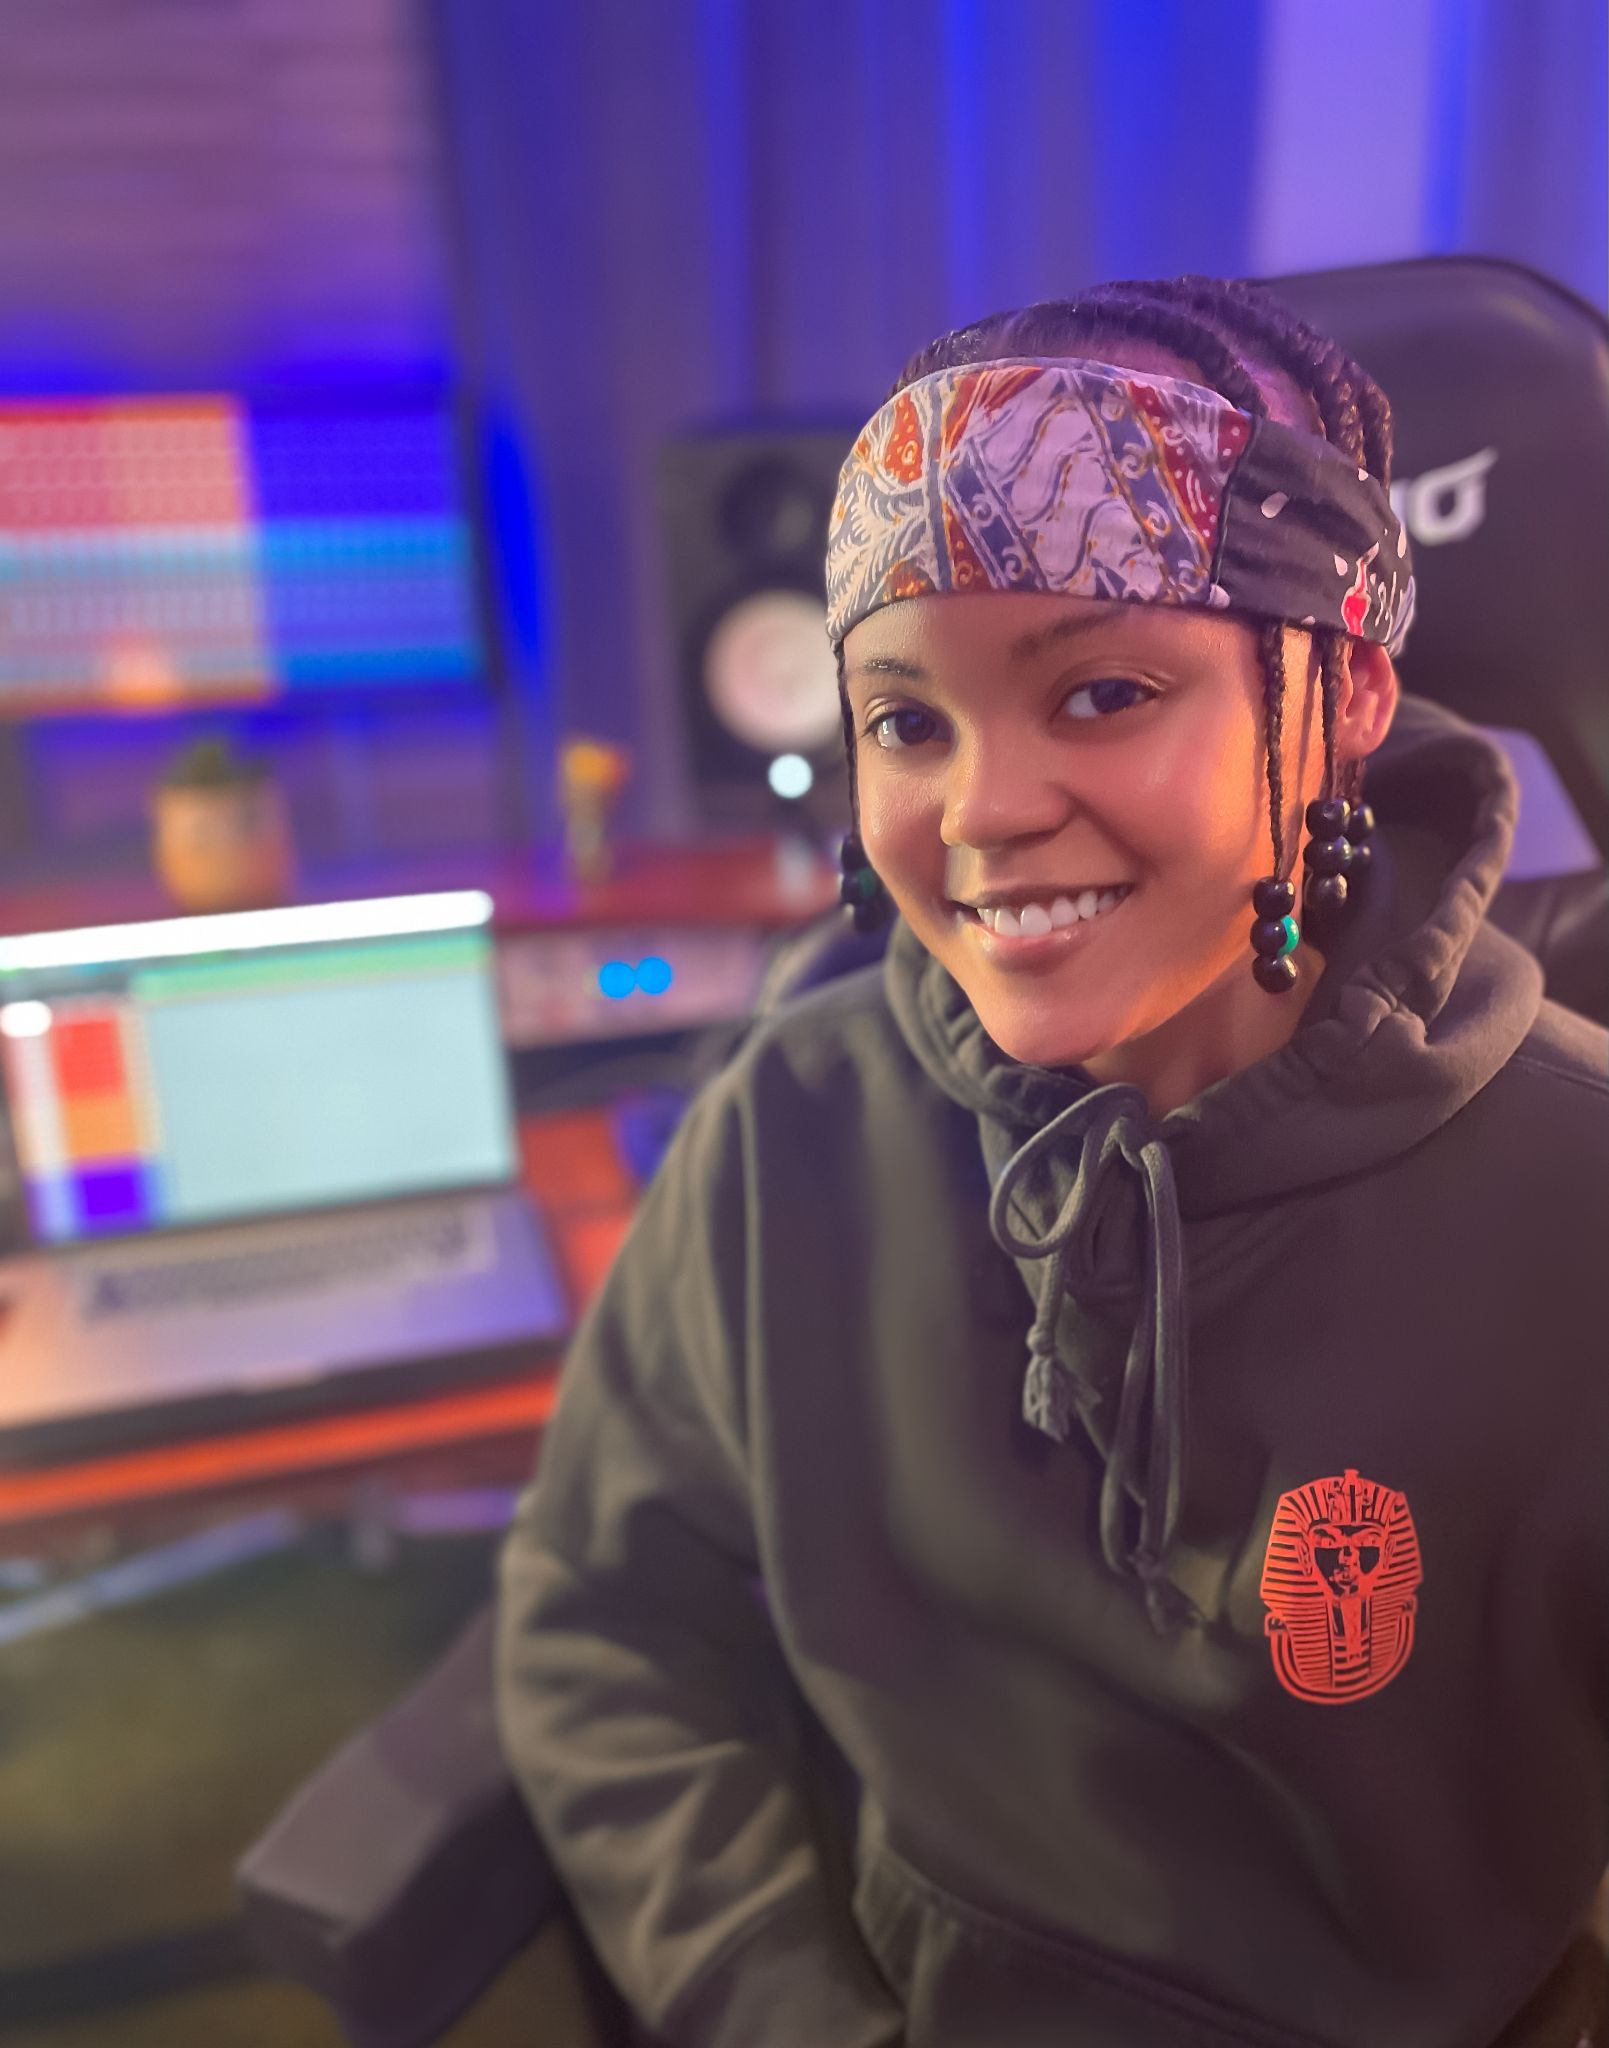
Kylie Grace Snyder – Forging her Own Path
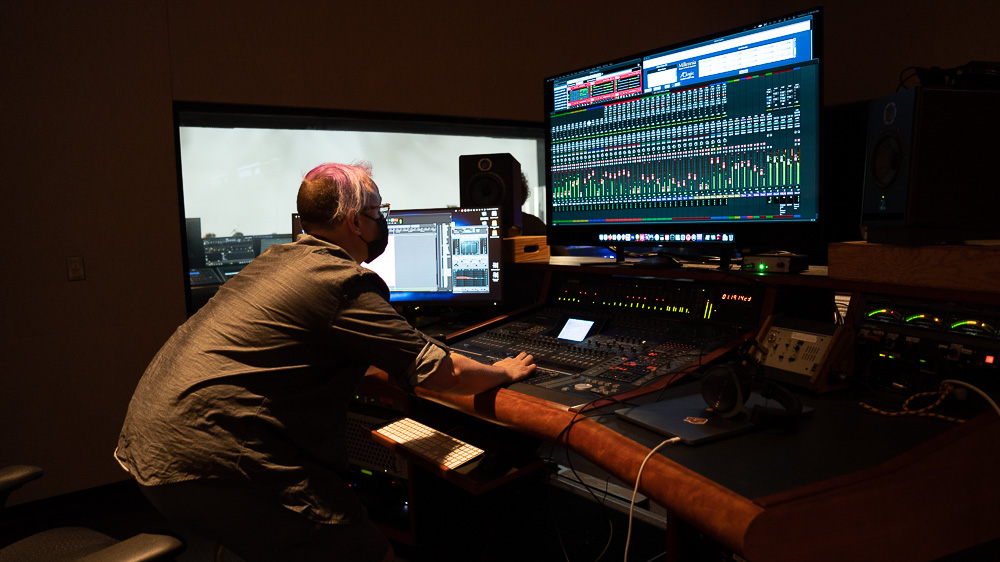
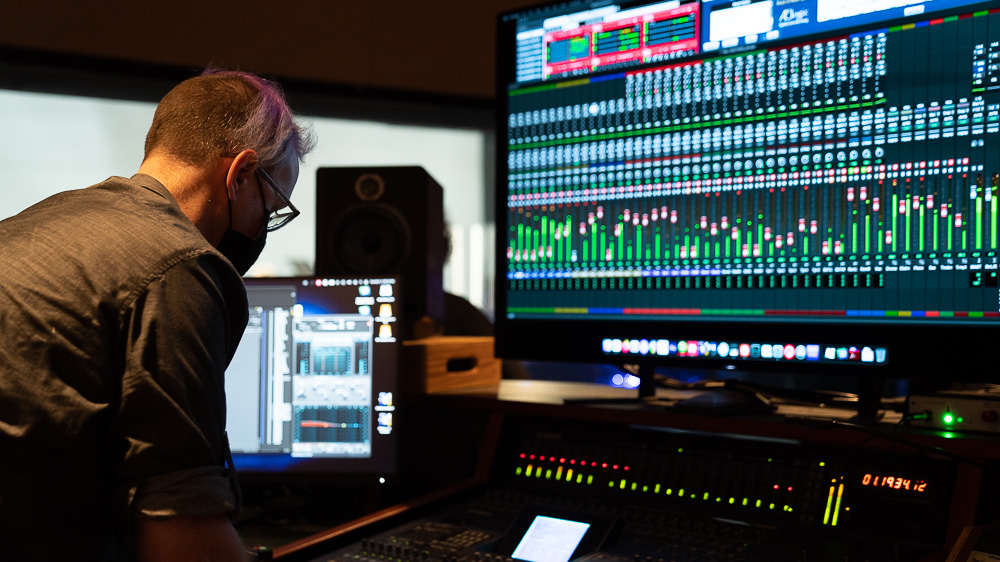
Kylie Grace Snyder is a reformed singer-turned-audio and media engineer working on staff at the University of Michigan’s Duderstadt Center as Technical Lead for Media & Studio Arts. She loves building complex integrations between analog and digital systems, primarily in studios, and talking about her experiences as a trans woman.
Kylie got her start in audio at age 13 participating in choir and band and by the time she got to college, it was the only path she wished to pursue. She received a bachelor’s degree from Ball State University in Gender Studies, with minors in Digital media and English, and a nearly-complete degree in Music Engineering Technology from Ball State University, and a Master’s Degree in Science in Music Technology from Indiana University. She is also a classically trained vocalist.
Career Start
How did you get your start?
Primarily doing freelance work throughout the midwest. I managed to land a 9-5 not long after graduating college (luck) where I was helping run a major audio website at the time. So thankfully my writing experience came in super handy. After a number of years doing that while freelancing I decided to get my master’s degree, as I was very interested in working at a university (turns out it was for the safety :), and that eventually led me to where I am now.
What did you learn interning or on your early gigs?
To not overreach with perceived knowledge. You’re not going to know everything, but despite how it may feel, you’re not supposed to. Not knowing something is wildly acceptable so long as you ask for help.
Career Now:
What is a typical day like?
These days they’re relatively chaotic, though nothing like my days of running shows, but in general, most days are relative chaos. I spend a handful of hours in various meetings depending on the day (production meetings, admin, IT, etc.) and completing various related tasks (expense reports, demographics data, purchasing, etc.). The best days are those where I’ve been pulled into the studios to help with a challenging issue (PSU blowing up, network abnormality, or even just QC that doesn’t make sense) as I feel most directly connected to the job. In essence, I do my best to support my team through the various technical challenges they may face.
How do you stay organized and focused?
I promise to let you know when I figure it out 🙂 Realistically, for me, it’s my calendar which I live and die by. Over the years I’ve found that to be the best mechanism for coping with my ADHD as lists, etc. are wildly nebulous and don’t provide the accountability I need. For me, it’s all google calendar.
What do you enjoy the most about your job?
Learning new things and solving unusual problems. Once the technology is working I’m wildly disinterested and would prefer to hand the task off to staff. Finding the problem, however, is a supreme joy for me as my brain finds troubleshooting to be an endlessly fun game of logic puzzles.
What do you like least?
Meetings and paperwork. They’re absolutely terrible. However, the studios don’t keep running just through enjoyable gigs, so it’s helpful to remember that even the most mundane administrative task can have a material impact on facility operations.
What is your favorite day off activity?
Relaxing with loved ones, hiking, and playing video games.
What are your long-term goals?
Oh, that’s a good one… I often toy with the notion of getting a Ph.D. but I also muse a lot about getting an MSW and trying to help people. What I’ll surely wind up doing, as it tends to be my pattern, is keep learning new things and expanding my skill set.
What obstacles or barriers have you faced?
We’ve reached a few challenging questions. My early career was spent as someone who presented as masculine and I didn’t have any issues. I’ve experienced some harassment at work now that I’m out, however, in general, I have a really safe workplace. The real barriers have been global – dealing with bigotry and the politicization of who I am as a human. That really sucks and wears thin some days but I try to be brave.
How have you dealt with them?
The issues I’ve experienced have occurred at 9-5 jobs so I followed the appropriate channels to address them through HR.
Advice you have for other women and young women who wish to enter the field?
That’s a really difficult question as I only started transitioning in 2021 which was long after I had an established career. That said, I think the most universal advice I can give is to be authentically yourself. Not everyone is going to like that person, however, nothing good comes from being what another person wants. Also, stand up for yourself and others when things are wrong / feel bad even if it’s scary. Nothing changes if people aren’t told how they’ve misstepped.
Must have skills?
Knowledge of IP networking and the ability to troubleshoot
Favorite gear?
I have a handheld Sencore SP395 and a DSO Shell handheld oscilloscope that are still my first go-to’s for mobile testing. They aren’t terribly exciting but they’ve gotten me out of more jams than I can remember.