Annlie Huang is a Los Angeles-based music editor for streaming content at Marvel Studios and an independent mix engineer. She began her journey by obtaining a B.F.A. in Performing Arts Technology and a B.S. in Sound Engineering from the University of Michigan, and she has since become a consummate professional with vast experience ranging across the spectrum of film sound production and post-production. Her credits include Mulan, Frozen 2, Avengers: End Game, and most recently Moon Knight and She-Hulk. Even with her film and television work amassing, Annlie still takes on mixing projects for musicians she admires when moved. I first became aware of Annlie’s work and story when she presented at WAMCon LA in 2019 from a soundstage at The Walt Disney Studios, where she worked as a mix tech at the time. Her steady confidence and presence in that space stayed with me. With her newborn baby by her side, Annlie answered the following questions via correspondence just a week ago.
You have previously worked in ADR and re-recording and have most recently served as assistant music editor on many projects, including some of my family’s favorite Marvel shows! How have these past roles prepared you for your current work?
Probably the biggest benefit of having been in different roles is learning the different language & lingo that people use in different departments & crafts (and subsequently understanding what other people know & don’t know). So many of the crafts that go into filmmaking are so highly specialized that effective communication can be a bigger challenge than people realize. Once you’re able to translate between disciplines & departments, you kind of gain a new superpower that opens up a lot of relationships, ideas, and possibilities for better teamwork — and ultimately a cooler product.
Additionally, I think that in any collaborative process or art form, it always helps to know what the views, concerns, and work of other crafts are, and how they fit into the bigger picture. It’s like a sports team: I imagine a center forward might perform better at their role if they’ve tried out playing defense or goalie before and understand what the field looks like from all different positions.
I don’t know of many other art forms that require as much collaboration and as extensive a pipeline of different artisans, technicians & facilitators all coming together than that of film production. Ultimately, all the elements of a movie or TV show have to work together. The sound has to support the picture, the mix has to support the story, the color has to support the mood, etc. Knowing what goes into other parts of the filmmaking process, and what their challenges, capabilities, limitations, and viewpoints are, makes it possible for me to perform my job in a more supportive & comprehensive way.
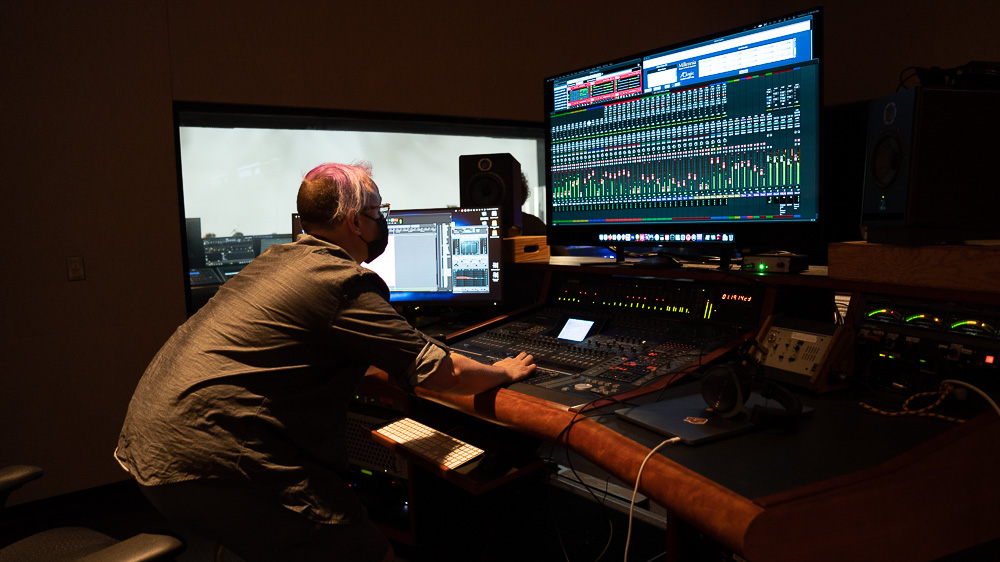
To be more specific, for example, it’s extremely helpful to me and my team that I have a deep and detailed understanding of what goes on during the re-recording process since ultimately everything we do in music editing needs to be delivered to the re-recording stage and flows down to them. Of course, you can be a great music editor with very little understanding of what happens after you pass the music off to mixing, but if you know what can be possible in the next step of the process, and how to set up your own work/sessions to make certain ideas possible, it opens up the door for a lot more creative conversation and cool ideas to be entertained.
When you spoke at WAMCon LA in 2019, I was so struck by your story path to a career in audio. I would love to hear a bit about that journey again.
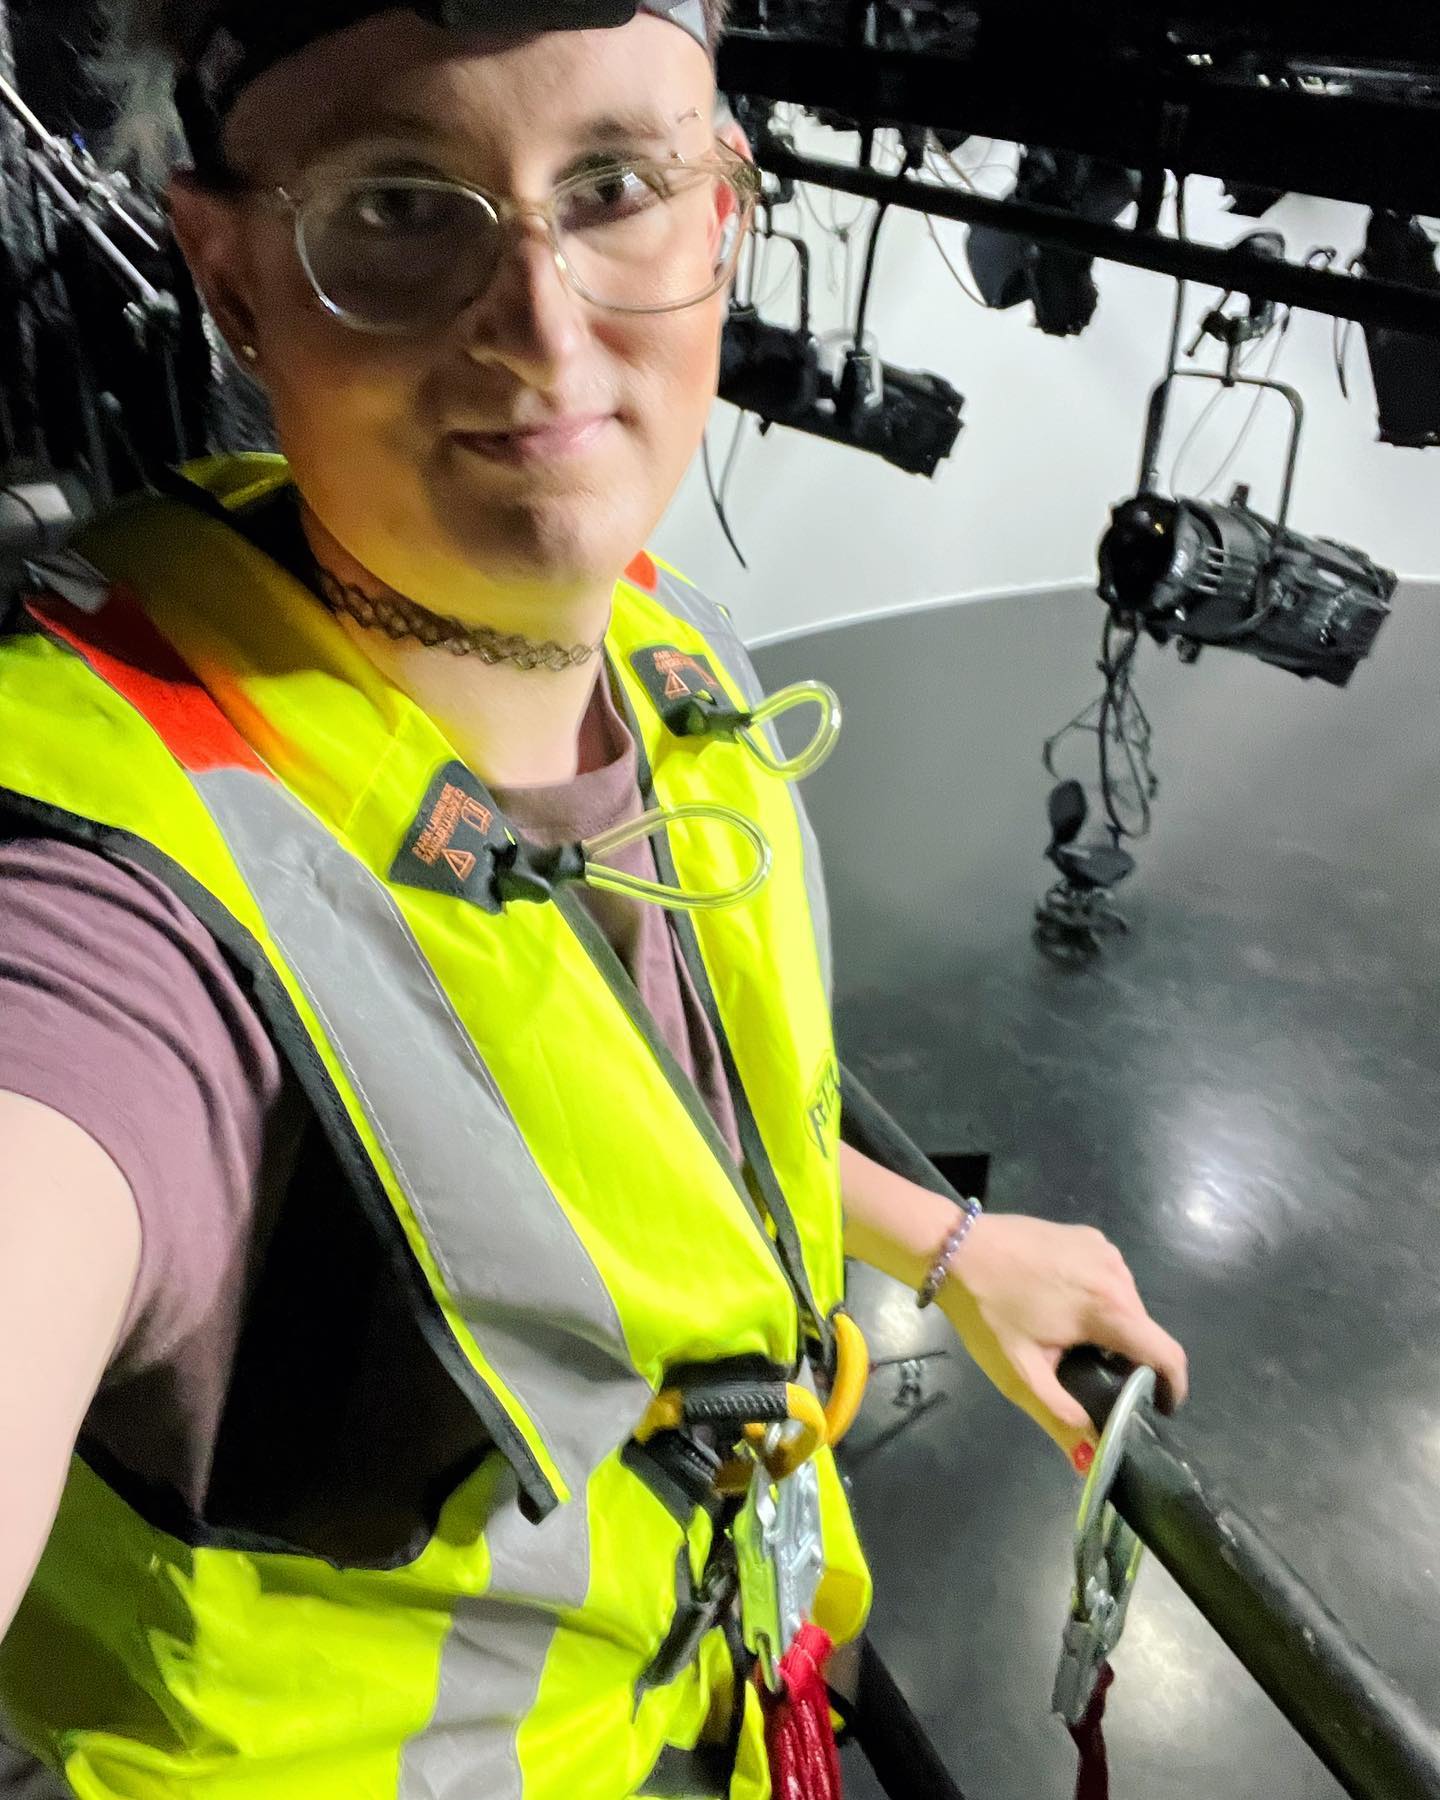
I was classically trained from the age of 3 on violin & piano and performed competitively throughout high school. I didn’t have much of a life outside of school and music performance and by the time I went to college, I had come to really dislike the whole cycle of practice, performing, being judged and critiqued, and the pressure that came with it. So I took a 180º turn and pursued a pre-med track for 2 years before realizing that I still really missed music and being creative. I was lucky that the university I was attending had a Music Technology program, which was still not that common at the time. I thought “This is perfect, I can still work on music but not have to perform!” So I started taking freshman intro classes as a junior, and eventually transferred majors. I realized pretty quickly that I was completely out of my depth when it came to music production since I had had minimal exposure to popular/mainstream music and had no idea how to approach it or talk about it, (for context: I had no idea what the typical instruments of a rock band were or any of the parts of a drum kit. I couldn’t even ID a Beatles song at that point), so I gravitated toward the idea of working on sound for film since it can tend to be much more grounded in everyday life — and, of course, I had watched movies growing up. Unfortunately, my school didn’t have a sound-for-film program or any classes, so by the time I graduated, I still had pretty limited knowledge of how film sound really worked. I moved out to LA and started out in the very typical manner of being an unpaid intern for a small post-production facility (cleaning kitchens, and bathrooms, refilling coffee machines, doing supply runs, answering phones, sorting mail, etc.) before being hired on by them to do a little bit of everything: audio editing, video editing, subtitle timing, DVD authoring QC, ADR loop counts, etc. While working there, I came across a job posting for the international/foreign language department at Disney, which I was eventually offered. While in that department, I worked closely with the head of post-production sound for the studio, who eventually offered to take me on as a trainee in his department, which allowed me a path to join the Motion Picture Editors Guild — the labor union for film post-production — which is how I ended up on the re-recording mixing & ADR stages (still one of my favorite places to be in the world!). Eventually though, due to personal considerations around lifestyle & family planning, I realized that I couldn’t stay on the stage long-term, and looked at moving into audio editing. I settled on music after talking to various amazing colleagues & veterans in both sound (dialogue & sound effects) & music editing, and here I am!
Is there an area of audio you would still love to explore?
I’m currently, I think for the first time in my life, in an area of audio that I think I can stay in for a long time. I love everything about the balance of the role of music editing, and I think it fits my personality and priorities really well. This comes after a LOT of exploration and misfits. As you mentioned above, I’ve tried out a lot of other roles to arrive here: boom op, production sound mixer, ADR, re-recording mixer, dialogue editing, music mix engineer, tracking engineer… Although I have limited to no direct experience in the roles like foley, live sound, or mastering, I know from theory & observation that I’m more than happy leaving those to other experts! I do still absolutely LOVE mixing music & re-recording mixing, but I end up pouring so much heart & passion into those that I like to keep it to select projects that I believe deeply in and am particularly excited about. I guess I should also mention that I’m married to an audio plug-in developer/DSP engineer, so I also get to have a front-row seat in the peanut gallery to the process of creating audio software, which is super fun & interesting!
I guess my one bucket list item in regards to audio right now is to learn to love playing again. I’d love to learn to play a band instrument & just play for fun, which is not something I did before, and I have some unlearning to do, in terms of withholding judgment & just enjoying the process & the music!
What piece of gear or plug-in have you found to be most essential in your work?
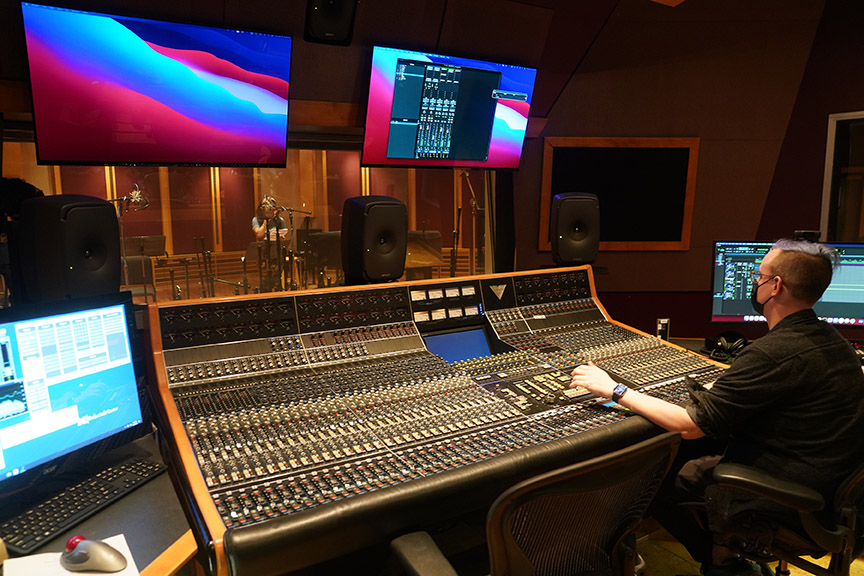
This is such a hard question… I have so many pieces of gear & plugins that I love, but I’d have to say I probably place the most value on a good pair or properly set up studio monitors. For mixing, we have the ATC SCM50s, which are an absolute game-changer. I really love critically listening to music & mixes on those (in addition to working on them). For music editing, I’m on a pair of Klein & Hummel O300s (now owned by Neumann), which are super smooth & pleasing. I love working on those since they’re less fatiguing when I’m mostly making content choices and not critical listening/mix decisions for that work.
When you have the time to take on an independent project, what are you most drawn to?
My love & passion for working in music/film is because I think it’s an extremely powerful medium. It has the power to make people feel and experience situations and emotions they otherwise wouldn’t have exposure to or be able to: from fantastical made-up universes that setup the subtext of parallel issues in our own lives, to gripping documentaries that brutally shed light on realities of our world, to feel-good comedies that help people get by from one week to another or bring people closer together. There are certain albums that have gotten me through the highest and lowest times in my life or made me feel deeply connected to someone radically different from me. Storytelling is such an important and essential part of communication and human connection, and I love the form it takes through the craft of music & film. So when it comes to taking on independent projects, I go absolutely bonkers over the artists and works that say something that I think the world should hear — whether the message is beautiful & gentle, loud & brash, heartbreaking, or uplifting. There are so many people with such interesting & unique things to say, that if I can help focus or enhance that message and shepherd it as acutely and potently as possible into the world through great, compelling, sound, that’s what I get really excited about.
Tell us about your audio community.
As I mentioned above, I’m quite lucky to be married to an audio badass. My husband is an all-around guru about most things audio and has encouraged and supported me aggressively as I found my own path. We talk about audio all day, from new gear and what studio upgrades we want, to new & old technologies, listening to old and new music together — both casually & critically — new plug-in features, differences between film audio & the music industry, room acoustics… etc. I rely on him for brutally honest mix feedback, fresh ears on music edit options I put together, and a second opinion on generally everything, while he asks me to beta test their company plug-ins and listen to his mastering revisions. Outside of that, I have a few select veteran colleagues in the film industry that have taught me basically everything I know. I’m forever indebted and grateful to them and they’ve also become dear friends. Lastly, there’s the amazing & wonderful world of women in sound! Through organizations like Omni Sound Project, Women’s Audio Mission, and Soundgirls, I’ve been able to connect with so many amazing and rad individuals who love audio & sound as much as I do! I absolutely love how supportive and positive the entire community is, and I’m proud to be able to say I’m an active member!
I remember a workshop of yours in which you showed back-to-back clips of the brontosaurus scene in Jurassic Park with and without the score. It’s amazing what a difference the music makes! Do you have any other favorite examples of the score making this kind of impact? Something you’ve seen or something you’ve worked on?
Oh, man… I’m woefully indecisive and so, so bad at picking favorites. There are so many film & tv moments that totally just deflate if you take the music out, whether subtle or dramatic… music can really set the tone & emotion, so much, of anything!!!
With all that you have achieved, what dreams remain for you?
Well, I just started my own little family (last week!), which while not an easy task in any context, has its particular challenges in this industry. I’m so lucky that the team that I’m on is very supportive, but I really hope there’s a future where women don’t feel so much like they need to decide between career and family. Aside from that, I just look forward to working with great teams and inspiring individuals on projects that move people!
You can find her on Instagram as @shigwastudio and see her credits listed on IMDB.
Thank you, Annlie!