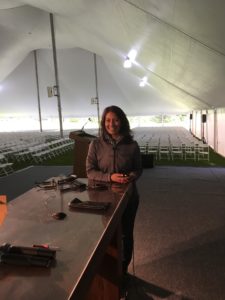
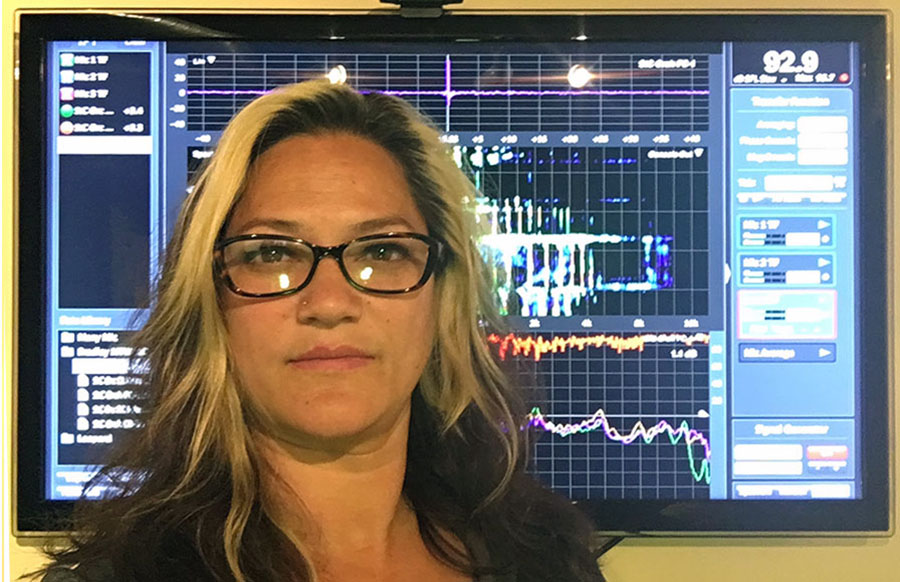
 Caroline Sanchez works in Broadcast Audio as an A2, RF Tech, and Pro Tools Op on recording trucks. She also works in live sound as an A2 and AV work. Sanchez is freelance and regularly works for ABC, NBC, MTV, and Music Mix Mobile. Caroline got her start in audio during college, working FOH for a local coffee house and numerous “Battle of the Band” style events She got her first real television paycheck in 2013.
Caroline started studying music in the third grade when she started playing the flute. With the support of her parents, she participated in every music ensemble and event she could, and assumed she would become a band director as “I honestly thought it was the only music-related career someone could pursue.” At the end of her freshman year in high school, her band director approached her and asked if she would be in interested in shadowing a senior student. The senior student happened to be a young woman and was the department’s sound engineer.
The school had a small PA, a little Mackie and a few 58’s, and after the first rehearsal, Caroline says “I immediately realized that there was way more to the gig than simply plugging in the mics and turning on the system. I found myself on the internet reading about ‘doing sound’ and trying to figure out what that even meant. I was hooked. From that moment on, I knew I had found my pursuit – a technical and music-related field that allowed me to create musical performances in a way I had never considered”.
The seed was planted
The first concert she attended was Streetlight Manifesto at Starland Ballroom in Sayreville, NJ. She spent most of the night jammed up against the railing around FOH, unable to see the stage; she found herself watching the FOH engineer mix. “My thoughts were something along the lines of These people get to go to concerts for a living?! Sign me up! That night, mixed with the experience I got from my high school band program, is what planted the seed in my mind to pursue audio in the future.
Caroline says It took a bit of convincing to get her parents on board with a career in music, particularly audio but she did and enrolled at William Paterson University in Wayne, NJ. It was the only four-year college in the state that offers an audio program. She graduated with a Bachelor of Music in Sound Engineering Arts. Caroline says “the program was a perfect fit for me because of how music intensive it was. I was taking classical music performance classes along with my audio lectures and labs. Without the people that I met through college, I wouldn’t have the jobs I have today, so I’m grateful I chose such a well-established program.” Her parents now realize she made the right decision and are beyond happy.
Caroline was introduced to Broadcast audio during an internship for Bonnaroo 2012, the head of the audio department at the college put her in touch with Music Mix Mobile (M3), and before she knew it, they were driving down to Tennessee for five days. Caroline knew she wanted to work in concert audio, but Bonnaroo opened her eyes to the different audio positions involved in concert production. She remembers thinking “These guys get paid to record and mix concerts from a truck behind the stage?! This is so freaking cool”. M3 would ask her to intern/assist again through her junior year, and she would work with them for her required internship for her senior year.
After graduation, she would continue to work with M3 and keep making connections. She was offered work as an A2 from another engineer at her school for Good Morning America. She said “Yes and set my alarm for 1 AM, and the rest has been an ongoing journey. One gig leads to another and before you realize it, you’re working five days a week ‘making TV’!
Caroline works for several of the large festivals Bonnaroo, Outside Lands, Made in America and various iHeart Radio festivals, usually working on stage. For the more intensive TV productions such as the Mark Twain Prize and Rock ‘n’ Roll Hall of fame, she works in the truck running the Pro Tools record and assisting with other aspects of the job, such as playback, re-record, file transfers, video record, etc. Last summer she worked in the RF tent at the Good Morning America Summer Concert Series at Summerstage in Central Park where she assisted with RF and comms. She has also done some live recording jobs for VH1 and MTV as the recording engineer. Her most recent gig has been on Late Night with Seth Meyers as the Music A2, where she works with the house band and guest artists.
 The gig at Seth Meyers is a perfect example of how work leads to more work; she met the Seth Meyers crew while working with them on a remote gig. A few months later she got an email about filling in. Caroline is enjoying Seth Meyers and working with the house band and artists and says “there have been many moments in the 8G studio that make me think “this is why I do this job,” and it’s always because of a fantastic artist performance that went off without a hitch. It’s so cool having that feeling, and I’m thankful to work at Seth whenever I can”.
Working for ABC and NBC requires Caroline to part of NABET CWA, Local 16 the union, Local 16. Caroline says “becoming a member is a pretty streamlined process that involves enrolling and then paying the initiation fee. In this case, there isn’t a test or mentor period as there are with other unions. The added benefits (401k, health, training, scholarships, etc.) the union provides are a great thing to have access to, especially since the work I get from either company is consistent.
Caroline loves that each day is different, a different band, genre, crew, and challenges. No two days are the same. She also loves that she gets to travel and experience and see new places. She always tries to sample the local cuisine or specialty and finds traveling broadens her perspective on many levels. But traveling disrupts her daily routine. “I’m a runner, and sometimes it can be very difficult to maintain my training schedule when I’m in a different place and working for most of the day. Eating the way I would at home can also be a challenge, and sometimes it’s a real bummer. But the gigs are always fun and definitely worth the slight annoyances.”
 Caroline’s long term goals are still in the works; believing that computers and networking are the domain where all audio is going to be soon, so it makes sense to work in systems engineering. For the short term, her goals include expanding her knowledge of comms and RF and doing some monitor teching or mixing. She also thinks if she is ever going to tour this is the time. Remember “there are a lot more audio jobs out there than you may think, and part of the journey is finding the one that works for you, both lifestyle wise and skill set wise. You also don’t have to do only one specific job. It is possible, in this industry more than any other perhaps, to have multiple skill sets and create a career out of those skills”.
What if any obstacles or barriers have you faced? / How have you dealt with them?
Interestingly enough, I think I have faced more obstacles because of my youth than because I am a woman. In a field where so many people have been working at their craft for so long, I can see how youth can be perceived as a liability. Most of the gigs I work, I am the youngest person on the crew, and there are definitely moments where I feel like people don’t trust me because of it. I cannot change how old I am, or what era I was born in, but I can work hard and be smart about my work. It is my hope that by doing good work, I can ease others’ worries. So far, working hard and paying attention has been the best way to deal with some of the weirdness I’ve faced. Avoiding the question of how old I am sometimes helps too, at least for the time being.
Advice you have for other women and young women who wish to enter the field?
Remember that the quality of your work is genderless. Even in situations where you sense some resistance or uncertainty, how well and how professionally you handle your job is your most important asset. Be on time, ask thoughtful questions, take notes and do your own research. These are the things that truly define your work and will get you called back.
Must have skills?
Definitely patience and the ability to stay calm in situations where other people are freaking out. A good grasp on a logical workflow and troubleshooting is also a must have. But I think above all else, be personable and friendly. In the end, everyone is working toward finishing a job well done, and a friendly face on the crew makes all the difference.
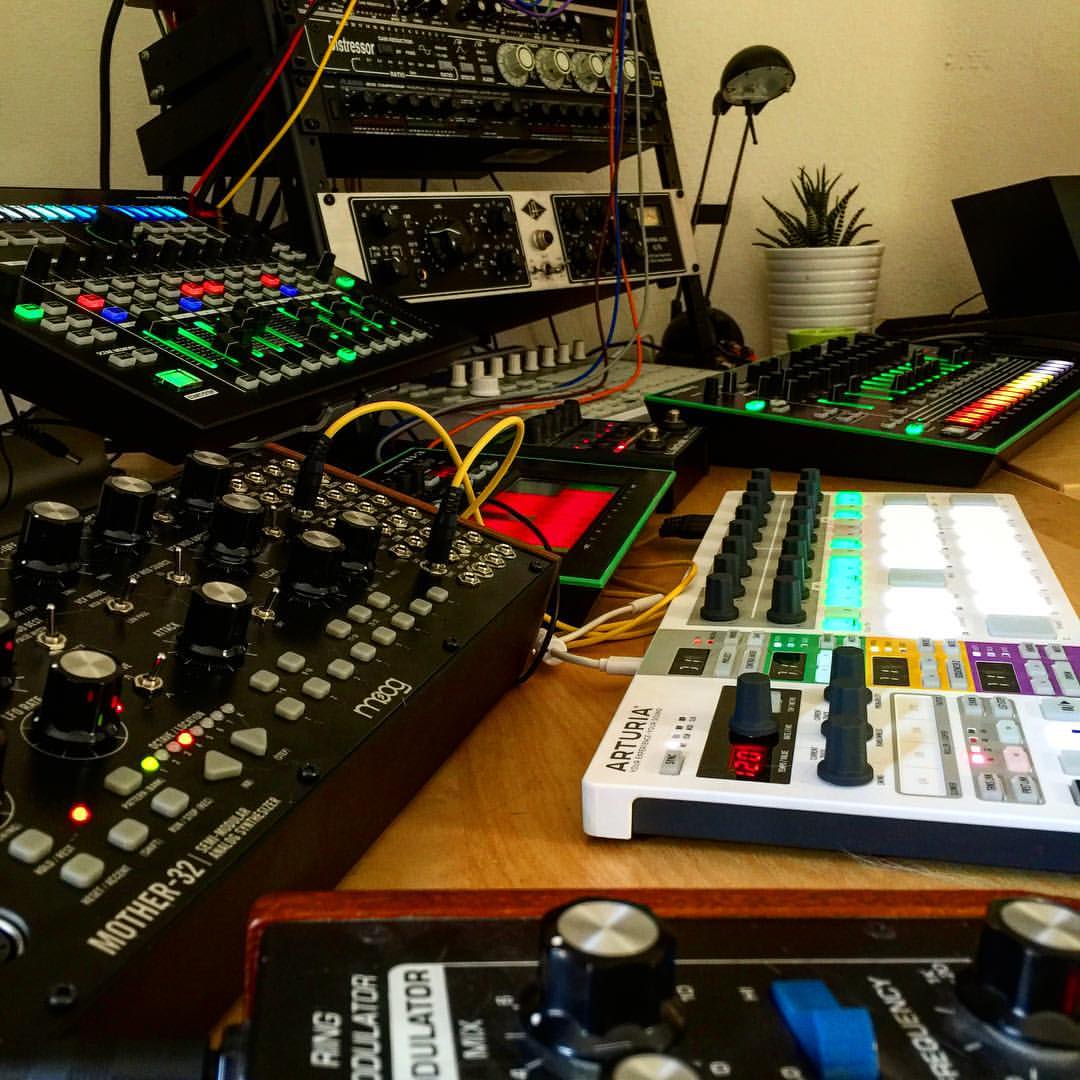
Favorite gear?
Is it cheating if I say “fiber”? But really, I think digital connectivity, in general, is incredible. My first Bonnaroo, we used a Riedel RockNet at FOH to grab the six audience microphones and get them back to the truck on a piece of Cat5. Since then, I think I’ve run some form of Cat5 at every remote gig I’ve ever worked. It’s amazing to think about how technologies like audio over ethernet, MADI or Dante are the backbone of some of these massive productions. It’s really cool stuff.
Is there a certain gig where you learned a valuable skill?
There are so many moments where you learn, all you have to do is pay attention! My approach is to try and learn something new on every gig, even if it’s only one small thing tech-related or otherwise. The best engineers in my book are the ones who turn dealing with people into an art, especially in less-than-ideal circumstances. There was one festival I worked where a band’s monitor engineer was so unnecessarily nasty to the stage crew; it was uncomfortable. But the house monitor engineer, serious kudos to him, was so calm, so polite and helpful, it diffused a potentially horrible situation. Everyone on stage was super impressed, and I made a mental note to remember to handle stressful situations with as much finesse as that guy did.
I also try to take notes while I’m on the job as a reminder to research things when I’m home – mostly the names of gear or concepts I’ve never worked with or heard of before. This has proven to be a useful habit since it helps me feel more acclimated the next time I come in contact with a piece of gear.
There have also been a handful of moments where I realized that asking a question – even one that you think might be trivial or silly – is better than guessing. It is easier to laugh off a silly question than it is to laugh off a mistake – especially an audible one that could have been prevented.
What is one of the more challenging shows you have worked?
Any show that is going to feature an A/B stage setup – where one side of the stage is performing live, but the other side is setting up the next act – tends to be the most challenging. Examples of these setups that I’ve worked are a number of one-night arena festivals (iHeart Music Festival, iHeart Country Music Festival, JingleBall, etc.) and award type shows (Rock Hall of Fame, Fiesta Latina). The challenge comes from the “marathon” mentality needed to get through the day. Many times there are several hours of rehearsals scheduled for the morning of the show, so the days are long. Then during the show, while an artist is performing on the A side of the stage, a strike, setup, and line check is happening on the B side in preparation for the next act. This makes the work seem almost constant, going from performance to line check, take a 5-minute breather, then rinse and repeat for four hours of show. No matter what the position – A2, Protools, Mixer – this is a lot, especially if there are issues.
What is the most challenging aspect of working broadcast?
Workflow! The most challenging part for me when I started was getting used to the workflow/dynamic of being part of a television production. There are a ton of moving parts – graphics, video, audio, writing, production elements, props – all working for the same end goal while doing their own independent work to make the show a success. Finding where and how audio fits into all of that can be a challenge that certainly changes from show to show.
What do you feel is the most important part of being prepared for Broadcast?
Staying flexible and planning ahead. A television production is ever-changing, and the show run-down always has the potential to change. Anything that can be done to increase the flexibility of the job is a good thing to do. Is my spare hardware in a good spot if it needed to be used? Do I have a spare microphone in case they add someone to this segment? Are the backup machines functioning as expected? Do I have a couple of extra tracks record enabled just in case something gets patched into that hole? These are just a few things that can be looked at ahead of time to make the last minute inevitabilities more manageable.
Can you discuss the various roles and jobs that happen for a broadcast in the truck? It always seems so peaceful in the truck – while there is chaos going on out on the stage.
It’s a different kind of chaos, I assure you! In the music truck, there are usually three main jobs – an EIC (engineer in charge), a Protools Op (the modern day equivalent of the tape op), and the mixer. Outside of the truck is the stage A2 that takes care of the truck’s preamps and interfacing with the house splitters. The EIC takes care of the infrastructure – powering up the truck, connecting to the video truck, connectivity to the stage, making sure the console is working, etc. The EIC is the person running around and troubleshooting problems and finding solutions for anything related to the gear and connectivity inside and to/from the truck. The Protools Op is, as the name implies, responsible for the recording machines, formatting/organizing hard drives, making sessions, keeping logs and hitting record! The mixer gets to sit in the hot seat and mix the show, play along with line checks and rehearsals and, depending on the show, is usually the person that does a post remix if there is one required.
As with any position in a live show, the chaos comes from the last minute “unknowns,” whether that means technical issues or production issues. When you are as far removed from the stage as the truck, information doesn’t always travel at ‘chaos’ speed, and sometimes we’re left playing catch up. This makes the A2’s job super important since they are literally the backstage “eyes and ears” for everyone that’s working in the truck. Another element that might not be so prevalent on the stage is the production aspect – meaning that at any given time during a rehearsal or performance, there could be multiple people visiting/sitting in the truck, varying from artist production managers, artist audio crew/mixers, television music producers, etc. There’s always something going on, and you have to stay sharp, even on the longest days. It’s a fast paced environment and a hell of a lot of fun!
RF and Comms – Can you walk us through what is involved for this and how challenging is this in New York with a crowded RF spectrum.
Trying to find a clean frequency in Times Square is probably the worst place on the planet to look. Luckily, as you can imagine, there is quite a bit of planning that goes into the frequency coordination that goes beyond the day-to-day operations that I handle. For example, Good Morning American has a specific list of frequencies that are assigned to them and that list can be compared to the frequencies that are assigned to other companies adjacent to the studio (MTV, Thomson Reuters, Nasdaq). This kind of planning ensures at least some kind of consistency when it comes to usable frequencies. Because of how crucial these frequencies are to the success of the show, the coordination aspect is key, especially when there are artists coming in with their own equipment. We typically re-freq artist’s gear with known good frequencies and take a full inventory of their auxiliary equipment, such as crew radios, to avoid any conflicts.
When working on remotes, which is pretty much any shoot that isn’t taking place inside the studio, analyzing the nearby RF traffic and staking claims on frequencies as soon as possible is the way to go. And similar to any kind of hardware backup, having good, clean backup frequencies is a fail safe for when things get “stepped on” and aren’t usable anymore. What I think it ultimately comes down to is knowing what frequencies you have to work with and monitoring your environment for changes so you can act quickly and accordingly.
What do you need to know for RF and Comms?
Everything you would need for an audio gig – troubleshooting, signal flow, workflow – and some specifics about the gear you’re working with is essential. What frequency band does this operate in? What gain setting is on my antennas? How long is my antenna cable run and is that going to be a problem? Working in this area is specialized, and there are some highly intelligent people I have met who have made entire careers on RF alone. For me, it’s a constant learning process, especially as the technology (and FCC policies!) change.
As for comms, I would say all of the above plus an extra helping of patience. Comms is slightly more “customer service” oriented, especially if the “end users” (directors, producers, camera crew, etc.) aren’t familiar with the equipment you provide them, such as belt packs or panels. Besides knowing the real technical connectivity stuff, it’s important to be able to explain the equipment on a level that’s understandable for someone who has maybe never seen it before. A show cannot function without communication, so you’ve got to have a level head and be able to stay focused if people start freaking out about comms issues.
What do if any do you prefer Broadcast, Recording or A2?
Someone asked me this question the other day actually, and I’ve been thinking about it ever since. The simple answer is, if I’m working with music on any level and can be a part of making a show sound good, I’m happy. The longer answer would be, working in broadcast. So far the field that has won me over. I first started becoming interested in audio because of live concerts, and I promised myself that I would pursue a job in this field because I wanted to help foster concert experiences like the ones I had (and still have!). It’s almost like helping people make memories, whether or not they are aware of the role audio played in making it happen. The ability to work in broadcast gives me the chance to give massive audiences a killer live show. It’s a cool feeling. The environment is a good fit for me too, considering how technology heavy the broadcast side of things are. Overall, I’m thankful that I got a start working in Broadcast and I look forward to the years to come.
We caught up with Caroline in Sept 2019 to see what she’s up to… A LOT!
“Since the time of my SoundGirls profile, I have a few more credits under my belt and have had the chance to do a decent amount of travel work, which has been a lot of fun. California, Seattle, Vegas, Philadelphia – I’ve been bouncing around on various events enjoying the ride as much as I can. At home in New York, I landed the Music A2 position at Saturday Night Live in September 2017 and am about to start my third season. When the Grammy Awards were held at MSG in January 2018, I was hired as the record op in one of M3’s music trucks. Most recently, I just got done working at the MTV VMAs at the Prudential Center as part of the ProTools playback team.
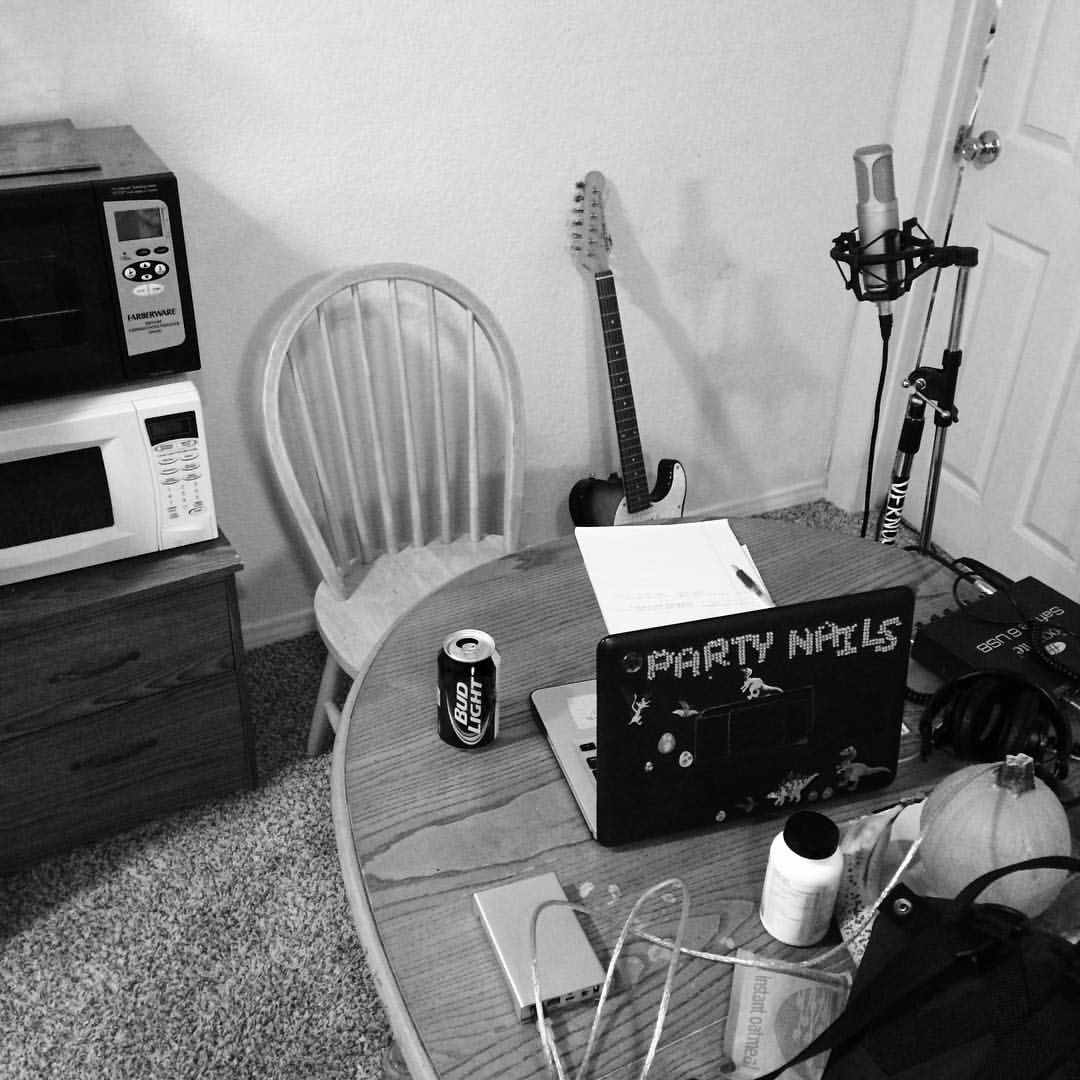
I’ve also had the opportunity to do some professional development and mentoring; I have given talks for SoundGirls, Women’s Audio Mission and interviewed with TA2’s Sisters of Sound podcast. I’m taking a deep dive into the audio-over-IP world and see myself working more and more on the network systems design and implementation part of the industry. On a more personal creative note, I’ve been writing quite a bit and started actively publishing poetry to various online and print outlets. It’s been kind of a trip to even think about how much has happened since that initial profile interview – so thank you to everyone at SoundGirls for taking the time to reach out and keep the community connected. Cheers!”


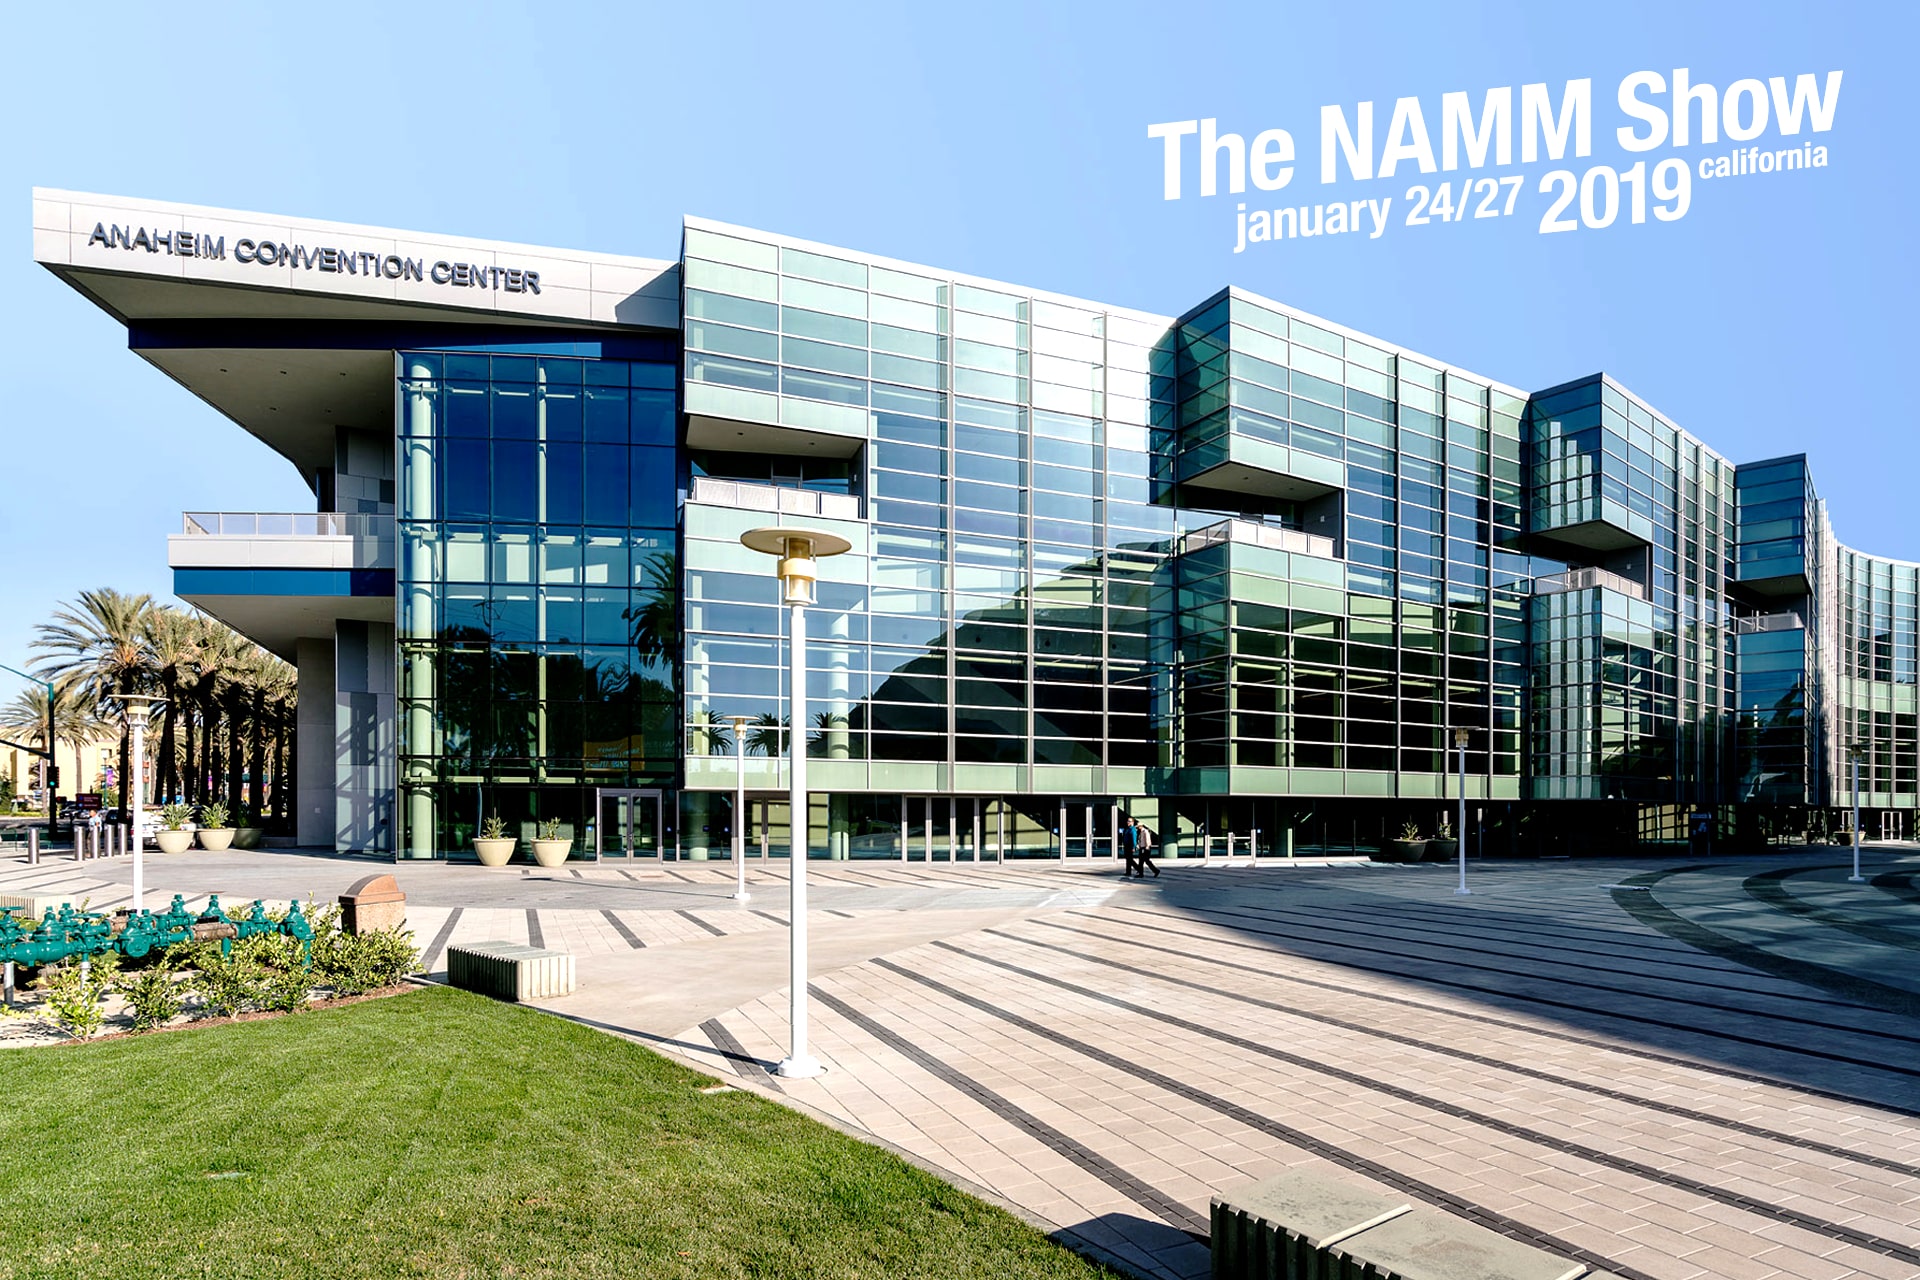
 SoundGirls has a limited number of NAMM Badges for Members. Passes are on a first come – first served basis. Please do not ask for a badge unless you are 100% sure you will be attending. NAMM takes place in Anahiem, CA – Jan. 24 thru Jan. 27.