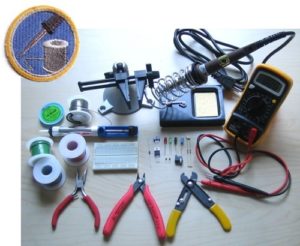
 Soldering is one of the most useful skills a sound technician can have. It can seem daunting at first, but it is surprisingly easy once you know-how. It can help you understand your equipment and signal flow better, save you money, and there’s nothing quite like whipping out a soldering iron and saving a gig to silence the doubters.
This webinar will cover the basics of soldering and we will be making and soldering an XLR Cable. The webinar is taught by Christina Milinusic and will be assisted by Barbara Adams.
April 18 at 3 PM PST/6 PM EST
Registration is limited to 60 people.
Register Here
You need to gather the following materials and review this Soldering PDF CMilinusic_SoundGirls_SolderingXLR(1)
To make an XLR cable you need
Standard 3 wire analog cable.
The configuration of this balanced cable is signal (+), signal (-), and shielded common (ground). The (+) wire carries the in-phase signal and the (-) wire carries the inverted signal. This balanced cable has good noise rejection because the noise is always in-phase. This means once the cable is plugged in the (in-phase) noise will be subtracted out. The recommended maximum length of an XLR is 100 feet (30 meters).
XLR Connectors (Plug-Socket)
Tools needed
- Soldering Iron,
- Solder
- Wire strippers and flush cutters.
- Panavise ‘helping hand’,
- Needle Nose Pliers, a utility tool (Leatherman)
- Solder Sucker or Solder Wick
See PDF for pictures
CMilinusic_SoundGirls_SolderingXLR(1)

