
Using OBS for Content Creation
OBS
I wanted to share some of my tips and setup for digital video recording since I have been utilizing it a lot in the past couple of months. My students have been moved online for the past couple of months, and I had to find a way to still have them produce content with what they had available, usually just a laptop, interface, and a microphone at best.
OBS Studio – Open Broadcaster Software – is free open-source software that I have been using heavily for both recording my desktop and cameras as well as live streaming to YouTube. I have been using it on my MacBook Pro, but it works for PC as well. It has allowed me to set up many scenes, similar to how I would TD something with a video switcher. Graphics, video playback, transitions are all supported within the platform. You can use this to generate so much content, especially if you want to voiceover while working with software and don’t want to do extensive editing later on – this allows you to live switch or simply set up a picture in picture scene.
When you download OBS, it will walk you through an auto-configuration wizard that finds the best settings that will work for your computer. If you are working on a Mac, you will also need to download drivers that allow you to capture the computer sound.
Once configured, you will have a blank slate – just 1 scene without any sources. Work through your signal flow, you will need to add each source individually to start. Once you have a few that always work together, you can group them or make a scene with your standard setup.
Scene 1
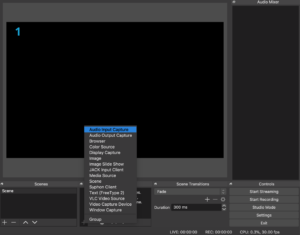
Click on the + under sources to add your first source – this will be your microphone.
-
- One
-
- Two
-

- Three
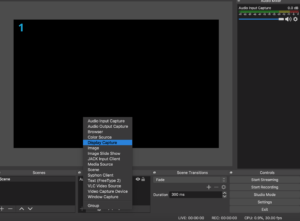
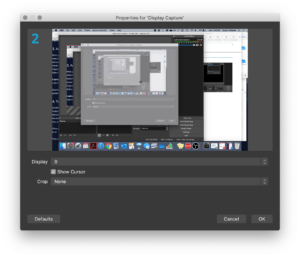
Click on the + under sources to add your second source – your Display Capture. This is how you will capture the keynote, website, software, whatever it is that you will want to capture for your recording. You will need to grab the red edges of the screen capture to resize it.
-
- One
-
- Two
-
- Three
-
- Four
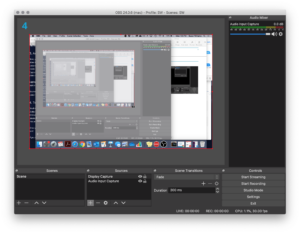
Scene 2
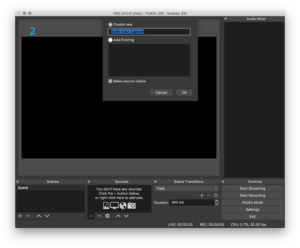
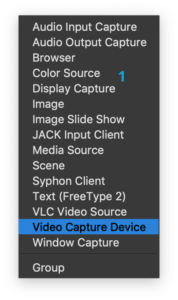
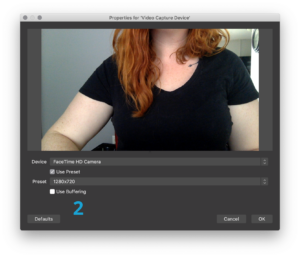
Create Scene 2. Select the Audio Source from the first scene and paste it into your Sources for Scene 2. Add a different video source – your camera. This can be your built-in FaceTime camera or any webcam. Resize it.
-
- One
-
- Two
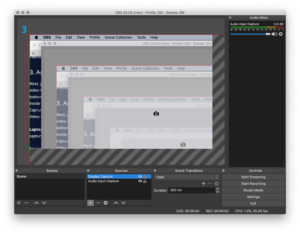
Scene 3
Create Scene 3. Select your audio & video sources from Scene 2 and paste them into Scene 3. Copy and paste the Display Capture from Scene 1 into Scene 3. You should have 3 sources now! Resize your Display Capture to make room for your camera, this will be your Picture In Picture scene!

Switching Between Scenes
In the bottom right, select STUDIO MODE. This will allow you to preview what scene is coming up next. You can set up shortcut keys, or just use your UP/DOWN arrows to switch between the scenes. Leave it on the PIP if you want to keep it simple. Select Start Recording, notice the record time in the bottom. Full-Screen your presentation, software, whatever you are using, and do your thing. You may need to trim the beginning and end off, but you can do that easily within Quicktime or even within Youtube.

There are a lot of amazing controls within this software, including graphics and transitions. I hope this tutorial helps clear up any confusion when first getting started with OBS. I would love to create more tutorials in the coming months once you’ve gotten aquatinted and are ready for the advanced features.